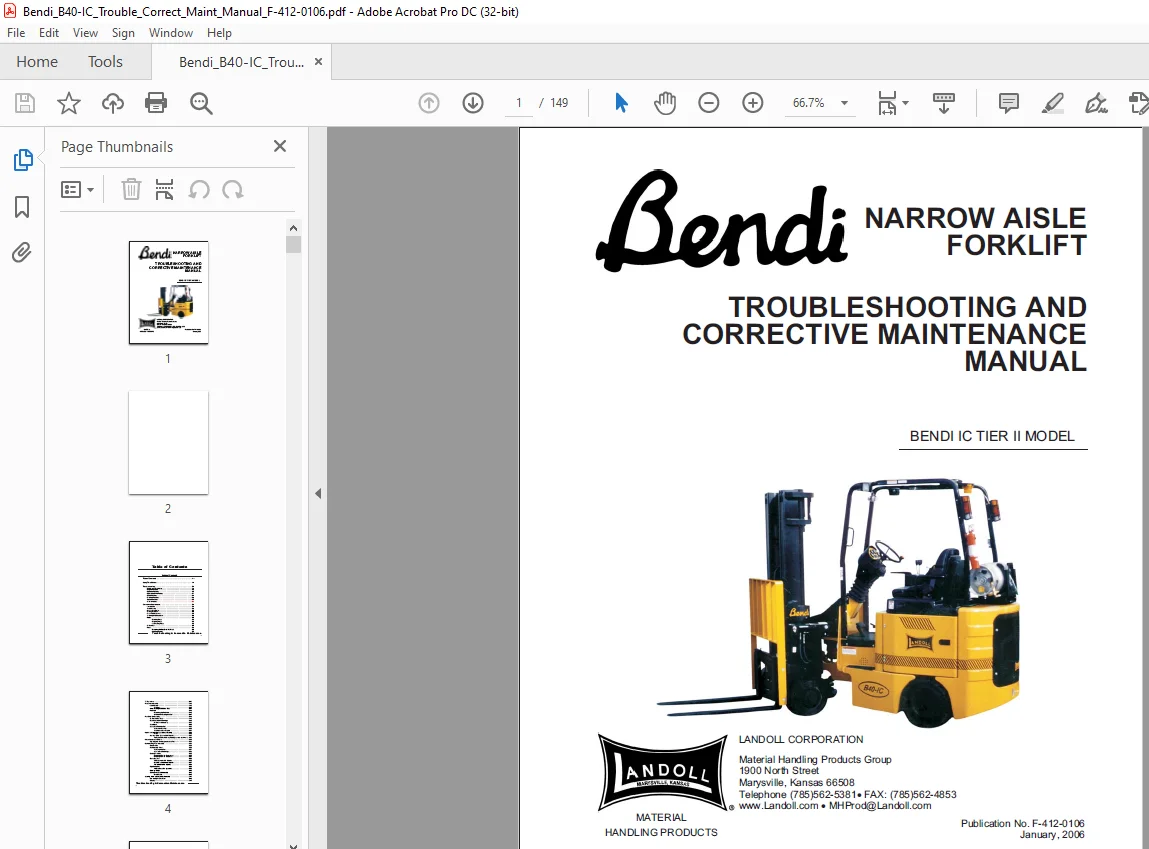
BENDI IC TIER II NARROW AISLE FORKLIFT TROUBLESHOOTING AND CORRECTIVE MAINTENANCE MANUAL
$25.95
BENDI IC TIER II NARROW AISLE FORKLIFT TROUBLESHOOTING AND CORRECTIVE MAINTENANCE MANUAL – PDF DOWNLOAD
Description
BENDI IC TIER II NARROW AISLE FORKLIFT TROUBLESHOOTING AND CORRECTIVE MAINTENANCE MANUAL – PDF DOWNLOAD
FILE DETAILS:
BENDI IC TIER II NARROW AISLE FORKLIFT TROUBLESHOOTING AND CORRECTIVE MAINTENANCE MANUAL – PDF DOWNLOAD
Language : English
Pages :149
Downloadable : Yes
File Type : PDF
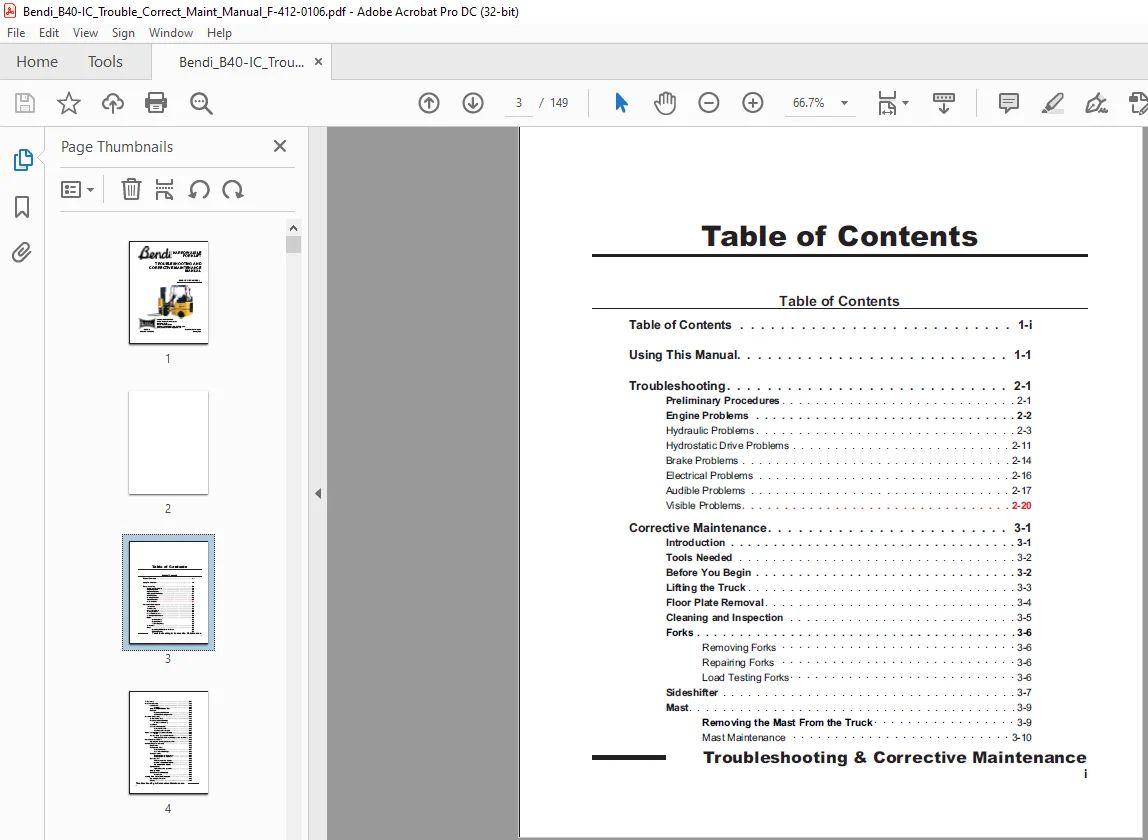
TABLE OF CONTENTS:
BENDI IC TIER II NARROW AISLE FORKLIFT TROUBLESHOOTING AND CORRECTIVE MAINTENANCE MANUAL – PDF DOWNLOAD
Table of Contents 1-i
Using This Manual 1-1
Troubleshooting 2-1
Preliminary Procedures 2-1
Engine Problems 2-2
Hydraulic Problems 2-3
Hydrostatic Drive Problems 2-11
Brake Problems 2-14
Electrical Problems 2-16
Audible Problems 2-17
Visible Problems 2-20
Corrective Maintenance 3-1
Introduction 3-1
Tools Needed 3-2
Before You Begin 3-2
Lifting the Truck 3-3
Floor Plate Removal 3-4
Cleaning and Inspection 3-5
Forks 3-6
Removing Forks 3-6
Repairing Forks 3-6
Load Testing Forks 3-6
Sideshifter 3-7
Mast 3-9
Removing the Mast From the Truck 3-9
Mast Maintenance 3-10
Tilt Cylinders 3-11
Front Axle Assembly 3-13
Load Wheels 3-13
To Check 3-13
Wheel Bearings, Seals and Race 3-14
Front Axle 3-16
Removing the Front Axle 3-16
Articulation Bearing and Seal 3-17
Front Rotation Assembly 3-19
To Remove Bull Gear 3-19
Rotation Seals and Bearings 3-20
Hints for reassembly 3-22
Stop Block 3-23
Steer (Front Rotation) Pot 3-23
To Center Steer Pot 3-23
To Adjust and/or Replace 3-24
Hydraulic Steering Motor or Support Bearing 3-25
Hints 3-26
Auxiliary Pump (Steer and Lift Circuit) 3-27
To Replace the Auxiliary Pump (Steer and Lift Circuit) 3-28
Linear Accelerator Module 3-29
Replacing the Throttle (Accelerator) Pot 3-29
Brake/Inching Pedal Assembly 3-30
Drum Brakes 3-30
Brake/Inching Pedal 3-30
To Center Inch Pot 3-31
Service Brake Linkage 3-32
Brake Light Switch 3-33
Brake Light Switch Replacement 3-33
Brake Light Switch Adjustment 3-34
Master Cylinder 3-35
To Remove the Old Cylinder 3-35
Bench Bleed the Master Cylinder 3-37
To Install the New Cylinder 3-38
Rigid Brake Line 3-38
To Replace a Damaged Line 3-39
Bleeding Brakes 3-40
Service Brake Pedal Assembly 3-42
Brake Pedal 3-43
Steering Column and Console Assembly 3-44
Remove Right Side Cover 3-45
Display 3-46
Troubleshooting & Corrective Maintenance
ii
Key Switch 3-47
Option Rocker (On/Off) Switches 3-47
Circuit Breaker Panel 3-48
Steering Wheel 3-49
Steering Column (Console) 3-49
Orbital Steer Unit 3-51
Steering Counterbalance Valve 3-52
Hydraulic Control Valve Assembly 3-53
General 3-53
To Check and/or Adjust Pressure 3-54
Hydraulic Control Valve 3-58
Parking Brake Assembly 3-60
Continuity test 3-60
Replace Switch 3-61
Replacing the Brake Cable(s) 3-61
Parking Brake Handle 3-62
Adjust the Parking Brake Handle 3-63
Parking Brake Adjustment 3-64
Filter Assembly 3-65
Steer Pump Relief Valve 3-65
To Check and/or Adjust Pressure 3-66
Hydrostatic Drive Control System 3-68
Error Codes and Calibration 3-68
Calibration/Programming 3-69
To Get Started Using Bodem/2 Software 3-69
Position Sensor Calibration 3-72
Inch Pot Calibration 3-72
Steer Mid Calibration 3-74
Steer Pot Calibration 3-75
Throttle Pot Calibration 3-80
Maximum Speed Calibration 3-81
I Settings Calibration 3-81
Drive Ramp Deceleration 3-82
Applying New Settings 3-82
Changed Parameter Verification 3-84
Hydrostatic Drive Diagnostics/Troubleshooting 3-85
Deleting Saved Errors 3-86
Run-time Process Data 3-87
Hydrostatic Pump 3-88
Charge Pressure Switch Check 3-88
3-89
3-89
Troubleshooting & Corrective Maintenance
iii
Process for IC Units without Test Ports Inside Left Door 3-90
To Remove and Replace Hydrostatic Pump 3-92
To Prime Hydrostatic Pump 3-93
Replacing Charge Pressure Switch 3-94
Tow Valves 3-94
Replacing Tow Valve Assembly 3-94
Replacing Needle Valve Seal 3-95
Replacing High Pressure Relief Seals in Pump 3-95
Replacing Charge Pressure Relief Valve 3-96
Replacing Shaft Seal 3-96
Hydrostatic Drive Motor Assembly 3-97
To Remove Drive Wheels 3-97
Hydrostatic Drive Motors – Rear 3-98
To Begin… 3-98
To Replace Hydrostatic Drive Motor Assembly 3-99
Replacing Rear Cover Seal in Hydrostatic Drive Motor 3-100
Replacing Cam Seal in Hydrostatic Drive Motor 3-101
Brake System – Repair 3-102
Changing Brakes 3-103
Wheel Cylinder 3-106
Seat Assembly/Horn 3-107
Seat Switch 3-107
Replace the Switch and Cable 3-107
Horn and Direction Control 3-108
Horn/Horn Pushbutton 3-108
Direction Control Switch 3-109
Engine Assembly 3-110
Engine 3-110
Fuel System 3-110
Mag Speed Sensor 3-110
Cooling Fan 3-111
Radiator 3-111
Oil Cooler 3-113
Overhead Guard, Lighting, and Alarms 3-114
Lights 3-115
Back Up Alarms 3-115
Hydraulic Fittings and Hoses 3-116
Notes 3-117
IMAGES PREVIEW OF THE MANUAL:
S.M 07/24