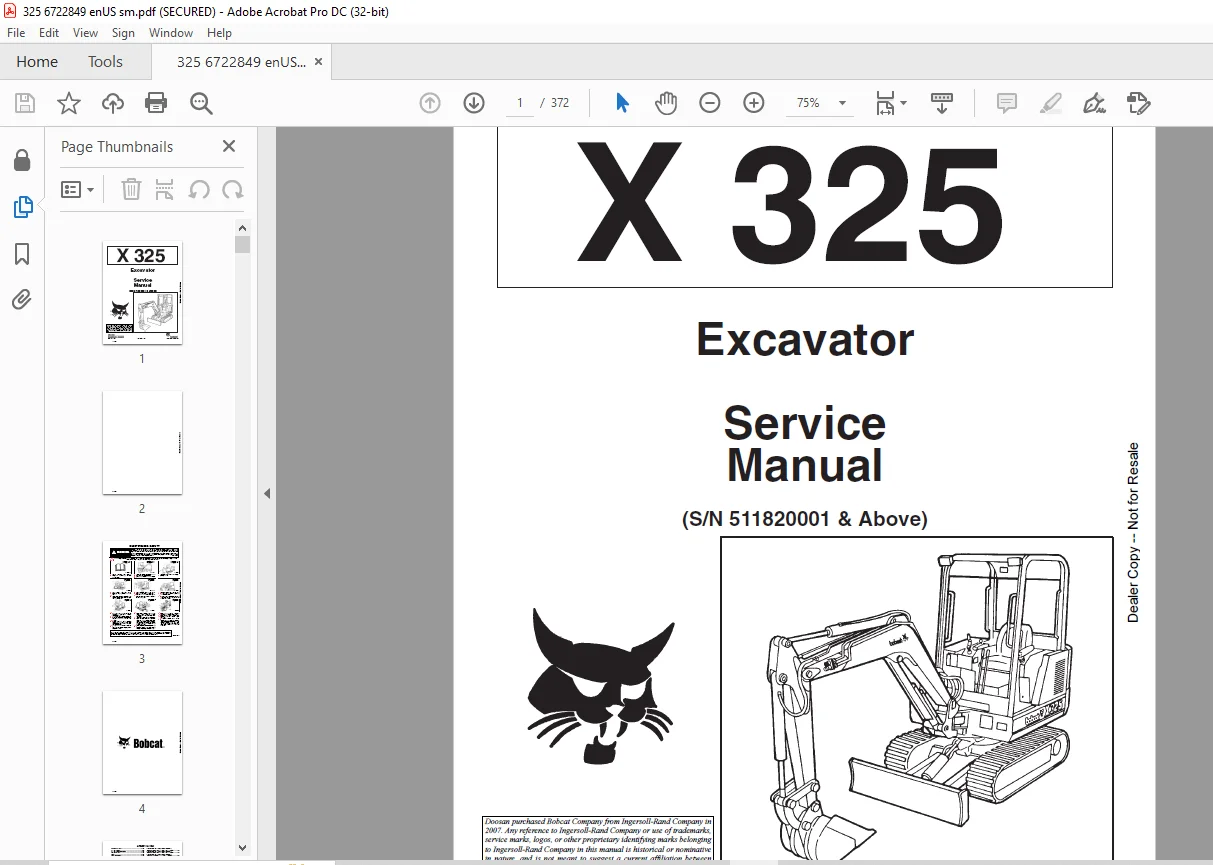
Bobcat 325 Excavator Service Manual 6722849 – PDF DOWNLOAD
$27.95
Bobcat 325 Excavator Service Manual 6722849 – PDF DOWNLOAD
(S/N 511820001 & Above)
Description
Bobcat 325 Excavator Service Manual 6722849 – PDF DOWNLOAD
FILE DETAILS:
Bobcat 325 Excavator Service Manual 6722849 – PDF DOWNLOAD
Language : English
Pages : 372
Downloadable : Yes
File Type : PDF
Size: 10.6 MB
DESCRIPTION:
Bobcat 325 Excavator Service Manual 6722849 – PDF DOWNLOAD
FOREWORD
This manual is for the Bobcat hydraulic excavator mechanic. It provides necessary servicing an d
adjustment procedures for the hydraulic excavator and its component parts and systems. Refer to the
Operation & Maintenance Manual for operating instructions, starting procedure, daily checks, etc
A general inspection of the following items must be made after the hydraulic excavator has had service
or repair:
• The Delivery Report is used to assure that complete instructions have been given to the new owner and that the machine
is in safe operating condition.
• The Operation & Maintenance Manual delivered with the excavator gives operating information as well as routin e
maintenance and service procedures. It is a part of the excavator and must stay with the machine when it is sol d.
Replacement Operation & Maintenance Manuals can be ordered from your Bobcat Excavator dealer.
• The excavator has machine signs (decals) which instruct on the safe operation and care. The signs and their locations
are shown in the Operation & Maintenance Manual. Replacement signs are available from your Bobcat Excavator dealer.
Safety Alert Symbol: This Safety Symbol is used for important safety messages. When you see this symbol follow
the safety message to avoid personal injury or death.
• The Bobcat Hydraulic Excavator has a plastic Operator’s Handbook fastened to the operator cab. It’s brief instructions
are convenient to the operator. The handbook is available from your dealer in an English, French, German, Dutch, Italian,
Spanish, Portugese, Finnish, Danish, and Swedish editions.
• The CIMA Safety Manual delivered with the excavator gives information for safe operating and standard signals.
• The Service Manual and Parts Manual are available from your dealer for use by mechanics to do shop–type service and
repair work.
• The Bobcat compact Excavator Operator Training Course is available through your local dealer. This course is intended
to provide rules and practices of correct operation of the Hydraulic Excavator.
TABLE OF CONTENTS:
Bobcat 325 Excavator Service Manual 6722849 – PDF DOWNLOAD
MAINTENANCE SAFETY 3
ALPHABETICAL INDEX 5
FOREWORD 7
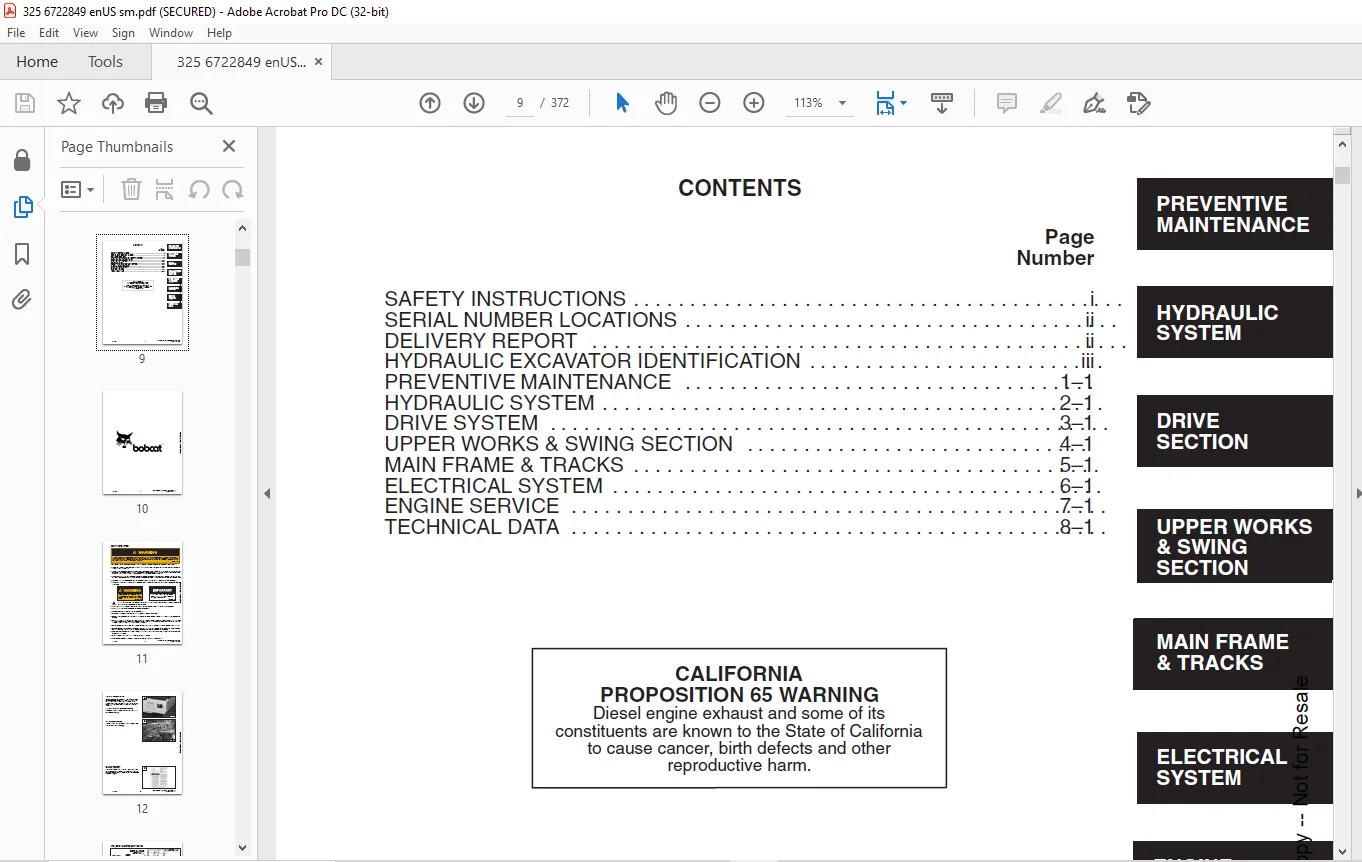
CONTENTS 9
SAFETY INSTRUCTIONS 11
HYDRAULIC EXCAVATOR SERIAL NUMBER 12
ENGINE SERIAL NUMBER 12
DELIVERY REPORT 12
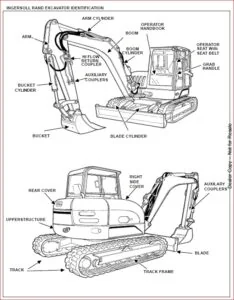
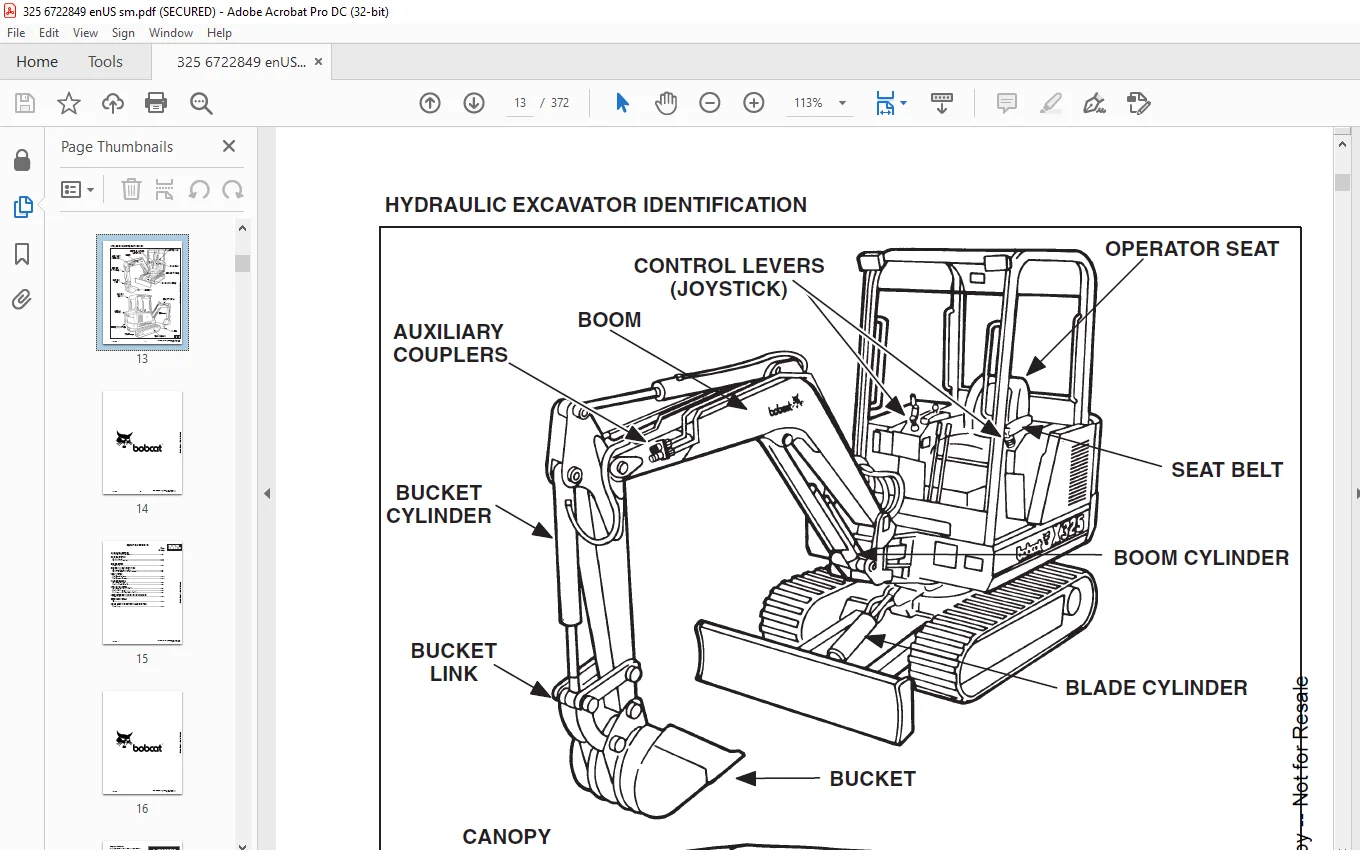
HYDRAULIC EXCAVATOR IDENTIFICATION 13
PREVENTIVE MAINTENANCE 15
SERVICE SCHEDULE 17
ENGINE COVER 18
Procedure 18
AIR CLEANER SERVICE 18
Replacing The Filter Element 18
FUEL SYSTEM 20
Fuel Specification 20
Fuel System Service 20
Fuel Filter 21
Maintenance 21
Removal And Installation 21
Removing Air From The Fuel System 21
ENGINE LUBRICATION SYSTEM 22
Checking The Engine Oil 22
Engine Oil And Filter Replacement 22
COOLING SYSTEM 23
Coolant Level 23
Coolant Replacement 23
HYDRAULIC SYSTEM 24
Checking And Adding Fluid 24
Replacement Of The Hydraulic Filter 24
Hydraulic Reservoir 25
USING A BOOSTER BATTERY (Jump Starting) 26
Procedure 26
LUBRICATION OF THE HYDRAULIC EXCAVATOR 27
Procedure 27
FINAL DRIVE CASE 29
Checking Oil Level 29
Draining Final Drive Case 29
HYDRAULIC SECTION 31
HYDRAULIC SCHEMATIC 35
HYDRAULIC SERVICE INFORMATION 41
Checking The Main Relief Valve 41
Checking The Hydraulic Pump 42
Removal And Installation 43
Parts Identification (S/N 51182001 – 511820408) 43
Disassembly And Assembly (S/N 511820001–511820408) 44
Parts Identification (S/N 511820409 & Above) 48
Disassembly (S/N 511820409 & Above) 49
Assembly (S/N 511820409 & Above) 51
HYDRAULIC CONTROL VALVE (6–Spool) DUKES VALVE (S/N 511820001–511820519) 54
Removal And Installation 54
Parts Identification 55
Disassembly 56
Inlet Section (R H and L H Travel) 57
Disassembly 57
Assembly 58
Valve Sections (Boom, Bucket & Arm) 59
Disassembly 59
Assembly 60
Valve Sections (Auxiliary) 61
Disassembly 61
Assembly 62
Port Relief Valve 64
Disassembly 64
Assembly 64
Adjustment 65
Main Relief Valve 66
Disassembly 66
Assembly 66
Adjustment 66
HYDRAULIC CONTROL VALVE (3–Spool) DUKES VALVE (S/N 511820001–511820519) 67
Removal And Installation 67
Parts Identification 68
Disassembly 69
Inlet Section (Housing Swing) 70
Disassembly 70
Assembly 70
End Cover (Boom Swing) And Valve Section (Blade) 71
Disassembly 71
Assembly 73
Load Check Block 75
Disassembly 75
Assembly 76
Build–up Valve 77
Disassembly 77
Assembly 77
Disassembly 78
Assembly 78
Adjustment 78
HYDRAULIC CONTROL VALVE (6–Spool) HUSCO VALVE (S/N 511820520 & Above) 79
Description 79
Removal And Installation 79
Parts Identification 80
Disassembly 81
Inlet Section Disassembly And Assembly 82
Right Hand And Left Hand Travel Section 83
Disassembly 83
Assembly 84
Boom, Bucket And Arm Section 86
Disassembly 86
Assembly 87
Auxiliary Valve Section 89
Disassembly 89
Assembly 90
PORT RELIEF VALVES HUSCO VALVE (S/N 511820520 & Above) 93
Parts Identification 93
Disassembly 94
Assembly 95
Adjustment 95
MAIN RELIEF VALVES HUSCO VALVE (S/N 511820520 & Above) 96
Parts Identification 96
Disassembly 97
Assembly 97
Adjusting The Main Relief Valves 98
HYDRAULIC CONTROL VALVE (3–Spool) HUSCO VALVE (S/N 511820520 & Above) 99
Removal And Installation 99
Parts Identification 100
Disassembly 101
Blade And Boom Swing Section 102
Disassembly 102
Assembly 104
Lockout Valve Disassembly 105
Lockout Valve Assembly 106
Swing Motor Section 107
Disassembly 107
Assembly 108
Build Up Valve Disassembly 111
Build Up Valve Assembly 111
Build Up Valve Test Procedure 112
ACCUMULATOR 113
Pressure Reducing Valve 113
Removal And Installation 113
Parts Identification 113
Disassembly 114
Assembly 118
Setting The Safety Relief Valve 122
Charging 123
PORT BLOCK 124
Removal And Installation 124
OIL COOLER 125
Removal And Installation 125
HYDRAULIC RESERVOIR 126
Removal And Installation 126
HYDRAULIC FILTER ASSEMBLY 128
Removal And Installation 128
BOOM CYLINDER 129
Removal And Installation 129
Boom Cylinder Shield 129
ARM CYLINDER 130
Removal And Installation 130
BUCKET CYLINDER 131
Removal And Installation 131
BLADE CYLINDER 132
Removal And Installation 132
BOOM SWING CYLINDER 133
Removal And Installation 133
HYDRAULIC CYLINDER 134
Disassembly 134
Assembly 136
JOYSTICK CONTROL CHANGE 141
DRIVE SECTION 143
LEFT CONSOLE 145
Lockout Valve Removal And Installation 145
Cylinder Removal And Installation 145
Removal And Installation 146
LEFT JOYSTICK 147
Removal And Installation 147
JOYSTICK 148
Disassembly And Assembly 148
CONTROL LEVERS 152
Removal And Installation 152
Speed Control Lever 154
Blade Lever 155
RIGHT CONSOLE 156
Removal And Installation 156
RIGHT JOYSTICK 158
Removal And Installation 158
FOOT PEDALS AND STEERING LEVERS 159
Removal And Installation 159
Bushing Removal And Installation 160
UPPER WORKS AND SWING SECTION 161
ENGINE COVER 163
Removal And Installation 163
SEAT AND MOUNTING FRAME 163
Removal And Installation 163
CENTER FLOOR PANEL 164
Removal And Installation 164
SWING MOTOR COVER 165
Removal And Installation 165
REAR FLOOR PANEL 165
Removal And Installation 165
INSPECTION COVER 166
Removal And Installation 166
TOOL BOX 166
Removal And Installation 166
LEFT HAND SIDE COVER 166
Removal And Installation 166
CORNER POST 167
Removal And Installation 167
COUNTERWEIGHTS 168
Removal And Installation 168
FRONT ENGINE COVER 169
Removal And Installation 169
FUEL TANK 170
Removal And Installation 170
BUCKET 172
Removal And Installation 172
BUCKET TEETH 172
Removal And Installation 172
ARM 173
Removal And Installation 173
BOOM 174
Removal And Installation 174
BOOM SWING BRACKET 175
Removal And Installation 175
Replacing Boom Swing Bracket Bushings 175
SWING MOTOR 177
Removal And Installation 177
Parts Identification 178
Disassembly 179
Assembly 181
CROSS PORT RELIEF VALVE (S/N 511820001–511820519) 186
Disassembly 186
Assembly 187
Description 188
COUNTER BALANCE VALVE (S/N 511820520 &Above) 189
Removal And Installation 189
Disassembly 189
Assembly 190
SWING GEAR BOX ASSEMBLY 192
Parts Identification 192
Disassembly 193
Assembly 199
UPPERSTRUCTURE AND SWING CIRCLE GEAR 209
Removal And Installation 209
Swing Bearing Removal 210
Swing Bearing Installation 212
Alignment Pins (Threaded) 212
Alignment Pins (Not Threaded) 213
CENTER SWIVEL JOINT 214
Removal And Installation (Through Upper Access Cover) 214
Removal And Installation (Through Bottom Access Cover) 214
Parts Identification (S/N 511820001–511820197) 216
Parts Identification (S/N 511820198 & Above) 217
Description 218
Disassembly (S/N 511820198 & Above) 218
Assembly (S/N 511820198 & Above) 219
ROPS CANOPY 222
Removal And Installation 222
CAB 224
Removal And Installation 224
Door Removal And Installation 227
Front Window Removal And Installation 228
Front Lower Glass Removal And Installation 230
Front Upper Plexiglass Removal And Installation 230
Door Glass Removal And Installation 231
Left Hand Side Glass Removal And Installation 231
Rear Glass Removal And Installation 232
Right Hand Side Glass Removal And Installation 232
CAB/CANOPY REAR COVER 233
Removal And Installation 233
MAIN FRAME AND TRACKS 235
BLADE 237
Removal And Installation 237
TRACK 238
Track Tension Adjustment 238
Rubber Tracks 238
Steel Tracks 239
Removal And Installation 240
TRACK FRAME 244
Disassembly And Assembly 244
TRACK IDLER 245
Parts Identification 245
Disassembly 246
Assembly 248
TRACK ROLLER 254
Parts Identification 254
Disassembly 255
Assembly 257
FINAL DRIVE 262
Removal And Installation 262
Parts Identification 263
FINAL DRIVE 264
Parts Identification 264
TRAVEL MOTOR 265
Disassembly 265
Assembly 276
FINAL DRIVE CASE 286
Check Oil Level 286
Draining Final Drive Case 286
TRACK 287
Damage Identification And Causes 287
ELECTRICAL SYSTEM 297
ELECTRICAL SCHEMATICS 299
TROUBLESHOOTING 301
ELECTRICAL SYSTEM 301
Description 301
Fuses 302
Electrical System Service 302
BATTERY (S/N 20001–20294) 303
Checking The Battery 303
Removal And Installation 303
BATTERY(S/N 20295 and up) 304
Checking The Battery 304
Removal And Installation 304
ALTERNATOR 305
Belt Adjustment 305
Removal And Installation 305
STARTER 306
Removal And Installation 306
Disassembly And Assembly 307
Cleaning And Inspection 307
FUEL LEVEL SENDER 308
Removal And Installation 308
Checking 308
INSTRUMENT PANEL 309
Removal And Installation 309
CAB ELECTRICAL (Cab Option) 310
ENGINE SERVICE 311
TROUBLESHOOTING 313
VALVE CLEARANCE 314
Adjustment 314
ENGINE COMPRESSION 315
Checking 315
ELECTRIC FUEL PUMP 316
Remove Air From The Fuel System 316
Removal And Installation 316
FUEL FILTER 316
Removal And Installation 316
FUEL INJECTION PUMP 317
Checking The Injection Pump 317
Removal And Installation 318
Timing The Injection Pump 319
FUEL INJECTOR NOZZLES 320
Removal And Installation 320
Checking The Injector Nozzle 321
GLOW PLUGS 322
Removal And Installation 322
Checking The Glow Plug 322
RADIATOR 323
Removal And Installation 323
MUFFLER 327
Removal And Installation 327
AIR CLEANER 328
Removal And Installation 328
ENGINE 329
Removal And Installation 329
ENGINE FLYWHEEL 331
Removal And Installation 331
Flywheel Ring Gear 332
CYLINDER HEAD 333
Removal 333
Disassembly Of The Cylinder Head 334
Servicing The Cylinder Head And Valves 335
Checking Valve Springs 336
Checking Rocker Arm And Shaft 337
Assembling The Cylinder Head 337
Installing The Cylinder Head 337
TIMING GEAR COVER 339
Removal And Installation 339
TIMING GEAR, CAMSHAFT AND OIL PUMP 341
Removal And Installation 341
Oil Pump Service 343
Servicing The Camshaft 344
CRANKSHAFT & PISTONS 346
Removal And Installation 346
Crankshaft Service 348
Servicing The Connecting Rods And Pistons 349
Checking The Cylinder Liners 351
Cylinder Liner Installation 351
WATER PUMP 352
Removal And Installation 352
Disassembly And Assembly 352
SPECIFICATIONS 353
EXCAVATOR SPECIFICATIONS 355
Machine Dimensions 355
Lifting Capacity 356
PERFORMANCE & OPERATION 356
ENGINE 356
HYDRAULIC SYSTEM 357
SWING SYSTEM 357
HYDRAULIC CYLINDERS 357
CYLINDER CYCLE TIMES 357
DRIVE SYSTEM 357
BRAKES 357
UNDERCARRIAGE 357
TRACK 357
CAPACITIES 357
DIGGING FORCE 357
ENGINE SPECIFICATIONS 358
Fuel Injection Nozzles 358
Fuel Injection Pump 358
Cylinder Head 358
Valves 358
Valve Springs 358
Rocker Arms 358
Camshaft 358
Cylinders 359
Piston Rings 359
Pistons 359
Crankshaft 359
Oil Pump 359
Engine Oil 359
Specifications 359
ENGINE BOLT TORQUE 360
FUEL, COOLANT AND LUBRICANTS 361
CHART 361
ENGINE OIL SPECIFICATIONS 361
Description 361
Ethylene Glycol 361
Propylene Glycol 361
Re–Grinding The Crankshaft 362
BUCKET SPECIFICATIONS 363
DECIMAL AND MILLIMETER EQUIVALENTS 364
U S TO METRIC CONVERSION 364
SERVICE MANUAL REVISION 365
325-1 365
325-2 367
325-3 369
325-4 371
IMAGES PREVIEW OF THE MANUAL:
Questions? Email us: [email protected]
https://vimeo.com/840465199?share=copy
PLEASE NOTE:
- This is the SAME manual used by the dealers to troubleshoot any faults in your vehicle. This can be yours in 2 minutes after the payment is made.
- Contact us at [email protected] should you have any queries before your purchase or that you need any other service / repair / parts operators manual.
S.M