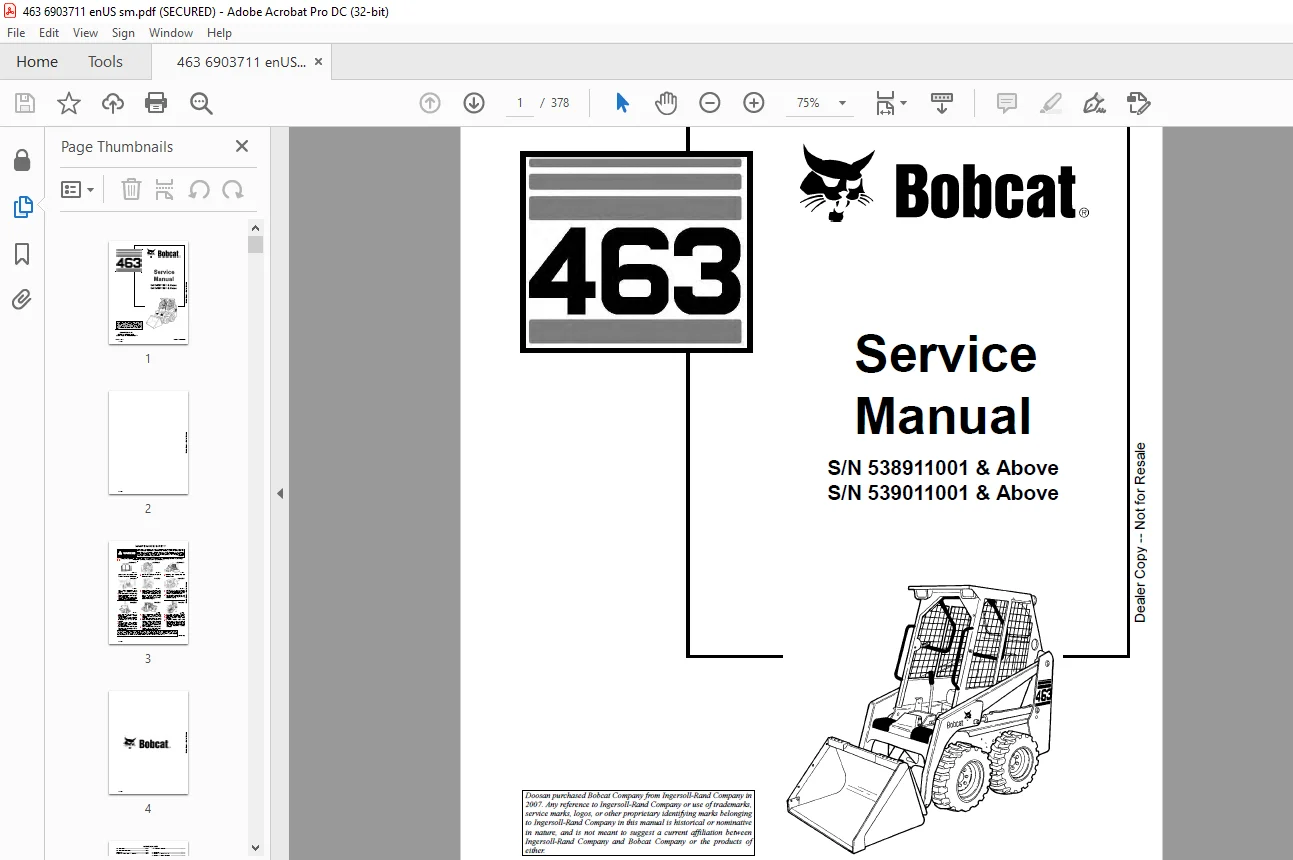
Bobcat 463 Loader Service Manual 6903711 (10-12) – PDF DOWNLOAD
$28.95
Bobcat 463 Loader Service Manual 6903711 (10-12) – PDF DOWNLOAD
S/N 538911001 & Above
S/N 539011001 & Above
Description
Bobcat 463 Loader Service Manual 6903711 (10-12) – PDF DOWNLOAD
FILE DETAILS:
Bobcat 463 Loader Service Manual 6903711 (10-12) – PDF DOWNLOAD
Language : English
Pages : 378
Downloadable : Yes
File Type : PDF
DESCRIPTION:
Bobcat 463 Loader Service Manual 6903711 (10-12) – PDF DOWNLOAD
S/N 538911001 & Above
S/N 539011001 & Above
FOREWORD:
This manual is for the Bobcat loader excavator mechanic. It provides necessary servicing and adjustment procedures for
the Bobcat loader and its component parts and systems. Refer to the for operating instructions, starting procedure, daily
checks, etc.
SAFETY INSTRUCTIONS :
Fire Prevention:
- The machine and attachments have components that are at high temperature under normal operating conditions. The primary source of high temperatures is the engine and exhaust system. The electrical system, if damaged or incorrectly maintained, can be a source of arcs or sparks. Flammable debris (leaves, straw, etc.) must be removed regularly.
- If flammable debris is allowed to accumulate, it will increase fire hazard. Clean often to avoid this accumulation. Flammable debris in the engine compartment is a potential hazard. The spark arrestor muffler is designed to control the emission of hot particles from the engine and exhaust system, but the muffler and the exhaust gases are still hot.
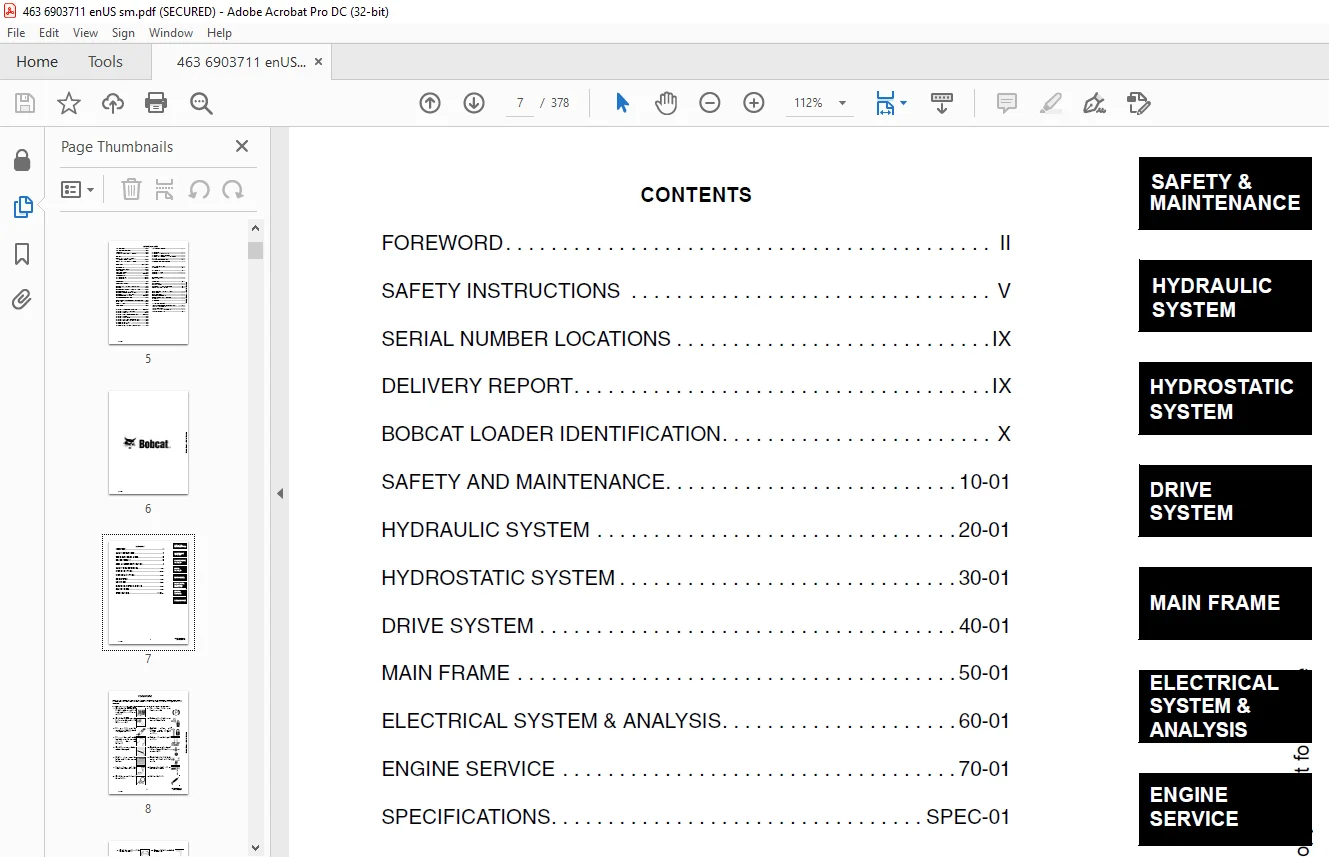
TABLE OF CONTENTS:
Bobcat 463 Loader Service Manual 6903711 (10-12) – PDF DOWNLOAD
MAINTENANCE SAFETY 3
ALPHABETICAL INDEX 5
CONTENTS 7
FOREWORD 8
SAFETY INSTRUCTIONS 11
Fire Prevention 13
SERIAL NUMBER LOCATIONS 15
Bobcat Loader Serial Number 15
Engine Serial Number 15
DELIVERY REPORT 15
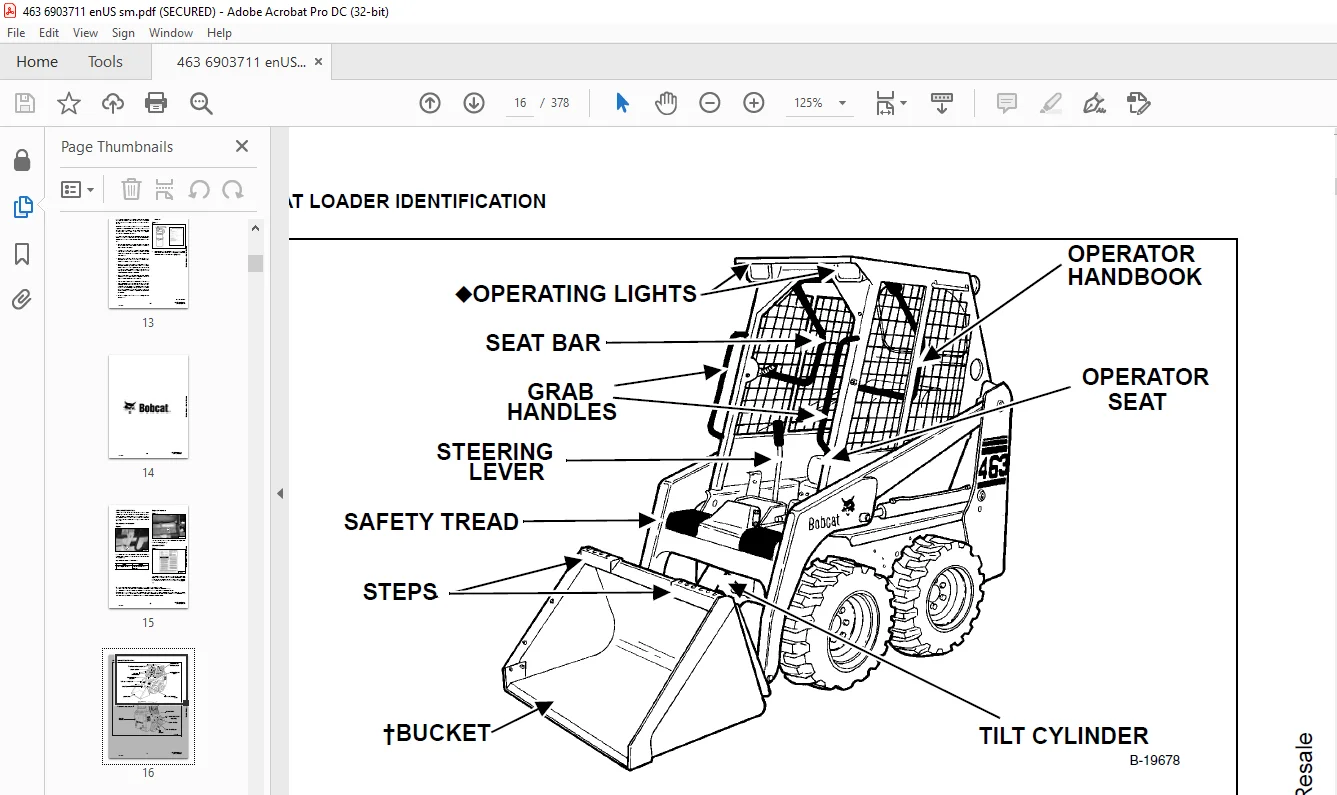
BOBCAT LOADER IDENTIFICATION 16
SAFETY AND MAINTENANCE 17
LIFTING AND BLOCKING THE LOADER 19
Procedure 19
LIFT ARM SUPPORT DEVICE 21
Engaging The Lift Arm Support Device 21
Disengaging The Lift Arm Support Device 22
OPERATOR CAB 23
Description 23
Raising The Operator Cab 23
Lowering The Operator Cab 24
Emergency Exit 25
TRANSPORTING THE LOADER 27
Procedure 27
Adjusting The Bumper 27
TOWING THE LOADER 29
Procedure 29
REMOTE START 31
Procedure 31
SERVICE SCHEDULE 33
Chart 33
AIR CLEANER SERVICE 35
Replacing Filter Element 35
ENGINE COOLING SYSTEM 37
Checking The Coolant Level 37
Cleaning The Cooling System 37
Replacing The Coolant 38
FUEL SYSTEM 39
Fuel Specification 39
Filling The Fuel Tank 39
Fuel Filter 41
Removing Air From The Fuel System 42
ENGINE LUBRICATION SYSTEM 43
Checking Engine Oil 43
Oil Chart 43
Replacing Oil And Filter 43
HYDRAULIC/HYDROSTATIC SYSTEM 45
Checking And Adding Fluid 45
Hydraulic/Hydrostatic Filter Replacement 46
Replacing The Hydraulic/Hydrostatic Fluid 46
FINAL DRIVE TRANSMISSION (CHAINCASE) 47
Checking And Adding Oil 47
AUXILIARY CONTROL LOCKBOLT 49
Procedure 49
BOB-TACH 51
Inspection And Maintenance 51
LUBRICATING THE LOADER 53
Procedure 53
TIRE MAINTENANCE 55
Wheel Nuts 55
Tire Rotation 55
Tire Inflation 55
SPARK ARRESTOR MUFFLER 57
Cleaning Procedure 57
PIVOT PINS 59
Procedure 59
SEAT BAR RESTRAINT SYSTEM 61
Seat Bar Inspection 61
Seat Bar Maintenance 61
Foot Pedal Clean Out 62
HYDRAULIC SYSTEM 63
HYDRAULIC SCHEMATIC 65
HYDRAULIC SYSTEM INFORMATION 69
Troubleshooting Chart 73
CYLINDER (LIFT) 75
Checking The Lift Cylinder(s) 75
Removal And Installation 76
Parts Identification 78
Disassembly And Assembly 79
CYLINDER (TILT) 83
Checking The Tilt Cylinder 83
Removal And Installation 83
Parts Identification 85
Disassembly And Assembly 86
MAIN RELIEF VALVE 89
Checking The Main Relief Valve Without Auxiliaries 89
Checking The Main Relief Valve With Auxiliaries 90
Removal And Installation 91
HYDRAULIC CONTROL VALVE 93
BICS™ Valve Removal And Installation 93
BICS™ Valve, Lift Arm By-Pass Orifice Removal And Installation 94
BICS™ Valve, Pressure Differential Valve Removal And Installation 95
BICS™ Valve, Check Valve Removal And Installation 95
BICS™ Valve, Solenoid Removal And Installation 96
BICS™ Valve, Solenoid Testing 97
BICS™ Valve, Identification Chart 98
Removal And Installation 98
Identification Chart 100
Disassembly And Assembly 101
Load Check Valves Removal And Installation 101
Main Relief Valve Removal And Installation 101
Port Relief/Anti-Cavitation Valve Removal And Installation 102
Anti Cavitation/Check Valves Removal And Installation 103
Rubber Boot Removal And Installation 104
Lift And Tilt Lock Block Removal And Installation 104
Lift Spool And Detent Removal 105
Lift Spool And Detent Disassembly 106
Lift Spool And Detent Assembly 108
Lift Spool Detent Installation 110
Tilt Spool Removal And Installation 111
Tilt Spool Disassembly And Assembly 112
Auxiliary Spool Removal And Installation 113
Auxiliary Spool Disassembly And Assembly 113
Spool Seal Installation 116
Auxiliary Pivot Bracket Removal And Installation 117
Auxiliary Pivot Bracket Disassembly And Assembly 117
LIFT ARM BY-PASS VALVE 119
Removal And Installation 119
Disassembly And Assembly 119
HYDRAULIC PUMP 121
Checking The Output Of The Pump 121
Removal And Installation 122
Parts Identification 125
Disassembly And Assembly 126
HYDRAULIC FILTER 129
Block Removal And Installation 129
Block Disassembly And Assembly 130
HYDRAULIC RESERVOIR 131
Removal And Installation 131
CONTROLS 133
Pedal Interlock Linkage Removal And Installation 133
Control Pedals Removal And Installation 134
Pedal Adjustment 134
HYDROSTATIC SYSTEM 135
HYDROSTATIC SYSTEM INFORMATION 137
Troubleshooting Chart 137
CONTROL PANEL 139
Control Shield And Steering Lever Panels Removal And Installation 139
STEERING 141
Lever Removal And Installation 141
Lever Disassembly And Assembly 143
Linkage Adjustment 143
Pintle Arm Removal And Installation 144
Pintle Arm Disassembly And Assembly 145
HYDROSTATIC MOTOR 147
Removal And Installation 147
Parts Identification 148
Disassembly 149
Inspection 153
Assembly 155
CHARGE PRESSURE 159
Checking 159
HYDROSTATIC PUMP 161
Parts Identification 161
Removal And Installation 162
Disassembly And Assembly 163
DRIVE BELT 173
Removal And Installation 173
Tension Pulley And Spring Removal And Installation 173
OIL COOLER 177
Removal And Installation 177
DRIVE SYSTEM 179
PARKING BRAKE 181
Disc Removal And Installation 181
DRIVE COMPONENTS 183
Axle Hub Removal And Installation 183
Axle Seal Removal And Installation 184
Removing The Axle 185
Removing And Installing The Axle Bearing 186
Removing The Bearing Races 187
Installing The Bearing Races 189
Installing The Inner Bearing And Axle Sprocket 189
Drive Chain Removal And Installation 190
CHAINCASE 191
Removing Oil From The Chaincase 191
Chaincase Cover Removal And Installation 191
Chaincase Cover Assembly And Disassembly 191
MAIN FRAME 193
SEAT BAR 195
Removal And Installation 195
Assembly 198
OPERATOR CAB 199
Removal And Installation 199
Gas Cylinder Removal And Installation 201
OPERATOR SEAT 203
Removal And Installation 203
BOB-TACH 205
Removal 205
Installation 206
Seal Removal And Installation 207
Lever And Wedge Removal 208
LIFT ARMS 209
Removal And Installation 209
REAR WINDOW 213
Removal 213
Installation 213
REAR DOOR 215
Removal And Installation 215
FUEL TANK 217
Removal And Installation 217
ELECTRICAL SYSTEM & ANALYSIS 219
ELECTRICAL SCHEMATICS 221
ELECTRICAL SYSTEM INFORMATION 225
Troubleshooting Chart 225
Description 226
Fuel Shutoff Timer and Fuel Pull Solenoid Locations 226
Fuse And Relay Switches Location 226
BATTERY 227
Removal And Installation 227
Servicing 228
Using A Booster Battery (Jump Starting) 229
ALTERNATOR 231
Removal And Installation 231
Adjusting The Alternator Belt 232
Alternator Belt Removal And Installation 232
Description 233
Alternator Output Test 233
STARTER 235
Removal And Installation 235
Checking The Starter In The Loader 235
Parts Identification 236
Disassembly 237
Inspection And Repair 242
No Load Test 245
Assembly 246
INSTRUMENT PANEL 253
Removal And Installation 253
LIGHTS 255
Front Lights Removal And Installation 255
Rear Lights Removal And Installation 256
Cab Light Removal And Installation 257
BICS™ SYSTEM CONTROLLER 259
Troubleshooting Guide 259
Removal And Installation 260
BICS™ SYSTEM (WITH PRESS TO OPERATE BUTTON) 261
Inspecting The BICS™ Controller (Engine STOPPED – Key ON) 261
Inspecting The Seat Bar Sensor (Engine RUNNING) 261
Inspecting The Traction Lock (Engine RUNNING) 261
Inspecting The Lift Arm By-Pass Control 261
Troubleshooting Chart 262
SEAT BAR SENSOR 263
Troubleshooting Guide 263
Seat Bar Sensor Test 264
Removal And Installation 265
BICS™ Controller Seat Bar Sensor Circuit Test 267
TRACTION LOCK 269
Troubleshooting Guide 269
Removal And Installation 270
ENGINE SERVICE 273
TROUBLESHOOTING 275
Chart 275
ENGINE SPEED CONTROL 277
Adjustment 277
Removal And Installation 277
MUFFLER 279
Removal And Installation 279
AIR CLEANER 281
Removal And Installation 281
RADIATOR 283
Removal And Installation 283
COOLING FAN 285
Removal And Installation 285
ENGINE COMPONENTS AND TESTING 287
Fuel Injection Pump Check 287
Fuel Injection Pump Removal And Installation 287
Fuel Injection Pump Timing 289
Fuel Injector Nozzles Checking 290
Fuel Injector Nozzles Removal 292
Fuel Injector Nozzles Installation 293
Glow Plugs Checking 293
Engine Compression Test Procedure 294
Fuel Lift Pump Removal And Installation 294
ENGINE 295
Removal And Installation 295
FLYWHEEL 303
Removal And Installation 303
ENGINE MOUNTING BRACKET 305
Removal And Installation 305
RECONDITIONING THE ENGINE 307
Thermostat Removal And Installation 307
Water Pump Removal And Installation 307
Timing Gear Case Cover Removal And Installation 308
Oil Pump Removal And Installation 310
Crankshaft Front Seal Removal And Installation 312
Engine Speed Control Plate Removal And Installation 313
Governor Spring Removal 313
Start Spring Removal 314
Idle Limit And Fuel Limit Adjustment 314
Exhaust Manifold Removal And Installation 314
Valve Cover Removal And Installation 315
Rocker Arm Removal And Installation 316
Push Rod Removal And Installation 317
Tappet Removal And Installation 318
Water Flange Removal And Installation 318
Cylinder Head Removal 319
Cylinder Head Installation 319
Checking Piston Top Clearance 320
Cylinder Head Disassembly 321
Cylinder Head Assembly 321
Servicing The Cylinder Head 322
Combustion Chamber Removal And Installation 324
Idler Gear Removal And Installation 325
Camshaft Removal And Installation 327
Injection Pump Shaft Removal And Installation 329
Oil Pan Removal And Installation 330
Governor Shaft Removal And Installation 331
Governor Fork Lever Removal And Installation 334
Piston Removal And Installation 335
Checking The Piston And Connecting Rod 336
Connecting Rod Alignment 337
Piston Ring Gap 337
Piston Ring Installation 338
Connecting Rod Installation 338
Checking Engine Cylinder Bore 339
Crankshaft Removal And Installation 339
Checking Crankshaft Journal And Block Bearing 342
Checking The Crankshaft Journal And Main Bearing 343
Connecting Rod Journal 344
Checking The End Play Of The Crankshaft 345
Crankshaft Alignment 345
Engine Timing Installation 346
Idler Gear And Crankshaft 346
Idler Gear And Camshaft Gear 347
Idler Gear And Injection Pump Shaft Gear 347
Injection Pump Shaft And Governor Shaft Gear 347
SPECIFICATIONS 349
LOADER SPECIFICATIONS 351
Dimensions 351
Performance 352
Controls 352
Engine 352
Hydraulic System 353
Electrical 353
Drive System 354
Capacities 354
Tires 354
Floor Pressure 354
ENGINE SPECIFICATIONS 355
Engine 355
Fuel Injector Nozzles 355
Fuel Injection Pump 355
Cylinder Head 355
Valves 355
Valve Springs 356
Rocker Arms 356
Camshaft 356
Cylinders 356
Piston Rings 357
Pistons 357
Crankshaft 357
Oil Pump 358
Thermostat 358
Bolt Torques 359
TORQUE SPECIFICATIONS FOR BOLTS 361
Torque For General SAE Bolts 361
Torque For General Metric Bolts 361
HYDRAULIC CONNECTION SPECIFICATIONS 363
O-Ring Face Seal Connection 363
Straight Thread O-Ring Fitting 363
Tubelines And Hoses 363
Flare Fitting 364
O-Ring Flare Fitting 365
Port Seal Fitting 366
HYDRAULIC FLUID SPECIFICATIONS 369
Specifications 369
CONVERSIONS 371
Decimal And Millimeter Equivalents 371
U S To Metric Conversion 372
SMR 373
463-1 373
463-2 375
463-3 377
IMAGES PREVIEW OF THE MANUAL:
Contact us: [email protected]
PLEASE NOTE:
- This is not a physical manual but a digital manual – meaning no physical copy will be couriered to you. The manual can be yours in the next 2 mins as once you make the payment, you will be directed to the download page IMMEDIATELY.
- This is the same manual used by the dealers inorder to diagnose your vehicle of its faults.
- Require some other service manual or have any queries: please WRITE to us at [email protected]
S.V