Bobcat 873 Loader Service Manual 6900382 – PDF DOWNLOAD
$31.95
Bobcat 873 Loader Service Manual 6900382 – PDF DOWNLOAD
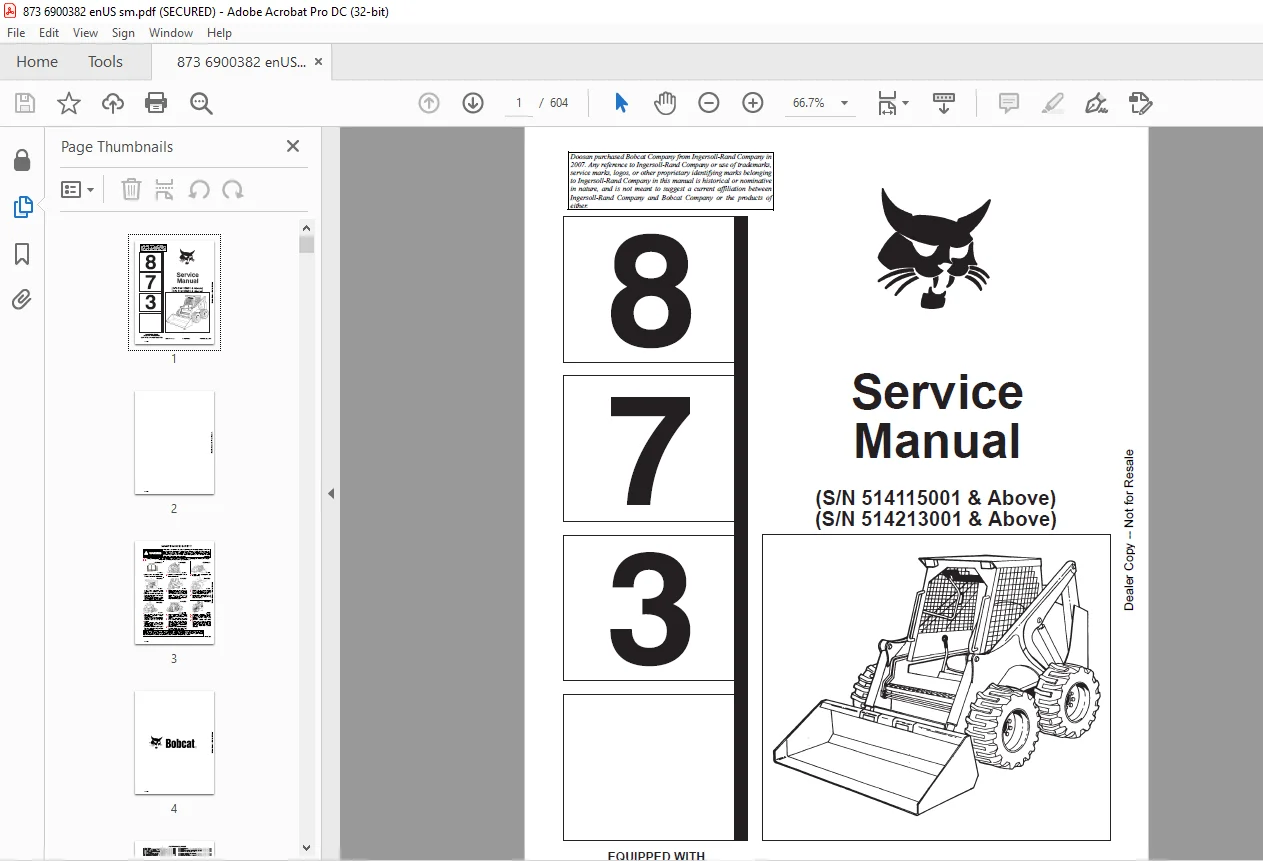
(S/N 514115001 & Above)
(S/N 514213001 & Above)
Description
Bobcat 873 Loader Service Manual 6900382 – PDF DOWNLOAD
FILE DETAILS:
Bobcat 873 Loader Service Manual 6900382 – PDF DOWNLOAD
Language : English
Pages : 604
Downloadable : Yes
File Type : PDF
TABLE OF CONTENTS:
Bobcat 873 Loader Service Manual 6900382 – PDF DOWNLOAD
MAINTENANCE SAFETY 3
ALPHABETICAL INDEX 5
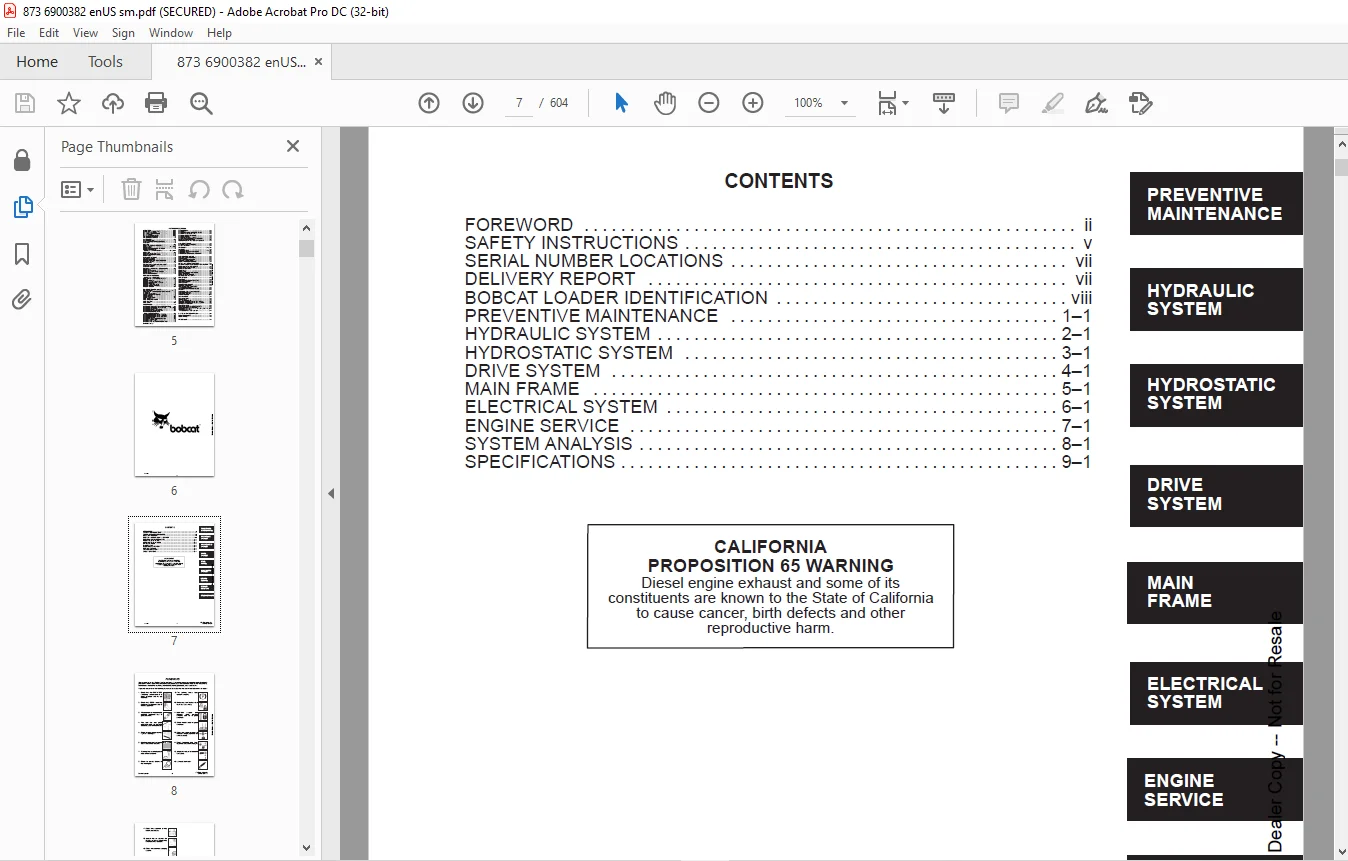
CONTENTS 7
FOREWORD 8
SAFETY INSTRUCTIONS 11
SERIAL NUMBER LOCATIONS 13
LOADER SERIAL NUMBER 13
ENGINE SERIAL NUMBER 13
DELIVERY REPORT 13
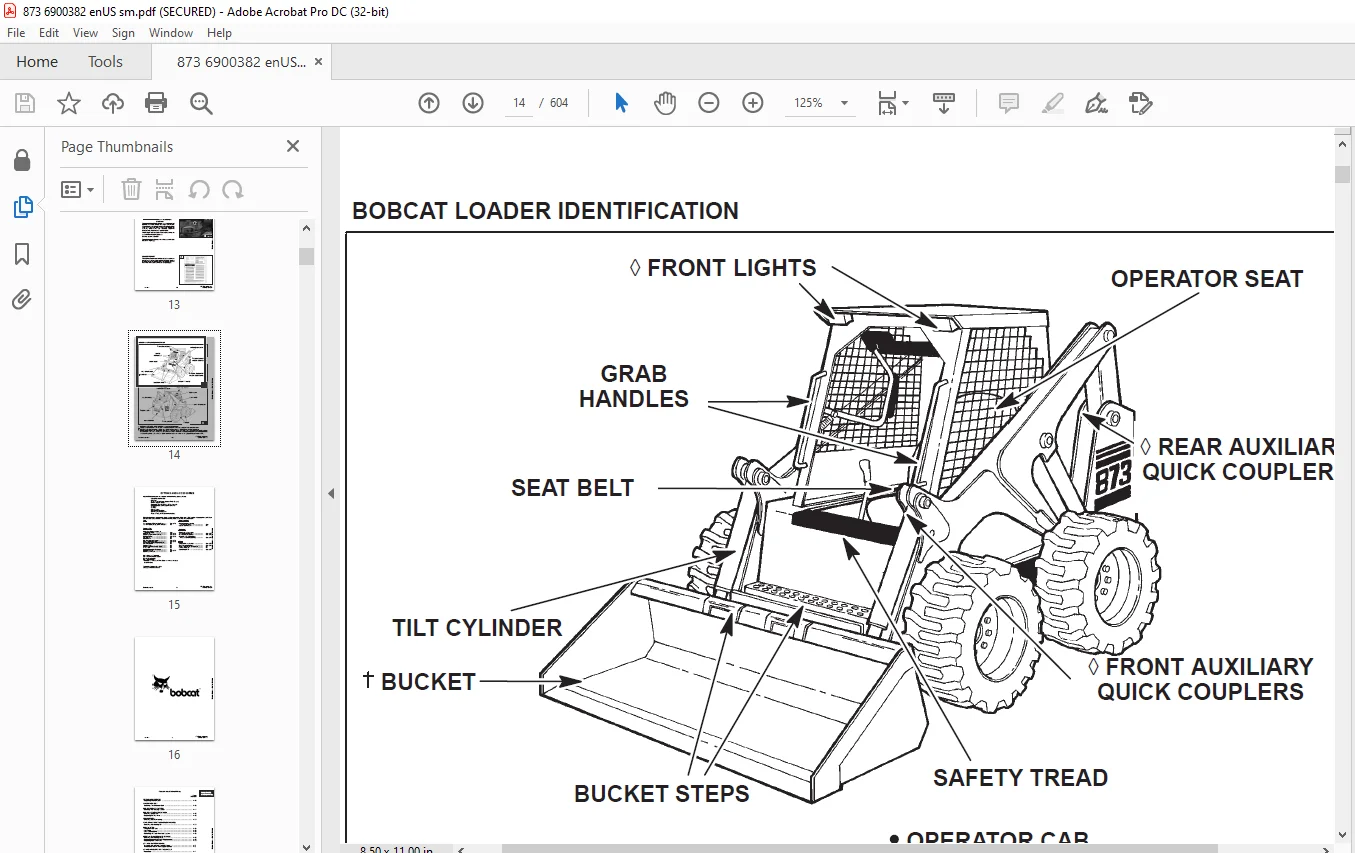
BOBCAT LOADER IDENTIFICATION 14
OPTIONS AND ACCESSORIES 15
PREVENTIVE MAINTENANCE 17
SERVICE SCHEDULE 19
LIFTING AND BLOCKING THE LOADER 20
Procedure 20
TRANSPORTING THE LOADER 21
Procedure 21
TOWING THE LOADER 21
Procedure 21
STOPPING THE BOBCAT LOADER 21
Procedure 21
LIFT ARM SUPPORT DEVICE 22
To Install The Lift Arm Support Device 22
To Remove The Lift Arm Support Device 22
OPERATOR CAB 23
Raising The Operator Cab 23
Lowering The Operator Cab 24
Emergency Exit 25
SEAT BAR RESTRAINT SYSTEM (FOOT PEDALS) 26
Seat Bar Inspection 26
Seat Bar Maintenance 26
SEAT BAR RESTRAINT SYSTEM (MECHANICAL HAND CONTROLS) 27
Seat Bar Inspection 27
Seat Bar Maintenance 27
SEAT BAR RESTRAINT SYSTEM (ADVANCED HAND CONTROLS) 28
Inspecting The Seat Bar 28
Maintaining The Seat Bar 28
AIR CLEANER SERVICE 29
Replacing Filter Element 29
FUEL SYSTEM 31
Fuel Specifications 31
Filling The Fuel Tank 31
Fuel Filter 31
Removing Air From The Fuel System 31
ENGINE LUBRICATION SYSTEM 32
Checking Engine Oil 32
Replacing Oil And Filter 32
ENGINE COOLING SYSTEM 33
Cleaning Cooling System 33
ALTERNATOR BELT 34
Adjusting The Alternator Belt 34
HYDRAULIC/HYDROSTATIC SYSTEM 35
Checking And Adding Fluid 35
Hydraulic/Hydrostatic Filter Replacement 35
Replacing Hydraulic Fluid 36
Later Model loaders 36
Early Model Loaders 37
TIRE MAINTENANCE 38
Wheel Nuts 38
Tire Rotation 38
Tire Mounting 38
FINAL DRIVE TRANSMISSION (CHAINCASE) 39
Checking And Adding Oil 39
FAN GEARBOX 39
Checking And Maintaining 39
LUBRICATING THE LOADER 40
Procedure 40
REMOTE START SWITCH 43
Procedure 43
HYDRAULIC SYSTEM 45
HYDRAULIC / HYDROSTATIC SCHEMATICS 50
GLOSSARY OF HYDRAULIC / HYDROSTATIC SYMBOLS 61
TROUBLESHOOTING 65
HYDRAULIC SYSTEM INFORMATION 66
Tighten Procedures 66
LIFT CYLINDER(S) 67
Checking The Lift Cylinder(s) 67
Removal And Installation 67
TILT CYLINDER(S) 69
Checking The Tilt Cylinder(s) 69
Removal And Installation 69
HYDRAULIC CYLINDER 71
Lift Cylinder Identification 71
Tilt Cylinder Identification 72
Disassembly 73
Assembly 75
MAIN RELIEF VALVE 78
Checking The Main Relief Valve With Auxiliaries 78
Checking The Main Relief Valve Without Auxiliaries 79
MAIN RELIEF VALVE (S/N 514122001 & Above; 514222001 & Above) 80
Removal and Installation 80
Adjustment 80
MAIN RELIEF VALVE (S/N 514119999 & Below; 514219999 & Below) 81
Adjustment 81
Removal And Installation 81
BICS™ VALVE ASSEMBLY (S/N 514122001 & Above; 514222001 & Above) 82
Lift Arm By–Pass Orifice 82
Check Valve 83
Lock Valve 84
BICS™ Valve Solenoid 85
Removal and Installation 86
HYDRAULIC CONTROL VALVE (S/N 514122001 & Above; 514222001 & Above) 87
Removal and Installation 87
Identification Chart 90
Disassembly and Assembly 91
Load Check Valve 91
Lift Base End Restrictor 91
Main Relief Valve 92
Port Relief Valve 93
Anti–Cavitation/Port Relief Valve 93
Rubber Boot 95
Lift Spool and Detent 96
Auxiliary Spool 101
Auxiliary Electric Solenoid 102
H Port – Auxiliary Section 103
Inspection 103
Spool Seal Installation 104
HYDRAULIC CONTROL VALVE (S/N 514119999 & Below; 514219999 & Below) 105
Removal And Installation 105
Identification Chart 107
Disassembly And Assembly 108
Load Check Valve 108
Main Relief Valve 109
Port Relief Valve 109
Anti–Cavitation Valve 110
Rubber Boot 111
Lift Spool And Detent 112
Tilt Spool And Centering Spring 117
Auxiliary Spool 118
Auxiliary Electric Solenoid 119
H Port – Auxiliary Section 120
Base End Restrictor 120
Inspection 120
Spool Seal Installation 121
HYDRAULIC PUMP (Double Gear) 122
Checking The Output Of The Pump 122
Removal And Installation 123
Parts Identification 124
Disassembly 125
Inspection 129
Assembly 130
HYDRAULIC PUMP (Single Gear) 133
Checking The Output Of The Pump 133
Removal And Installation 134
Parts Identification 135
Disassembly 136
Inspection 138
Assembly 139
HYDRAULIC FLUID RESERVOIR 141
Draining The Fluid Reservoir 141
Removal And Installation 141
Hydraulic Fluid Screen Removal And Installation 144
LIFT ARM BY–PASS CONTROL VALVE (S/N 514122001 & Above; 514222001 & Above) 145
Removal and Installation 145
Disassembly and Assembly 146
LIFT LOCK BY–PASS VALVE (S/N 514119999 &Below; 514219999 & Below) 147
Removal And Installation 147
Disassembly And Assembly 148
TILT LOCK VALVE (S/N 514119999 & Below; 514219999 & Below) 149
Removal And Installation 149
Disassembly And Assembly 150
HYDRAULIC/HYDROSTATIC FILTER HOUSING 151
Removal And Installation 151
HYDROSTATIC FILTER HOUSING 152
Removal And Installation 152
S/N 514122001 thru 514122813; 514222001 thru 514222027 152
S/N 514119999 & Below; 514219999 & Below 153
All S/N Loaders 154
S/N 514122001 thru 514122813; 514222001 thru 514222027 155
S/N 514119999 & Below; 514219999 & Below 156
HYDRAULIC/HYDROSTATIC FILTER HOUSING BRACKET 157
Removal And Installation 157
S/N 514122814 & Above; 514222028 & Above 157
S/N 514122001 thru 514122813; 514222001 thru 514222027 158
S/N 514119999 & Below; 514219999 & Below 159
All S/N Loaders 160
CONTROL PEDALS 161
Removal And Installation 161
Pedal Adjustment 161
PEDAL INTERLOCK LINKAGE 162
Removal And Installation 162
Adjustment 163
FRONT SIDE PANEL 163
Removal And Installation 163
REAR AUXILIARY DIVERTER 164
Disassembly 164
Inspection 164
Solenoid Testing 164
Assembly 164
HYDROSTATIC SYSTEM 165
TROUBLESHOOTING 167
HYDROSTATIC SYSTEM INFORMATION 168
Replenishing Valve Function 168
FRONT PANEL 169
Removal And Installation 169
STEERING LEVERS (514122814 & Above; 514222028 & Above) 171
Removal And Installation 171
Disassembly And Assembly 171
STEERING LINKAGE (S/N 514122814 & Above; 514222028 & Above) 173
Removal And Installation 173
Steering Linkage Adjustment 177
STEERING LEVERS (514122814 & Below; 514222028 & Below) 182
Removal And Installation 182
Disassembly And Assembly 182
STEERING LINKAGE (514122814 & Below; 514222028 & Below) 184
Removal And Installation 184
Steering Linkage Adjustment 188
HYDROSTATIC MOTOR (S/N 514122306 & Above; 514223902 & Above) 193
Removal And Installation 193
Parts Identification 194
Disassembly 195
Inspection 197
Assembly 198
HYDROSTATIC MOTOR (S/N 514122305 & Below; 514223901 & Below) 202
Removal and Installation 202
Parts Identification 204
Disassembly 205
Inspection 206
Assembly 207
MOTOR CARRIER 209
Removal and Installation 209
Parts Identification 211
Disassembly 212
Assembly 214
HYDROSTATIC PUMP 216
Removal And Installation 216
Parts Identification (Right Half) 218
Parts Identification (Left Half) 220
HYDROSTATIC PUMP (S/N 514122814 & Above; 514222028 & Above) 222
Replenishing/High Pressure Relief Valve 222
Charge Pressure Relief Valve 223
Hydraulic Pump Removal 224
Hydraulic Pump Separation 225
Charge Pump Disassembly 225
Disassembly 227
Assembly 233
HYDROSTATIC PUMP (S/N 514122813 & Below;514222027 & Below) 241
Replenishing/High Pressure Relief Valve 241
Parts Identification 242
Disassembly 244
Inspection 250
Assembly 253
DRIVE BELT SHIELD 260
Removal And Installation 260
DRIVE BELT 261
Adjusting The Drive Belt 261
Replacing The Drive Belt 261
DRIVE BELT TENSIONER PULLEY 262
Removal And Installation 262
Tension Spring 264
OIL COOLER 265
Removal And Installation 265
DRIVE SYSTEM 267
PARKING BRAKE PEDAL 269
Removal And Installation 269
Disassembly And Assembly 270
BRAKE DISC 271
Removal And Installation 271
FRONT CHAINCASE COVER 273
Removal and Installation 273
AXLE SEAL 274
Removal and Installation 274
Later Model Loaders 274
Early Model Loaders 276
AXLE, SPROCKET AND BEARINGS 278
Removal and Installation 278
Later Model Loaders 278
Early Model Loaders 280
All Model Loaders 282
DRIVE CHAIN 285
Removal And Installation 285
CHAINCASE FLUID 286
Removing The Fluid From The Chaincase 286
MAIN FRAME 287
SEAT BAR 289
Removal And Installation 289
Assembling Components 292
Compression Spring Disassembly And Assembly 292
OPERATOR CAB GAS CYLINDER 293
Removal And Installation 293
Disassembly And Assembly 294
OPERATOR CAB 295
Removal And Installation 295
OPERATOR SEAT 298
Removal And Installation 298
BOB–TACH 299
Removal And Installation 299
Bob–Tach Lever And Wedge 300
Pivot Pin Bushing And Seal Replacement 301
Bob–Tach Stop 301
LIFT ARM STABILIZER BAR (S/N 514122465 & Above; 514222015 & Above) 302
Removal And Installation 302
LIFT ARM STABILIZER BAR (S/N 514122464 & Below; 514222014 & Below) 303
Removal And Installation 303
LIFT ARM LINK 305
Removal And Installation 305
LIFT ARMS 307
Removal And Installation 307
REAR GRILL 310
Removal And Installation 310
REAR DOOR (ONE PIECE) 311
Removal And Installation 311
Door Latch and Catch Adjustment 312
REAR DOOR 313
Removal And Installation 313
Hood Removal And Installation 314
Bumper Removal And Installation 314
Door Latch Removal And Installation 314
Door Latch And Catch Adjustment 314
FUEL TANK 315
Removal And Installation 315
Fuel Level Sender 317
Inlet Screen 317
ELECTRICAL SYSTEM 319
ELECTRICAL SCHEMATICS 321
TROUBLESHOOTING 331
ELECTRICAL SYSTEM INFORMATION 332
Description 332
Fuse Location 332
BATTERY 333
Removal And Installation 333
Servicing the Electrical System 335
Using A Booster Battery (Jump Starting) 336
ALTERNATOR 337
Alternator Output Test 337
Alternator Regulator Test 338
Removal And Installation 339
Disassembly 340
Stator Continuity Test 340
Stator Ground Test 340
Rotor Continuity Test 341
Rotor Ground Test 341
Rectifier Continuity (Diode) Test 341
Assembly 342
STARTER 343
Removal And Installation 343
Parts Identification 344
Disassembly And Assembly 345
External Pinion 349
Inspection And Repair 350
Magnetic Switch Test 353
No Load Test 353
STANDARD INSTRUMENT PANEL 354
Removal And Installation 354
FRONT LIGHTS 355
Removal And Installation 355
RELAY SWITCHES 356
Location 356
ENGINE SERVICE 357
TROUBLESHOOTING 359
ENGINE SPEED CONTROL 360
Removal And Installation 360
Speed Control Cable 361
Speed Control Linkage 361
ENGINE MUFFLER 362
Removal And Installation 362
AIR CLEANER HOUSING 363
Removal And Installation 363
BLOWER HOUSING/FAN GEARBOX 365
Removal And Installation 365
FAN DRIVE TENSION PULLEY 366
Removal And Installation 366
BLOWER FAN 368
Removal And Installation 368
FAN GEARBOX 369
Parts Identification 369
Disassembly 370
Assembly 375
Long Housing 375
Short Housing 377
Checking Backlash 380
OIL COOLER 382
Removal And Installation 382
ENGINE/HYDROSTATIC PUMP ASSEMBLY 383
Removal And Installation 383
ENGINE MOUNTS 389
Replacement 389
ENGINE 390
Removal And Installation 390
FLYWHEEL 392
Removal And Installation 392
Flywheel Ring Gear 392
FLYWHEEL HOUSING 392
Removal And Installation 392
GLOW PLUG 393
Checking The Glow Plug 393
VALVE CLEARANCE 394
Adjustment 394
FUEL INJECTION PUMP 395
Description 395
Removal 395
Injection Pump Timing 396
Installation 397
FUEL INJECTOR 399
Removal And Installation 399
Checking 400
Disassembly 401
Assembly 402
TIMING BELT 404
Inspection 404
Removal 404
Installation 405
Belt Replacement In Loader 408
VALVE TIMING 413
Checking 413
DEUTZ ENGINE TOOLS 414
Identification Chart 414
RECONDITIONING THE ENGINE 415
Disassembly 415
Assembly 419
CYLINDER LINERS 434
Checking The Cylinder Liners 434
CAMSHAFT BEARINGS 435
Checking 435
Removal And Installation 435
CONTROL ROD GUIDE BUSHING 437
Removal 437
Installation 439
REAR COVER SEAL 443
Removal And Installation 443
CRANKSHAFT 444
Checking The Crankshaft 444
CONNECTING ROD 445
Checking The Connecting Rod 445
PISTON AND PISTON PIN 448
Checking The Piston 448
Checking Piston Pin 449
Installing Piston Rings 449
CYLINDER HEAD 450
Disassembly 450
Checking The Valves 450
Checking Valve Seats 451
Valve Spring 451
Assembly 451
ROCKER ARM AND BRACKET 453
Checking 453
FRONT COVER 454
Disassembly 454
Assembly 459
TURBOCHARGER 469
Removal And Installation 469
Disassembly 470
Inspection 474
Assembly 475
POSITIVE CRANKCASE VENTILATION SYSTEM (S/N 514115365 & Below; 514213009 & Below) 480
Description 480
Inspection 480
Module Removal And Installation 481
CRANKSHAFT GEAR MOUNTING BOLT 482
Torque Procedure 482
SYSTEMS ANALYSIS 483
BOBCAT INTERLOCK CONTROL SYSTEM (BICS™) 485
(S/N 514123810 & Above; 514222300 & Above) 485
Inspecting The BICS™ Controller (Engine STOPPED– Key ON) 485
Deactivation Of The Auxiliary Hydraulics System (Engine STOPPED – Key ON) 485
Inspecting The Seat Bar Sensor (Engine RUNNING) 485
Inspecting The Traction Lock (Engine RUNNING) 485
Inspecting The Lift Arm By–Pass Control 485
Additional Inspection For Loaders With Advanced Hand Controls 485
Troubleshooting Chart 485
(S/N 514123809 & Below; 514222299 & Below) 487
Inspecting The BICS™ System Controller (Engine STOPPED – Key ON) 487
Inspecting Deactivation Of The Auxiliary Hydraulics System (Engine STOPPED – Key ON) 487
Inspecting The Seat And Seat Bar Sensors (Engine RUNNING) 487
Inspecting The Traction Lock (Engine RUNNING) 487
Inspecting The Lift Arm By–Pass Control 487
Maintenance 487
Troubleshooting Chart 488
TROUBLESHOOTING GUIDE 489
BICS SYSTEM CONTROLLER 489
TRACTION LOCK 490
SEAT SENSOR 491
SEAT BAR SENSOR 492
SEAT SENSOR 493
Seat Sensor Test 493
Removal And Installation 494
BICS™ Controller Seat Sensor Circuit Test 495
BICS™ SYSTEM CONTROLLER 496
Removal And Installation 496
SEAT BAR SENSOR 497
Seat Bar Sensor Test 497
Removal And Installation 498
BICS™ Controller Seat Bar Sensor Circuit Test 499
TRACTION LOCK 500
Removal And Installation 500
BOSS® DIAGNOSTIC TOOL 501
Procedure 501
SENDER AND SENSOR 501
Service Checks 501
Components 501
RPM SENSOR 501
Adjustment 501
MONITOR SERVICE CODES 502
TROUBLESHOOTING THE BOSS® & LCD DISPLAY 505
OPERATION SENSING SYSTEM UNIT 506
Removal and Installation 506
BOSS® INSTRUMENT PANEL 507
Removal And Installation 507
PWM MODULE 508
Description 508
PWM TROUBLESHOOTING 509
Conditions 509
Chart 510
PWM CONTROL HANDLE 511
Handle Testing 511
PWM ELECTRIC SOLENOID 511
Solenoid Coil Testing 511
TRACTION LOCK CONTROL SYSTEM 512
(S/N 514123810 & Above; 514222300 & Above) 512
Inspecting The Traction Lock Control System 512
Maintenance 512
(S/N 514123809 & Below; 514222299 & Below) 512
Description 512
Inspection 512
Maintenance 512
ELECTRICAL/HYDRAULIC CONTROLS REFERENCE 513
Controls Identification Chart 513
SPECIFICATIONS 515
LOADER SPECIFICATIONS 517
Performance 517
Controls 517
Engine 517
Hydraulic System 518
Electrical 518
Drive System 518
Capacities 519
Tires 519
ENGINE SPECIFICATIONS (BF4M1011) 520
General 520
Fuel System 520
Valve and Valve Guide and Seat Insert 520
Piston and Rings 521
Connecting Rod 521
Cylinder Head and Block 521
Crankshaft and Main Bearings 522
Camshaft and Bearings 522
Oil Pump 522
ENGINE SPECIFICATIONS (BF4M1011F) 523
General 523
Fuel System 523
Valve and Valve Guide and Seat Insert 523
Piston and Rings 524
Connecting Rod 524
Crankshaft and Main Bearings 525
Camshaft and Bearings 525
Oil Pump 525
ENGINE TORQUE 526
TORQUE SPECIFICATIONS FOR LOADER 528
TORQUE SPECIFICATIONS FOR BOLTS 529
Torque for General SAE Bolts 529
Torque For General Metric Bolts 530
HYDRAULIC CONNECTION SPECIFICATIONS 531
O–Ring Face Seal Connection 531
Straight Thread O–Ring Fitting 531
Tubelines And Hoses 531
Flare Fitting 531
O–Ring Flare Fitting 532
Port Seal Fitting 534
HYDRAULIC/HYDROSTATIC FLUID SPECIFICATIONS 535
DECIMAL AND MILLIMETER EQUIVALENTS 536
U S TO METRIC CONVERSION 536
ADVANCE HAND CONTROL SYSTEM (A H C) 537
ADVANCED HAND CONTROL ELECTRICAL SCHEMATICS 539
A H C COMPONENTS 545
Identification 545
TROUBLESHOOTING (A H C ) 546
Chart 546
ACTUATOR VOLTAGE TEST 548
Procedure 548
HANDLE CONTROL UNIT TEST 551
Procedure 551
BOBCAT INTERLOCK CONTROL SYSTEM (BICS™) 554
Troubleshooting Chart 554
SEAT SENSOR OVERRIDE ONLY 554
ADVANCED HAND CONTROLS (AHC) 554
A H C /PWM CONTROLLER 555
Removal and Installation 555
Description 556
Conditions 557
Troubleshooting Chart 557
Handle Testing 558
Solenoid Coil Testing 558
HANDLE CONTROL UNIT 559
Removal And Installation 559
Control Unit Connector 562
SWITCH HANDLE 563
Removal And Installation 563
A H C HANDLE 566
Removal And Installation 566
Disassembly And Assembly 567
A H C STEERING LEVER 568
Removal And Installation 568
Steering Lever Boot 568
ACTUATORS 569
Removal And Installation 569
Disassembly And Assembly 570
Mounting Plate 571
BICS™ VALVE 572
Lift Arm By–Pass Orifice 572
Check Valve 573
Lock Valve 573
BICS™ Valve Solenoid 574
Removal And Installation 575
HYDRAULIC CONTROL VALVE 576
Removal And Installation 576
Identification Chart 579
Disassembly And Assembly 580
Load Check Valve 580
Lift Base End Restrictor 580
Main Relief Valve 581
Port Relief Valve (Lift) 582
Anti–Cavitation/Port Relief Valve 582
Port Relief Valve (Tilt) 583
Anti–Cavitation Valve 583
Rubber Boot 584
Lift And Tilt Spool 585
Inspection 587
Auxiliary Spool 588
Auxiliary Electrical Solenoid 589
Spool Seal Installation 590
H–Port Auxiliary Section 591
SERVICE MANUAL REVISIONS 593
873–001 593
873–002 595
873–003 597
873–004 599
873-005 601
873-006 603
DESCRIPTION:
Bobcat 873 Loader Service Manual 6900382 – PDF DOWNLOAD
(S/N 514115001 & Above)
(S/N 514213001 & Above)
FOREWORD:
This manual is for the Bobcat loader mechanic. It provides necessary servicing and adjustment procedures for the Bobcat loader and its component parts and systems. Refer to the Operation & Maintenance Manual for operating instructions, starting procedure, daily checks, etc.
SAFETY INSTRUCTIONS:
The following publications provide information on the safe use and maintenance of the loader and attachments:
• The Delivery Report is used to assure that complete instructions have been given to the new owner and that the machine
is in safe operating condition.
• The Operation & Maintenance Manual delivered with the loader gives operating information as well as routine
maintenance and service procedures. It is a part of the loader and must stay with the machine when it is sold. Replacement
Operation & Maintenance Manuals can be ordered from your Bobcat loader dealer.
• The loader has machine signs (decals) which instruct on the safe operation and care. The signs and their locations are
shown in the Operation & Maintenance Manual. Replacement signs are available from your Bobcat loader dealer.
• The loader has a plastic Operator’s Handbook fastened to the operator cab. Its brief instructions are convenient to the
operator. The Handbook is available from your dealer in an English edition or one of many other languages. See your
Bobcat dealer for more information on translated versions.
• The EMI Safety Manual (available in Spanish) delivered with the loader gives general safety information.
• The Service Manual and Parts Manual are available from your dealer for use by mechanics to do shop–type service and
repair work.
• The Skid–Steer Loader Operator Training Course is available through your local dealer. This course is intended to provide
rules and practices for correct operation of the Bobcat loader. The course is available in English and Spanish version.
• The Bobcat Skid–Steer Loader Safety Video is available from your Bobcat Dealer.
• Wear tight fitting clothing. Always wear safety glasses when maintaining or servicing loader. Safety glasses, hearing
protection or loader special applications kit are required for some work. See your dealer for Bobcat Safety equipment.
• Know where fire extinguishers and first aid kits are located and how to use them.
• Do not use the Bobcat loader where exhaust, arcs, sparks or hot components can contact flammable material, explosive
dust or gases.
• The engine compartment and engine cooling system must be inspected every day and cleaned if necessary to prevent
fire hazard and overheating.
• Check all electrical wiring and connections for damage. Keep the battery terminals clean and tight. Repair or replace any
damaged part.
• Check fuel and hydraulic tubes, hoses and fittings for damage and leakage. Never use open flame or bare skin to check
for leaks. Tighten or replace any parts that show leakage. Always clean fluid spills. Do not use gasoline or diesel fuel for
cleaning parts. Use commercial nonflammable solvents.
• Follow any environmental safety regulations when disposing of used fluids such as engine oil, grease or anti–freeze.
• Do not use ether or starting fluids on this engine. It has glow plugs. These starting aids can cause explosion and injure
you or bystanders.
• Always clean the loader and disconnect the battery before doing any welding. Cover rubber hoses, battery and all other
flammable parts. Keep a fire extinguisher near the loader when welding. Have good ventilation when grinding or welding
painted parts. Wear dust mask when grinding painted parts. Toxic dust or gas can be produced.
• Stop the engine and let it cool before adding fuel. No smoking!
• Use the procedure in the Operation & Maintenance or Service Manuals for connecting the battery.
A fire extinguisher is available from your local dealer. The fire extinguisher can be installed in the location shown [A].
Need help? Contact: [email protected]
IMAGES PREVIEW OF THE MANUAL:
PLEASE NOTE:
- This is the SAME MANUAL used by the dealerships to diagnose your vehicle
- No waiting for couriers / posts as this is a PDF manual and you can download it within 2 minutes time once you make the payment.
- Your payment is all safe and the delivery of the manual is INSTANT – You will be taken to the DOWNLOAD PAGE.
- So have no hesitations whatsoever and write to us about any queries you may have : heydownloadss @gmail.com
S.V