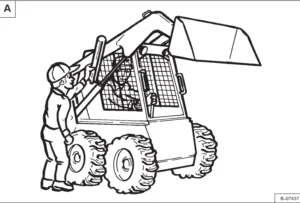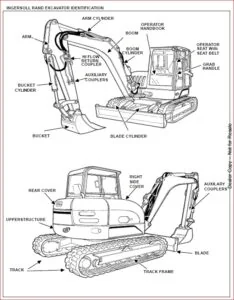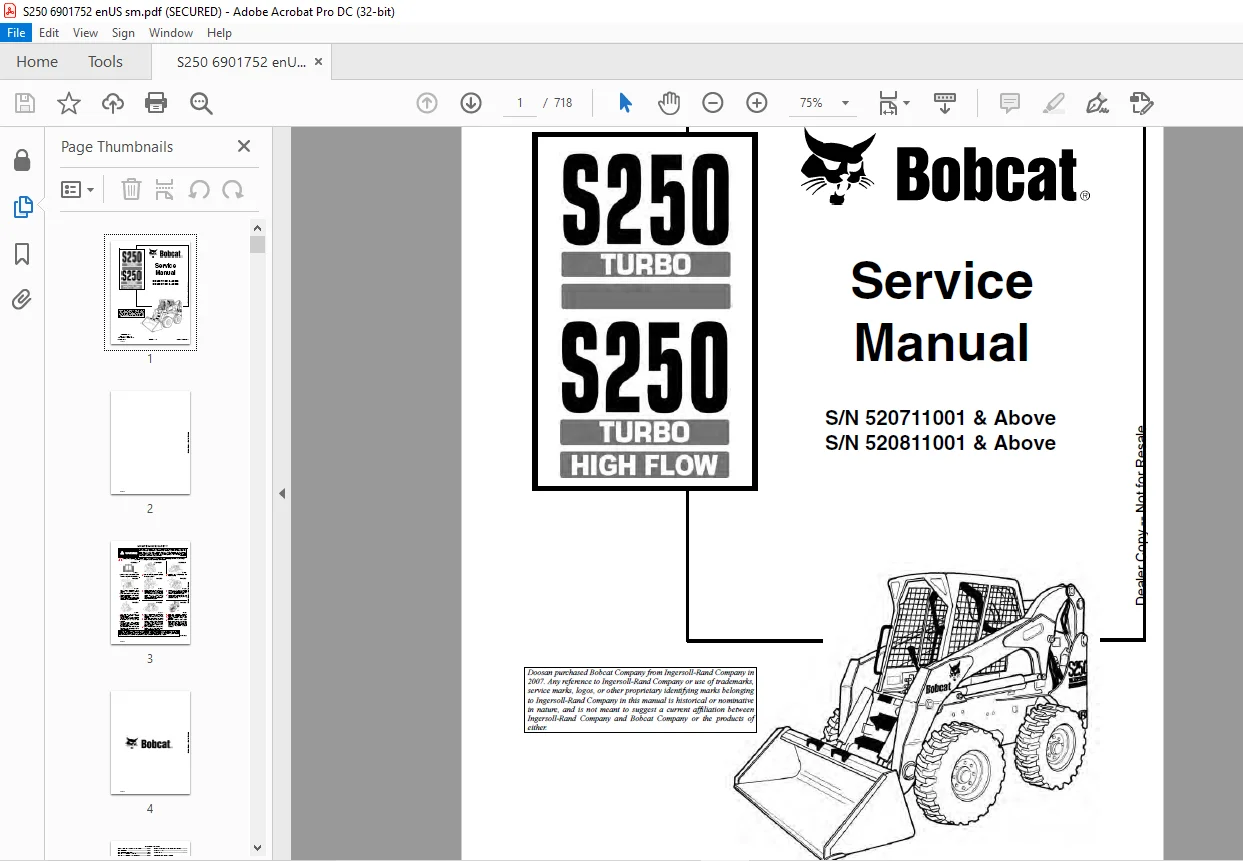
Bobcat S250 Turbo S250 Turbo High Flow Loader Service Manual 6901752 (10-12) – PDF DOWNLOAD
$32.95
Bobcat S250 Turbo S250 Turbo High Flow Loader Service Manual 6901752 (10-12) – PDF DOWNLOAD
S/N 520711001 & Above
S/N 520811001 & Above
Description
Bobcat S250 Turbo S250 Turbo High Flow Loader Service Manual 6901752 (10-12) – PDF DOWNLOAD
FILE DETAILS:
Bobcat S250 Turbo S250 Turbo High Flow Loader Service Manual 6901752 (10-12) – PDF DOWNLOAD
Language : English
Pages : 718
Downloadable : Yes
File Type : PDF
DESCRIPTION:
Bobcat S250 Turbo S250 Turbo High Flow Loader Service Manual 6901752 (10-12) – PDF DOWNLOAD
S/N 520711001 & Above
S/N 520811001 & Above
FOREWORD:
This manual is for the Bobcat loader mechanic. It provides necessary servicing and adjustment procedures for the Bobcat loader and its component parts and systems. Refer to the Operation & Maintenance Manual for operating instructions, starting procedure, daily checks, etc.
A general inspection of the following items must be made after the loader has had service or repair:
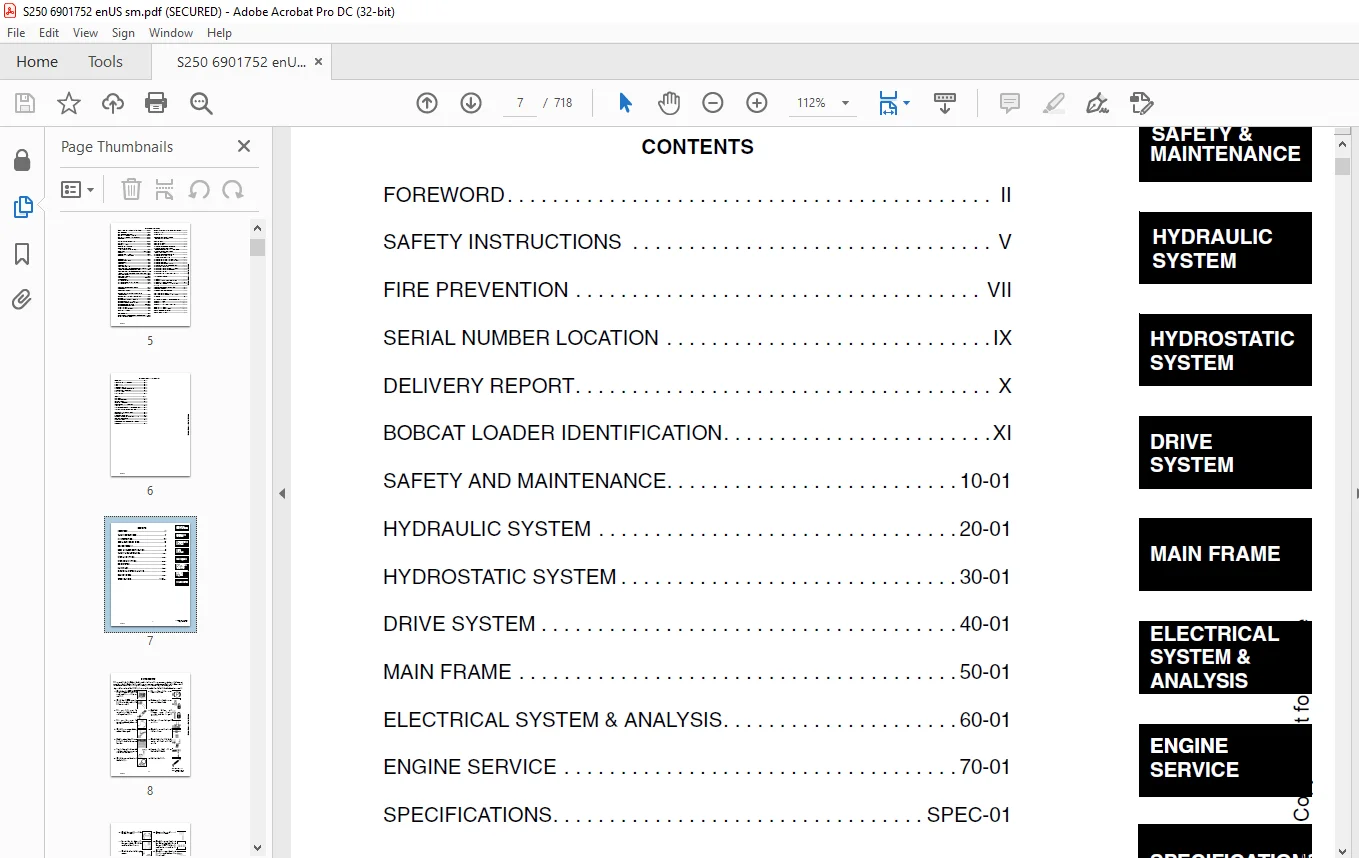
TABLE OF CONTENTS:
Bobcat S250 Turbo S250 Turbo High Flow Loader Service Manual 6901752 (10-12) – PDF DOWNLOAD
MAINTENANCE SAFETY 3
ALPHABETICAL INDEX 5
CONTENTS 7
FOREWORD 8
SAFETY INSTRUCTIONS 11
FIRE PREVENTION 13
Maintenance 13
Operation 13
Electrical 13
Hydraulic System 13
Fueling 13
Starting 13
Spark Arrestor Exhaust System 13
Welding And Grinding 14
Fire Extinguishers 14
SERIAL NUMBER LOCATION 15
Loader Serial Number 15
Engine Serial Number 15
DELIVERY REPORT 16
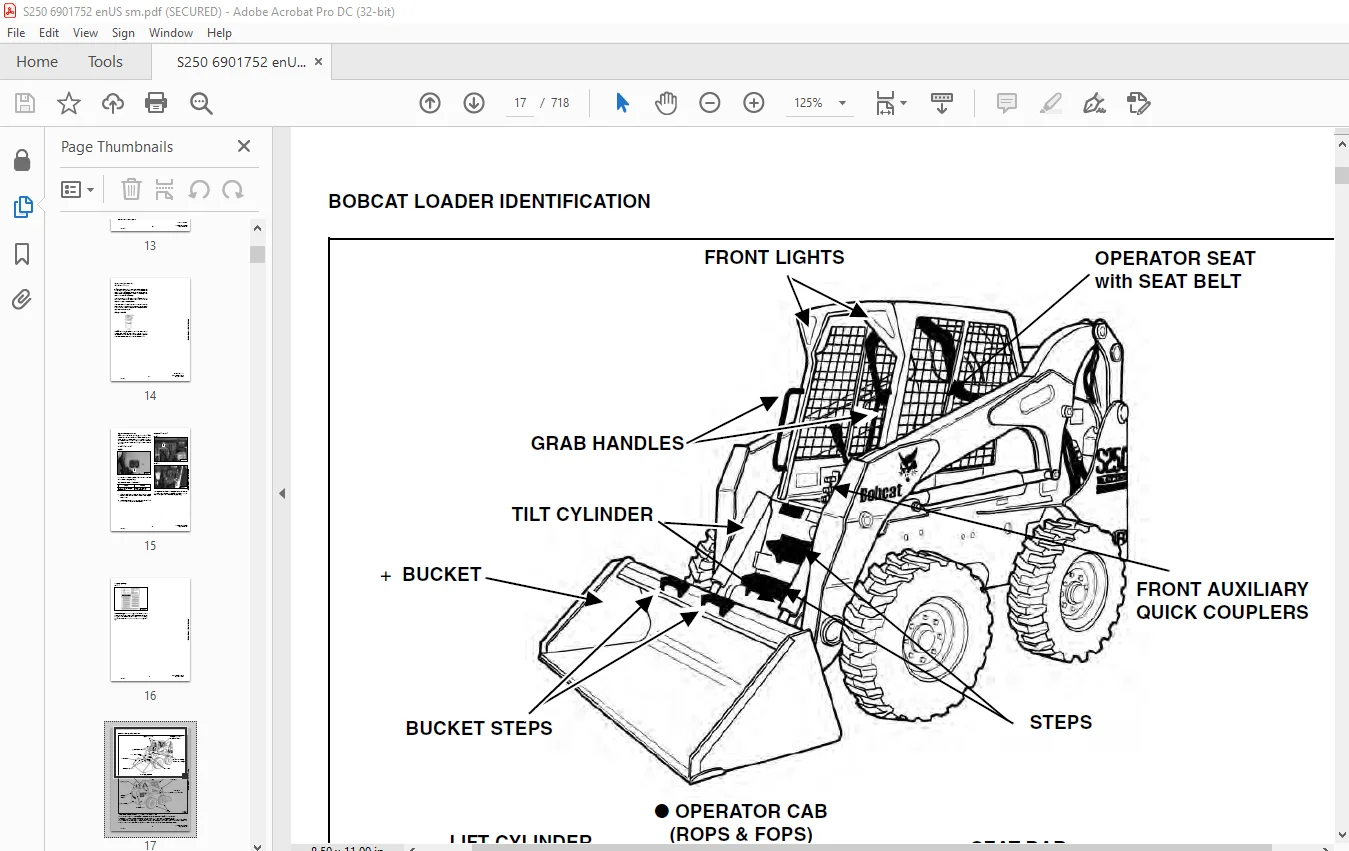
BOBCAT LOADER IDENTIFICATION 17
SAFETY AND MAINTENANCE 19
LIFTING AND BLOCKING THE LOADER 21
Procedure 21
LIFT ARM SUPPORT DEVICE 23
Installing The Lift Arm Support Device 23
Removing The Lift Arm Support Device 24
OPERATOR CAB 25
Description 25
Raising The Operator Cab 25
Lowering The Operator Cab 26
Emergency Exit 26
TRANSPORTING THE BOBCAT LOADER 29
Procedure 29
TOWING THE LOADER 31
Procedure For Non-Two-Speeds 31
REMOTE START 33
Procedure For Loader W/O Attachments Control Harness 33
Procedure For Loader With Attachments Control Harness 34
Procedure 35
SERVICE SCHEDULE 37
Chart 37
AIR CLEANER SERVICE 39
Replacing Filter Element 39
ENGINE COOLING SYSTEM 41
Cleaning Cooling System 41
FUEL SYSTEM 43
Fuel Specifications 43
Filling The Fuel Tank 43
Fuel Filter 43
Removing Air From The Fuel System 44
Fuel Lift Pump Strainer 44
ENGINE LUBRICATION SYSTEM 45
Checking Engine Oil 45
Oil Chart 45
Replacing Oil And Filter 45
HYDRAULIC / HYDROSTATIC SYSTEM 47
Checking And Adding Fluid 47
Hydraulic / Hydrostatic Filter Replacement 47
Replacing Hydraulic Fluid 48
FINAL DRIVE TRANSMISSION (CHAINCASE) 49
Checking And Adding Oil 49
Replacing The Oil 49
FAN GEARBOX 51
Checking And Adding Oil 51
BOB-TACH 53
Inspection And Maintenance 53
POWER BOB-TACH 55
Inspection And Maintenance 55
LUBRICATING THE LOADER 57
Procedure 57
TIRE MAINTENANCE 61
Wheel Nuts 61
Tire Rotation 61
Tire Mounting 61
HYDRAULIC SYSTEM 63
HYDRAULIC / HYDROSTATIC SCHEMATICS 67
HYDRAULIC SYSTEM INFORMATION 75
Troubleshooting 79
Tightening Procedure 80
CYLINDER (LIFT) 81
Checking 81
Removal And Installation 81
Parts Identification 83
Disassembly 84
Assembly 86
CYLINDER (TILT) 89
Checking 89
Removal And Installation 89
Base Pin Removal And Installation 91
Parts Identification 92
Disassembly 93
Assembly 95
CYLINDER (POWER BOB-TACH) 99
Checking 99
Removal And Installation 100
Parts Identification 101
Disassembly 102
Assembly 103
MAIN RELIEF VALVE (FOOT CONTROL) 107
Checking The Main Relief Valve At Front Aux Hyd 107
Removal And Installation 108
Adjustment 108
MAIN RELIEF VALVE (AHC) 109
Checking The Main Relief Valve At Front Aux Hyd 109
Removal And Installation 110
Adjustment 111
HYDRAULIC CONTROL VALVE (FOOT CONTROL) 113
Removal And Installation 113
BICS™ Valve, Removal And Installation 117
BICS™ Valve, Lift Arm Bypass Orifice Removal And Installation 118
BICS™ Valve, Check Valve Removal And Installation 119
Backslide, Lock Valve Removal And Installation 120
BICS™ Valve, Solenoid Removal And Installation 121
BICS™ Valve, Solenoid Testing 122
Identification Chart 122
Load Check Valve 123
Main Relief Valve 124
Port Relief Valve, Tilt Spool 124
Port Relief Valve, Lift Spool 125
Anti-Cavitation Valve / Port Relief Valve, Tilt Spool 125
Anti-Cavitation Valve, Lift Spool 126
Rubber Boot 126
Lift And Tilt Lock Block 127
Lift Spool And Detent Removal 128
Lift Spool And Detent Disassembly 130
Lift Spool And Detent Assembly 132
Lift Spool And Detent Installation 136
Tilt Spool Removal And Installation 136
Tilt Spool Disassembly And Assembly 137
Auxiliary Spool Removal And Installation 138
Auxiliary Plug Removal And Installation 140
Auxiliary Electric Solenoid Disassembly 141
Port-Auxiliary Section Removal And Installation 142
Cleaning And Inspection 142
HYDRAULIC CONTROL VALVE (ADVANCED CONTROL SYSTEM) (ACS) 143
LIFT ARM BYPASS CONTROL VALVE 145
Inspecting 145
Additional Inspection For Loaders W/ Advanced Hand Controls 145
Removal And Installation 145
Disassembly And Assembly 146
HYDRAULIC PUMP 147
Check The Output Of The Hydraulic Pump W/O Power Bob-Tach 147
Check The Output Of The Hydraulic Pump W/ Power Bob-Tach 148
Removal And Installation 150
Identification 152
Disassembly And Assembly 153
HYDRAULIC PUMP (HI FLOW) 159
HYDRAULIC / HYDROSTATIC FILTER 161
Housing Removal And Installation 161
Mount Removal And Installation 162
HYDRAULIC FLUID RESERVOIR 163
Fluid Removal 163
Removal And Installation 164
Hydraulic Fluid Screen 167
BUCKET POSITION VALVE 169
Solenoid Removal And Installation 169
Solenoid Testing 169
Removal And Installation 170
Disassembly And Assembly 170
SELECT VALVE 173
REAR AUXILIARY DIVERTER 175
POWER BOB-TACH BLOCK 177
Removal And Installation 177
Disassembly And Assembly 178
FRONT AUXILIARY HYDRAULIC COUPLER BLOCK 187
Removal and Installation 187
Disassembly And Assembly 187
HYDROSTATIC SYSTEM 189
HYDROSTATIC SYSTEM INFORMATION 191
Troubleshooting 191
Replenishing Valve Function 192
HYDROSTATIC MOTOR 193
Removal And Installation 193
Parts Identification 195
Disassembly 196
Inspection 198
Assembly 199
HYDROSTATIC MOTOR (TWO-SPEED) 203
Removal And Installation 203
Parts Identification 206
Disassembly 208
Inspection 215
Assembly 216
HYDROSTATIC MOTOR CARRIER 223
Removal and Installation 223
Parts Identification 225
Disassembly 226
Assembly 227
CHARGE PRESSURE 229
Sender Removal And Installation 229
HYDROSTATIC PUMP 231
Replenishing / High Pressure Relief Valve 231
Charge Pressure Relief Valve 231
Removal And Installation 232
Parts Identification (Right Half) 234
Parts Identification (Left Half) 236
Hydraulic Pump Removal 238
Disassembly 238
Assembly 246
OIL COOLER (SEAL TO CONNECT) (STC) 255
Hydraulic Oil Cooler Removal and Installation 255
DRIVE BELT 257
Shield Removal And Installation 257
Adjustment 257
Replacement 257
Tensioner Pulley Removal And Installation 258
Tensioner Pulley Tension Spring 260
DRIVE SYSTEM 261
BRAKE 263
Disc Removal And Installation 263
BRAKE (TWO-SPEED) 267
Block Removal And Installation 267
Block Disassembly And Assembly 268
DRIVE COMPONENTS 273
Axle Seal Removal And Installation 273
Axle, Sprocket And Bearings Removal And Installation 275
Drive Chain Removal And Installation 280
CHAINCASE 281
Front Chaincase Cover Removal And Installation 281
Rear Chaincase Cover Removal And Installation 281
MAIN FRAME 283
SEAT BAR 285
Removal And Installation 285
Assembling Components 286
Compression Spring Disassembly And Assembly 287
OPERATOR CAB 289
Gas Cylinder Removal And Installation 289
Gas Cylinder Bracket Disassembly And Assembly 291
Removal And Installation 291
OPERATOR SEAT 295
Removal And Installation 295
Seat Belt Removal And Installation 295
OPERATOR SEAT (SUSPENSION) 297
Removal And Installation 297
Slide Rail Removal And Installation 298
Cushion Removal And Installation 298
Back Removal And Installation 299
Shock Removal And Installation 300
BOB-TACH 301
Removal And Installation 301
Bob-Tach Lever And Wedge 303
POWER BOB-TACH 305
Removal And Installation 305
Power Bob-Tach Lever And Wedge 307
Pivot Pin Bushing And Seal Replacement 309
LIFT ARMS 311
Stabilizer Bar Removal And Installation 311
Link Removal And Installation 312
Removal And Installation 313
Installation Of Lift Arms 315
REAR GRILL 317
Removal And Installation 317
REAR DOOR 319
Removal And Installation 319
Adjusting The Rear Door Latch 320
FUEL TANK 321
Removal And Installation 321
Fuel Level Sender 322
CONTROL PEDALS 323
Removal And Installation 323
Pedal Adjustment 323
CONTROL PEDALS (ACS) 325
Foot Sensor Removal And Installation 325
Foot Pedal Removal And Installation 326
Foot Pedal Linkage Disassembly And Assembly 326
CONTROL PANEL 327
Removal And Installation 327
Steering Lever Boot 330
CONTROL HANDLE 333
Shock Removal And Installation 333
Shaft Removal And Installation 333
Shaft Disassembly And Assembly 333
Lever Removal And Installation 335
Steering Lever Boot 335
Linkage Removal And Installation 335
Linkage Neutral Adjustment 339
CONTROL HANDLE (ADVANCED CONTROL SYSTEM) (ACS) ADVANCED HAND CONTROL 345
Components Identification 345
Handle Sensor Removal And Installation 345
Control Handle Removal And Installation 348
Control Handle Disassembly And Assembly 349
Control Lever Removal And Installation 350
Control Lever Boot 351
CONTROL HANDLE (ADVANCED CONTROL SYSTEM) (ACS) SELECTABLE HAND / FOOT CONTROL 353
Components Identification 353
Handle Sensor Removal And Installation 353
Control Handle Removal And Installation 356
Control Handle Disassembly And Assembly 357
Control Lever Removal And Installation 358
Control Lever Boot 359
ELECTRICAL SYSTEM & ANALYSIS 361
ELECTRICAL SCHEMATICS 365
ELECTRICAL SYSTEM INFORMATION 369
Troubleshooting 371
Description 372
Fuse Location 374
Relay Switch Location 374
Solenoid Test 375
BATTERY 377
Removal And Installation 377
Servicing The Electrical System 379
Using A Booster Battery (Jump Starting) 380
ALTERNATOR 381
Adjusting The Alternator Belt 381
Alternator Identification 381
Charging System Check 382
Alternator Voltage Test 383
Low Voltage Test 383
High Voltage Test 384
Removal And Installation 384
Rectifier Continuity (Diode) Test 385
Alternator Regulator Test 386
Disassembly 387
Stator Continuity Test 387
Stator Ground Test 387
Rotor Continuity Test 388
Rotor Ground Test 388
Assembly 388
STARTER 389
Removal And Installation 389
Parts Identification 390
Checking 391
Disassembly And Assembly 392
Inspection And Repair 395
No Load Test 398
INSTRUMENT PANEL 399
Left Panel 399
Right Panel (Standard) (With Key Switch) 400
Deluxe Panel Setup 404
Passwords (Deluxe) 404
Option And Field Accessory Panels (If Equipped) 406
Standard Panel Removal And Installation (Right Side) 407
Deluxe Panel Removal And Installation (Right Side) 408
Standard & Deluxe Panel Removal And Installation (Left Side) 409
Front Accessory Panel Removal And Installation 410
LIGHTS 411
Front Removal And Installation 411
Rear Removal And Installation 411
BOBCAT CONTROLLER 413
Identification Chart 413
Removal And Installation 414
DIAGNOSTICS SERVICE CODES 415
Display 415
BICS™ SYSTEM 419
Inspecting The BICS™ Controller (Engine STOPPED – Key ON) 419
Inspecting Deactivation Of The Auxiliary Hydraulics System (Engine STOPPED – Key ON) 419
Inspecting The Seat Bar Sensor (Engine RUNNING) 419
Inspecting The Traction Lock (Engine RUNNING) 419
Inspecting The Lift Arm Bypass Control 420
Additional Inspection For Loaders With Advanced Hand Controls (AHC) 420
Troubleshooting 421
Troubleshooting Guide 422
SEAT BAR SENSOR 423
Troubleshooting Chart 423
Test 424
Removal And Installation 425
BICS™ Circuit Test 426
TRACTION LOCK 427
Troubleshooting 427
Removal And Installation (Single Speed) 428
Description Of The Control System (Two Speed) 429
Inspecting The Control System (Two Speed) 429
ADVANCED CONTROL SYSTEM (ACS) 431
Components Identification 431
Troubleshooting Guide 433
Controller, Connector And Wire Identification 434
ACS Controller Removal And Installation 435
Handle Sensor Connector 436
Switch Handle Removal 437
Switch Handle Installation 439
Actuators Disassembly And Assembly 442
Handle Lock Solenoid Removal And Installation 443
Handle Lock Solenoid Disassembly And Assembly 443
Handle Lock Solenoid Connector 444
Calibration Of The ACS System 444
Switchable Hand / Foot Controls Calibration Procedure 445
Hand Controls Only Calibration Procedure 446
Foot Sensor Disassembly And Assembly 447
Foot Sensor Connector 448
Foot Lock Solenoid Removal And Installation 448
Foot Lock Solenoid Connector 449
ELECTRICAL / HYDRAULIC CONTROLS REFERENCE 451
Controls Identification Chart 451
ENGINE SERVICE 453
TROUBLESHOOTING 455
Chart 455
ENGINE SPEED CONTROL 457
Removal And Installation 457
Speed Control Cable 458
Speed Control Linkage 459
MUFFLER 461
Removal And Installation 461
AIR CLEANER 463
Housing Removal And Installation 463
RADIATOR 465
Removal And Installation 465
COOLING FAN 467
Drive Tension Pulley Removal And Installation 467
Gearbox / Blower Housing Removal And Installation 468
Gearbox Parts Identification 471
Gearbox Disassembly 472
Gearbox Assembly 477
Gearbox, Checking Backlash 482
ENGINE COMPONENTS AND TESTS 485
Engine Compression, Checking 485
Glow Plug, Checking 487
Fuel Shut-Off Solenoid Checking 488
Fuel Shut-Off Solenoid Removal And Installation 489
Fuel Injection Pump Removal 489
Fuel Injection Pump Timing 491
Fuel Injection Pump Installation 492
Fuel Injector Removal And Installation 494
Fuel Injector, Checking 495
Fuel Injector Disassembly 495
Fuel Injector Assembly 497
Timing Belt Inspection 499
Timing Belt Removal 499
Timing Belt Installation 501
Timing Belt, Replacement In The Loader 505
Valve Clearance Adjustment 511
Valve Timing, Checking 512
Thermostat, Oil Pressure Control Valves & Heater Connections 514
ENGINE 517
Removal And Installation 517
Mount Replacement 524
FLYWHEEL AND HOUSING 525
Flywheel Removal And Installation 525
Ring Gear Removal And Installation 525
Flywheel Housing Removal And Installation 525
RPM SENSOR 527
Adjustment 527
RECONDITIONING THE ENGINE 529
Deutz Engine Tools Identification Chart 529
Disassembly 530
Assembly 534
Cylinder, Checking 550
Camshaft Bearing, Checking 550
Camshaft Bearing, Removal And Installation 551
Control Rod Guide Bushing Removal 552
Control Rod Guide Bushing Installation 554
Rear Cover Seal Removal And Installation 558
Crankshaft, Checking 559
Connecting Rod, Checking 561
Piston, Checking 563
Piston Pin, Checking 564
Piston Rings Installation 565
Piston Installation On The Connecting Rod 566
Cylinder Head Disassembly 568
Valves, Checking 568
Valve Seats, Checking 569
Cylinder Head Assembly 570
Rocker Arm And Bracket, Checking 571
Front Cover Disassembly 572
Front Cover Assembly 577
Turbo Charger Removal and Installation 587
Crankshaft Gear Mounting Bolt Torque Procedure 589
HEATING, VENTILATION, AIR CONDITIONING 591
AIR CONDITIONING SYSTEM FLOW 594
Principals 594
Chart 595
COMPONENTS 597
Identification 597
SAFETY 601
Safety Equipment 601
REGULAR MAINTENANCE 603
Filter Elements Removal And Installation 603
Compressor Drive Belt Inspection 604
Cleaning The Condenser 605
BASIC TROUBLESHOOTING 607
Poor A/C Performance 607
Cleaning The A/C Evaporator Coil & Heater Coil 608
Receiver / Drier Sight Glass Inspection 610
Compressor Drive Belt Inspection 611
Checking The Electrical System 612
Engine Coolant Bypassing The Heater Valve 619
Heater Valve Not Opening Or Closing 620
GENERAL AIR CONDITIONING SERVICE GUIDELINES 621
Compressor Oil 621
Compressor Oil Check 622
Component Replacement And Refrigeration Leaks 623
SYSTEM TROUBLESHOOTING CHART 625
Gauge Pressure Related Troubleshooting 626
Troubleshooting Tree 628
TEMPERATURE / PRESSURE 633
Chart 633
AIR CONDITIONING SERVICE 635
Chart 635
SYSTEM CHARGING AND RECLAMATION 637
Reclamation Procedure 637
Charging Procedure With A Manifold Gauge Set 639
Charging Procedure 641
COMPRESSOR 643
Removal And Installation 643
Compressor Clutch Disassembly 644
CONDENSER 649
Removal And Installation 649
RECEIVER / DRIER 651
Removal And Installation 651
PRESSURE RELIEF VALVE 653
Removal and Installation 653
PRESSURE SWITCH 655
Removal And Installation 655
EVAPORATOR / HEATER UNIT 657
Removal And Installation 657
Disassembly And Assembly 659
THERMOSTAT 661
Removal And Installation 661
EXPANSION VALVE 663
Removal And Installation 663
EVAPORATOR 665
Removal And Installation 665
HEATER COIL 667
Removal And Installation With A/C 667
Removal And Installation Without A/C 668
HEATER / AC FAN 671
Removal And Installation 671
Disassembly And Assembly 672
Wire Connector Removal And Installation 674
HEATER VALVE 677
Removal And Installation 677
Disassembly And Assembly 678
SPECIFICATIONS 681
LOADER SPECIFICATIONS (S250) 683
Machine Dimensions 683
Performance 684
Controls 684
Engine 684
Hydraulic System 685
Electrical 685
Drive System 686
Capacities 686
Tires 686
ENGINE SPECIFICATIONS 687
General 687
Fuel System 687
Valve And Valve Guide And Seat Insert 687
Piston And Rings 688
Connecting Rod 688
Cylinder Head And Block 688
Crankshaft And Main Bearings 689
Camshaft And Bearings 689
Oil Pump 689
LOADER TORQUE 691
Specifications 691
TORQUE SPECIFICATIONS FOR BOLTS 695
Torque For General SAE Bolts 695
Torque For General Metric Bolts 696
Torque For Kubota Metric Engine Bolts 697
HYDRAULIC CONNECTION SPECIFICATIONS 699
O-ring Face Seal Connection 699
Straight Thread O-ring Fitting 700
Tubelines And Hoses 700
Flare Fitting 700
O-ring Flare Fitting 701
Port Seal Fitting 703
HYDRAULIC FLUID SPECIFICATIONS 705
Specifications 705
CONVERSIONS 707
Decimal And Millimeter Equivalents 707
U S To Metric Conversion 707
SERVICE MANUAL REVISION 709
S250-1 709
S250-2 711
S250-3 713
S250-4 715
S250-5 717
IMAGES PREVIEW OF THE MANUAL:
Questions? Email us: [email protected]
PLEASE NOTE:
- This is the SAME MANUAL used by the dealerships to diagnose your vehicle
- No waiting for couriers / posts as this is a PDF manual and you can download it within 2 minutes time once you make the payment.
- Your payment is all safe and the delivery of the manual is INSTANT – You will be taken to the DOWNLOAD PAGE.
- So have no hesitations whatsoever and write to us about any queries you may have : heydownloadss @gmail.com
S.V