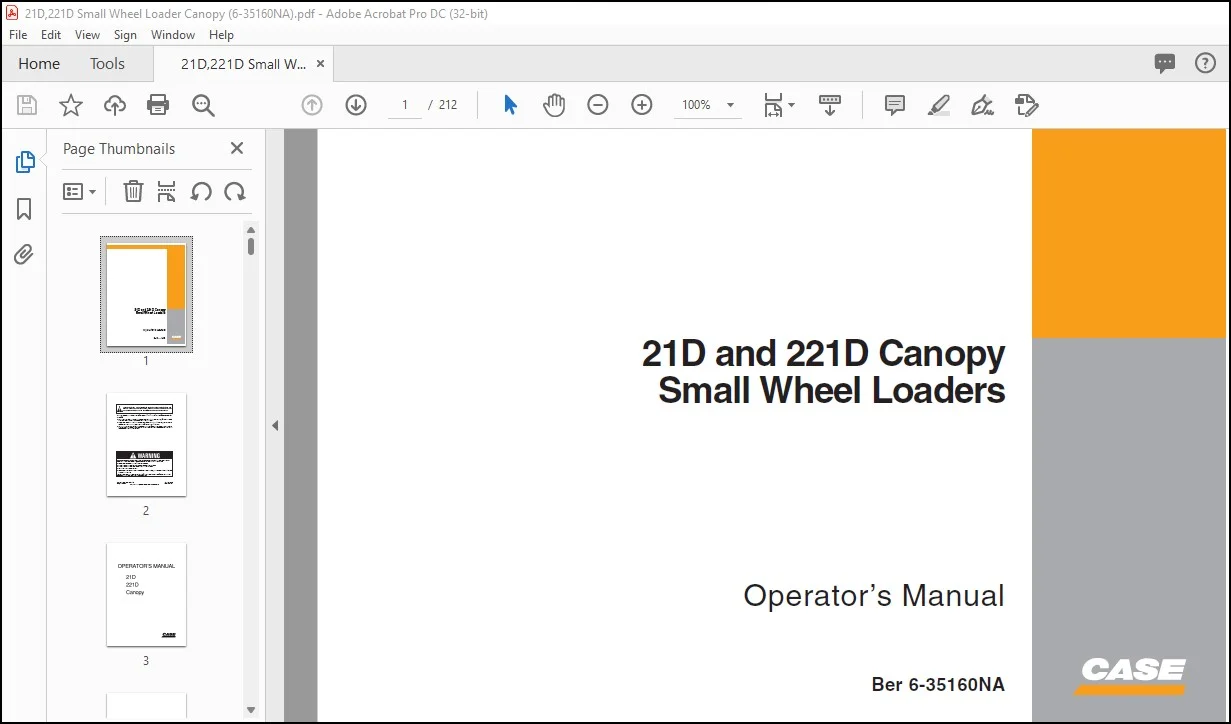
Case 21D & 221D Canopy Small Wheel Loaders Operator’s Manual 6-35160NA – PDF DOWNLOAD
Original price was: $89.95.$28.95Current price is: $28.95.
Case 21D & 221D Canopy Small Wheel Loaders Operator’s Manual 6-35160NA – PDF DOWNLOAD
Description
Case 21D & 221D Canopy Small Wheel Loaders Operator’s Manual 6-35160NA – PDF DOWNLOAD
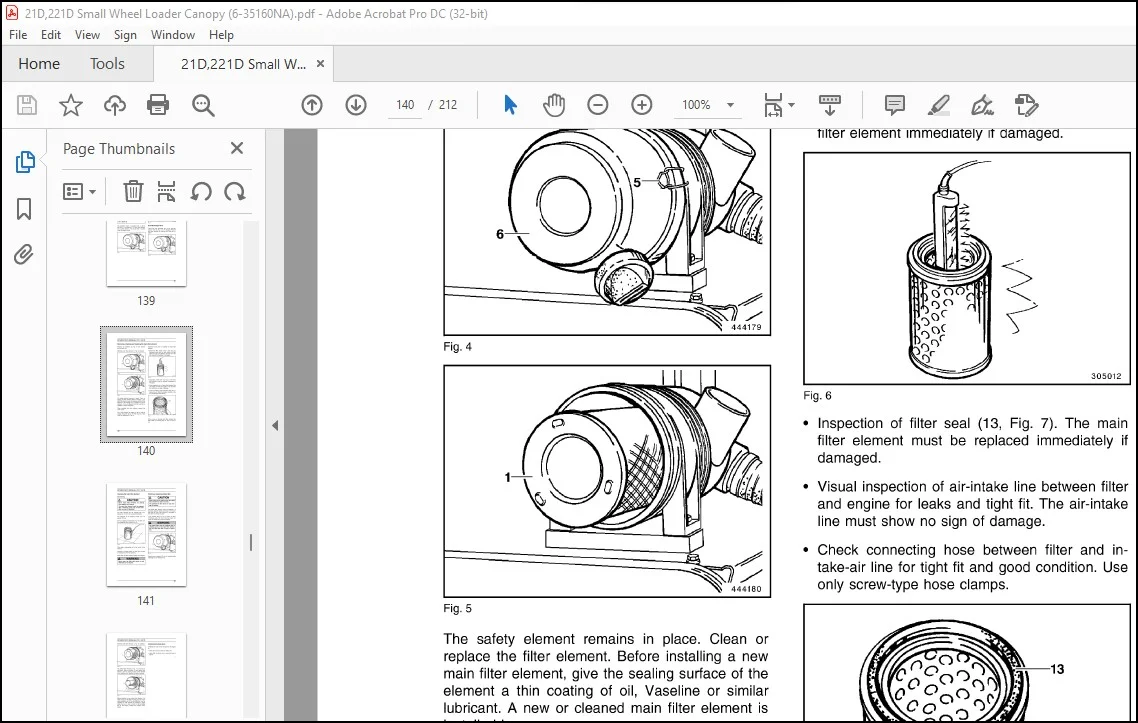
IMAGES PREVIEW OF THE MANUAL:
DESCRIPTION:
Case 21D & 221D Canopy Small Wheel Loaders Operator’s Manual 6-35160NA – PDF DOWNLOAD
PREFACE :
These operator’s manual are designed to familiarize the operator with the machine and its designated use. The instruction manual contains important information on how to operate the machine safely, properly and with maximum efficiency.
- Observing these instructions helps to prevent hazardous situations, to reduce repair costs and downtimes and to increase the reliability and service life of the machine.
- The instruction manual must be supplemented by the respective national rules and regulations for accident prevention and environmental protection. The operator’s manual must always be available in the operator’s cab of the machine.
The operator’s manual must be read and put into practice by any person in charge of carrying out
work with or on the machine, such as:
– operation, including setting-up, troubleshooting
in the course of work, care, evacuation of production
waste and disposal of fuels and consumables.
– maintenance (inspection, servicing, repair) and
I or
– transport.
- In addition to the operator’s manual and the mandatory rules and regulations for accident prevention and environmental protection in the user’s country and at place where the machine is to be used, the generally recognized technical rules for safe and proper working must be observed.
- The operator’s manual is intended for the construction- machine specialist. They cannot provide basic know-how. This can be acquired, for example, in several days’ instruction by one of our qualified mechanics or by attending our training course for operators or maintenance personnel.
TABLE OF CONTENTS:
Case 21D & 221D Canopy Small Wheel Loaders Operator’s Manual 6-35160NA – PDF DOWNLOAD
PART 1 – INTRODUCTION
PREFACE
After-Sales-Service 3
Warnings and symbols 4
Designated use 4
Organizational measures 5
Selection and qualification of personnel 6
OPERATING, SAFETY INSTRUCTIONS
Standard operation 6
MAINTENANCE, SAFETY INSTRUCTIONS 7
WARNING OF SPECIAL DANGERS
Electric energy 8
Gas, dust, steam and smoke 8
Hydraulic and pneumatic equipment 9
Noise 9
Oil, grease and other chemical substances 9
TRANSPORTING AND TOWING – RECOMMISSIONING 9
PART 2-0PERATION
OPERATION – SAFETY INSTRUCTIONS 13
DESCRIPTION OF THE MACHINE
Layout of the machine 16
Basic unit 17
Chassis 17
Drive unit 17
Axles 17
Brakes 17
Hydraulic system 17
Electrical system 17
Working equipment 17
TECHNICAL DATA 18
21 D Wheel Loader 18
TECHNICAL DATA 22
221 D Wheel Loader 22
Noise emissions
Outside the machine 27
Vibration levels
Vertical vibration level at the operator’s seat 27
Vibration level at hands and arms 27
STABILITY
Center of gravity position during transport 28
Rated load at stability limit 29
Warning and instruction signs
Machine number 34
Engine number 34
Axle number 34
Travel pump number 34
Travel motor number 34
Attachments 34
DRIVER’S CAB
Entering and leaving the machine – Safety instructions 35
Documentation 36
Adjusting the operator’s seat
Adjusting the weight-oriented suspension 37
Weight adjustment 37
Height adjustment 37
Fore-and-aft adjustment 38
Backrest adjustment 38
Adjusting the right armrest 39
Height adjustment 39
Fore-and-aft adjustment 39
WARNING, MONITORING AND CONTROL ELEMENTS 40
Driver’s compartment, overall layout 41
Warning and control lamps 42
Switches and pushbuttons 46
PUTTING THE MACHINE INTO OPERATION 50
Refueling
Refueling – Safety instructions 50
Refueling 50
Electrical system ON/ OFF
Battery main switch 51
Immobilizer 51
Electrical system key-switch
Starting and stopping the engine 52
Starting 52
Engine does not start 53
Stopping the engine 53
Horn, turn signal and main beam 54
Lighting 55
DRIVING 56
Driving – Safety instructions 56
Adjustment of steering column
Steering column – Safety instructions 56
Adjusting the steering column 57
Seat belt
Seat belt – Safety instructions 57
Control lever – Traveling/ Working 58
Driving
Warming up the machine 59
Engine 59
Steering and working hydraulics 59
Front and rear axle 59
Braking and stopping 59
Start 60
Travel direction and gears 60
Monitoring the indicators
Hydraulic oil temperature 61
Engine oil pressure 62
Alternator 62
Air filter 62
Coolant temperature 63
Braking pressure 63
Driving on public highways 64
Recovering/ towing of the machine
Recovery and towing, safety instructions 66
Towing lug 66
Towing 67
Transport
Transport – Important information 68
Loading by crane 68
Locking the articulated joint 69
WORKING OPERATION
Working operation – Safety instructions 70
Driving on the public highway 76
Highway transfer 76
STANDARD EQUIPMENT 77
Control lever for bucket equipment
Floating position of the bucket equipment 78
Combined functions 78
Control lever – 3rd/4th function 79
Quick-coupler 79
Control lever locking 79
Locking the control levers 79
Unlocking the control levers 79
OPTIONAL EQUIPMENT
Bottom-dump bucket 80
Sweeper 80
After daily operation
Securing the machine 81
Cleaning and refueling of machine 81
Carry out visual inspection 81
Wheel chock 81
WORKING EQUIPMENT 82
Assembling working equipment – safety instructions 82
ATTACHMENTS 84
Quick-coupler 84
Bucket
Attaching the bucket 84
Checking the bucket locking 85
Detaching the bucket 85
Four-in-one bucket
Attaching the four-in-one bucket 86
Detaching the four-in-one bucket (bottom-dump bucket) 87
Carriage with lifting forks
Attaching the equipment carrier 88
Removing the Carriage 88
Lifting forks 88
Working with lifting forks 89
Picking up loads 89
Transporting loads 89
Setting down loads 89
Flood lamps, front 90
Flood lamps, rear 90
Rotating beacon 90
Acoustic reversing signal (Back-up alarm) 91
Load holding safety device
Without shut-off possibility 92
PART 3 – INSPECTION AND SERVICING
INSPECTION AND SERVICING – SAFETY INSTRUCTIONS 95
MAINTENANCE WORK
Securing the machine 99
Opening the engine hood 99
SERVICING
Draining hose for oil changes 100
Hourmeter 100
Inspection and servicing plans – instructions
Intervals 101
Change of engine oil 101
Oil/ Grease 101
Cleaning jobs 101
Servicing material 101
Plan V – once prior to initial commissioning 102
Plan N – After initial commissioning 103
Plan T – Every 10 HOURS or each working shift 104
Plan W – Every 50 HOURS or weekly 104
Plan B – after every 500 HOURS 106
Plan C – after every 1000 HOURS 106
Plan D – after every 3000 HOURS 106
LUBRICATING CHART – GREASE
Lubricating chart – grease 109
Articulations and hinges 109
OIL INSPECTION PLAN
Oil inspection plan 111
Refilling quantities – Oil 111
Refilling quantities – Other 111
LUBRICANTS 112
Oils for internal combustion engines 112
Oils for hydraulic system, mineral 113
Oils for axles and gearboxes (selection) 114
Greases for bearing points and articulations 115
ENGINE
Safety instructions for inspection and servicing 116
Checking the engine oil level / Adding up oil 116
Changing the engine oil 117
Replacing the engine oil filter 118
Crankcase ventilation 118
Valve clearance 119
COOLING SYSTEM
Checking the cooling liquid level 120
Changing the cooling liquid 120
AIR-INTAKE SYSTEM
Dust-discharge valve 121
Removing, checking and cleaning the main filter element 122
Cleaning the main filter element 123
Checking / replacing safety filter 123
Checking air-intake lines 124
FUEL SYSTEM
Fuel filter 125
Water pre-separator 126
Draining off water 126
Cleaning the water pre-separator 126
Cleaning the fuel tank 126
Injection nozzles 127
ELECTRICAL SYSTEM
Safety instructions 128
Alternator, instructions 128
Battery main switch 129
Battery
Battery – checking the fluid level 130
Battery – checking the charge 130
Removing and installing the battery 131
HYDRAU UC SYSTEM
Checking the hydraulic oil level 132
Return-flow filter 132
Replacing the filter 132
Breather filter 133
Hydraulic reservoir
Changing the hydraulic oil 134
Filling the hydraulic reservoir with oil 134
Bleeding the hydraulic working and steering systems
Working hydraulic system 134
Steering hydraulic system 134
OPTIONAL EQUIPMENT 135
Environmentally compatible hydraulic fluid (biodegradable)
Environmentally compatible hydraulic fluid, operating instructions 135
Environmentally compatible hydraulic fluid, conversion 135
Environmentally compatible hydraulic fluid, sampling 136
Oils for hydraulic system, synthetic (biodegradability) 137
AXLES 138
Safety instructions 138
Front axle 138
Rear axle 139
Transfer gearbox 139
Planetary gears 140
BRAKES
Working on brakes, safety instructions 141
Parking brake 141
Reducing braking pressure 141
Checking the brake disks 141
Bleeding the braking system
Bleeding 143
TIRES AND WHEELS
Tires and wheels – Safety instructions 144
Tire pressure – Safety instructions 145
Checking tire pressure – Reinflating tires 146
Tire pressure 147
Changing a wheel 148
Fastening of wheels 148
Tire tread direction 148
LUBRICATING THE GREASING POINTS 149
STORING THE LOADER
Engine conservation 149
Battery storage 150
RECOMMISSIONING
Removal of engine conservation agents 151
PART 4 – REPAIR WORK
REPAIR WORK – SAFETY INSTRUCTIONS 155
ENGINE 156
Engine – repair instructions
Replacing V-belts 156
Replacing alternator/ coolant pump V-belts 156
Assisted starting (jump-starting) – Safety instructions
Assisted starting Uump-starting) 158
Prior to assisted starting 158
Connecting the jumper cables 158
Starting the engines 158
ELECTRICAL SYSTEM
Fuses 159
Replacing fuses 160
Replacing bulbs 160
Lighting
Headlamp 161
Turn signal lamp 162
Tail/brake signal lamp 162
Flood lamp 163
Rotating beacon 164
Replacing the lamp 164
WELDING OPERATIONS
Welding operations – safety instructions 165
HYDRAULIC SYSTEM
Replacing hydraulic hoses – Safety instructions 166
Lifting cylinder – installation 166
BRAKES
Safety instructions 167
Checking the braking pressure 168
Replacing the brake disks 168
Checking the accumulator pressure 169
Checking the preloading pressure 169
ACCUMULATORS 170
Safety instructions 170
WORKING EQUIPMENT
Bucket 171
Replacing teeth 171
Bucket limit stops 172
Upper dumping position 172
Rearward tilt position 173
Lifting forks
Checking of forks 174
PART 5 – ANNEX
TROUBLESHOOTING 177
Instructions on troubleshooting 177
Layout of fault table
Fault 177
Cause 177
Remedial acxion 177
Chapter reference 177
Engine 178
Engine start/ stop 179
Steering system 180
Working equipment 181
Transmission 182
Brake system 184
ABBREVIATIONS 185
Contact us: [email protected]
PLEASE NOTE:
- This is the same manual used by the dealers to diagnose and troubleshoot your vehicle
- You will be directed to the download page as soon as the purchase is completed. The whole payment and downloading process will take anywhere between 2-5 minutes
- Need any other service / repair / parts manual, please feel free to contact [email protected] . We still have 50,000 manuals unlisted
S.V