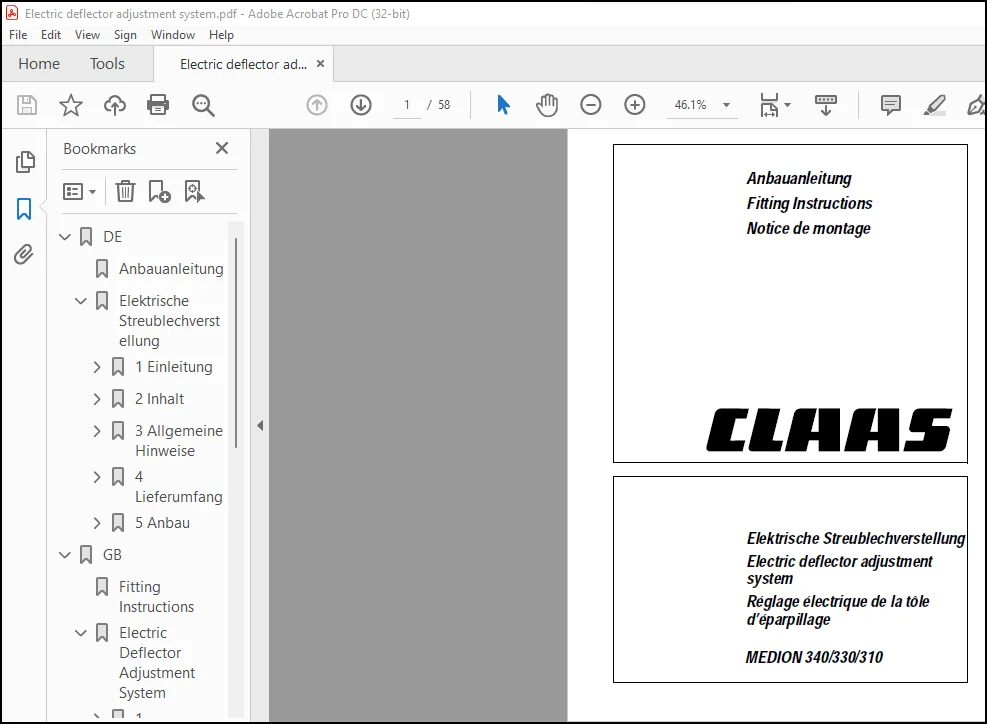
Claas Combine MEDION 340/330/310 Electric deflector adjustment system Fitting Instructions Manual_DE_EN_FR – PDF DOWNLOAD
Original price was: $78.00.$20.95Current price is: $20.95.
Claas Combine MEDION 340/330/310 Electric deflector adjustment system Fitting Instructions Manual_DE_EN_FR – PDF DOWNLOAD
Description
Claas Combine MEDION 340/330/310 Electric deflector adjustment system Fitting Instructions Manual_DE_EN_FR – PDF DOWNLOAD
DESCRIPTION:
Claas Combine MEDION 340/330/310 Electric deflector adjustment system Fitting Instructions Manual_DE_EN_FR – PDF DOWNLOAD
INTRODUCTION
These instructions describe the safe and timesaving
work sequence for retrofitting an electric deflector
adjustment system.
Retrofitting of the MEDION 340/330/310 combine
harvester, with the supplementary kit part no. 299
235.0, is possible from the following machine number
ranges: 9320011 and 9340011.
The standard mounting time is approx. 2 man hours.
See page 4.1 for the shipping package.
Observe the »Safety Rules« in the applicable
operator’s manual.
Your CLAAS Service Department
TABLE OF CONTENTS:
Claas Combine MEDION 340/330/310 Electric deflector adjustment system Fitting Instructions Manual_DE_EN_FR – PDF DOWNLOAD
DE………………………………………………………………………………….. 3
Anbauanleitung……………………………………………………………………. 3
Elektrische Streublechverstellung…………………………………………………… 3
1 Einleitung………………………………………………………………….. 5
Einleitung………………………………………………………………… 5
2 Inhalt……………………………………………………………………… 7
Inhalt……………………………………………………………………. 7
3 Allgemeine Hinweise………………………………………………………….. 9
Besonders zu beachten………………………………………………………. 9
Kennzeichnung von Warn- und Gefahrenhinweisen………………………………10
Bestimmungsgemäße Verwendung……………………………………………..10
4 Lieferumfang…………………………………………………………………11
Lieferumfang……………………………………………………………….11
Nachrüstsatz ET-Nr. 011 213.0…………………………………………….11
5 Anbau……………………………………………………………………….13
Elektrische Streublechverstellung anbauen……………………………………..13
Anbau vorbereiten……………………………………………………….13
Mechanische Bauteile befestigen…………………………………………..13
Steckmodul (9) anbauen…………………………………………………..14
Kabelsatz (14) zum Linearmotor (5) verlegen………………………………..16
Kabelsatz (14) zum Schaltpult verlegen…………………………………….18
Drehknopf (22) anbauen und anschließen…………………………………….19
Probelauf durchführen……………………………………………………20
GB…………………………………………………………………………………..21
Fitting Instructions……………………………………………………………….21
Electric Deflector Adjustment System…………………………………………………21
1 Introduction…………………………………………………………………23
Introduction……………………………………………………………….23
2 Contents…………………………………………………………………….25
Contents…………………………………………………………………..25
3 General information…………………………………………………………..27
Important………………………………………………………………….27
Identification of warnings and danger signs………………………………..28
Correct use…………………………………………………………….28
4 Shipping Package……………………………………………………………..29
Shipping Package……………………………………………………………29
Supplementary kit parts no. 011 213.0……………………………………..29
5 Installation…………………………………………………………………31
Installing the electric deflector adjustment system…………………………….31
Preparing the installation……………………………………………….31
Attaching the mechanical components……………………………………….31
Installing the plug-in-type module (9)…………………………………….32
Laying the wiring loom (14) to the linear motor (5)…………………………33
Laying the wiring loom (14) to the switch console…………………………..36
Attaching and connecting the turn switch (22)………………………………36
Performing a test run!…………………………………………………..38
FR…………………………………………………………………………………..39
Notice de montage………………………………………………………………….39
Réglage électrique de la tôle d’éparpillage…………………………………………..39
1 Introduction…………………………………………………………………41
Introduction……………………………………………………………….41
2 Contenu……………………………………………………………………..43
Contenu……………………………………………………………………43
3 Conseils généraux…………………………………………………………….45
Important………………………………………………………………….45
Identification des prescriptions concernant les avertissements et les dangers….46
Utilisation conforme à l’emploi prévu……………………………………..46
4 Pièces fournies………………………………………………………………47
Pièces fournies…………………………………………………………….47
No. réf. 011 213.0 du jeu d’équipement supplémentaire……………………….47
5 Montage……………………………………………………………………..49
Montage du réglage électrique de la tôle d’éparpillage………………………….49
Préparer le montage……………………………………………………..49
Fixer les composants mécaniques…………………………………………..49
Montage du module enfichable (9)………………………………………….50
Poser le jeu de câbles (14) sur le servo-moteur (5)…………………………51
Poser le jeu de câbles (14) vers le pupitre de commande……………………..54
Montage et raccordement du bouton rotatif (22)……………………………..54
Effectuer une marche d’essai……………………………………………..56
IMAGES PREVIEW OF THE MANUAL:
PLEASE NOTE:
- This is the same manual used by dealerships to diagnose and troubleshoot your vehicle
- You will be directed to the download page as soon as the purchase is complete. The whole payment and download process will take between 2 and 5 minutes
- Need any other service/repair/parts manual, please feel free to contact [email protected]. We still have 50,000 unlisted manuals
S.M