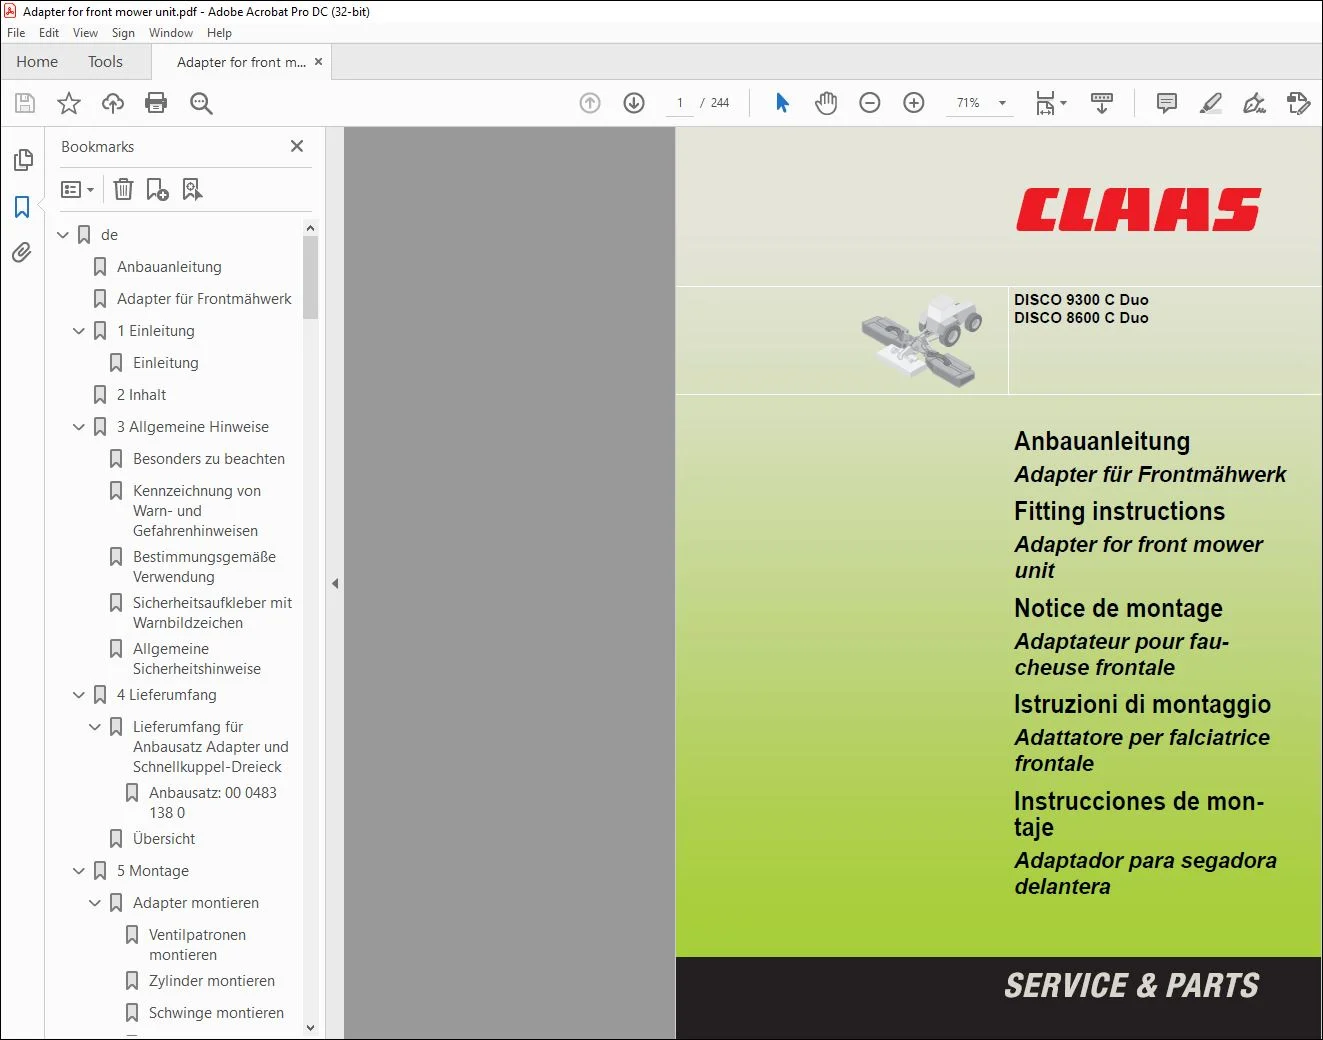
CLAAS Mower DISCO 9300 C Duo 8600 C Duo Adapter for front mower unit Fitting Instructions Manual_DE_EN_FR_IT_ES – PDF
Original price was: $78.00.$24.95Current price is: $24.95.
CLAAS Mower DISCO 9300 C Duo 8600 C Duo Adapter for front mower unit Fitting Instructions Manual_DE_EN_FR_IT_ES – PDF
Description
CLAAS Mower DISCO 9300 C Duo 8600 C Duo Adapter for front mower unit Fitting Instructions Manual_DE_EN_FR_IT_ES – PDF
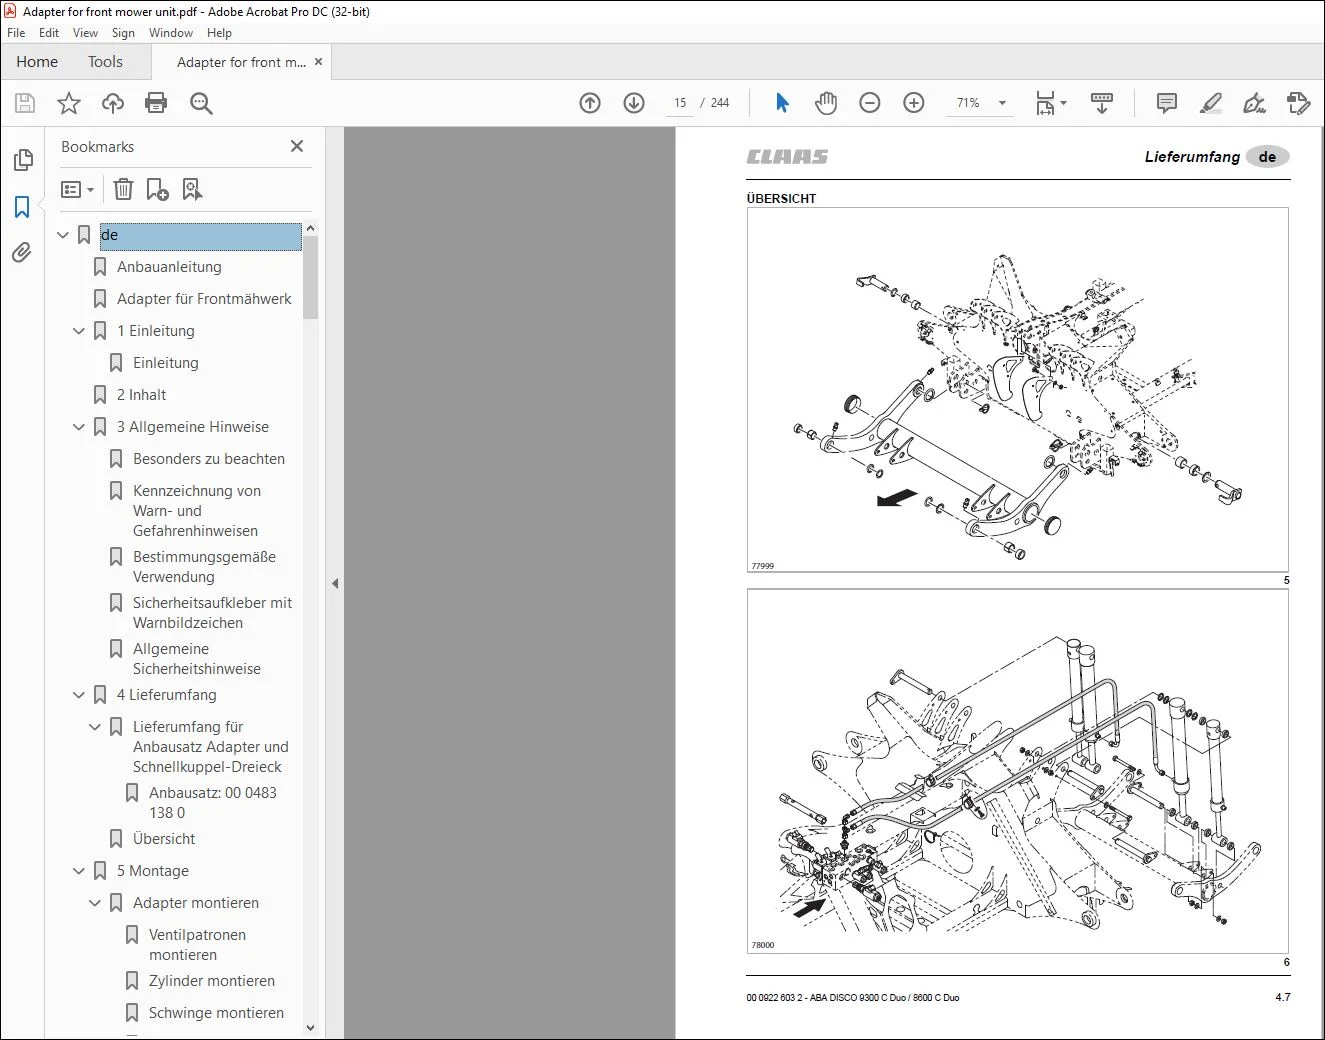
IMAGES PREVIEW OF THE MANUAL:
DESCRIPTION:
CLAAS Mower DISCO 9300 C Duo 8600 C Duo Adapter for front mower unit Fitting Instructions Manual_DE_EN_FR_IT_ES – PDF
Safety
- Work may only be carried out by a qualified specialist workshop employing trained specialist workers. The general safety, accident prevention and environmental protection regulation must be observed. Before starting work on the machine, read and observe the safety precautions in the Operator’s Manual and the safety decals on the machine.
- All work must be carried out with the drive disengaged and the engine stopped! – Remove the ignition key! Carry out work beneath a raised machine/front attachment or raised components only if a safe support is provided. Before carrying out work on the hydraulic system, lower the machine/front attachment and hydraulically actuated components to the ground.
- Depressurise the system. Relieve the tension of pre-loaded energy accumulators (springs, accumulators, hydraulic cylinders) and of components which are pre-loaded by energy accumulators properly prior to starting installation work! When parts with safety decals on them are replaced, ensure that the relevant safety decals are applied again to the new
- parts. Refit any dismounted safety guards and other parts before putting back into operation and move them to their protective position. Check the tight seat of all bolts after assembly. Carry out a function test. The dimensions given follow the metric system. The corresponding U.S. dimensions are added in brackets.
TABLE OF CONTENTS:
CLAAS Mower DISCO 9300 C Duo 8600 C Duo Adapter for front mower unit Fitting Instructions Manual_DE_EN_FR_IT_ES – PDF
1 Einleitung
Einleitung 11
2 Inhalt
3 Allgemeine Hinweise
Besonders zu beachten 31
Kennzeichnung von Warn- und
Gefahrenhinweisen 31
Bestimmungsgemäße Verwendung 32
Sicherheitsaufkleber mit Warnbildzeichen 32
Allgemeine Sicherheitshinweise 32
4 Lieferumfang
Lieferumfang für Anbausatz Adapter und
Schnellkuppel-Dreieck 42
Anbausatz: 00 0483 138 0 42
Übersicht 47
5 Montage
Adapter montieren 51
Ventilpatronen montieren 51
Zylinder montieren 56
Schwinge montieren 59
Oberlenker montieren 512
Schlauchleitungen für Entlastungszylinder
montieren 514
Schlauchleitungen für Aushubzylinder
montieren 515
Schnellkuppel-Dreieck montieren 518
Anschlag Anfahrsicherung montieren 520
Normale Bereifung 520
Breite Bereifung 521
Abstand prüfen 522
Gelenkwelle montieren 523
Frontmähwerk anbauen 524
Verriegelung prüfen / einstellen 524
Beleuchtung am Frontmähwerk montieren 525
Verstärkung Frontmähwerk montieren 532
Vor Inbetriebnahme prüfen und beachten! 533
1 Introduction
Introduction 11
2 Table of contents
3 General instructions
Of special importance 31
Identification of warnings and dangers 31
Designated use 32
Safety decals with warning symbols 32
General safety instructions 32
4 Package list
Shipping package for adapter and quick-release
three-point hitch installation kit 42
Installation kit: 00 0483 138 0 42
Overview 47
5 Installation
Installing the adapter 51
Installing the valve cartridges 51
Installing the cylinders 56
Installing the rocker arm 59
Installing the upper link 512
Installing the hoses for the load relief cylinder 514
Installing the hoses for the lift cylinder 515
Installing the quick-release three-point hitch 518
Installing the starting protection stop 520
Normal tyres 520
Wide tyres 521
Checking the distance 522
Installing the universal drive shaft 523
Installing the front mower unit 524
Checking / adjusting the lock 524
Installing the lighting on the front mower unit 525
Installing the front mower unit reinforcement 532
Before commissioning, check and observe 533
1 Introduction
Introduction 11
2 Table des matières
3 Conseils généraux
Important 31
Identification des prescriptions concernant les
avertissements et les dangers 31
Utilisation conforme à l’usage prévu 32
Etiquette de sécurité avec pictogramme de
danger 32
Consignes de sécurité générales 32
4 Pièces fournies
Pièces fournies pour l’adapteur du kit de montage
et le triangle d’accouplement rapide 42
Kit de montage : 00 0483 138 0 42
Vue d’ensemble 47
5 Montage
Monter l’adaptateur 51
Monter les cartouches de soupape 51
Monter le vérin 56
Monter le balancier 59
Monter le bras supérieur 512
Monter les conduites flexibles pour les vérins
de souplesse 514
Monter les conduites flexibles pour les vérins
de relevage 515
Monter le triangle d’accouplement rapide 518
Monter la butée de sécurité au démarrage 520
Pneumatiques normaux 520
Pneumatiques larges 521
Vérifier la distance 522
Monter l’arbre à cardan 523
Poser la faucheuse frontale 524
Vérifier / régler le verrouillage 524
Monter l’éclairage sur la faucheuse frontale 525
Monter le renfort de la faucheuse frontale 532
A respecter et vérifier avant la mise en service ! 533
1 Introduzione
Introduzione 11
2 Indice
3 Indicazioni generali
Avvertenze importanti 31
Simbologia concernente gli avvertimenti e gli
avvisi di pericolo 31
Norme per il corretto impiego 32
Decalcomanie con simboli di pericolo 32
Indicazioni generali per la sicurezza 32
4 Complessivo di fornitura
Complessivo di fornitura per il kit di montaggio
dell’adattatore e triangolo ad attacco rapido 42
Kit di montaggio: 00 0483 138 0 42
Vista 47
5 Montaggio
Montare l’adattatore 51
Montare le cartucce valvola 51
Montaggio dei cilindri 56
Montaggio del braccio oscillante 59
Montaggio del braccio superiore 512
Montaggio del tubo flessibile per il cilindro di
scarico 514
Montaggio del tubo flessibile per il cilindro di
sollevamento 515
Montaggio del triangolo ad attacco rapido 518
Montaggio della battuta per la sicurezza contro
gli ostacoli 520
Pneumatici normali 520
Pneumatici larghi 521
Controllo della distanza 522
Montaggio dell’albero cardanico 523
Montaggio della falciatrice frontale 524
Controllo / registrazione del dispositivo di
bloccaggio 524
Montaggio dei dispositivi d’illuminazione sulla
falciatrice frontale 525
Montaggio del rinforzo della falciatrice frontale 532
Da controllare ed osservare prima della messa
in campo! 533
1 Introducción
Introducción 11
2 Contenido
3 Indicaciones generales
A observar en especial 31
Identificación de indicaciones de advertencia
y de peligro 31
Utilización conforme a las normas previstas 32
Rótulo adhesivo de seguridad con símbolo de
advertencia 32
Indicaciones generales de seguridad 32
4 Conjunto de suministro
Conjunto de suministro para el juego de montaje
adaptador y triángulo de acoplamiento rápido 42
Juego de montaje: 00 0483 138 0 42
Sumario 47
5 Montaje
Montar el adaptador 51
Montar los cartuchos de válvula 51
Montar el cilindro 56
Montar la biela 59
Montar el brazo superior del tercer punto 512
Montar los latiguillos para el cilindro
de descarga 514
Montar los latiguillos parael cilindro
de elevación 515
Montar el triángulo de acoplamiento rápido 518
Montar el tope del seguro de choque 520
Neumáticos normales 520
Neumáticos anchos 521
Comprobar la distancia 522
Montar el eje cardán 523
Montar la segadora frontal 524
Comprobar / ajustar el cierre 524
Montar la iluminación en la segadora frontal 525
Montar el refuerzo de la segadora frontal 532
¡Comprobar y tener en cuenta antes de la puesta
en marcha! 533
PLEASE NOTE:
- This is the same manual used by the dealers to diagnose and troubleshoot your vehicle
- You will be directed to the download page as soon as the purchase is completed. The whole payment and downloading process will take anywhere between 2-5 minutes
- Need any other service / repair / parts manual, please feel free to contact [email protected] . We still have 50,000 manuals unlisted
S.M