Claas Variant 180 180 RC Operator’s Manual – PDF DOWNLOAD
Original price was: $86.95.$26.95Current price is: $26.95.
Claas Variant 180 180 RC Operator’s Manual – PDF DOWNLOAD
Description
Claas Variant 180 180 RC Operator’s Manual – PDF DOWNLOAD
DESCRIPTION:
Claas Variant 180 180 RC Operator’s Manual – PDF DOWNLOAD
Introduction:
This manual contains information regarding the use, assessing an operation of the CLAAS VARIANT 180 / 180 ROTO CUT round baler. This Operator’s Manual is applicable from machine number 049 01 497 Provided you follow the advice on the care and service of your machine, you will be awarded with reliable efficiency and long service from your round baler.
- We recommend that you allow your local CLAAS dealer to overhaul and service your round baler immediately after the season, adhering to the recommended winter service schedule contained in this manual.
- Omissions of parts of a service, or incorrect adjustments lead to drop in performance and cost valuable time. Correct operation and careful maintenance will ensure that you benefit from the latest crop handling know-how and experience reflected in the design of your round baler and afford reliable service at all times.
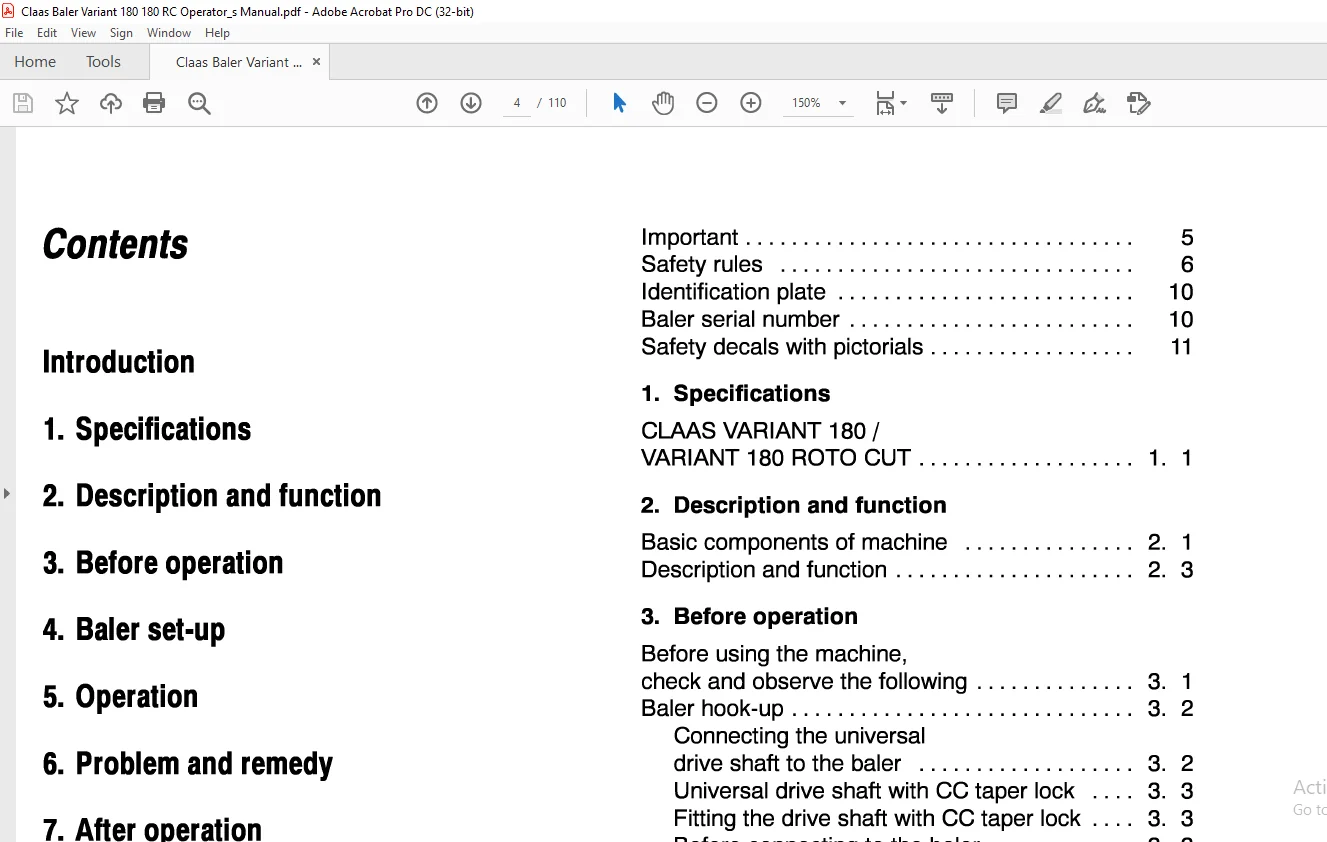
TABLE OF CONTENTS:
Claas Variant 180 180 RC Operator’s Manual – PDF DOWNLOAD
Important 5
Safety rules 6
Identification plate 1 O
Baler serial number 10
Safety decals with pictorials 11
1 Specifications
CLAAS VARIANT 180 /
VARIANT 180 ROTO CUT 1 1
2 Description and function
Basic components of machine 2 1
Description and function 2 3
3 Before operation
Before using the machine,
check and observe the following 3 1
Baler hook-up 3 2
Connecting the universal
drive shaft to the baler 3 2
Universal drive shaft with CC taper lock 3 3
Fitting the drive shaft with CC taper lock 3 3
Before connecting to the baler 3 3
Hook-up to the swinging drawbar 3 4
Hook-up to top-fitted tow jaw
(in Germany only permitted
with type-approved drawbar) 3 5
Greasing the hitch eye 3 6
Connecting the universal
drive shaft to the tractor 3 6
Preventing the universal drive shaft
guards from rotating with the drive shaft 3 7
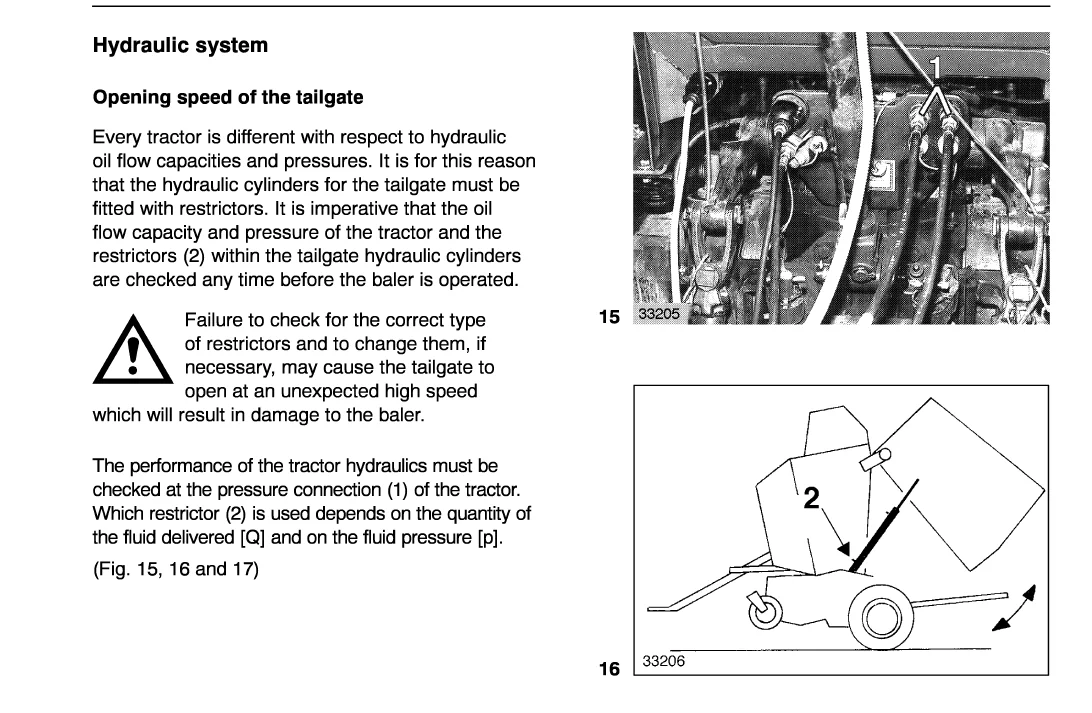
Hydraulic system 3 9
Opening speed of the tailgate 3 9
Hydraulic pipe connection 3 10
Electrics 3 11
Control box 3 11
Driving indication system 3 11
Connecting the power 3 11
Machine with lights 3 11
Fire Extinguisher 3 12
Before transporting the baler 3 12
4 Baler set-up
Pick-up 4 1
Pick-up, transport and working position 4 1
Adjusting the pick-up
(Pick-up without gauge wheels) 4 1
Adjusting the pick-up
(Pick-up with gauge wheels) 4 1
Pick-up crop guard 4 2
Baffle plate 4 2
Cutting unit
(VARIANT 180 ROTO CUT) 4 3
Dummy knives 4 3
Fitting and removing the knives 4 3
Dummy knife holder (Option) 4 4
Securing the knives 4 4
Baling
Bale density control
Setting the bale size
Bale centre density control
Safety locks for the tailgate
Ladder
Wrapping
Net wrapping
Threading in the net
Adjusting the number of net wraps
Twine box
Twine wrapping
Threading the twine
Adjusting the number
of twine wrappings
Adjusting the twine wrappings
at the outer edges of the bale
Machines with twine and
net wrapping system
Setting the machine
onto twine wrapping
Adjusting the drive to twine wrapping
Setting the drive belt brake
Changing to net wrapping
Swapping the drive over for net wrapping
Releasing the drive belt brake
Baling silage
5 Operation
Filling the bale chamber
Direction indicating system
(right / left indicator, extra equipment)
Baling and ejecting
Net wrapping
Operating the twine wrapping system
Manual starting of the wrapping
Ejecting the bale
(machine with discharge ramp)
Rotor disengagement
Ejecting the bale without discharge ramp
Placement of the bales
Bale counter
Blockages
Cam type clutch on the
universal drive shaft
Reversing the Rotor
(VARIANT 180 / 180 ROTO CUT)
Cutting unit
Balers without a cutting UNIT
(VARIANT 180) · · ·
Balers fitted with a cutting unit
(VARIANT 180 ROTO CUT)
Moving the knives in
Moving the knives out
Switch positions
6 Problems and remedies
7 After operation
Storage of the baler
Storing the control box
Storage of the hydraulic
lines and power cables
Storage of the universal drive shaft
Wheel chocks
Stand
8 Maintenance
Important maintenance instructions 8 1
Drive system 8 2
Main drive shear bolt 8 2
Pick-up drive shear bolt 8 2
Angle drive gearbox 8 2
Tensioning the drive chains 8 3
Tensioning spring for the pick-up drive 8 4
Tensioning the drive chain
for the pick-up stub auger 8 4
Adjusting pressure spring
for the net feed pressure roller 8 4
Adjusting the tensioning device
for the knife that cuts the net 8 4
Adjusting the disc brake 8 5
Tensioning the springs for
the chain drive (belts and rotor) 8 5
Tensioning the spring
for the tailgate chain drive 8 5
Adjusting the counter balance
spring for the pick-up 8 6
Tensioning the spring on
the lower tension arm 8 6
Adjusting the tension spring
for the net roll brake 8 6
Adjusting spring cylinder
for free-wheel drive 8 6
Drive brake – twine wrapping 8 7
Adjusting the pressure springs
on the cut-out clutch 8 7
Tension on the slip clutch
(net wrapping) 8 7
Twine brake 8 7
Flat belts 8 8
Slackening the flat belts 8 8
Installing the flat belts 8 9
Repairing flat belts 8 10
Adjusting belt run 8 12
Wrapping drive belt 8 12
Automatic chain lubrication 8 13
Lubrication 8 14
Bale discharge ramp 8 14
Hydraulic oil filter
(machines with the filter fitted) 8 14
Linatex guide plate 8 16
Fire Extinguisher 8 16
9 Lubrication chart
IMAGES PREVIEW OF THE MANUAL:
Customer Support: [email protected]
PLEASE NOTE:
- This is the SAME exact manual used by your dealers to fix your vehicle.
- The same can be yours in the next 2-3 mins as you will be directed to the download page immediately after paying for the manual.
- Any queries / doubts regarding your purchase, please feel free to contact [email protected]
S.V