Dynapac DRV51 DRV60 Screed Operation & Maintenance Instruction Manual 4812311986_B – PDF DOWNLOAD
Original price was: $78.95.$28.95Current price is: $28.95.
Dynapac DRV51 DRV60 Screed Operation & Maintenance Instruction Manual 4812311986_B – PDF DOWNLOAD
SERIAL NUMBER:
4200237 –
4812311986_B – EN
Description
Dynapac DRV51 DRV60 Screed Operation & Maintenance Instruction Manual 4812311986_B – PDF DOWNLOAD
FILE DETAILS:
Dynapac DRV51 DRV60 Screed Operation & Maintenance Instruction Manual 4812311986_B – PDF DOWNLOAD
Language : English
Pages : 181
Downloadable : Yes
File Type : PDF
Size: 23 MB
TABLE OF CONTENTS:
Dynapac DRV51 DRV60 Screed Operation & Maintenance Instruction Manual 4812311986_B – PDF DOWNLOAD
SERIAL NUMBER:
4200237 –
4812311986_B – EN
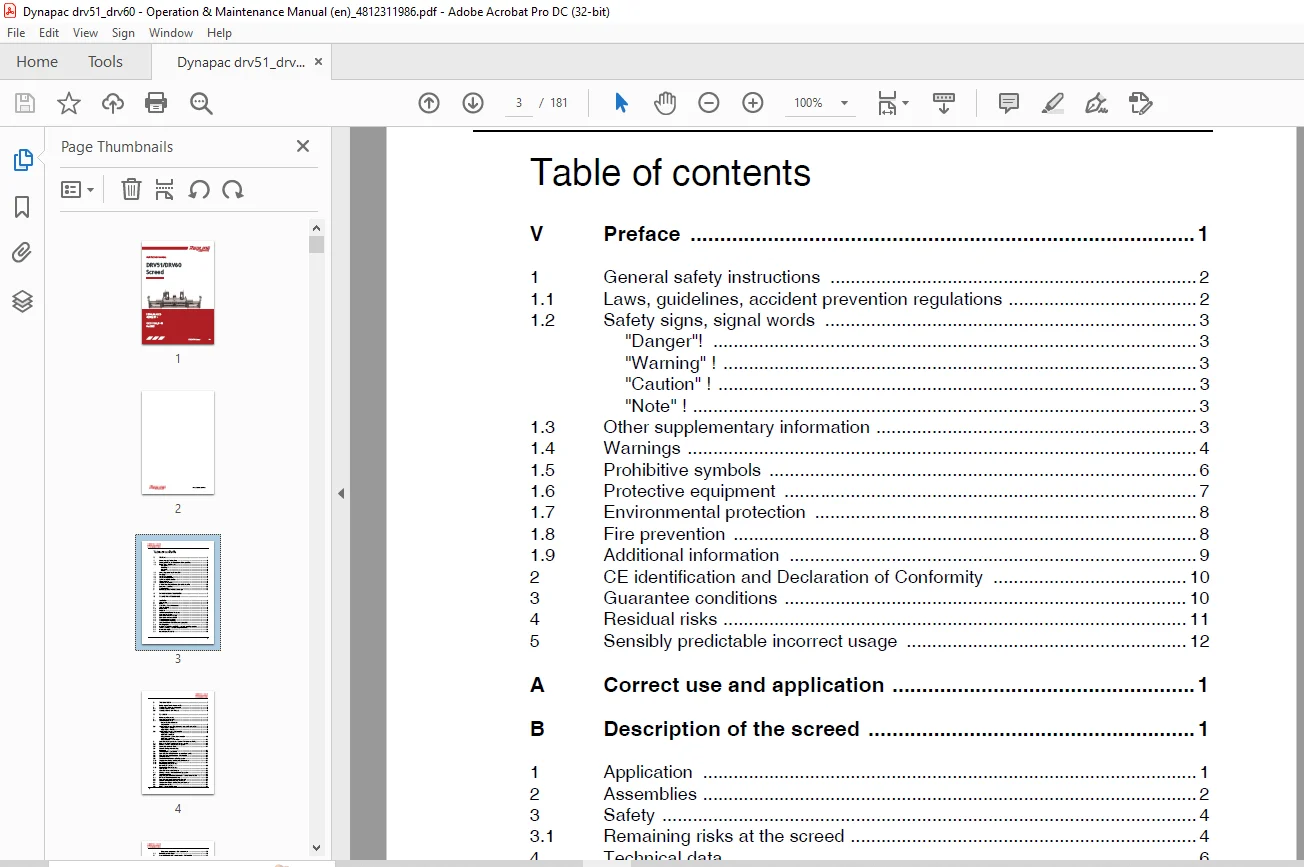
V Preface 1
1 General safety instructions 2
1 1 Laws, guidelines, accident prevention regulations 2
1 2 Safety signs, signal words 3
“Danger”! 3
“Warning” ! 3
“Caution” ! 3
“Note” ! 3
1 3 Other supplementary information 3
1 4 Warnings 4
1 5 Prohibitive symbols 6
1 6 Protective equipment 7
1 7 Environmental protection 8
1 8 Fire prevention 8
1 9 Additional information 9
2 CE identification and Declaration of Conformity 10
3 Guarantee conditions 10
4 Residual risks 11
5 Sensibly predictable incorrect usage 12
A Correct use and application 1
B Description of the screed 1
1 Application 1
2 Assemblies 2
3 Safety 4
3 1 Remaining risks at the screed 4
4 Technical data 6
4 1 Dimensions 6
4 2 Weights 6
4 3 Adjustment/equipment features 7
4 4 Compacting system 7
4 5 Gas heater system V 5100 8
4 6 Gas heater system V 6000 8
4 7 Electric heater V 5100 (o) 9
4 8 Electric heater V 6000 (o) 9
5 Location of instruction labels and type plates 10
5 1 Warning signs 13
5 2 Instructive symbols, prohibitive symbols, warning symbols 13
5 3 Further warnings and operating instructions 14
5 4 Information signs 15
5 5 Screed type plate (20) 16
2
C Transportation 1
1 Safety regulations for transportation 1
2 Transporting the removed screed 2
2 1 Transportation by crane 3
2 2 Transportation by fork-lift truck 3
D Operation 1
1 Notes regarding safety 1
2 Operation of the screed 5
2 1 Extend/retract screed 5
Hydraulic side shields (o) –
PLC version 7
2 2 Adjusting the compacting elements – conventional version 8
Adjusting the tamper 8
Adjusting the vibration 8
2 3 Adjusting the tamper – PLC version 9
Adjusting the vibration 9
Additional headlight
Side shield (o) – conventional version 10
Additional headlight
Side shield (o) – PLC version 11
3 Operation of the gas heater system with flame monitoring 12
3 1 Schematic diagram of the gas supply system 12
3 2 General notes on the gas heater system 13
3 3 Connection and leak test 14
3 4 Commissioning and checking
the heater 15
3 5 Exchanging the gas bottles 16
3 6 Operating the electric heater – conventional version 17
3 7 Operating the electric heater – PLC version 19
3 8 Ignition process 21
3 9 Function of the flame monitoring system 22
3 10 Temperature display, setting temperature level 24
3 11 Switching off the heater 25
3 12 Gas heating side shield (o) –
conventional version 26
3 13 Gas heating side shield (o) –
PLC version 27
4 Operation of the electric heater 28
4 1 General notes on the electric heating system 28
4 2 Insulation monitor 29
5 Operating the electric screed heater – conventional version 30
5 1 Switch cabinet for screed heater 30
5 2 Operating the control and monitoring unit 32
5 3 Commissioning and checking the heater 35
5 4 Temperature display, setting temperature level 37
5 5 Temperature setting 37
5 6 Status and error messages 38
3
Emergency programme with sensor error 39
5 7 Switching off the heater 40
6 Operating the electric screed heater – PLC version 41
6 1 Switch cabinet for screed heater 41
6 2 Temperature display, setting temperature level 43
6 3 Switching off the heater 43
7 Malfunctions 44
7 1 Problems during paving 44
7 2 Malfunctions on the screed 47
E Set-up and modification 1
1 Notes regarding safety 1
2 Mounting the screed to the paver finisher 2
2 1 Mounting the side shields 3
2 2 Mount side shield, hinged (o) 4
Installation, hinge 4
Installation, working position 5
Transport position 6
2 3 Adjusting the side shield height and support angle 8
2 4 Mounting the edge compactor 8
2 5 Mounting the cut-off shoe 9
2 6 Fitting the height sensing device 9
2 7 Adjusting the crowning 10
2 8 Electrical connections 11
2 9 Electrical connections side board – screed – Conventional version 12
2 10 Electrical connections side board – screed PLC version 14
2 11 Connection for the electric heater (o) 16
3 Screed extension DRV51 17
3 1 Expansion – extension parts 17
3 2 Assembly parts – extension parts 18
3 1 Extension – material guide plates DRV51 19
3 2 Assembly parts – material guide plates 20
4 Screed extension DRV60 22
4 1 Expansion – extension parts 22
4 2 Assembly parts – extension parts 23
4 3 Extension – material guide plate DRV60 24
4 4 Assembly parts – material guide plates 25
5 Adjusting extendable parts 27
5 1 Setting the height of the extendable parts 27
5 2 Adjusting the approach angle
of the extendable parts 28
6 Extending the screed 29
6 1 Mounting extension parts 29
6 2 Screed heater gas connections 31
Connect gas heater side shield (o) 31
Connect hydraulic side shields (o) 32
6 3 Screed heater electrical connections 33
6 4 Adjusting the height of
the extension parts 34
4
6 5 Mounting the material guide plates 35
6 6 Material guide plate brace 36
6 7 Installing material guide plate brace 37
6 8 Setting the material tunnel compressive stress 37
7 Settings 39
7 1 Adjusting the tamper height 39
7 2 Adjusting the tamper deflector plate 40
7 3 Adjust sliding plates 40
7 4 Basic adjustments 41
8 Dismantling for transportation / special operating conditions 43
8 1 Walkway – removable / hinged 43
F Maintenance 1
1 Notes regarding safety for maintenance 1
2 Maintenance intervals – screed in general 4
3 Maintenance intervals – gas system 5
4 Maintenance intervals – electric heating system 6
5 Lubrication points 7
5 1 Tamper and vibration bearings 7
5 2 Guide tubes 8
5 3 Other lubricating and maintenance points 10
6 Checkpoints 11
6 1 Guides of the extendable parts 11
Adjustment of guide tube play 11
6 2 Cleaning the screed 12
Emptying the tamper compartment 12
Removing the tamper deflector plates 13
6 3 Checking / adjusting the tamper
deflector plate 14
6 4 Cleaning the screed with high pressure cleaners 14
7 Hydraulic hoses 15
Marking hydraulic hoses / storage
period, period of use 17
8 Gas system 18
8 1 Spark plugs 19
8 2 Adjusting the ignition burner 20
8 3 Injectors of the gas heater system 20
9 Electric heating system 21
9 1 Check insulation monitoring 21
Adjustment process when exchanging screed extension cylinder 22
10 General visual inspection 23
11 Check that the bolts and nuts fit firmly 23
12 Inspection by an expert 23
13 Lubricants 24
13 1 Grease 24
14 Electrical fuses / relays 25
14 1 Conventional version, gas heater 25
Fuses in the switch cabinet of the screed heater 25
Fuses (A) 26
Relay (B) 26
14 2 Conventional version, electric heater 27
Fuses in the terminal box of the control unit 27
Fuses (A) —>4812023953 27
Fuses in the control unit of the screed heater 28
Fuses (B) 28
Fuses in the extension parts (C) 29
14 1 PLC version, gas heater 30
14 2 Fuses 30
14 3 Relays 30
14 1 PLC version, electric heater 31
14 2 Fuses 31
Fuses in the control unit of the screed heater 31
Fuses (B) 31
Fuses in the extension parts (C) 32
15 Bolts – torques 33
15 1 Standard metric threads – strength class 8 8 / 10 9 / 12 9 33
15 2 Fine metric threads – strength class 8 8 / 10 9 / 12 9 34
16 Preserving the screed 35
16 1 Shutdowns for up to 6 months 35
16 2 Recommissioning the machine 35
17 Disposal 36
17 1 Disposal measures 36
Operating substances 36
IMAGES PREVIEW OF THE MANUAL:
PLEASE NOTE:
- This is the SAME exact manual used by your dealers to fix your vehicle.
- The same can be yours in the next 2-3 mins as you will be directed to the download page immediately after paying for the manual.
- Any queries / doubts regarding your purchase, please feel free to contact [email protected]
S.V