Eaton Self-Level Valve Service Manual 915093 – PDF DOWNLOAD
Original price was: $48.95.$12.95Current price is: $12.95.
Eaton Self-Level Valve Service Manual 915093 – PDF DOWNLOAD
Description
Eaton Self-Level Valve Service Manual 915093 – PDF DOWNLOAD
FILE DETAILS:
Eaton Self-Level Valve Service Manual 915093 – PDF DOWNLOAD
Language : English
Pages : 4
Downloadable : Yes
File Type : PDF
Size: 0.67 MB
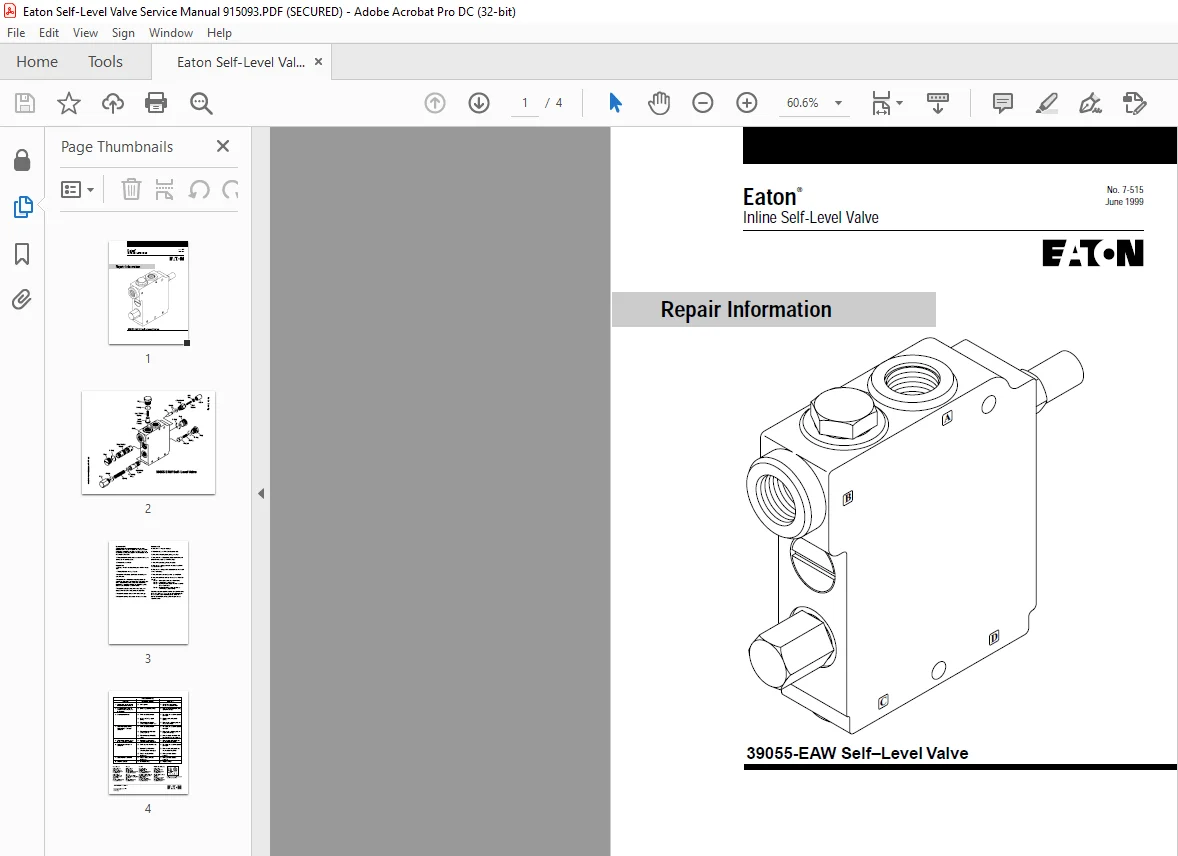
IMAGES PREVIEW OF THE MANUAL:
DESCRIPTION:
Eaton Self-Level Valve Service Manual 915093 – PDF DOWNLOAD
Disassembly
Cleanliness is extremely important when repairing
hydraulic valves. Work in a clean area. Before disconnecting
the hydraulic lines, clean the valve’s port area.
Before disassembly, plug all ports and thoroughly clean
the exterior of the valve.
1 Disassemble the self-level valve as shown in the parts
drawing on the previous page.
2 Discard all used o-rings.
Inspection
3 Remove all nicks and burrs from parts with fine emery
cloth.
4 Thoroughly clean and dry all parts.
5 Inspect the valve body spool bores for scoring and
contamination.
6 Inspect the flow divider and unloading spools for
scratches; they should be smooth and free of nicks and
burrs. Spools should slide freely inside body bores.
Inspect the dampening orifice in the unloading spool,
make sure that it is free of contamination.
7 Inspect the plunger seats, in the valve body, and
plungers for excessive wear, burrs, or roughness.
8 Inspect the tapered portion of the pin for damage.
9 Inspect the springs for damage or excessive wear.
Reassembly
10 Install new o-rings on all plugs.
11 Lubricate all parts with clean hydraulic fluid.
12 Install the unloading spool, spring, and plug.
13 Install the flow divider spool, make sure the internal
orifice is towards port B. Install the plugs.
14 Install the plungers, springs, and plugs.
15 Install a new o-ring on the pin and slide the pin into
the adjustment cap.
16 Install a new o-ring on the adjustment cap and install
it in the valve body.
17 Install the set screw and jam nut; do not tighten.
PLEASE NOTE:
- This is the same manual used by the dealers to diagnose and troubleshoot your vehicle
- You will be directed to the download page as soon as the purchase is completed. The whole payment and downloading process will take anywhere between 2-5 minutes
- Need any other service / repair / parts manual, please feel free to contact [email protected] . We still have 50,000 manuals unlisted
S.V