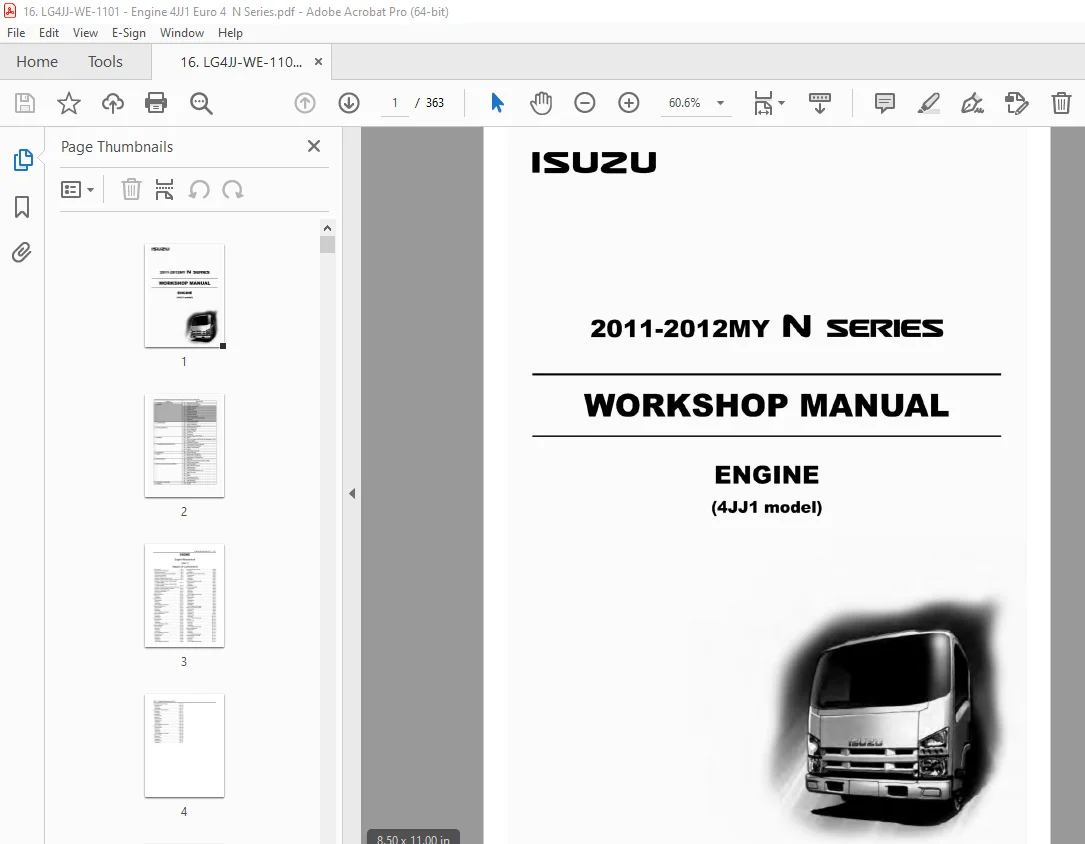
Isuzu 4JJ1 Engine 2011-2012MY N Series Workshop Manual PDF
$28.95
Isuzu 4JJ1 Engine 2011-2012MY N Series Workshop Manual – PDF DOWNLOAD
Description
Isuzu 4JJ1 Engine 2011-2012MY N Series Workshop Manual – PDF DOWNLOAD
FILE DETAILS:
Isuzu 4JJ1 Engine 2011-2012MY N Series Workshop Manual – PDF DOWNLOAD
Language : English
Pages : 363
Downloadable : Yes
File Type : PDF
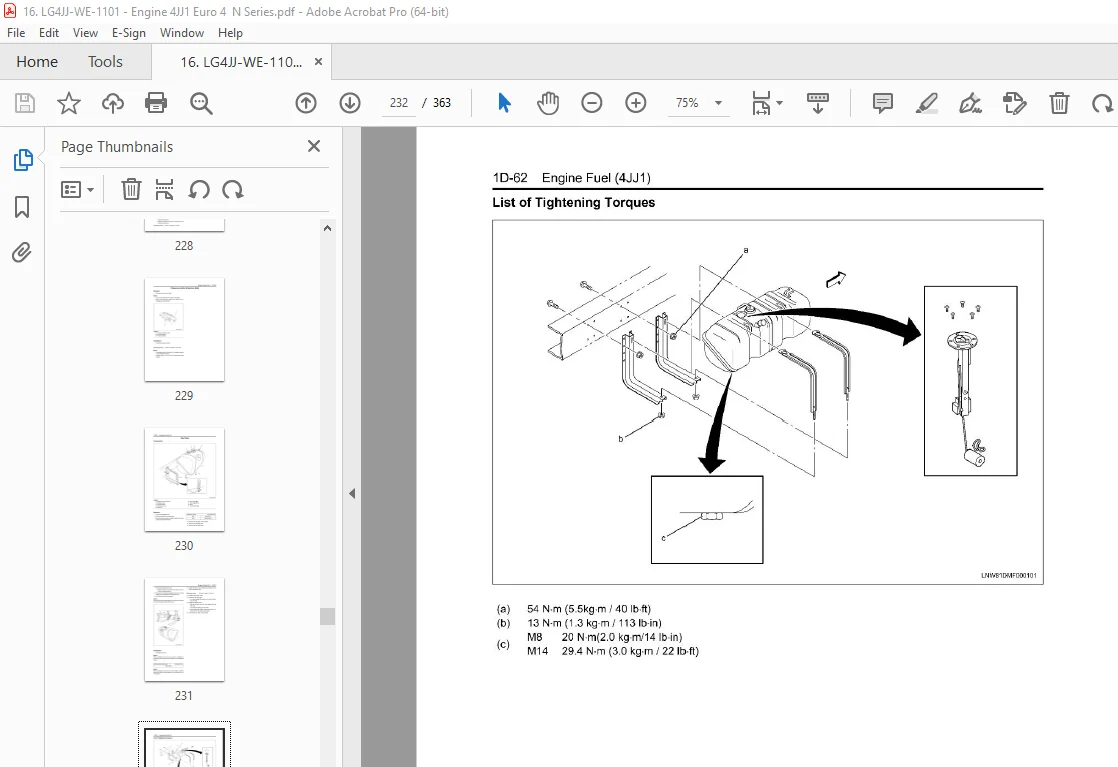
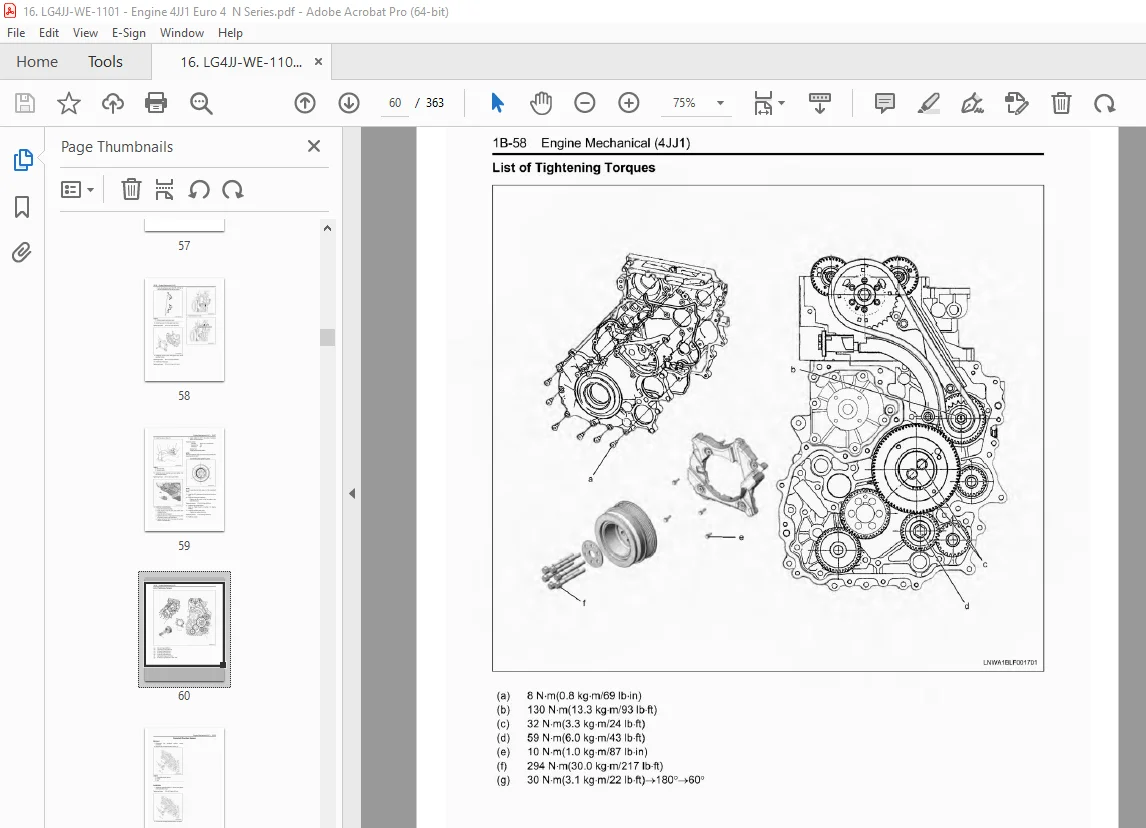
IMAGES PREVIEW OF THE MANUAL:
TABLE OF CONTENTS:
Isuzu 4JJ1 Engine 2011-2012MY N Series Workshop Manual – PDF DOWNLOAD
о GENERAL INFORMATION ОА General lnformation
1 ENGINE 1А Enaine Control System
18 Engine Mechanical
1 С Enaine Coolina
1D Enaine Fuel
1Е Engine Electrical
1F Emission Control
1G Engine Exhaust
1Н Enaine Lubrication
11 Enaine Speed Control Svstem
1J lnduction
1 К Pre-Heatina Svstem
2 SUSPENSION 2В Front Suspension
2С Rear Suspension
2D Wheel and Tire System
3 DRIVELINE/AXLE ЗА1 Front Differential
ЗА2 Rear Differential
ЗС1 Propeller Shaft
ЗС2 Front Axle
зсз Rear Axle
3D1 Transfer Case (Part Time)
4 BRAKES 4В Brake
4С1 Anti-Lock Brake (ABS)/Anti-Slip Reaulator (ASR)
4D Parking Brake
4Е Hill Start Aid (HSA)
5 TRANSMISSION/ТRANSAXLE 5А Transmission Control Svstem
sв Automatic Transmission
5С Manual Transmission
5Е Clutch
5G1 Side Power Take-Off
6 STEERING 6В Power Steerina
7 HVAC 7А Heatina and Ventilation
7В Manual Air Conditionina
7С Automatic Air Conditionina
8 RESTRAINTS 8А Seat Belt
8В Supplemental Restraint Svstem (SRS)
8С SRS Control System
9 BODY, САВ AND ACCESSORIES 9А Lighting System
9В Wiper/Washer System
9С Entertainment
9D Wirina System
9Е lnstrumentation/Driver lnfo.
9F Bodv Structu re
9G СаЬ
9Н Seats
91 Security and Lock
9К Exterior/lnterior Trim
9L СаЬ Mountinq
10 CONTROL SYSTEMS 10В Vehicle Control
11 FRAME 11А Frame
DESCRIPTION:
Isuzu 4JJ1 Engine 2011-2012MY N Series Workshop Manual – PDF DOWNLOAD
• When lifting or supporting the engine, do not directly attach the jack to the oil рап . When lowering the engine to the ground, do not let the oil pan directly contact the ground. Use а frame, etc. to support it with the engine foot ог flywheel housing. (there is only а small gap between the oil рап and oil pump strainer, so Ье careful not to damage the oil рап and oil pump strainer.)
• То perform maintenance оп the engine, always remove the battery ground terminals. lf the battery ground terminals remain while performing work, there is the possiЬil ity of damaging the wire harness ог electrical components. Take adequate precautions for safety, such as short circuits, when inspections require an energized state.
• When disconnecting the harness, check for the damage of the connector and clip, and replace them if necessary.
• То protect and lubricate the sliding surfaces when running for the first time, apply an adequate amount of engine oil to the sliding surfaces.
• When the valve related parts, injector, pistons, piston rings, connecting rod, connecting rod bearing, crankshaftjournal bearing, etc. have been removed, organize them in order for storage.
• When reinstalling them, use the same part and install it in the same position as when it was removed.
• Whenever d isassemЫing the gasket, oil seals and O-rings, replace them with new ones.
• Completely wipe off old liquid gasket from the locations where it is used. After cleaning to completely remove any oil, moisture and filth, apply the specified liquid gasket for reassemЫy.
• After applying the liquid gasket, install within 5 minutes. lf 5 minutes have passed, remove the liquid gasket and then apply liquid gasket again.
• When assemЫing and installing, tighten at the specified torque value.
• When connecting the harness, route the harness in the same way as before it was disconnected.
S.V 06/01/2025