John Deere 110 Tractor Loader Backhoe Operator’s Manual PDF
$27.95
John Deere 110 Tractor Loader Backhoe Operator’s Manual OMLVU18410 – PDF DOWNLOAD
Description
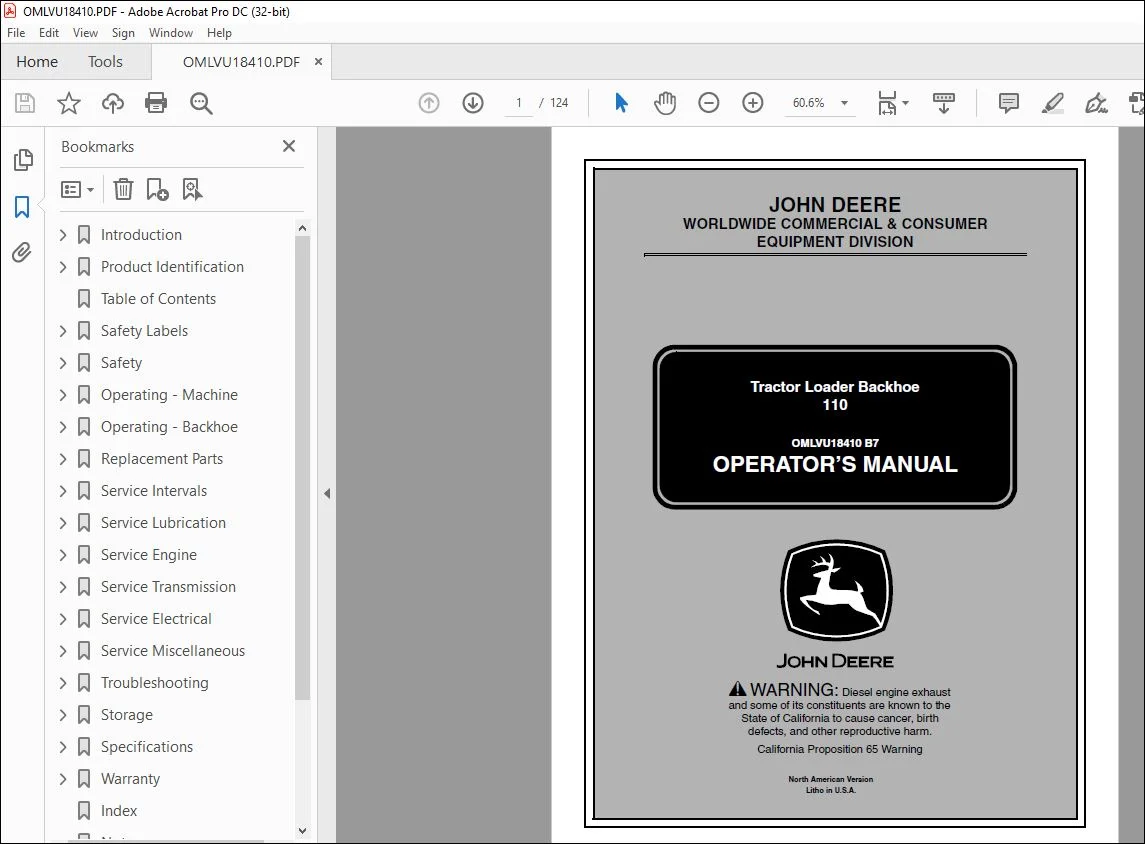
John Deere 110 Tractor Loader Backhoe Operator’s Manual OMLVU18410 – PDF DOWNLOAD
FILE DETAILS:
John Deere 110 Tractor Loader Backhoe Operator’s Manual OMLVU18410 – PDF DOWNLOAD
P/N: OMLVU18410_NM
Language: English
Division: Construction
Product Lines: Tractor Loader Backhoe
Publication Type: Operator’s Manuals
Associated Models: 110TLB
Serial: 311000–709999
IMAGES PREVIEW OF THE MANUAL:
TABLE OF CONTENTS:
John Deere 110 Tractor Loader Backhoe Operator’s Manual OMLVU18410 – PDF DOWNLOAD
Introduction 2
Thank You for Purchasing a John Deere Product 2
Using Your Operator’s Manual 2
Special Messages 2
Attachments for Your Machine 2
Product Identification 3
Record Identification Numbers 3
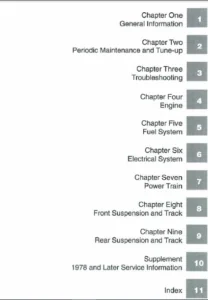
Table of Contents 4
Safety Labels 5
Understanding The Machine Safety Labels 5
WARNING 5
Always install boom lock before working on or around this machine with the loader boom raised 5
WARNING 5
AVOID CRUSHING Do not jump if machine tips 5
CAUTION 5
AVOID DEATH OR SERIOUS INJURY – Read and understand Operator’s Manual before operating this machine 6
WARNING 6
AVOID INJURY FROM PTO 6
DANGER/POISEN 6
KEEP OUT OF REACH OF CHILDREN DO NOT TIP KEEP VENT CAPS TIGHT AND LEVEL 6
DANGER 6
Start only from seat in park or neutral 6
CAUTION 6
No-text warning: Hot Surface 6
WARNING 7
WARNING 7
WARNING 7
WARNING 7
WARNING 7
WARNING 8
WARNING 8
Emission Control System Certification Label 8
Safety 9
Operator Training Required 9
Operating Machine Safely 9
Operating Backhoe Safely 9
Using a Spark Arrestor 9
Parking Safely 9
Avoid Overhead Power Lines 10
Protect Children and Prevent Accidents 10
Protect Children: 10
Help Prevent Serious Or Fatal Accidents: 10
Keep Riders Off 10
Use Seat Belt Properly 10
Keep ROPS Installed Properly 10
Avoid Injury From Rollover Accidents 10
Avoid Injury From Backover Accidents 11
Avoid Injury From Rollaway Accidents 11
Checking Wheel Hardware 11
Using Handholds and Steps 11
Towing Loads Safely 11
Stay Clear of Rotating Drivelines 11
Wear Appropriate Clothing 12
Driving Safely on Public Roads 12
Using Loader Boom Service Lock 12
Installing Loader Boom Service Lock 12
Removing Loader Boom Service Lock 12
Keep ROPS Installed Properly 12
Prevent Machine Runaway 12
Practice Safe Maintenance 12
Remove Paint Before Welding or Heating 13
Avoid High Pressure Fluids 13
Avoid Heating Near Pressurized Fluid Lines 13
Prevent Fires 13
Handling Fuel Safely 14
To avoid personal injury or property damage, use extreme care in handling fuel Fuel is extremely 14
Tire Safety 14
Handling Waste Product and Chemicals 14
Operating – Machine 15
Daily Operating Checklist 15
Avoid Damage to Plastic and Painted Surfaces 15
Operator Station 15
Right Side Controls 15
Left Side Controls 16
Foot Controls 16
Floor Panel Controls 16
Using Steps and Handholds 16
Using Operator Seat 17
Adjust Seat Position 17
Adjust Seat for Operator Weight 17
Operator Seat Facing Rear 17
Operator Seat Facing Front 18
Using Seat Belt 18
Fasten Belt 18
Release Belt 18
Using Key Switch 18
Using Light Switch 19
Using Turn Signal Lever 19
Using the Instrument Panel 19
Testing Safety Systems 20
Testing Rear PTO Switch 20
Testing Rear PTO-Seat Switch Interface 20
Testing Rear PTO-Park Brake Interface 21
Using Fuel Shut-Off Valve 21
Using Brake Pedals 21
Using Brake Pedals As Driving Brake 21
Using Brake Pedals to Assist In Turning 22
Using Park Brake 22
Locking Park Brake 22
Unlocking Park Brake 22
Using Throttle Controls 22
Starting the Engine 23
Idling the Engine 24
Starting a Stalled Engine 24
Stopping the Machine 24
Normal Stopping 24
Emergency Stopping 24
Operating the Transmission 25
Driving Machine 25
Using Repositioning Creeper Drive Control 25
Using Differential Lock 26
Engaging Differential Lock 26
Disengaging Differential Lock 26
Using Mechanical Front Wheel Drive (MFWD) 26
Tips for Operating MFWD 27
Using the Power-Take-Off (PTO) Safely 27
Using Rear PTO (Operator On Seat) 27
Engaging Rear PTO 27
Disengaging Rear PTO 28
Using Rear PTO (Operator Off Seat) 28
Engaging Rear PTO 28
Disengaging Rear PTO 28
Using Drawbar Hitch (Optional) 28
Maximum Drawbar Loads 28
Removing Drawbar 29
Installing Drawbar 29
Using 3-Point Hitch 29
Positioning Center Link 29
Using Rockshaft Control Lever 29
Using Rate of Drop/Lock Valve 30
Using Draft Links 30
Leveling Implement Front-to-Rear 30
Leveling Implement Side-to-Side – Manual 31
Leveling Implement Side-to-Side – Hydraulic 31
Adjusting Implement Side-to-Side Sway 31
Adjusting Draft Links to Float Position 32
Adjusting Draft Links to Rigid Position 32
Using Loader Selective Control Valve (SCV) Lock Lever 32
Using Standard Hydraulic Dual Selective Control Valve (SCV) 33
Using Optional Hydraulic Third Selective Control Valve (SCV) 34
Using Optional Third SCV On-Off Switch 34
Using Optional Third SCV Momentary Switch 34
Using Optional Third SCV Continuous On Switch 35
Using Optional Diverter Switch 35
Using Optional Hydraulic Third Selective Control Valve (SCV) with Diverter 36
Using Optional Third SCV Momentary Switch with Diverter 37
Using Optional Third SCV Continuous On Switch with Diverter 37
Connecting Implement Hydraulic Hoses 38
Relieving Hydraulic Hose Pressure 38
Connecting Hydraulic Hoses 39
Removing Hydraulic Hoses 39
Using QUIK-TATCH 39
Installing an Attachment 39
Removing an Attachment 40
Worksite Layout 40
Operating Tips 40
Transporting Loaded Bucket 40
Proper Work Angles 41
Operating on a Slope 41
Filling the Bucket 41
Arc Penetration 41
Step Penetration 41
Digging 42
Returning Bucket to Loading Position 42
Bulldozing with Bucket 42
Backdragging with Bucket 42
Backfilling 42
Backfilling an Excavation 42
Backfilling Next to a Building 43
Truck Loading 43
Benching 43
Dislodging the Machine 44
Ballasting Machine 44
Using Optional Rear Ballast Box 44
Tire Capacities 44
Using Liquid Weight in Tires 44
Using Tire Sealant 45
Front Tires 45
Rear Tires 45
Transporting Machine on Trailer 45
Transporting Machine 46
Driving Machine Safely on Roads 46
Pushing or Towing Machine 46
Towing Loads 47
Towing Capacity 47
Using Safety Chain 47
Installing and Removing 3-Point Hitch (Optional) 47
Installing Center Link 47
Installing Lift Links 48
Installing Draft Links and Anti-Sway Links 48
Removing 49
Installing and Removing 3-Point Hitch Equipped with Top and Tilt (Optional) 49
Installing Top Cylinder 49
Installing Lift Link and Tilt Cylinder 50
Installing Draft Links and Anti-Sway Links 50
Connecting Hoses 51
Removing 51
Installing Loader Multi-Purpose Bucket (Optional) 51
Operating – Backhoe 52
Backhoe Operator Station 52
Installing and Removing Backhoe 52
Installing Backhoe 52
Removing Backhoe 53
Using Backhoe Swing Frame Lock 55
Swing Lock 55
Swing Unlock 55
Using Backhoe Boom Lock 55
Boom Lock 55
Boom Unlock 56
Using Backhoe Operating Controls 56
Preparing to Operate Backhoe 57
Positioning Spoil Piles 57
Leveling Machine 57
Using Backhoe Bucket 58
Crowd Digging 58
Bucket Digging 58
Using a Sight Gauge for Trenching 58
Trenching 59
Operating Dipperstick with Attachments 59
Installing and Removing Backhoe Attachment with Standard Pin-On System 59
Installing Attachment 59
Removing Attachment 59
Installing and Removing Backhoe Attachment with Optional Quick Attach System 59
Installing Attachment 59
Removing Attachment 60
Using Bucket Thumb 60
Using Backhoe Stabilizer Feet 61
Installing Backhoe Stabilizer Rubber Foot Pads (Optional) 61
Replacement Parts 62
Service Literature 62
Parts 62
Order Service Parts Online 62
Part Numbers 62
Air Cleaner Assembly: 62
Oil Filters: 62
Fuel Filters: 62
Fuses: 62
Light Bulbs: 62
Alternator Belt 62
Service Intervals 63
Servicing Your Broom 63
As Needed 63
Break-in – After 1 Hour 63
Break-in – After First 50 Hours 63
Every 10 Hours or Daily 63
Every 50 Hours 63
Every 200 Hours 63
Every 400 Hours 64
Every 600 Hours 64
Every Two Years or 2000 Hours 64
Service Lubrication 65
Grease 65
The following greases are preferred: 65
The following lubricant is preferred: 65
Lubricating Front Axle Grease Fittings 65
Lubricating Loader and Loader Boom 65
Lubricate Optional Loader Multi-Purpose Bucket Pivots 66
Lubricating Backhoe Linkage, Pivots, and Cylinder Rod Ends 66
Lubricate Backhoe Stabilizers 67
Lubricating 3-Point Hitch 67
Service Engine 68
Engine Warranty Maintenance Statement 68
Avoid Fumes 68
Engine Oil 68
Other oils may be used if above John Deere oils are not available, provided they meet the followi 68
Checking Engine Speeds 68
Observe tachometer 68
Checking Engine Oil Level 68
Changing Engine Oil and Filter 69
Cleaning Air Filter Dust Unloading Valve 70
Servicing Air Cleaner Element 70
Checking Primary Air Filter Element 70
Servicing Primary Air Filter Element: 70
Servicing Secondary Air Filter Element: 71
Checking Air Filter Intake Hoses and Clamps 71
Service Cooling System Safely 71
Recommended Engine Coolant 72
The following John Deere coolants are preferred: 72
If neither of the recommended coolants is available, use a glycol base coolant that meets the fol 72
Servicing Cooling System 72
Checking Radiator Coolant Level 72
Draining Cooling System 72
Flushing Cooling System 73
Filling Cooling System 73
Checking Radiator Hoses and Clamps 74
Servicing the Alternator Belt 75
Checking Belt Tension 75
Adjusting Belt Tension 75
Replacing Belt 75
Checking Fuel Filter Sediment Bowl 76
Cleaning Fuel Filter Sediment Bowl and Replacing Filter 76
Fuel Injection Pump 77
Fuel Injection Nozzles 77
Draining Water and Sediment From Fuel Tank 77
Cleaning Grille and Side Screens 77
Inspecting Foam Air Blocks 78
Cleaning Radiator Cooling Screen, Radiator Cooling Fins and Oil Cooler Fins 78
Cleaning Radiator Cooling Screen 78
Cleaning Radiator Cooling Fins and Oil Cooler Fins 78
Service Transmission 80
Transmission and Hydraulic Oil 80
Checking Front Axle Oil Level 80
Changing Front Axle Oil 80
Checking Transmission Oil Level 81
Changing Transmission Oil, Oil Filter, Suction Screen and Suction Side Filter 82
Adjust Mechanical Front Wheel Drive (MFWD) Axle Trunnion Torque 83
Service Electrical 84
Service the Battery Safely 84
Checking Battery Electrolyte Level 84
Removing and Installing Battery 84
Removing: 84
Installing: 85
Cleaning Battery and Terminals 85
Using Booster Battery 85
Replacing Canopy Work Light Assemblies 86
Replacing Canopy Warning Light Bulbs 86
Replace Front Warning Light Bulbs 86
Replace Rear Warning Light Bulbs 86
Replacing Instrument Panel Light Bulbs 87
Replacing Fuses 87
Fault Code Sources 88
Service Miscellaneous 89
Using Proper Fuel (Diesel) 89
Sulfur content 89
Using Bio-Diesel Fuel 89
Handling and Storing Diesel Fuel 89
Filling Fuel Tank 89
Raising and Lowering Hood 90
Raising 90
Lowering 90
Removing and Installing Engine Side Panels 90
Removing Side Panels 90
Installing Right Side Panel 91
Tightening Wheel Hardware 91
Front Wheel Bolts 91
Rear Wheel Bolts 91
Checking and Adjusting Toe-In 91
Checking Toe-In 92
Adjusting Toe-In 92
Selecting Tire Rolling Direction 92
Checking Backhoe Boom-to-Dipperstick Pivot Pin Bolt Torque 93
Replacing Backhoe Bucket Teeth 93
Cleaning Plastic Surfaces 93
Cleaning and Repairing Metal Surfaces 93
Cleaning: 93
Repairing Minor Scratches (surface scratch): 93
Repairing Deep Scratches (bare metal or primer showing): 93
Troubleshooting 95
Using Troubleshooting Chart 95
Engine 95
Electrical System 97
Machine 98
Steering 100
Brakes 100
Loader 101
Backhoe 101
Diagnostic Indicator Fault Codes 102
Storage 104
Storing Safety 104
Preparing Machine for Storage 104
Preparing Backhoe for Storage 104
Preparing Fuel and Engine For Storage 104
Fuel: 104
Engine: 104
Removing Machine From Storage 105
Specifications 106
Engine 106
Electrical System 106
Fuel System 106
Drive Train 106
Hydraulic System 107
3-Point Hitch 107
PTO 107
Fluid Capacities 107
Ground Speeds 108
Equipped with Standard R4 or Optional R3 Rear Tires 108
Front Tire Size and Treads 108
Rear Tire Size and Treads 108
Steering 108
Front Tire Inflation Pressures (Loaded) 108
Rear Tire Inflation Pressures (Loaded) 109
Dimensions 109
Loader Operating Dimensions 109
Per ASAE S301 3 Standard 109
Loader Performance 109
Per ASAE S301 3 Standard 109
Per SAE J732 Standard 110
Loader Bucket Options 110
Standard and Heavy Duty Bucket 110
Multi-Purpose Bucket 110
Light Materials Bucket 110
Pallet Frame and Forks 110
Backhoe Operating Dimensions 111
Backhoe Static Dimensions 111
Backhoe Performance 111
Backhoe Buckets (Pin-On Type) 112
12 Inch 112
18 Inch 112
24 Inch 112
30 Inch 112
36 Inch 112
Backhoe Buckets (Quick Attach Type) 112
12 Inch 112
16 Inch 112
20 Inch 112
24 Inch 113
30 Inch 113
36 Inch 113
Weight 113
Recommended Lubricants 113
Warranty 114
Product Warranty 114
John Deere, Federal And California Emission Control System Warranty (Non-Road Diesel) 114
Your Warranty Rights and Obligations 114
John Deere Emission Control System Warranty Coverage 114
Owner’s Warranty Responsibilities 114
Length of Warranty Coverage 114
Warranted Parts 114
Fuel Metering System: 114
Air Induction System: 114
Catalyst System: 114
Miscellaneous Items Used in Above Systems: 114
Warranty Service and Charges 114
Maintenance Warranty Coverage 114
Consequential Warranty Coverage 115
Limitations 115
Limited Liability 115
Tire Warranty 115
Limited Battery Warranty 115
TO SECURE WARRANTY SERVICE 115
FREE REPLACEMENT 115
PRO RATA ADJUSTMENT 115
THIS WARRANTY DOES NOT COVER 115
LIMITATION OF IMPLIED WARRANTIES AND PURCHASER’S REMEDIES 115
NO DEALER WARRANTY 115
PRO RATA MONTHS OF ADJUSTMENT 116
Index 117
Notes 120
Notes 121
Notes 122
John Deere Quality Statement 123
John Deere Quality 123
Service Record 124
Record Service Dates 124
S.V 03/24