John Deere Excavator 350DLC Operators Manual – PDF DOWNLOAD
Original price was: $79.00.$28.95Current price is: $28.95.
John Deere Excavator 350DLC Operators Manual – PDF DOWNLOAD
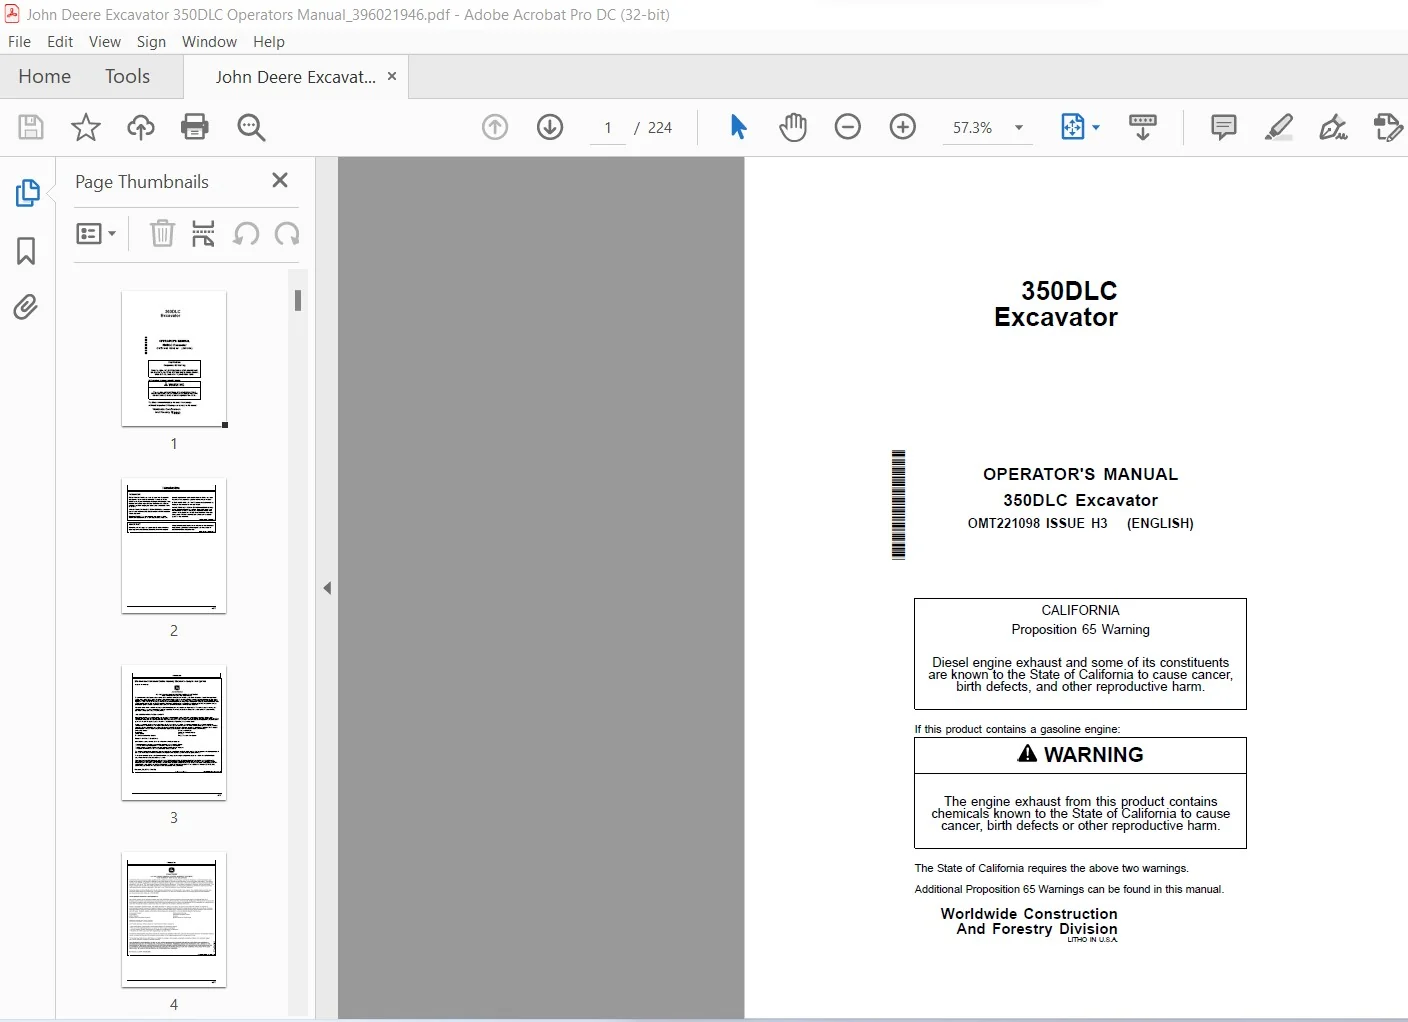
OMT221098 ISSUE H3
Description
John Deere Excavator 350DLC Operators Manual – PDF DOWNLOAD
DESCRIPTION:
OMT221098 ISSUE H3
John Deere Excavator 350DLC Operators Manual – PDF DOWNLOAD
Introduction
- READ THIS MANUAL carefully to learn how to operate and service your machine correctly. Failure to do so could result in personal injury or equipment damage. This manual and safety signs on your machine may also be available in other languages. (See your authorized dealer to order.)
- THIS MANUAL SHOULD BE CONSIDERED a permanent part of your machine and should remain with the machine when you sell it.
- MEASUREMENTS in this manual are given in both metric and customary U.S. unit equivalents. Use only correct replacement parts and fasteners. Metric and inch fasteners may require a specific metric or inch wrench.
- RIGHT-HAND AND LEFT-HAND sides are determined by facing in the direction of forward travel.
- WRITE PRODUCT IDENTIFICATION NUMBERS (P.I.N.) in the Machine Numbers Section. Accurately record all the numbers to help in tracing the machine should it be stolen. Your dealer also needs these numbers when you order parts. File the identification numbers in a secure place off the machine.
IMPORTANT Warranty will not apply to engine and drivetrain failures resulting from unauthorized adjustments to this engine. Unauthorized adjustments are in violation of the emissions regulations applicable to this engine and may result in substantial fines and penalties
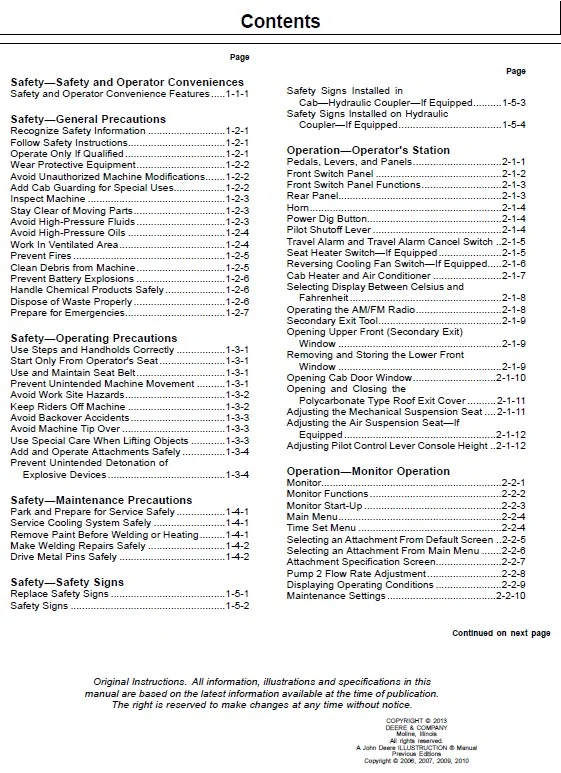
TABLE OF CONTENTS:
John Deere Excavator 350DLC Operators Manual – PDF DOWNLOAD
Safety—Safety and Operator Conveniences
Safety and Operator Convenience Features 1-1-1
Safety—General Precautions
Recognize Safety Information 1-2-1
Follow Safety Instructions1-2-1
Operate Only If Qualified 1-2-1
Wear Protective Equipment1-2-2
Avoid Unauthorized Machine Modifications1-2-2
Add Cab Guarding for Special Uses1-2-2
Inspect Machine 1-2-3
Stay Clear of Moving Parts1-2-3
Avoid High-Pressure Fluids 1-2-3
Avoid High-Pressure Oils 1-2-4
Work In Ventilated Area1-2-4
Prevent Fires 1-2-5
Clean Debris from Machine 1-2-5
Prevent Battery Explosions 1-2-6
Handle Chemical Products Safely 1-2-6
Dispose of Waste Properly 1-2-6
Prepare for Emergencies1-2-7
Safety—Operating Precautions
Use Steps and Handholds Correctly 1-3-1
Start Only From Operator’s Seat 1-3-1
Use and Maintain Seat Belt 1-3-1
Prevent Unintended Machine Movement 1-3-1
Avoid Work Site Hazards1-3-2
Keep Riders Off Machine 1-3-2
Avoid Backover Accidents 1-3-3
Avoid Machine Tip Over 1-3-3
Use Special Care When Lifting Objects 1-3-3
Add and Operate Attachments Safely 1-3-4
Prevent Unintended Detonation of
Explosive Devices 1-3-4
Safety—Maintenance Precautions
Park and Prepare for Service Safely 1-4-1
Service Cooling System Safely 1-4-1
Remove Paint Before Welding or Heating1-4-1
Make Welding Repairs Safely 1-4-2
Drive Metal Pins Safely 1-4-2
Safety—Safety Signs
Replace Safety Signs 1-5-1
Safety Signs 1-5-2
Safety Signs Installed in
Cab—Hydraulic Coupler—If Equipped1-5-3
Safety Signs Installed on Hydraulic
Coupler—If Equipped1-5-4
Operation—Operator’s Station
Pedals, Levers, and Panels2-1-1
Front Switch Panel 2-1-2
Front Switch Panel Functions2-1-3
Rear Panel2-1-3
Horn2-1-4
Power Dig Button2-1-4
Pilot Shutoff Lever 2-1-4
Travel Alarm and Travel Alarm Cancel Switch 2-1-5
Seat Heater Switch—If Equipped 2-1-5
Reversing Cooling Fan Switch—If Equipped2-1-6
Cab Heater and Air Conditioner 2-1-7
Selecting Display Between Celsius and
Fahrenheit 2-1-8
Operating the AM/FM Radio2-1-8
Secondary Exit Tool2-1-9
Opening Upper Front (Secondary Exit)
Window 2-1-9
Removing and Storing the Lower Front
Window 2-1-9
Opening Cab Door Window2-1-10
Opening and Closing the
Polycarbonate Type Roof Exit Cover 2-1-11
Adjusting the Mechanical Suspension Seat 2-1-11
Adjusting the Air Suspension Seat—If
Equipped 2-1-12
Adjusting Pilot Control Lever Console Height 2-1-12
Operation—Monitor Operation
Monitor2-2-1
Monitor Functions 2-2-2
Monitor Start-Up 2-2-3
Main Menu2-2-4
Time Set Menu 2-2-4
Selecting an Attachment From Default Screen 2-2-5
Selecting an Attachment From Main Menu 2-2-6
Attachment Specification Screen2-2-7
Pump 2 Flow Rate Adjustment 2-2-8
Displaying Operating Conditions 2-2-9
Maintenance Settings 2-2-10
Screen Display When Scheduled
Maintenance is Due 2-2-12
Fuel Rate Display/No Display2-2-14
Language Settings2-2-15
Alarm Occurrence Screen 2-2-16
Operation—Operating the Machine
Before Starting Work 2-3-1
Operator’s Daily Machine Check
Before Starting 2-3-1
Engine Break-In Period 2-3-2
Starting Engine 2-3-2
Cold Weather Start Aid2-3-4
Cold Weather Warm-Up 2-3-5
Travel Pedals and Levers2-3-6
Locking the Hydraulic Coupler to the
Attachment 2-3-7
Unlocking the Hydraulic Coupler From
the Attachment 2-3-8
Control Lever Pattern Operation2-3-9
Control Lever Pattern Conversion 2-3-10
Operating in Water and Mud 2-3-11
Driving Up a Steep or Slippery Slope 2-3-11
Lifting 2-3-11
Lower Boom With Engine Stopped2-3-12
Parking the Machine2-3-13
Loading and Unloading for Transport 2-3-14
Towing Machine2-3-15
Lifting the Machine 2-3-15
Maintenance—Machine
Diesel Fuel3-1-1
Lubricity of Diesel Fuel 3-1-1
Handling and Storing Diesel Fuel 3-1-2
Biodiesel Fuel 3-1-3
Testing Diesel Fuel 3-1-4
Minimizing the Effect of Cold Weather
on Diesel Engines 3-1-5
Alternative and Synthetic Lubricants 3-1-6
Engine Break-In Oil 3-1-6
Diesel Engine Oil—Stage II Engine3-1-7
Diesel Engine Oil and Filter Service
Intervals—Stage II Engine 3-1-8
Diesel Engine Oil—Tier 3 and Stage III
A Engines3-1-9
Diesel Engine Oil and Filter Service
Intervals—Tier 3/Stage III A Engine 3-1-10
Hydraulic Oil 3-1-11
Swing Gear Case and Travel Gear
Case Oils3-1-12
Pump Drive Gear Case Oil 3-1-12
Track Adjuster, Working Tool Pivot,
Swing Bearing, and Swing Bearing
Gear Grease 3-1-13
Heavy Duty Diesel Engine Coolant 3-1-13
Drain Intervals for Diesel Engine Coolant3-1-14
John Deere COOL-GARD™ II Coolant
Extender3-1-14
Supplemental Coolant Additives3-1-15
Operating in Warm Temperature Climates 3-1-15
Additional Information About Diesel
Engine Coolants and John Deere
COOL-GARD™ II Coolant Extender 3-1-16
Testing Diesel Engine Coolant3-1-17
Maintenance—Periodic Maintenance
Service Machine at Specified Intervals3-2-1
Check the Hour Meter Regularly 3-2-1
Engine Identification 3-2-1
Prepare Machine for Maintenance 3-2-3
Open Access Doors for Service 3-2-3
Open Engine Cover for Service3-2-3
Fuel Tank 3-2-3
Hydraulic Breaker and Crusher Attachments 3-2-4
Fluid Analysis Program Test Kits and
3-Way Coolant Test Kit3-2-4
Service Intervals 3-2-5
Required Parts3-2-7
Maintenance—As Required
Remove and Clean Fuel Tank Inlet Screen 3-3-1
Check and Clean Air Cleaner Dust
Unloader Valve3-3-1
Check and Adjust Track Sag 3-3-1
Check Windshield Washer Fluid3-3-3
Drain Water and Sediment from Fuel
Tank Sump 3-3-3
Drain Water Separator Filter3-3-4
Check Coolant 3-3-4
Draining Auxiliary Fuel Filter and Water
Separator—If Equipped3-3-5
Maintenance—Every 10 Hours or Daily
Check Engine Oil Level 3-4-1
Check Engine Coolant Level 3-4-1
Check Hydraulic System Oil Level 3-4-2
Lubricate Hydraulic Coupler—If Equipped 3-4-3
Maintenance—Initial Service—50 Hours
Inspect and Re-Torque Track Hardware3-5-1
Maintenance—Every 50 Hours or Weekly
Drain Water and Sediment From Fuel
Tank Sump 3-6-1
Drain Water Separator Filter3-6-1
Maintenance—Every 100 Hours
Lubricate Working Tool Pivots 3-7-1
Maintenance—Initial Service—250 Hours
Drain and Refill Engine Break-In Oil
and Replace Filter 3-8-1
Maintenance—Every 250 Hours
Check and Adjust A/C Belt 3-9-1
Check Swing Gear Case Oil Level 3-9-1
Drain Water and Sediment From
Hydraulic Tank Sump 3-9-2
Check Pump Drive Gear Case Oil Level 3-9-3
Check Battery Electrolyte Level and Terminals 3-9-4
Check Travel Gear Case Oil Level 3-9-6
Clean Primary Air Cleaner Element3-9-7
Take Engine Oil Sample 3-9-7
Inspect and Re-Torque Track Hardware3-9-8
Maintenance—Every 500 Hours
Lubricate Front End Pin Joints 3-10-1
Lubricate Swing Bearing3-10-2
Grease Swing Bearing Gear3-10-2
Replace Water Separator Filter 3-10-3
Replace Final Fuel Filter3-10-3
Replacing Auxiliary Fuel Filter and
Water Separator—If Equipped 3-10-4
Check Air Intake Hoses 3-10-4
Drain and Refill Engine Oil and
Replace Filter 3-10-5
Clean Cab Fresh Air and Cab
Recirculating Air Filters 3-10-6
Take Fluid Samples 3-10-6
Maintenance—Every 1000 Hours
Drain and Refill Swing Gear Case Oil 3-11-1
Replace Hydraulic Oil Tank Filter 3-11-1
Replace Pilot Oil Filter 3-11-2
Inspect Serpentine Belt 3-11-4
Drain and Refill Pump Drive Gear Case Oil 3-11-4
Clean the Engine Crankcase
Ventilation Tube3-11-5
Replace Air Cleaner Elements 3-11-5
Replace Air Cleaner Dust Valve 3-11-5
Check Coolant 3-11-6
Maintenance—Every 2000 Hours
Check and Adjust Engine Valve Lash3-12-1
Drain and Refill Travel Gear Case Oil 3-12-1
Maintenance—Every 4000 Hours
Replace Engine Crankshaft Dampener 3-13-1
Maintenance—Every 5000 Hours
Drain and Refill Hydraulic System Oil3-14-1
Replace Hydraulic Tank Vent Cap Filter 3-14-3
Maintenance—Every 6000 Hours
Drain Cooling System3-15-1
Cooling System Fill and Deaeration
Procedure3-15-3
Miscellaneous—Machine
Cleaning Radiator, Oil Cooler, Charge
Air Cooler and Fuel Cooler4-1-1
Do Not Service or Adjust Injection
Nozzles or High Pressure Fuel Pump 4-1-1
Do Not Service Control Valves,
Cylinders, Pumps, or Motors4-1-2
Precautions for Alternator and Regulator 4-1-2
Handling, Checking, and Servicing
Batteries Carefully4-1-3
Using Battery Charger 4-1-4
Using Booster Batteries—24-Volt System 4-1-4
Replacing Batteries 4-1-4
Location of Fluid Sampling Test
Ports—If Equipped 4-1-5
Welding On Machine 4-1-5
Clean the Machine Regularly 4-1-5
Adding 12—Volt Accessories 4-1-6
JDLink™ Machine Monitoring System
(MMS)—If Equipped4-1-6
Replacing Fuses4-1-6
Replacing Bucket Teeth4-1-9
Replacing Bucket Tooth
Tip—Heavy-Duty Bucket 4-1-11
Removing the Bucket 4-1-11
Track Sag General Information 4-1-11
Unified Inch Bolt and Screw Torque Values4-1-12
Metric Bolt and Screw Torque Values4-1-13
Bleed the Fuel System 4-1-14
Miscellaneous—Operational Checkout
Operational Checkout4-2-1
Miscellaneous—Troubleshooting
Using Troubleshooting Charts 4-3-1
Engine 4-3-2
Hydraulic System4-3-5
Miscellaneous—Storage
Prepare Machine for Storage 4-4-1
Monthly Storage Procedure4-4-2
Miscellaneous—Machine Numbers
Record Product Identification Number (PIN) 4-5-1
Record Engine Serial Number4-5-1
Record Travel Motor Serial Numbers 4-5-1
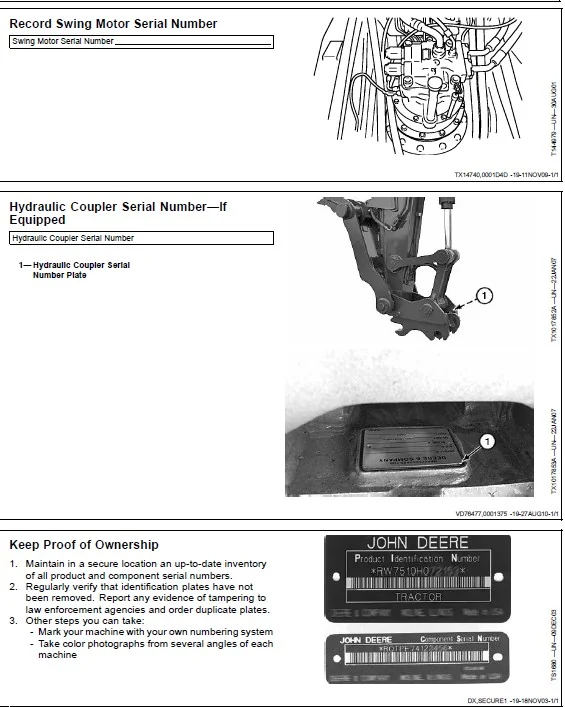
Record Swing Motor Serial Number 4-5-2
Hydraulic Coupler Serial Number—If
Equipped 4-5-2
Keep Proof of Ownership 4-5-2
Keep Machines Secure 4-5-3
Miscellaneous—Specifications
350DLC Stage II Engine Specifications4-6-1
350DLC Tier 3/Stage IIIA Engine
Specifications 4-6-1
350DLC Drain and Refill Capacities 4-6-2
350DLC Machine Specifications4-6-3
350DLC Working Ranges4-6-5
350DLC Lift Capacity—KG (LB) 4-6-7
350DLC Lift Capacity—KG (LB) 4-6-8
350DLC Lift Capacity—KG (LB) 4-6-9
350DLC Lift Capacity—KG (LB) 4-6-10
350DLC Lift Capacity—KG (LB) 4-6-11
350DLC Lift Capacity—KG (LB) 4-6-12
IMAGES PREVIEW OF THE MANUAL:
Need help? Contact: [email protected]
https://vimeo.com/670162842
JOHN DEERE EXCAVATOR 350DLC OPERATORS MANUAL – PDF DOWNLOAD:
PLEASE NOTE:
- This is the SAME exact manual used by your dealers to fix your vehicle.
- The same can be yours in the next 2-3 mins as you will be directed to the download page immediately after paying for the manual.
- Any queries / doubts regarding your purchase, please feel free to contact [email protected]
S.M