Trusted Business
Verified & Licensed
Virus Free Files
100% Safe Downloads
Secure Payment
SSL Protected
Instant Delivery
Available Immediately
Kawasaki ZX-9R 1998-1999 Motorcycle Service Manual PDF
$28.95
Kawasaki ZX-9R 1998-1999 Motorcycle Service Manual – PDF DOWNLOAD
Instant PDF Download
Available immediately
Save to Your Device
Download & keep forever
Antivirus Scanned
100% virus-free
Trusted Worldwide
175,000+ customers
Description
Kawasaki ZX-9R 1998-1999 Motorcycle Service Manual – PDF DOWNLOAD
FILE DETAILS:
Kawasaki ZX-9R 1998-1999 Motorcycle Service Manual – PDF DOWNLOAD
Language : English
Pages : 307
Downloadable : Yes
File Type : PDF
IMAGES PREVIEW OF THE MANUAL:
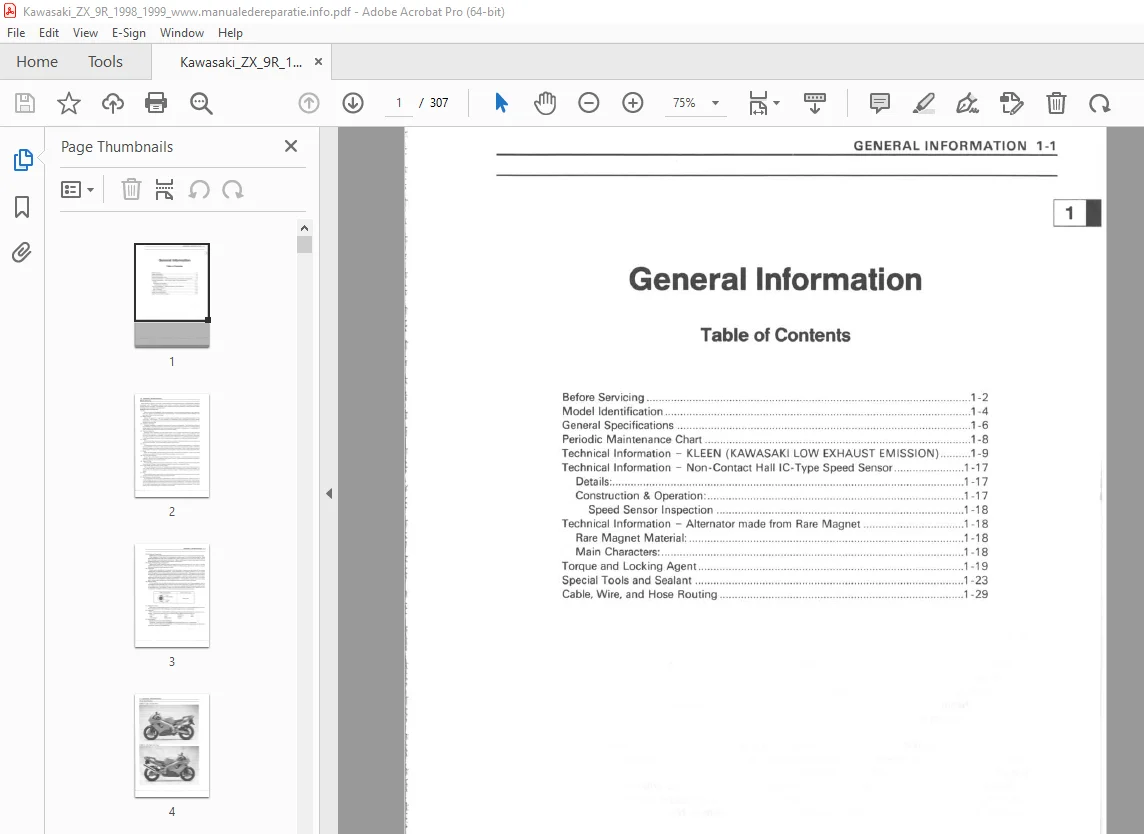
TABLE OF CONTENTS:
Kawasaki ZX-9R 1998-1999 Motorcycle Service Manual – PDF DOWNLOAD
1 General Info
2 Fuel System
3 Cooling System
4 Engine Top End
5 Clutch
6 Engine Lubrication System
7 Engine Removal/Installation
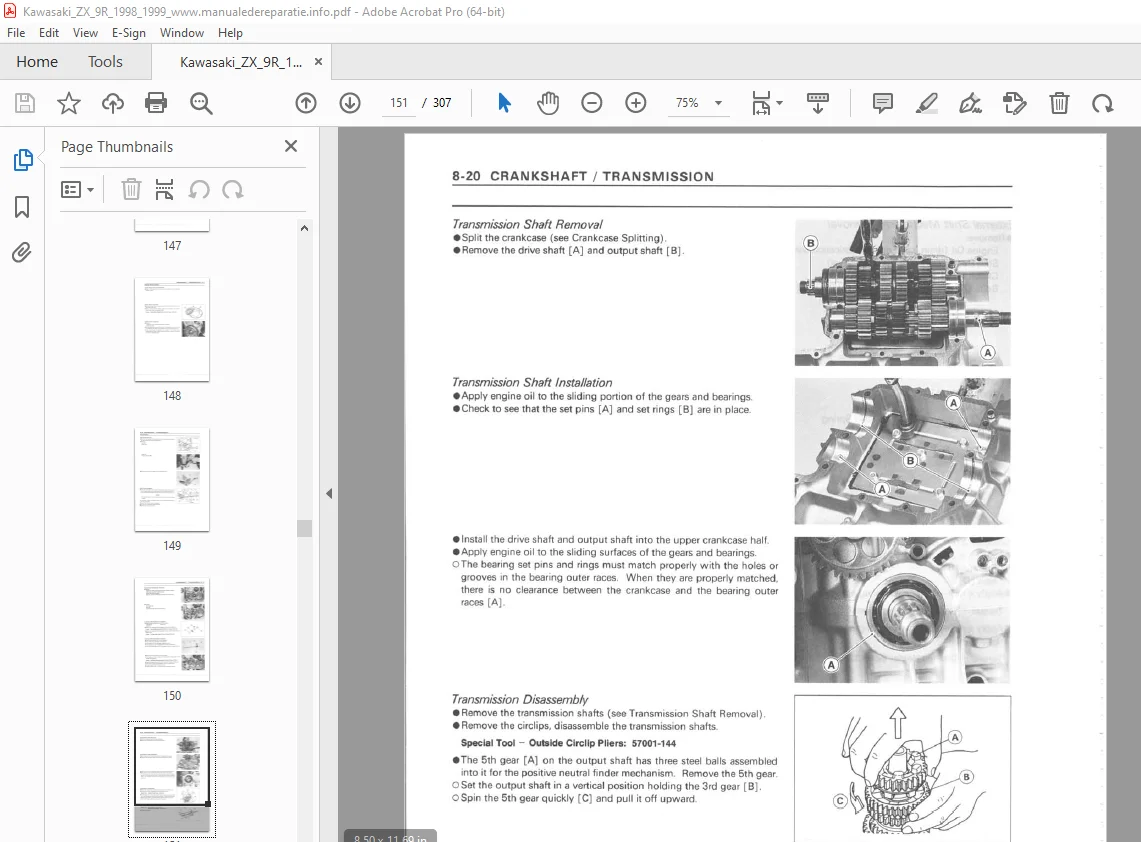
8 Crankshaft/Transmission
9 Wheels/Tires
10 Final Drive
11 Brakes
12 Suspension
12 Steering
14 Frame
15 Electrical
16 Appendix
DESCRIPTION:
Kawasaki ZX-9R 1998-1999 Motorcycle Service Manual – PDF DOWNLOAD
GENERAL INFORMATION:
Before Servicing:
Before starting to service a motorcycle, careful reading of the applicable section is recommended to eliminate unnecessary work. Photographs, diagrams, notes, cautions, warnings, and detailed descriptions have been included wherever necessary. Nevertheless, even a detailed account has limitations, a certain amount of basic knowledge is also required for successful work.
Especially note the following:
(1) Dirt
Before removal and disassembly, clean the motorcycle. Any dirt entering the engine or other parts will work as an abrasive and shorten the life of the motorcycle. For the same reason, before installing a new part, clean off any dust or metal filings.
(2) Battery Ground
Remove the ground (-) lead from the battery before performing any disassembly operations on the motorcycle. This prevents: (a) the possibility of accidentally turning the engine over while partially disassembled. (b) sparks at electrical connections which will occur when they are disconnected. (c) damage to electrical parts.
(3) Installation, Assembly
Generally, installation or assembly is the reverse of removal or disassembly. But if this Service Manual has installation or assembly procedures, follow them. Note parts locations and cable, wire, and hose routing during removal or disassembly so they can be installed or assembled in the same way. It is preferable to mark and record the locations and routing as much as possible.
(4) Tightening Sequence
Generally, when installing a part with several bolts, nuts, or screws, start them all in their holes and tighten them to a snug fit. Then tighten them evenly in a cross pattern. This is to avoid distortion of the part and/or causing gas or oil leakage. Conversely when loosening the bolts, nuts, or screws, first loosen all of them by about a quarter turn and then remove them. Where there is a tightening sequence indication in this Service Manual, the bolts, nuts, or screws must be tightened in the order and method indicated.
(5) Torque
When torque values are given in this Service Manual, use them. Either too little or too much torque may lead to serious damage. Use a good quality, reliable torque wrench.
When torque values are given in this Service Manual, use them. Either too little or too much torque may lead to serious damage. Use a good quality, reliable torque wrench.
(6) Force
Common sense should dictate how much force is necessary in assembly and disassembly. If a part seems especially difficult to remove or install, stop and examine what may be causing the problem. Whenever tapping is necessary, tap lightly using a wooden or plastic-faced mallet. Use an impact driver for screws (particularly for the removal of screws held by a locking agent) in order to avoid damaging the screw heads.
Common sense should dictate how much force is necessary in assembly and disassembly. If a part seems especially difficult to remove or install, stop and examine what may be causing the problem. Whenever tapping is necessary, tap lightly using a wooden or plastic-faced mallet. Use an impact driver for screws (particularly for the removal of screws held by a locking agent) in order to avoid damaging the screw heads.
S.V 17/03/2025