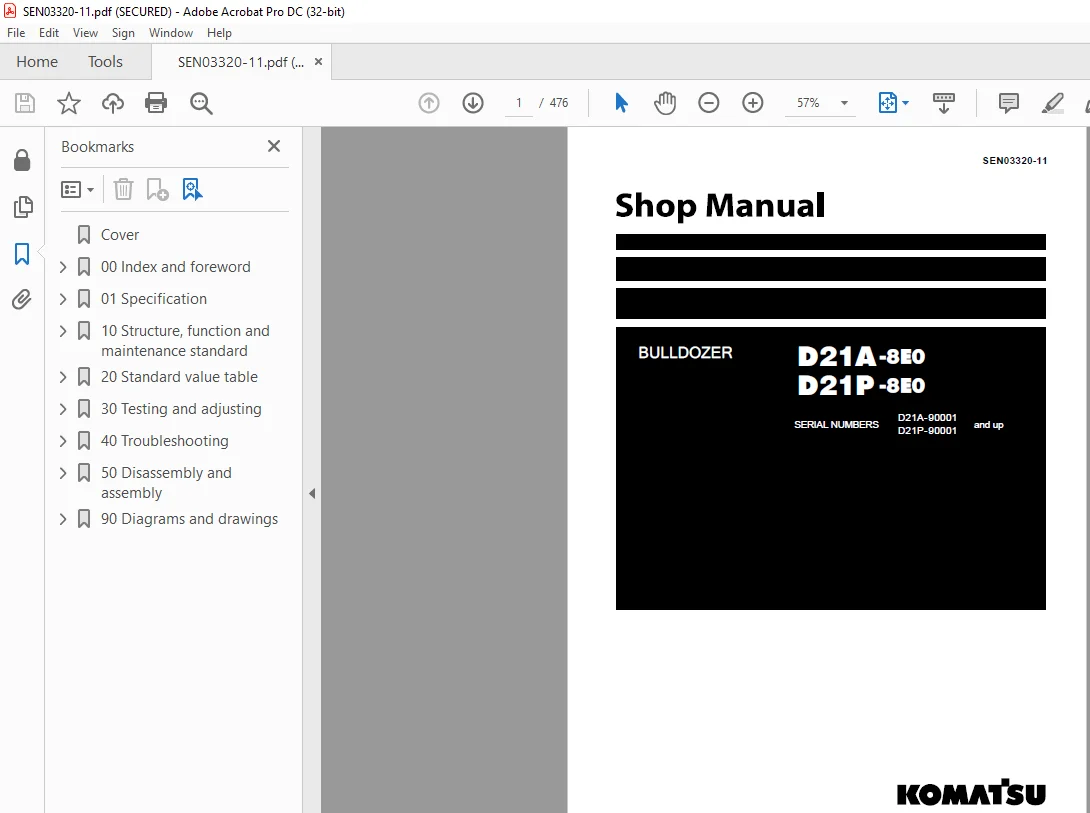
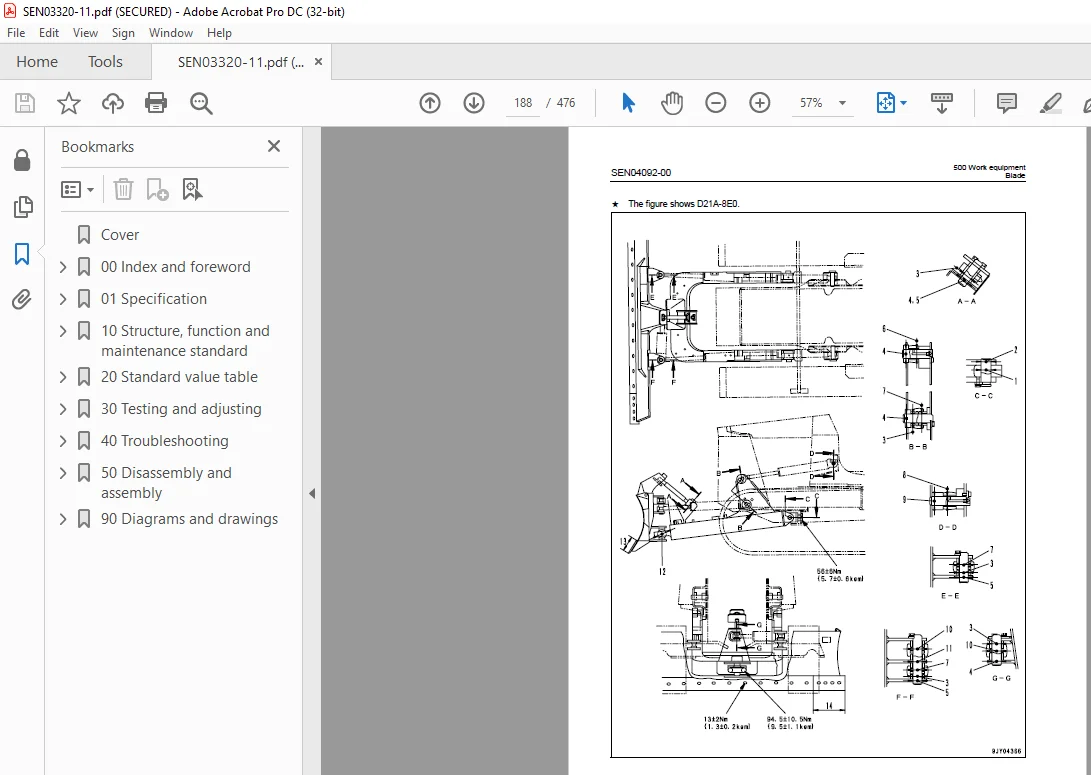
Komatsu BULLDOZER D21A-8E0 D21P-8E0 Shop Manual SEN03320-11 PDF
$29.95
Komatsu BULLDOZER D21A-8E0 D21P-8E0 Shop Manual SEN03320-11 – PDF DOWNLOAD
SERIAL NUMBERS D21A-90001
D21P-90001 and up
Description
Komatsu BULLDOZER D21A-8E0 D21P-8E0 Shop Manual SEN03320-11 – PDF DOWNLOAD
FILE DETAILS:
Komatsu BULLDOZER D21A-8E0 D21P-8E0 Shop Manual SEN03320-11 – PDF DOWNLOAD
Language : English
Pages :476
Downloadable : Yes
File Type : PDF
DESCRIPTION:
Komatsu BULLDOZER D21A-8E0 D21P-8E0 Shop Manual SEN03320-11 – PDF DOWNLOAD
SERIAL NUMBERS D21A-90001
D21P-90001 and up
General precautions
k Mistakes in operation are extremely dangerous. Read the Operation and Maintenance Manual carefully before operating the machine. In addition, read this manual and understand its contents before starting the work.
Komatsu BULLDOZER D21A-8E0 D21P-8E0 Shop Manual SEN03320-11 – PDF DOWNLOAD
SERIAL NUMBERS D21A-90001
D21P-90001 and up
Cover 1
00 Index and foreword 3
100 Index 3
Composition of shop manual 4
Table of contents 6
200 Foreword and general information 11
Safety notice 12
How to read the shop manual 17
Explanation of terms for maintenance standard 19
Handling of electric equipment and hydraulic component 21
Handling of connectors newly used for engines 30
How to read electric wire code 33
Precautions when carrying out operation 36
Method of disassembling and connecting push-pull type coupler 39
Standard tightening torque table 42
Conversion table 46
01 Specification 53
100 Specification and technical data 53
Specification dimension drawing 55
Specifications 56
Weight table 62
Table of fuel, coolant and lubricant 64
10 Structure, function and maintenance standard 67
100 Engine and cooling system 67
Engine control 68
210 Power train, Part 1 71
Power train system 72
Power train skeleton 73
Damper and universal joint 75
Power train hydraulic piping drawing 77
Transmission control 78
Steering clutch and brake control 82
Transmission 85
Transmission control valve104
220 Power train, Part 2119
Bevel gear shaft, steering clutch and steering brake120
Final drive129
Sprocket132
Steering cylinder133
Brake cylinde135
300 Undercarriage and frame137
Main frame and suspension139
Track frame140
Idler cushion144
Idler146
Track roller148
Carrier roller149
Track shoe150
400 Hydraulic system157
Work equipment hydraulic piping diagram158
Work equipment control159
Hydraulic tank and filter160
Power train and steering pump161
Work equipment pump163
Control valve164
Operation of work equipment control circuit170
PPC valve176
500 Work equipment185
Blade187
Hydraulic cylinder190
600 Electrical system193
Monitor system194
Engine control196
KOMTRAX system198
Sensor202
700 Cab and its attachments207
Air conditioner208
20 Standard value table211
100 Standard service value table211
Standard value table for engine212
Standard value table for chassis213
30 Testing and adjusting219
100 Testing and adjusting219
List of testing, adjusting, and troubleshooting tools220
Measuring engine speed221
Measuring exhaust gas color222
Adjusting valve clearance223
Measuring compression pres225
Testing and adjusting fuel injection timing226
Bleeding air from fuel circuit228
Measuring engine oil pressure228
Testing and adjusting fan belt tension229
Replacing fan belt229
Adjusting fuel control linkage230
Measuring power train oil pressure232
Adjusting PPC valve233
Bleeding air from steering circuit233
Measuring and adjusting work equipment main relief pressure234
Bleeding air from hydraulic cylinders235
Bleeding air from angle cylinder circuit236
Adjusting fuel control lever237
Adjusting travel of inching pedal238
Adjusting steering control linkage239
Adjusting brake pedal, brake cylinder241
Adjusting brake lining clearance243
40 Troubleshooting245
100 General Information on troubleshooting245
Points to remember when troubleshooting246
Sequence of events in troubleshooting247
Checks before troubleshooting248
Classification and steps for troubleshooting250
Types and locations of connectors251
Connection table for connector pin numbers253
T-branch box and T-branch adapter table289
200 Troubleshooting of electrical system (E-mode)293
Before carrying out troubleshooting in E-MODE294
Information contained in troubleshooting table295
E-1 The engine does not start296
E-2 The engine does not stop302
E-3 The heater signal is not heated red, or the heater does not become hot even if the heater signal is heated red304
E-4 The battery is not charged normally (caution lamp lights up)306
E-5 The horn does not sound307
E-6 The headlamp (rear lamp) does not light up308
E-7 The coolant temperature gauge is abnormal (Applicable machine: 90001 to 91563)310
E-7 The coolant temperature gauge is abnormal (Applicable machine: 91564 and up)311
E-8 The fuel level gauge is abnormal312
E-9 The backup buzzer does not sound314
E-10 The service meter does not operate while engine is running315
E-11 KOMTRAX system does not operate normally316
300 Troubleshooting of hydraulic and mechanical system (H-mode)319
Method of using troubleshooting chart320
H-1 Machine does not start322
H-2 Drawbar pull is weak, travel speed is slow323
H-3 Excessive time lag when starting or shifting gear checks before troubleshooting324
H-4 Steering does not work properly325
H-5 Machine moves when engine is started326
H-6 Excessive shock when starting or shifting gear326
H-7 Level of oil in transmission case or bevel gear case changes326
H-8 Lack of blade lifting force, speed327
H-9 Impossible to raise blade or push up chassis328
H-10 Excessive hydraulic drift of blade329
H-11 Blade moves up and down during leveling operations (control lever at HOLD)329
H-12 Blade goes down329
H-13 Blade tilt lacks power, speed, impossible to push up chassis with tilt330
H-14 Blade cannot be tilted331
H-15 Excessive hydraulic drift of blade tilt332
H-16 Blade angle lacks power, speed (applicable to power angle, power tilt dozer)333
H-17 Blade cannot be angled (applicable to power angle tiltdozer)334
H-18 When blade is angled, blade returns to straight position or shakes during operations (control lever at HOLD)335
H-19 Work equipment control levers are heavy336
400 Troubleshooting of engine (S-mode)339
Method of using matrix troubleshooting chart340
S-1 Starting performance is poor (Starting always takes time)344
S-2 Engine does not start345
S-3 Engine does not pick up smoothly (Follow-up is poor)348
S-4 Engine stops during operations349
S-5 Engine does not rotate smoothly350
S-6 Engine lacks output (no power)351
S-7 Exhaust gas is black (incomplete combustion)352
S-8 Oil consumption is excessive (or exhaust gas is blue)353
S-9 Oil becomes contaminated quickly354
S-10 Fuel consumption is excessive355
S-11 Oil is in coolant, or coolant spurts back, or coolant level goes down356
S-12 Oil pressure lamp lights up (drop in oil pressure)357
S-13 Oil level rises358
S-14 Coolant temperature becomes too high (overheating)359
S-15 Abnormal noise is made360
S-16 Vibration is excessive361
50 Disassembly and assembly363
100 General information on disassembly and assembly363
How to read this manual364
Coating materials list366
Special tools list369
200 Engine and cooling system373
Removal and installation of fuel injection pump assembly374
Removal and installation of radiator guard assembly376
Removal and installation of engine assembly378
310 Power train, Part 1383
Disassembly and assembly of hydroshift transmission assembly384
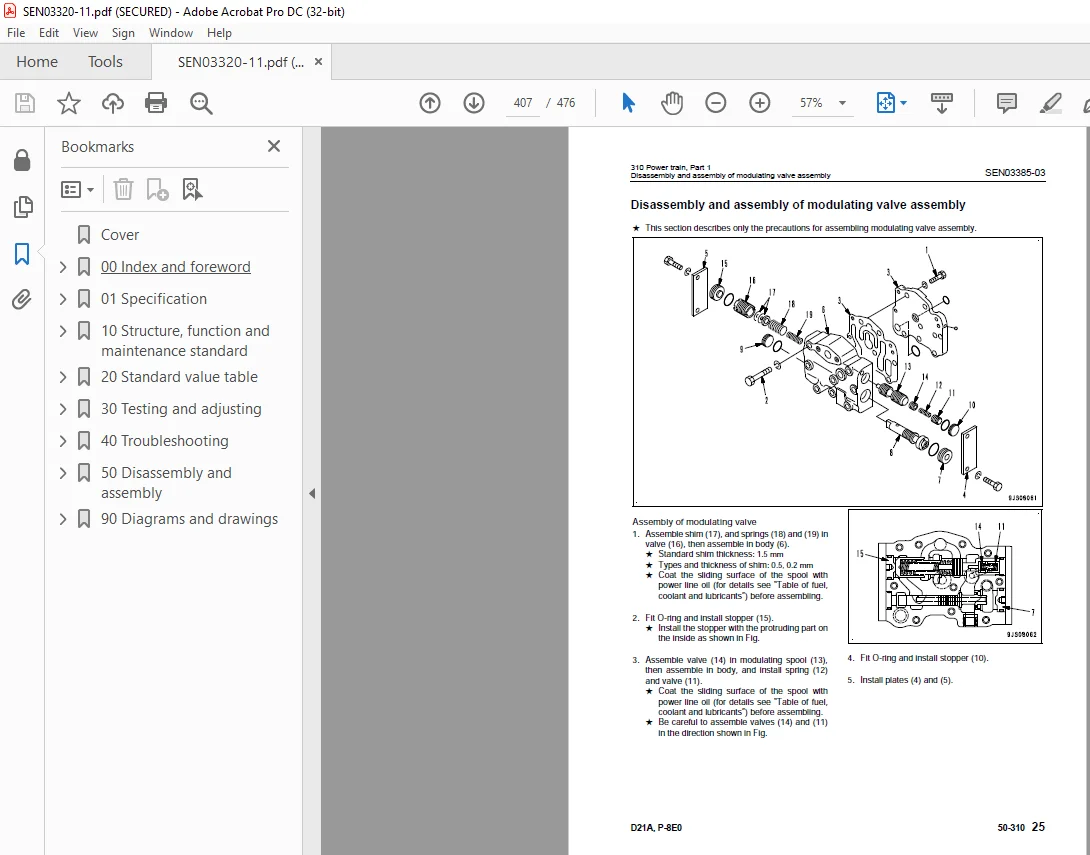
Disassembly and assembly of modulating valve assembly407
Disassembly and assembly of selector and inching valve assembly408
320 Power train, Part 2411
Disassembly and assembly of hydroshift transmission assembly412
Removal and installation of steering clutch assembly413
Disassembly and assembly of steering clutch assembly416
Removal and installation of bevel gear shaft and bevel gear assembly420
Removal and installation of final drive assembly429
Removal and installation of final drive first pinion assembly430
Disassembly and assembly of final drive assembly433
400 Undercarriage and frame439
Removal and installation of power train oil cooler assembly440
Removal and installation of recoil spring assembly441
Disassembly and assembly of recoil spring assembly442
Expansion and installation of track shoe assembly443
500 Hydraulic system445
Disassembly and assembly of hydraulic control valve assembly446
Disassembly and assembly of hydraulic cylinder assembly448
600 Work equipment451
Removal and installation of blade452
700 Electric system455
Removal and installation of KOMTRAX terminal assembly456
90 Diagrams and drawings459
100 Hydraulic diagrams and drawings459
Power train hydraulic circuit diagram461
Work equipment hydraulic circuit diagram465
200 Electrical diagrams and drawings469
Electrical circuit diagram471
Cab and air conditioner electrical circuit diagram473
IMAGES PREVIEW OF THE MANUAL:
@
S.M 22/12/24