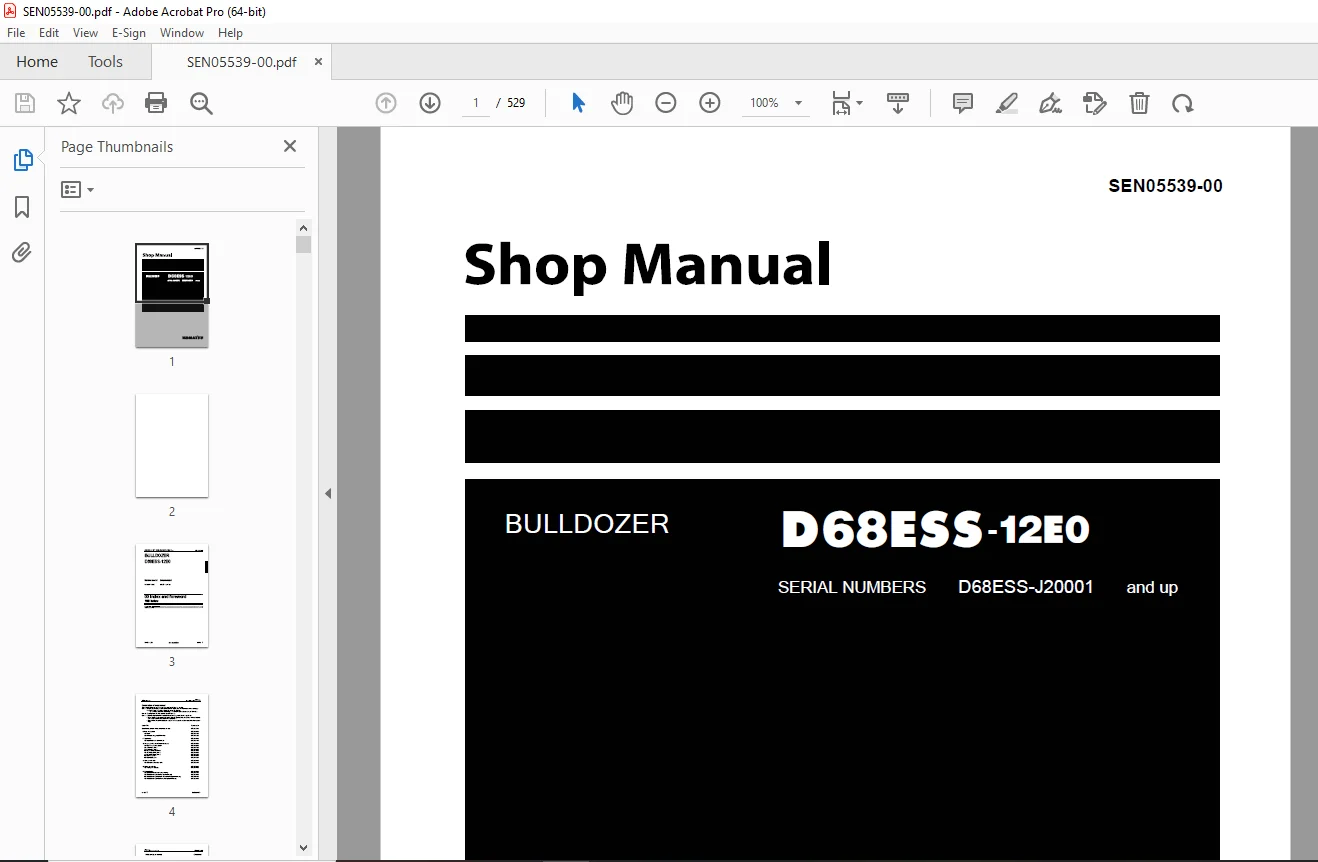
Komatsu Bulldozer D68ESS-12E0 Shop Manual SEN05539-00 PDF DOWNLOAD
$30.95
Komatsu Bulldozer D68ESS-12E0 Shop Manual SEN05539-00 – PDF DOWNLOAD
- SERIAL NUMBERS D68ESS-J20001 and up
Description
Komatsu Bulldozer D68ESS-12E0 Shop Manual SEN05539-00 – PDF DOWNLOAD
FILE DETAILS:
Komatsu Bulldozer D68ESS-12E0 Shop Manual SEN05539-00 – PDF DOWNLOAD
Language : English
Pages : 529
Downloadable : Yes
File Type : PDF
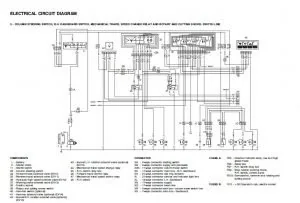
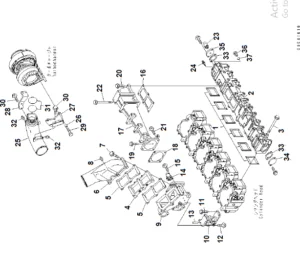
IMAGES PREVIEW OF THE MANUAL:
TABLE OF CONTENTS:
Komatsu Bulldozer D68ESS-12E0 Shop Manual SEN05539-00 – PDF DOWNLOAD
- SERIAL NUMBERS D68ESS-J20001 and up
COVER . 1
00. INDEX AND FOREWORD 3
Index . 3
Composition of shop manual 4
Table of contents . 6
Foreword and general information 11
Safety notice . 12
How to read the shop manual . 17
Explanation of terms for maintenance standard . 19
Handling of electric equipment and hydraulic component 21
Handling of connectors newly used for engines . 30
How to read electric wire code 33
Precautions when carrying out operation . 36
Method of disassembling and connecting push-pull type coupler . 39
Standard tightening torque table 42
Conversion table 46
01. Specification . 53
Specification and technical data 53
Specification drawing . 54
Specifications 55
Weight table 59
Table of fuel, coolant and lubricants . 60
02. Structure, function andmaintenance standard . 63
Engine and cooling system . 63
Radiator, power train, oil cooler . 64
Engine control 66
Power train, Part 1 . 69
Power train system 70
Power train skeleton 71
Power train unit 72
Power train hydraulic piping diagram 73
Transmission, steering and brake control 74
Damper, universal joint . 76
Torque converter and PTO 79
Transmission 84
Transmission control valve 94
Maintenance standard 96
Modulating valve 97
Main relief valve .100
Maintenance standard 101
Lubrication relief valve 103
Power train oil filter 104
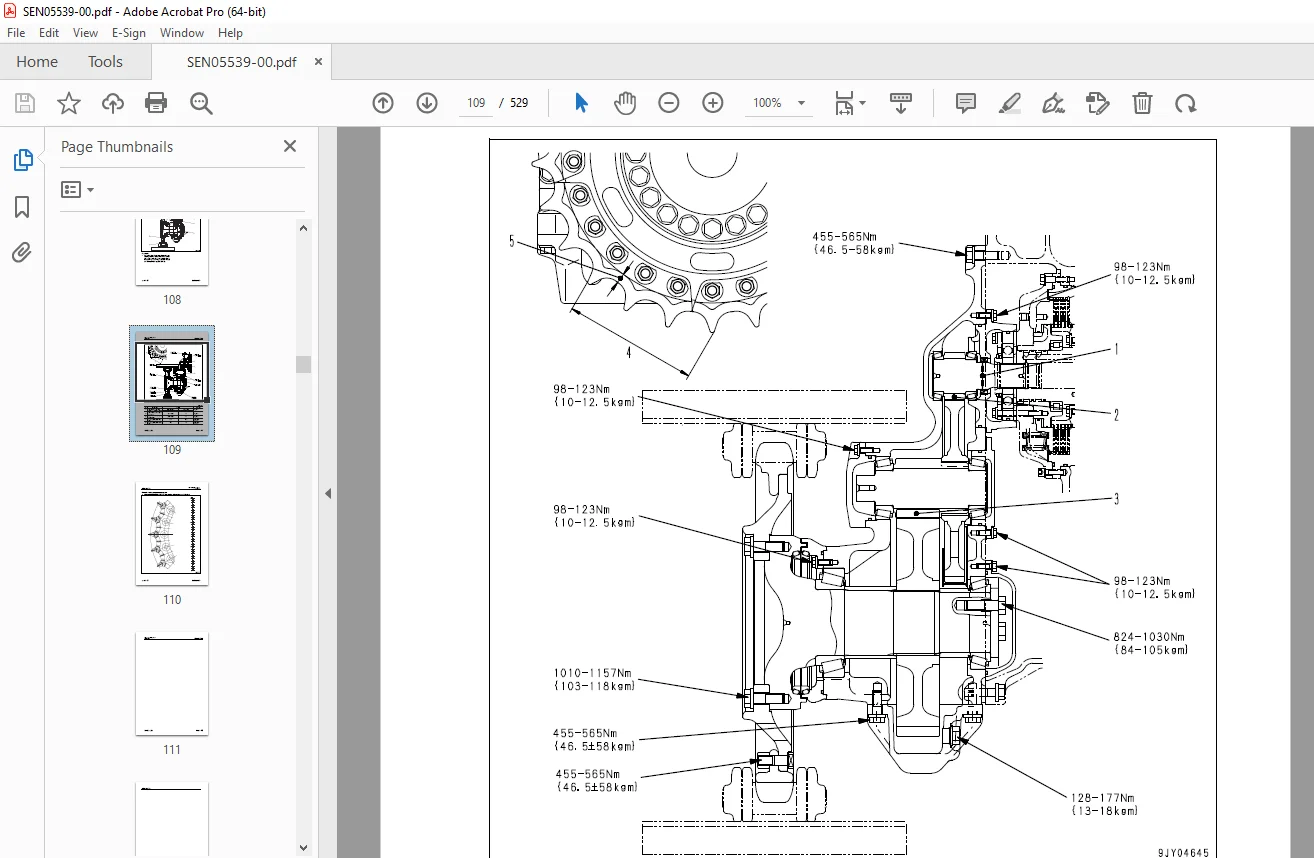
Final drive .106
Maintenance standard 109
Power train, Part 2 .113
Bevel gear shaft, steering clutch and brake .114
Maintenance standard 118
Brake valve .124
Maintenance standard 125
Reducing valve 129
Scavenging pump strainer 130
Power train pump strainer .131
Undercarriage and frame .133
Main frame 134
Suspension 136
Maintenance standard 138
Track frame .139
Recoil spring .140
Maintenance standard 141
Idler .142
Track roller 143
Carrier roller 144
Track shoe 146
Lubricated type .146
Hydraulic system, Part 1 149
Work equipment hydraulic piping diagram .150
PPC control piping diagram 152
Work equipment control 153
Hydraulic tank and filter .155
Hydraulic pump 157
Power train lubrication pump 158
PPC valve (for steering) 159
Operation of steering PPC valve .161
Hydraulic system, Part 2 165
1-spool valve .166
Main control valve 166
CLSS 172
Functions, operation of valve .174
Suction valve .182
Work equipment 185
Work equipment 186
Cutting edge, end bit .190
Work equipment cylinder .192
Electrical system .195
Engine control 196
Machine monitor system 197
Sensors .200
03. Standard value table 205
Standard service value table 205
Standard value table for engine .206
Standard value table for chassis 207
Standard value table for electrical system 210
04. Testing and adjusting .213
Testing and adjusting .213
Tools for testing, adjusting, and troubleshooting .214
Measuring blow-by pressure 215
Measuring exhaust color .216
Measuring engine oil pressure .217
Measuring engine speed 218
Testing fan belt tension 219
Measuring speed at torqueconverter stall 220
Adjusting fuel control linkage 221
Adjusting steering/directionallever, gearshift lever, and parkingbrake lever 223
Adjusting brake pedal linkage .226
Adjusting work equipment lock lever .227
Testing power train hydraulicpressure .228
Measuring and adjusting workequipment oil pressure 231
Measuring leakage inside cylinder1 232
Bleeding air from hydrauliccylinder .232
05. Troubleshooting .235
General information on troubleshooting 235
Points to remember when troubleshooting .236
How to proceed troubleshooting 237
Checks before troubleshooting .238
Connector types and mounting locations 239
Connector pin arrangement diagram .240
How to distinguish wire code 242
Wiring table for connector pin numbers 246
T-adapter box and T-adapter table .279
How to follow the troubleshooting flow diagrams .282
Troubleshooting of electrical system(E-mode) 285
Table of failure modes and causes (Electrical system) .286
Electrical circuit diagram for each system 288
E-1 Starting motor is not cranked when starting switch is turned to ON 290
E-2 Lamps do not light up .292
Troubleshooting of hydraulic andmechanical system (H-mode) 295
Table of failure modes and causes (hydraulic, mechanical system) 296
H-1 Brake does not work .298
H-2 Machine does not turn (can travel in a straight line) .299
H-3 Overruns when turning .300
H-5 Excessive time lag 301
H-7 Machine does not move (when engine is started and lever is shiftedto 2nd or 3rd) 302
H-8 Machine does not move in any speed range 304
H-9 Power train oil temperature rises too high 306
H-10 Drawbar pull is weak, travel speed is slow .308
H-11 Abnormal noise is generated from around hydraulic pump .310
H-13 No work equipment moves 311
H-15 Hydraulic drift of blade lift is excessive .312
Troubleshooting of machine monitorsystem (M-mode) .315
Table of failure modes and causes (machine monitor system) 316
Electrical circuit diagrams for each system .318
M-1 Caution item lights up 320
M-2 Gauge is abnormal .322
M-3 Service meter does not move after engine is started .326
M-4 Monitor panel lighting does not light up (front lamps are normal) .327
06. Disassembly and assembly 329
General information on disassemblyand assembly 329
How to read this manual .330
Coating materials list 332
Special tool list .335
Sketches of special tools .339
Engine and cooling system .343
Removal and installation ofengine assembly 344
Removal and installation ofradiator and guard assembly 348
Removal and installation ofradiator assembly 350
Removal and installation ofhydraulic oil cooler assembly 353
Removal and installation of fueltank assembly .354
Removal and installation ofdamper assembly 355
Power train .359
Removal and installation of PTO,torque converter andtransmission assembly .360
Separation and connection ofPTO, torque converter andtransmission assembly 364
Disassembly and assembly ofPTO assembly .366
Disassembly and assembly oftorque converter assembly 372
Disassembly and assembly ofTORQFLOW transmissionassembly 377
Removal and installation oftorque converter main relief valveassembly .396
Disassembly and assembly oftorque converter main relief valveassembly .397
Removal and installation oftransmission control valveassembly .399
Disassembly and assembly oftransmission control valveassembly .400
Removal and installation of brakevalve assembly .402
Disassembly and assembly of brake valve assembly 403
Removal and installation ofsteering clutch and brakeassembly 406
Disassembly and assembly ofsteering clutch and brakeassembly 407
Removal and installation of bevelgear and bevel gear shaft 414
Removal and installation of final drive assembly .421
Disassembly and assembly of final drive assembly .423
Undercarriage and frame .437
Removal and installation of track frame assembly .438
Removal and installation of recoil spring assembly .440
Disassembly and assembly of recoil spring assembly .441
Removal and installation of idler assembly .444
Disassembly and assembly of idler assembly .445
Removal and installation of track roller assembly 449
Disassembly and assembly of track roller assembly 450
Removal and installation of carrier roller assembly 453
Disassembly and assembly of carrier roller assembly 454
Removal and installation of track shoe assembly 456
Overall disassembly and assembly of track shoe assembly1 .457
Dimension table of fitting jig of link press 472
Field disassembly and assembly of one link .473
Removal and installation of pivot shaft assembly .480
Removal and installation of equalizer bar assembly .482
Removal and installation of equalizer bar side bushing .484
Removal installation of segment teeth 485
Hydraulic system 487
Removal and installation of work equipment pump assembly .488
Removal and installation of work equipment control valve assembly .489
Disassembly and assembly of work equipment control valve assembly .491
Removal and installation of steering PPC valve assembly 493
Removal and installation of suction valve assembly .494
Removal and installation of blade lift cylinder assembly .495
Disassembly and assembly of hydraulic cylinder assembly 496
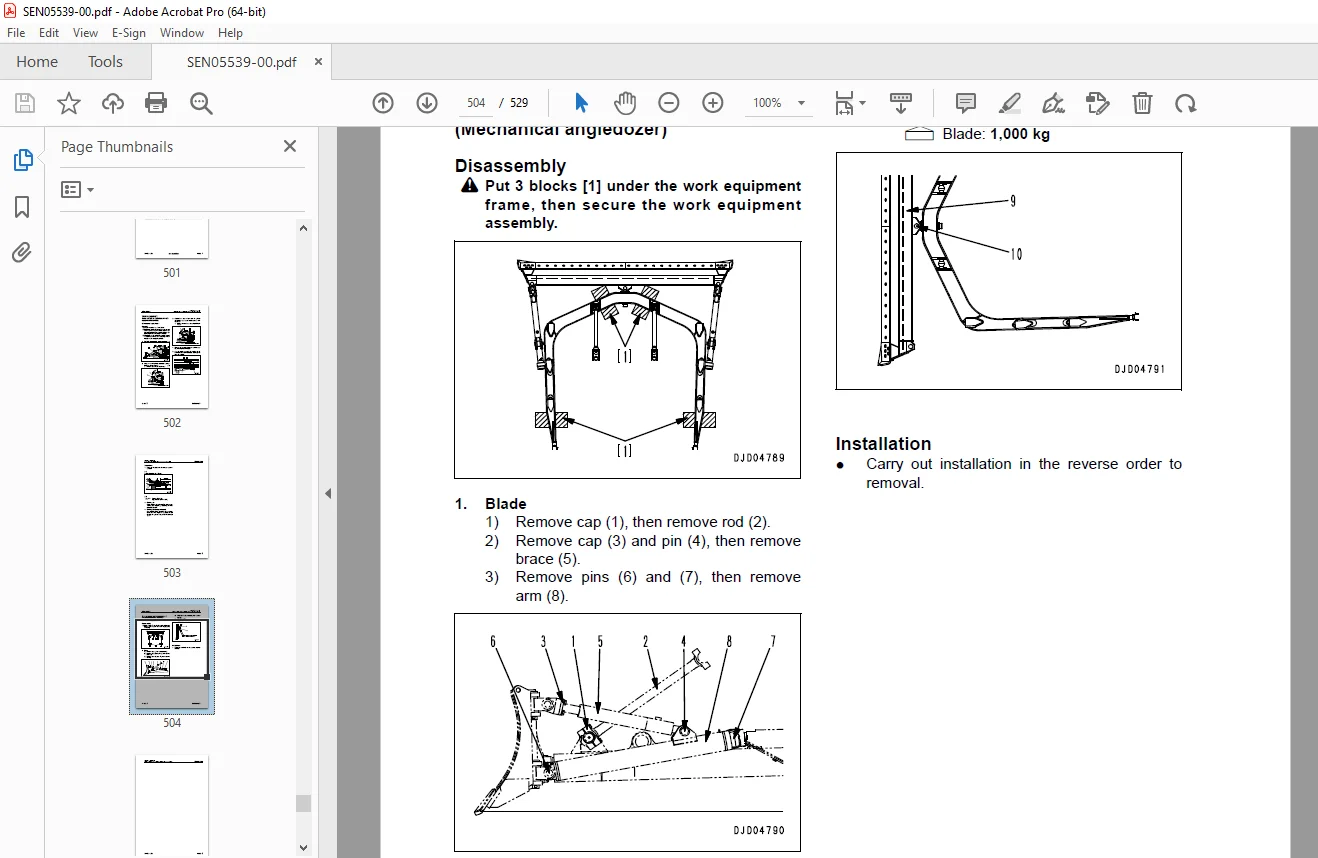
Work equipment 501
Removal and installation of work equipment assembly 502
Disassembly and assembly of work equipment assembly 504
Cab and its attachments .507
Removal and installation of floor frame assembly .508
Removal and installation of sweep guard 512
Electrical system .515
Removal and installation of dashboard assembly .516
Removal and installation of panel assembly .517
07. Diagrams and drawings .520
Hydraulic diagrams and drawings .520
Power train hydraulic circuit diagram .521
Work equipment hydraulic circuit diagram 522
Electrical diagrams and drawings 525
Electrical circuit diagram 526
DESCRIPTION:
Komatsu Bulldozer D68ESS-12E0 Shop Manual SEN05539-00 – PDF DOWNLOAD
- SERIAL NUMBERS D68ESS-J20001 and up
1. Composition of shop manual
This shop manual contains the necessary technical information for services performed in a workshop.
For ease of understanding, the manual is divided into the following sections.
00. Index and foreword
This section explains the shop manuals list, table of contents, safety, and basic information.
01. Specification
This section explains the specifications of the machine.
10. Structure, function and maintenance standard
This section explains the structure, function, and maintenance standard values of each component.
The structure and function sub-section explains the structure and function of each component. It
serves not only to give an understanding of the structure, but also serves as reference material for
troubleshooting. The maintenance standard sub-section explains the criteria and remedies for disassembly
and service.
20. Standard value table
This section explains the standard values for new machine and judgement criteria for testing,
adjusting, and troubleshooting. This standard value table is used to check the standard values in
testing and adjusting and to judge parts in troubleshooting.
30. Testing and adjusting
This section explains measuring instruments and measuring methods for testing and adjusting, and
method of adjusting each part. The standard values and judgement criteria for testing and adjusting
are explained in Testing and adjusting.
40. Troubleshooting
This section explains how to find out failed parts and how to repair them. The troubleshooting is
divided by failure modes. The “S mode” of the troubleshooting related to the engine may be also
explained in the Chassis volume and Engine volume. In this case, see the Chassis volume.
50. Disassembly and assembly
This section explains the special tools and procedures for removing, installing, disassembling, and
assembling each component, as well as precautions for them. In addition, tightening torque and
quantity and weight of coating material, oil, grease, and coolant necessary for the work are also
explained.
90. Diagrams and drawings (chassis volume)/Repair and replacement of parts (engine volume)
q Chassis volume
This section gives hydraulic circuit diagrams and electrical circuit diagrams.
q Engine volume
This section explains the method of reproducing, repairing, and replacing parts.
2. Revision and distribution
Any additions, revisions, or other change of notices will be sent to KOMATSU distributors. Get the most
up-to-date information before you start any work.
G.B 25/12/24