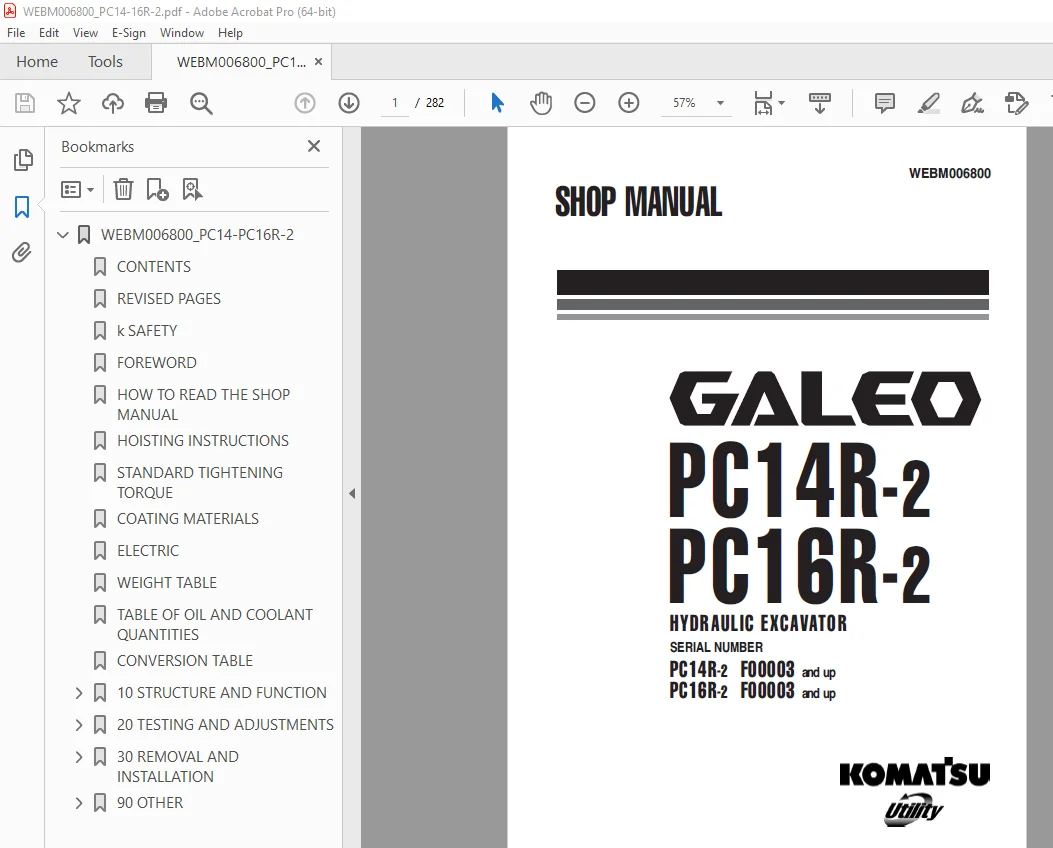
Komatsu Galeo PC14R-2 PC16R-2 Hydraulic Excavator Shop Manual WEBM006800 PDF
$28.95
Komatsu Galeo PC14R-2 PC16R-2 Hydraulic Excavator Shop Manual WEBM006800 – PDF DOWNLOAD
PC14R-2 F00003 and up
Description
Komatsu Galeo PC14R-2 PC16R-2 Hydraulic Excavator Shop Manual WEBM006800 – PDF DOWNLOAD
FILE DETAILS:
Komatsu Galeo PC14R-2 PC16R-2 Hydraulic Excavator Shop Manual WEBM006800 – PDF DOWNLOAD
Language : English
Pages : 282
Downloadable : Yes
File Type : PDF
IMAGES PREVIEW OF THE MANUAL:
TABLE OF CONTENTS:
Komatsu Galeo PC14R-2 PC16R-2 Hydraulic Excavator Shop Manual WEBM006800 – PDF DOWNLOAD
PC14R-2 F00003 and up
WEBM006800_PC14-PC16R-2 1
CONTENTS 3
REVISED PAGES 5
k SAFETY 7
FOREWORD 9
HOW TO READ THE SHOP MANUAL 10
HOISTING INSTRUCTIONS 11
STANDARD TIGHTENING TORQUE 12
COATING MATERIALS 14
ELECTRIC 15
WEIGHT TABLE 16
TABLE OF OIL AND COOLANT QUANTITIES 17
CONVERSION TABLE 19
10 STRUCTURE AND FUNCTION 27
PTO 28
POWER TRAIN 29
SWING CIRCLE 30
TRACK FRAME AND RECOIL SPRING 31
For steel shoe 31
For rubber shoe 33
Variable gauge version 34
TRACK SHOE IDLER 36
SPROCKET 37
CARRIER ROLLER 38
RUBBER SHOE 40
Standard version 40
Variable gauge version 41
STEEL SHOE 42
STEEL SHOE 43
SWIVEL JOINT 44
PC14R-2 44
PC14R-2 (travel increment version) 45
PC16R-2 45
PC14R-2 HS 46
PC16R-2 HS 46
HYDRAULIC CIRCUIT DIAGRAM 47
PC14R-2 47
PC14R-2 (travel increment version) 49
PC14R-2 HS (variable gauge version) 51
PC16R-2 53
PC16R-2 HS (variable gauge version) 55
HYDRAULIC PUMP 57
PC14R-2 57
PC16R-2 58
CONTROL VALVE 62
SWING MOTOR 65
PPC VALVES 66
EQUIPMENT PPC VALVES 66
TRAVEL PPC VALVE 71
BLADE PPC VALVE 73
OPTIONAL EQUIPMENT AND BOOM SWING PPC VALVE 77
SOLENOID VALVE 79
EV1 SOLENOID VALVE PC14R-2 79
SOLENOID VALVES EV1 PC14R-2 (travel increment version), PC14R-2 HS, PC16R-2, PC16R-2 HS 80
SOLENOID VALVE EV2 PC14R-2 HS PC16R-2 HS 81
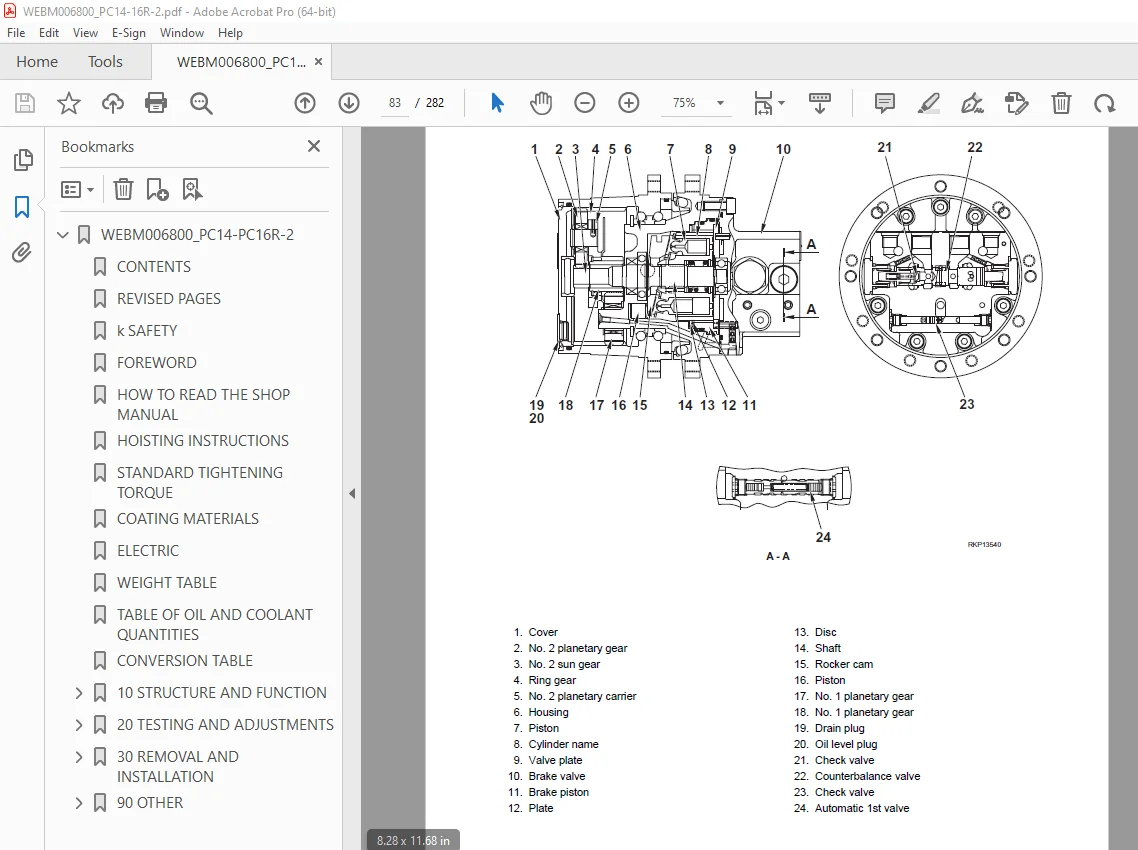
FINAL DRIVE 82
CYLINDERS 91
20 TESTING AND ADJUSTMENTS 97
VEHICLE SPECIFICATIONS AND COMPONENTS 99
FOR ENGINE 99
FOR MACHINE 100
PUMP FEATURES PC14R-2 106
PUMP “1” (Main) 106
PUMP “2” (Servocontrols) 106
PUMP FEATURES PC16R-2 107
PUMP “2” 107
PISTON PUMP “1” 107
MEASURING POSTURE 108
SPECIAL TOOLS 112
TESTING ENGINE SPEED 113
MEASUREMENT OF EXHAUST GAS COLOR 115
ADJUSTING VALVE CLEARANCE 117
CHECKING COMPRESSION PRESSURE 119
CHECKING ENGINE OIL PRESSURE 120
TESTING AND ADJUSTING FUEL INJECTION TIMING 121
ADJUSTING ENGINE STOP SOLENOID 123
BLEEDING AIR FROM FUEL CIRCUIT 124
TESTING AND ADJUSTING FAN BELT TENSION 125
ADJUSTING FUEL CONTROL LEVER LINKAGE 126
MEASUREMENT OF CLEARANCE IN SWING CIRCLE BEARINGS 127
TESTING AND ADJUSTING TRACK SHOE TENSION 128
CONTROL AND REGULATION OF PRESSURE IN THE HYDRAULIC CIRCUITS 129
TEST 129
ADJUSTING 132
CHECKING SERVO-CONTROL PRESSURE 133
CHECKING LS PRESSURE 135
ADJUSTING PPC VALVE CLEARANCE 137
CHECKING FOR LEAKAGE INSIDE THE CYLINDERS 138
METHODS FOR TESTING FOR LEAKAGES INSIDE THE SWIVEL JOINT 141
ELIMINATING RESIDUAL PRESSURE FROM THE HYDRAULIC CIRCUITS 145
AIR BLEED 146
CONTROL OF HYDRAULIC DRIFTS – ANALYSIS CAUSES OF A DRIFT 148
HOW TO OPEN AND CLOSE (TILT) FLOOR 154
ADJUSTING THE SERVO-CONTROL SAFETY MICROSWITCHES AND RUBBER PAD 156
30 REMOVAL AND INSTALLATION 159
HOW TO READ THE MANUAL 161
PRECAUTIONS TO BE TAKEN WHILE WORKING 162
SPECIAL TOOLS 163
CANOPY AND CAB 165
CANOPY 165
Removal 165
CABIN 165
Removal 165
Installation 169
RADIATOR 170
Removal 170
Installation 171
HYDRAULIC OIL COOLER 172
Removal 172
Installation 173
COUNTERWEIGHT AND FUEL TANK 174
Removal 174
Installation 176
ENGINE-PUMP GROUP 177
Removal 177
Installation 183
HYDRAULIC PUMP 184
Removal 184
Installation 185
TRACKS 186
Removal 186
Installation 187
IDLER WHEEL 188
Assembly 188
PISTON – RECOIL SPRING – CYLINDER 189
PISTON ASSEMBLY 189
Disassembly 189
Assembly 189
RECOIL SPRING 190
Disassembly 190
Assembly 190
CYLINDER 191
Disassembly 191
Assembly 191
IDLER ROLLERS 192
Removal 192
Installation 192
Assembly 193
FLOOR 194
Removal 194
Installation 200
UPPER FRAME 202
Removal 202
Installation 206
SWING CIRCLE 207
Removal 207
Installation 207
SWIVEL JOINT 208
Removal 208
Installation 210
SWING MOTOR 211
Removal 211
Installation 212
HYDRAULIC OIL TANK 213
Removal 213
Installation 215
SERVO-CONTROLS SUPPLY SOLENOID VALVE 216
Removal 216
Installation 216
RH PPC VALVE (BOOM – BUCKET) 217
Removal 217
Installation 220
LH PPC VALVE (ARM – BUCKET) 221
Removal 221
Installation 223
UPPER FRAME SIDE SHIELD 224
Removal 224
RH SHIELD 224
LH SHIELD 225
Installation 225
BLADE PPC VALVE 226
Removal 226
Installation 227
OPTIONAL EQUIPMENT PPC VALVE 228
Removal 228
Installation 228
REVOLVING FRAME ROTATION CONTROL 230
Removal 230
Installation 230
TRAVEL PPC VALVE 231
Removal 231
Installation 232
FUNCTION SELECTION SOLENOID VALVE (HS version only) 233
Removal 233
Installation 233
TRAVEL MOTOR 234
Removal 234
Installation 234
TRAVEL MOTOR (with increment) 235
Assembly 235
SPROCKET WHEEL 246
Removal 246
Installation 246
COMPLETE FINAL DRIVE 247
Removal 247
Installation 247
IDLER WHEEL – BUMPER SPRING 248
Removal 248
Installation 248
BOOM CYLINDER 249
Removal 249
Installation 249
ARM CYLINDER 250
Removal 250
Installation 250
BUCKET CYLINDER 251
Removal 251
Installation 252
BOOM SWING CYLINDER 253
Removal 253
Installation 254
BLADE CYLINDER 255
Removal 255
Installation 255
TRACK-FRAME SPREADING CYLINDER (HS version only) 256
Removal 256
Installation 257
HYDRAULIC CYLINDERS 258
Assembly 258
CYLINDER 258
PISTON ROD 258
CYLINDER HEAD ASSEMBLY 259
PISTON ASSEMBLY 260
PISTON ROD 262
WORKING EQUIPMENT 263
Removal 263
Installation 265
BUCKET 266
Removal 266
Installation 266
ARM 267
Removal 267
Installation 268
BOOM 269
Removal 269
Installation 271
BOOM SWING SUPPORT 272
Removal 272
Installation 272
BLADE 273
Removal 273
Installation 273
MOVING FRAMES (HS version only) 274
Removal 274
Installation 275
90 OTHER 277
ELECTRICAL CIRCUIT DIAGRAM 279
DESCRIPTION:
Komatsu Galeo PC14R-2 PC16R-2 Hydraulic Excavator Shop Manual WEBM006800 – PDF DOWNLOAD
PC14R-2 F00003 and up
GENERAL PRECAUTIONS :
Mistakes in operation are extremely dangerous. Read the OPERATION & MAINTENANCE MANUAL carefully BEFORE operating the machine.
PREPARATIONS FOR WORK:
PRECAUTIONS DURING WORK :
S.V 26/12/24