Komatsu WA420-3 Wheel Loader Shop Manual SMEW4200M0 PDF
$30.95
Komatsu WA420-3 Wheel Loader Shop Manual SMEW4200M0 – PDF DOWNLOAD
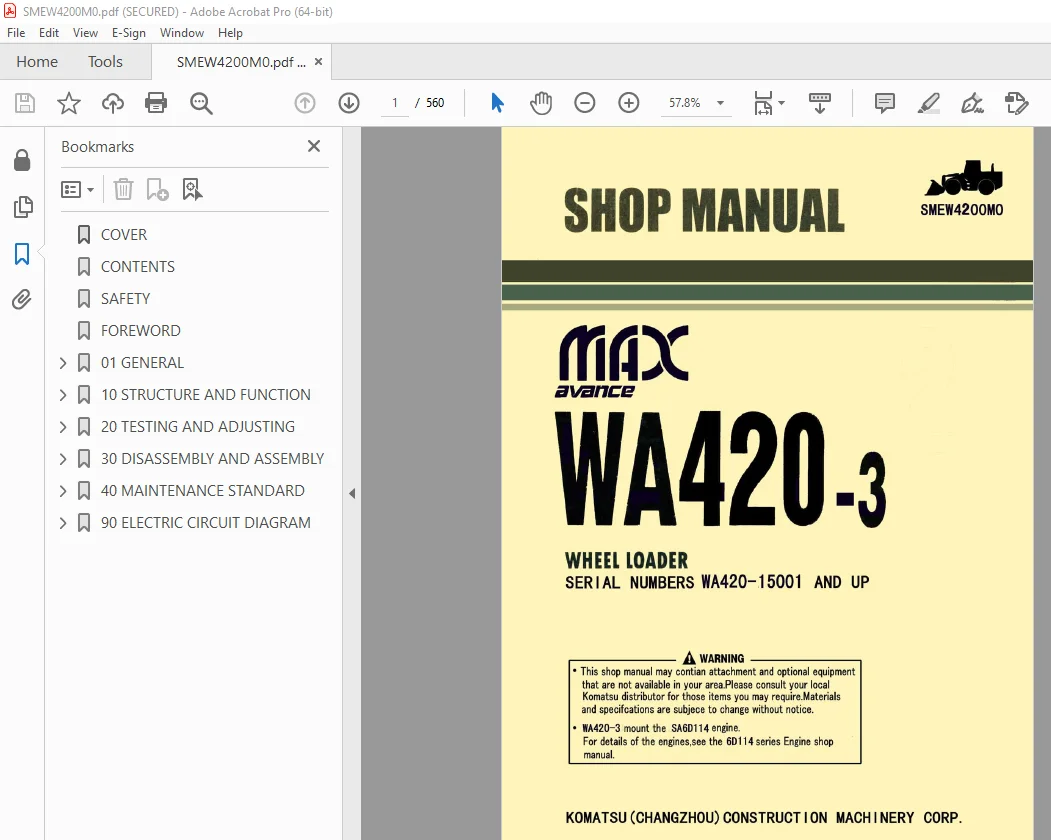
Serial Number WA420-15001 and up
Description
Komatsu WA420-3 Wheel Loader Shop Manual SMEW4200M0 – PDF DOWNLOAD
FILE DETAILS:
Komatsu WA420-3 Wheel Loader Shop Manual SMEW4200M0 – PDF DOWNLOAD
Language : English
Pages : 560
Downloadable : Yes
File Type : PDF
TABLE OF CONTENTS:
Komatsu WA420-3 Wheel Loader Shop Manual SMEW4200M0 – PDF DOWNLOAD
Serial Number WA420-15001 and up
COVER 1
CONTENTS 2
SAFETY 4
FOREWORD 6
01 GENERAL 13
GENERAL ASSEMBLY DRAWING 14
SPECIFICATIONS 15
WEIGHT TABLE 18
LIST OF LUBRICANT AND WATER 19
10 STRUCTURE AND FUNCTION 21
POWER TRAIN 23
POWER TRAIN SYSTEM 24
TORQUE CONVERTER,TRANSMISSION PIPING 26
TRANSMISSION HYDRAULIC SYSTEM DIAGRAM 28
TORQUE CONVERTER 30
TORQUE CONVERTER OIL FILTER 33
TRANSMISSION 34
TRANSMISSION CONTROL VALVE 44
TRANSMISSION SOLENOID VALVE 65
PILOT OIL FILTER 66
DRIVE SHAFT 67
AXLE 68
DIFFERENTIAL 70
FINAL DRIVE 74
AXLE MOUNT,CENTER HINGE PIN 75
STEERING PIPING 76
STEERING COLUMN 77
STEERING VALVE 78
ORBIT-ROLL VALVE 92
STOP VALVE 96
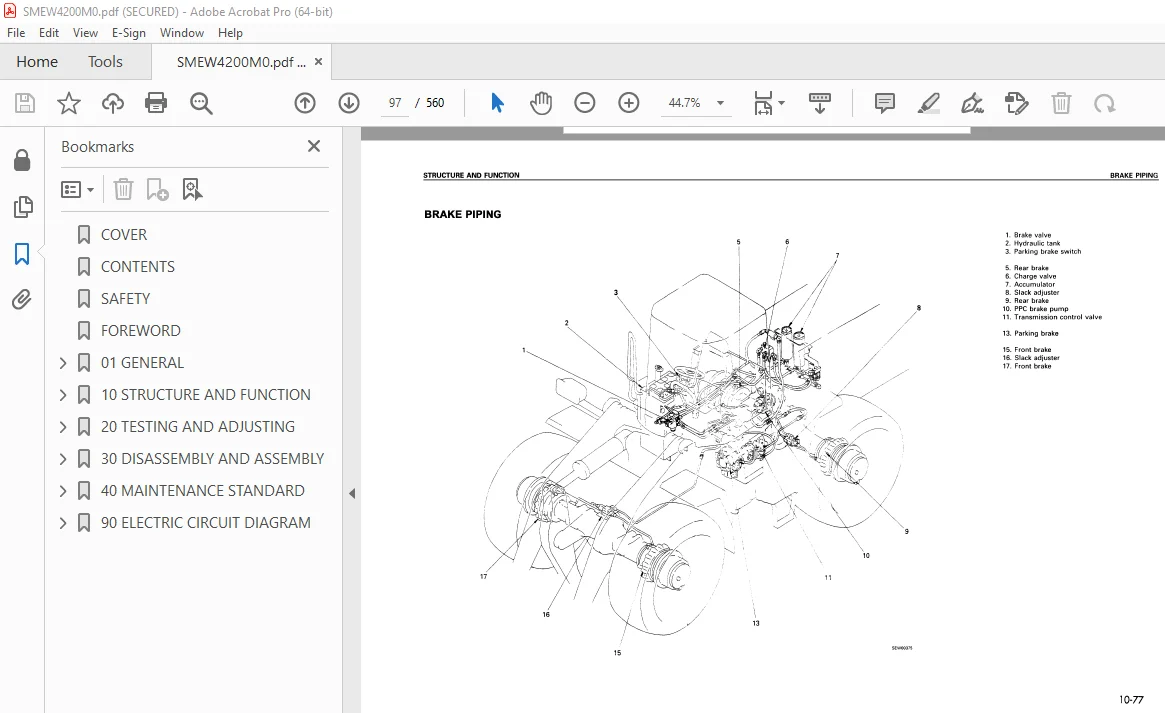
BRAKE PIPING 97
BRAKE CIRCUIT DIAGRAM 98
BRAKE VALVE 99
CHARGE VALVE 103
ACCUMULATOR(FOR BRAKE) 107
SLACK ADJUSTER 108
BRAKE 111
PARKING BRAKE CONTROL 113
PARKING BRAKE 114
PARKING BRAKE SOLENOID VALVE 115
PARKING BRAKE VALVE 116
HYDRAULIC PIPING 118
WORK EQUIPMENT HYDRAULIC SYSTEM DIAGRAM 119
WORK EQUIPMENT HYDRAULIC CIRCUIT DIAGRAM 120
WORK EQUIPMENT LEVER LINKAGE 121
HYDRAULIC TANK 122
STEERING RELIEF VALVE 124
MAIN CONTROL VALVE 125
WORK EQUIPMENT LINKAGE 136
BUCKET 138
BUCKET POSITIONER AND BOOM KICK-OUT 139
CAB 145
AIR CONDITIONER 146
ELECTRIC CIRCUIT DIAGRAM 148
SENSORS 150
ENGINE STARTING CIRCUIT 154
ENGINE STOP CIRCUIT 155
ENGINE STOP SOENOID VALVE 156
ELECTRIC TRANSMISSION CONTROL 157
KICK-DOWN SWITCH 160
KICK-DOWN ELECTRIC CIRCUIT DIAGRAM 161
TRANSMISSION CUT-OFF SWITCH 165
TRANSMISSION CUT-OFF FUNCTION 166
20 TESTING AND ADJUSTING 168
STANDARD VALVE TABLE FOR ENGINE 169
STANDARD VALVE TABLE FOR CHASSIS 171
STANDARD VALVE TABLE FOR ELECTRICAL PARTS 176
TOOLS FOR TESTING,ADJUSTING,AND TROUBLESHOOTING 179
MEASURING ENGINE SPEED 181
MEASURING EXHAUST COLOR 183
MEASURING EXHAUST GAS TEMPERATURE 184
ADJUSTING VALVE CLEARANCE 185
TESTING AND ADJUSTING FAN BELT TESION 187
MEASURING ACCELERATOR PEDAL 188
MEASURING OPERATING FORCE,TRAVEL OF SPEED LEVER 190
MEASURING TORQUE CONVERTER,TRANSMISSION PARKING BRAKE OIL PRESSURE 191
METHOD OF OPERATING EMERGENCY MANUAL SPOOL 193
MEASURING CLEARANCE BETWEEN TIRE AND WHEEL 195
TESTING AND ADJUSTING STEERING WHEEL 196
TESTING AND ADJUSTING STEERING CONTROL 199
MEASURING STEERING OIL PRESSURE 200
MEASURING OPERATING FORCE,TRAVEL OF BRAKE PEDAL 202
MEASURING BRAKE PERFORMANCE 203
TESTING BRAKE OIL PRESSURE 204
MEASURING BRAKE DISC WEAR 205
BLEEDING AIR FROM BRAKE SYSTEM 206
MEASURING PARKING BRAKE PERFORMACE 207
METHOD FOR MANUAL RELEASE OF PARKING BRAKE 208
TESTING WEAR OF PARKING BRAKE DISC 209
ADJUSTING WORK EQUIPMENT LINGAGE 210
MEASURING WORK EQUIPMENT HYDRAULIC PRESSURE 213
MEASURING WORK EQUIPMENT 217
TESTING AND ADJUSTING BUCKET PROXIMITY SWITCH 219
TESTING AND ADJUSTING BOOM PROXIMITY SWITCH 220
CHECKING FOR ABNORMALITY IN FUEL LEVEL SENSOR 222
ADJUSTING BOOM,BUCKET ANGLE POTENTIOMETER 223
TROUBLESHOOTING 224
POINTS TO REMEMBER WHEN TROUBLESHOOTING 225
SEQUENCE OF EVENTS IN TROUBLESHOOTING 226
PRECAUTIONS WHEN CARRYING OUT MAINTENANCE 227
CHECKS BEFORE TROUBLESHOOTING 235
CONNECTOR TYPES AND MOUNTING LOCATIONS 237
CONNECTOR PIN ARRANGEMENT DIAGRAM 239
CONNECTOR TABLE FOR CONNECTOR PIN NUMBERS 243
TRBLESHOOTING OF ELECTRICAL SYSTEM(E MODE) 251
E-1 ENGINE DOES NOT START 252
E-2 Transmission does not work normally 256
a) Problem in common circuit for transmission 258
b) Problem in H-L circuit 259
c) Problem in speed circuit 260
d) Problem in 4th circuit(does not enter 4th) 261
e) Contact in H-L circuit 262
f) Contact speed circuit 263
g) Contact in 4th circuit(always stays in 4th) 264
h) Problem in FORWARD circuit(REVERSE is normal) 266
i) Problem in REVERSE circuit(FORWARD is normal) 268
j) Problem in common circuit for FORWARD and REVERSE(does not travel forward or in reverse) 270
k) Contact in FORWARD circuit 272
l) Contact in REVERSE circuit 274
m) Problem in common circuit for FORWARD and REVERSE 276
E-3 Kick-down switch does not work(the regular F1 to F4 shifts normally) 278
E-4 Kick-down works only when kick-down switch is ON(Kick-down switch relay does not hold in position) 280
E-5 Kick-down is not canceled 280
a)Not canceled when F/R lever is operated from F to N or R 280
b)Not canceled when speed lever is operated from 2 to other position 282
E-6 Kick-down switch is actuated by mistake when traveling in 2nd 284
TROUBLESHOOTING OF HYDRAULIC AND ME-CHANICAL SYSTEM 285
POWER TRAIN 286
T-1 Machine does not start 286
T-2 Travel speed is slow,thrusting power is weak, lacks power on slopes 288
T-3 Excessive shock when starting machine or shifting gear 290
T-4 Excessive time lag when starting machine or shifting gear 291
T-5 Torque converter oil temperature is high 292
STEERING SYSTEM 293
T-6 Steering dose not turn 293
T-7 Steering wheel is heavy 294
T-8 Steering wheel wobbles or there is excessive shock 295
T-9 Machine steers to one side when travling 295
T-10 Turning radius to left and right is different 295
BRAKE SYSTEM 296
T-11 Brakes do not work or braking effect is poor 296
T-12 Brakes are not released or brakes drag 297
T-13 Parking brake is not released or brake drags 298
WORK EQUIPMENT 299
T-14 Boom does not rise 299
T-15 Boom movement is slow or boom lacks lifting power 300
T-16 When boom is raised,it moves slowly at a certain height 301
T-17 Bucket cannot be pushed with boom cylinder(bucket floats) 301
T-18 Excessive hydraulic drift of boom 301
T-19 Boom shakes during operation 301
T-20 Boom drops momentarily when control level is operated from HOLD to RAISE 302
T-21 Bucket does not tilt back 303
T-22 Bucket movement is slow or tilt-back lacks power 304
T-23 Bucket movement becomes slow during tilt-back operation 305
T-24 Bucket cannot be pushed with bucket cylinder 305
T-25 Excessive hydraulic drift of bucket 305
T-26 Bucket shakes during loading operation(Main control valve at HOLD) 306
T-27 Bucket dumps momentarily when control level is operated from HOLD to TIILT 306
T-28 Boom,bucket contol levers are heavy or do not move smoothly 307
30 DISASSEMBLY AND ASSEMBLY 308
METHOD OF USING MANUAL 310
PRECAUTIONS WHEN CARRYING OUT OPERATION 311
GENERAL TOOL LIST 313
RADIATOR 314
REMOVAL 314
INSTALLATION 317
ENGINE 318
REMOVAL 318
INSTALLATION 323
TORQUE CONVERTER CHARGING PUMP 324
REMOVAL 324
INSTALLATION 325
TORQUE CONVERTER,TRANSMISSION 326
REMOVAL 326
INSTALLATION 330
TORQUE CONVERTER 331
DISASSEMBLY 331
ASSEMBLY 333
TRANSMISSION 336
DISASSEMBLY 336
ASSEMBLY 341
TRANSMISSION CLUTCH PARK 347
DISASSEMBLY 347
ASSEMBLY 356
TRANSMISSION CONTROL VALVE 368
REMOVAL 368
INSTALLATION 370
DISASSEMBLY 371
ASSEMBLY 376
TRANSMISSION ACCUMULATOR VALVE 382
DISASSEMBLY 382
ASSEMBLY 383
DRIVE SHAFT 384
DISASSEMBLY 384
ASSEMBLY 386
FRONT AXLE 388
REMOVAL 388
INSTALLATION 390
REAR AXLE 391
REMOVAL 391
INSTALLATION 394
FRONT DIFFERENTIAL 396
REMOVAL 396
INSTALLATION 399
REAR DIFFERENTIAL 401
REMOVAL 401
INSTALLATION 404
DIFFERENTIAL 406
DISASSEMBLY 406
ASSEMBLY 409
FINAL DRIVE 417
DISASSEMBLY 417
ASSEMBLY 420
CENTER HINGE PIN 424
REMOVAL 424
INSTALLATION 428
STEERING VALVE 431
REMOVAL 431
INSTALLATION 433
STEERING DEMAND VALVE 434
DISASSEMBLY 434
ASSEMBLY 438
STEERING VALVE 441
REMOVAL 441
INSTALLATION 442
DISASSEMBLY 443
ASSEMBLY 446
STEERING CYLINDER 451
REMOVAL 451
INSTALLATION 452
BRAKE VALVE 453
REMOVAL 453
INSTALLATION 454
DISASSEMBLY 455
ASSEMBLY 456
PARKING BRAKE DISC 457
REMOVAL 457
INSTALLATION 459
HYDRAULIC TANK 460
REMOVAL 460
INSTALLATION 462
HYDRAULIC FILTER 463
REMOVAL 463
INSTALLATION 463
HYDRAULIC,STEERING,SWITCH,PPC PUMP 464
REMOVAL 464
INSTALLATION 467
MAIN CONTROL VALVE 468
REMOVAL 468
INSTALLATION 470
DISASSEMBLY 472
ASSEMNBLY 474
BUCKET CYLINDER 476
REMOVAL 476
INSTALLATION 478
BOOM CYLINDER 479
REMOVAL 479
INSTALLATION 480
HYARAULIC CYLINDER 484
DISASSEMBLY 481
ASSEMBLY 484
WORK EQUIPMENT 487
REMOVAL 487
INSTALLATION 490
COUNTERWEIGHT 492
REMOVAL 492
INSTALLATION 492
FUEL TANK 493
REMOVAL 493
INSTALLATION 495
CAB,FLOOR FRAME 496
REMOVAL 496
INSTALLATION 499
CAB 500
REMOVAL 500
INSTALLATION 501
MAIN MONITOR 502
REMOVAL 502
INSTALLATION 503
AIR CONDITIONER UNIT 504
REMOVAL 504
INSTALLATION 508
AIR CONDITIONER CONDENSER 509
REMOVAL 509
INSTALLATION 510
DRY RECEIVER 511
REMOVAL 511
INSTALLATION 511
AIR CONDITIONER CONDENSER COMPRESSOR 512
REMOVAL 512
INSTALLATION 512
40 MAINTENANCE STANDARD 513
ENGINE MOUNT,TRANSMISSION MOUNT 514
TORQUE CONVERTER 515
TRANSMISSION 516
TRANSMISSION CONTROL VALVE 523
DRIVE SHAFT 527
DIFFERENTIAL 528
FINAL DRIVE 530
AXLE MOUNT 531
STEERING COLUMN 532
STEERING VALVE 533
STEERING CYLINDER MOUNT 534
SLACK ADJUSTER 535
BRAKE VALVE 536
BRAKE 538
PARKING BRAKE 540
TORQUE CONVERTER,TRANSMISSION PUMP 541
STEERING,SWITCH PUMP 542
HYSRAULIC,PPC PUMP 543
CUT-OFF VALVE 544
MAIN CONTROL VALVE 545
HYDRAULIC CYLINDER 549
CENTER HINGE PIN 551
WORK EQUIPMENT LINKAGE 553
BUCKET 555
BUCKET POSITIONER AND BOOM KICK-OUT 556
90 ELECTRIC CIRCUIT DIAGRAM 557
ELECTRIC CIRCULT DIAGRAM 558
AIR CONDITIONER WIRING DIAGRAM(1/2) 559
AIR CONDITIONER WIRING DIAGRAM(2/2) 559
DESCRIPTION:
Komatsu WA420-3 Wheel Loader Shop Manual SMEW4200M0 – PDF DOWNLOAD
Serial Number WA420-15001 and up
GENERAL PRECAUTIONS :
Mistakes in operation are extremely dangerous. Read the OPERATION & MAINTENANCE MANUAL carefully BEFORE operating the machine.
PREPARATIONS FOR WORK:
PRECAUTIONS DURING WORK :
IMAGES PREVIEW OF THE MANUAL:
S.V 20/12/24