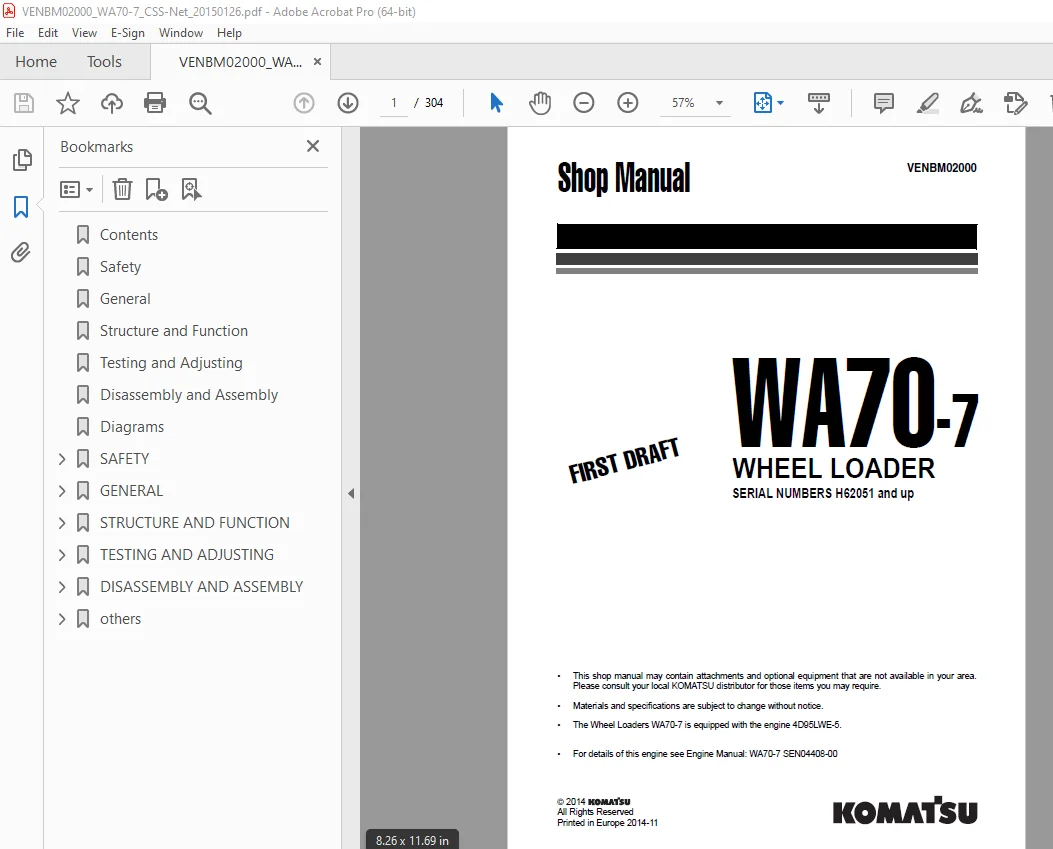
Komatsu WA70-7 Wheel Loader Shop Manual VENBM02000 PDF
$36.95
Komatsu WA70-7 Wheel Loader Shop Manual VENBM02000 – PDF DOWNLOAD
SERIAL NUMBERS H62051 and up
Description
Komatsu WA70-7 Wheel Loader Shop Manual VENBM02000 – PDF DOWNLOAD
FILE DETAILS:
Komatsu WA70-7 Wheel Loader Shop Manual VENBM02000 – PDF DOWNLOAD
Language : English
Pages : 304
Downloadable : Yes
File Type : PDF
IMAGES PREVIEW OF THE MANUAL:
TABLE OF CONTENTS:
Komatsu WA70-7 Wheel Loader Shop Manual VENBM02000 – PDF DOWNLOAD
SERIAL NUMBERS H62051 and up
Contents 3
Safety 3
General 3
Structure and Function 4
Testing and Adjusting 6
Disassembly and Assembly 7
Diagrams 10
SAFETY 13
Safety notice 14
Preparations for work 15
Tipping up the driver’s cab 16
Tipping down the driver’s cab 18
Precautions during work 20
Hydraulic system 21
Foreword 22
General 22
Structure and function 22
Testing and adjusting 22
Disassembly and assembly 22
Maintenance standard 22
How to read the shop manual 23
Volumes 23
Distribution and updating 23
Filing method 23
Symbols 24
Hoisting instructions 25
Wire ropes 25
GENERAL 27
Dimensions, weights and operating data 28
WA70-7 – Specifications 30
Weight tables 31
WA70-7 – Weight table 31
Lubricants and operating mediums 32
WA70-7 – Lubricants and operating mediums 32
Basic procedures of maintenance 33
Oil 33
Fuel 33
Coolant 34
Grease 34
Storing oil and fuel 34
Filters 35
Biodegradable hydraulic oils and lubricants 35
Outline of electric system 35
Torque list – Screws and nuts 36
STRUCTURE AND FUNCTION 39
Powertrain 43
Closed circuit 44
Hydraulic drive system 45
WA70-7 – Hydraulic drive system – 20 km/h 45
Variable displacement pump (HST pump) 46
Regulating valve (DA valve) 49
WA70-7- Charge pump pressure relief valve – 20km/h 50
Control cylinder 51
4/3 Way valve with direction control solenoids 52
Pressure cut-off valve 53
Safety & charge valve 54
Towing 55
Variable displacement motor (HST motor with HA Control) 56
Hydraulic diagram HST motor A6VM80 HA1R1 58
Directional shuttle valve 59
Auto inch valve diagram (option) 59
Drive shaft 60
Front axle – Mounting 61
WA70-7 – Front axle mounting 61
Rear axle – Mounting 62
Front axle 63
WA70-7 – Front axle with outer disc brake as service brake and parking brake 63
Rear axle with transfer box 64
WA70-7 – Rear axle with transfer box 64
Transfer box TB172 65
Limited slip differential 67
Limited slip differential – Locking value 25% 67
Wheel hub – Font axle and rear axle 69
Service and parking brake – Front axle 71
WA70-7 – Service and parking brake 71
Service and parking brake circuit 73
WA70-7 – Service and parking brake circuit 73
Service brake assembly 74
WA70-7 – Service brake assembly 74
Main-brake valve 75
WA70-7 – Main-brake valve 75
Steering articulation joint 76
Steering system 78
WA70-7 – Hydraulic circuit diagram of steering system 78
Priority valve 80
Orbit-roll-valve 81
Steering relief valve 82
Work equipment hydraulic 84
WA70-7 – Travel, steering and work hydraulics 84
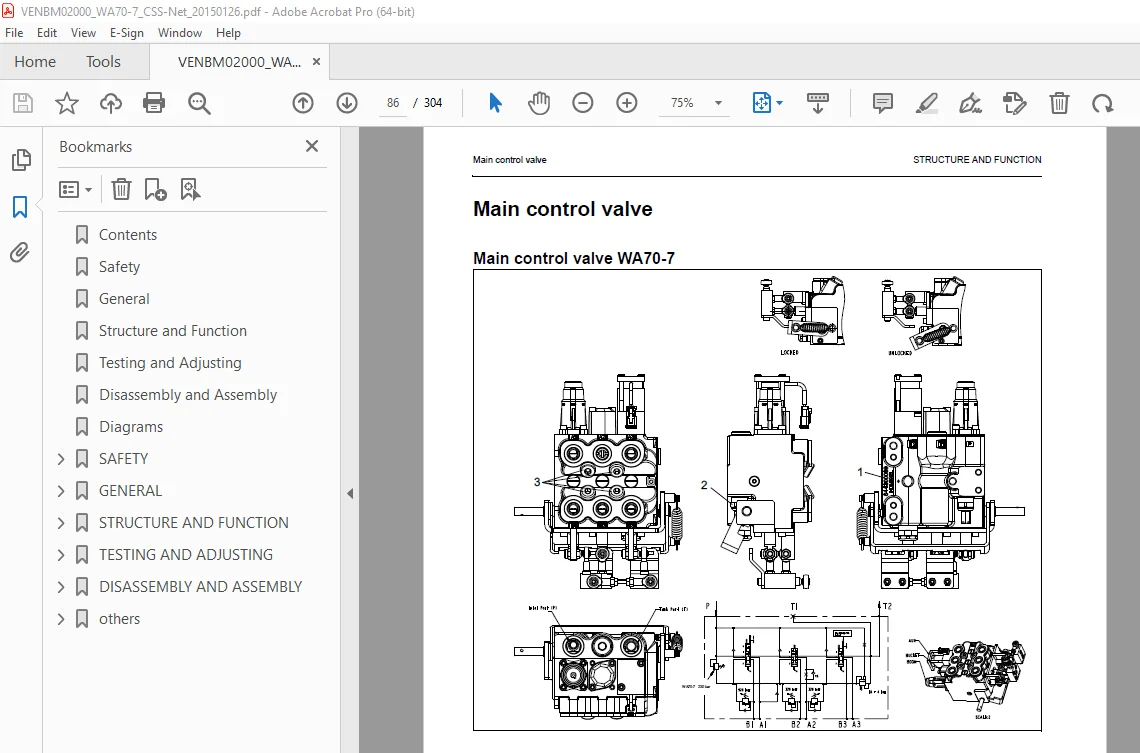
Main control valve 86
Main control valve WA70-7 86
Lift cylinder 87
WA70-7 – Lift cylinder 87
Dump cylinder 88
WA70-7 – Dump cylinder 88
Steering cylinder 89
WA70-7 – Steering cylinder 89
Loader Linkage with quick-coupler 90
WA70-7 – Loader Linkage with quick-coupler 90
Quick-coupler 91
WA70-7 – Quick-coupler 91
Monitor display 92
WA70-7 – Monitor display 92
Special monitor functions 94
Monitor service menu 96
Gauge speed adjustment table for monitor 98
Sensors 99
Engine oil pressure sensor 99
Fuel level sensor 100
Engine coolant temperature sensor 101
Brake oil reservoir sensor 102
Pre-heater 103
WA70-7 – Glow plugs 103
Engine stop / start / preheating circuit 104
WA70-7 104
Electrical fuses and relays 106
Fuses 106
Relays 108
Engine room 109
Diagrams 110
Wiring diagrams 110
Hydraulic circuit diagram 110
Air conditioner (option) 111
Introduction 111
Function 112
The coolant circuit 112
The condenser 114
The vaporizer 115
The filter dryer 116
Installation of air conditioner 117
Safety when handling coolants 118
Operating the air conditioner 120
Maintenance of the air conditioner 121
Regular maintenance 122
Instructions for filling 124
Exchange of magnetic clutch 127
Exchange of compressor 128
Troubleshooting 130
TESTING AND ADJUSTING 133
Standard value table for engine 136
WA70-7 – Standard value table for engine 136
WA70-7- Standard value table for chassis 137
WA70-7 – Test certificate 139
Valve lash clearance 140
WA70-7- Valve lash clearance 140
Engine compression test 142
WA70-7 – Engine compression test 142
Fuel system 143
Handling fuel system parts 143
Releasing residual pressure in fuel system 143
WA70-7 – Adjusting fuel injection pressure (cracking pressure) 144
WA70-7 – Shim data for adjusting injection pressure 145
WA70-7 – Testing and adjusting fuel injection timing 146
V-belt tension 150
Engine RPM 151
Testing travel speed 152
Engine stall torque RPM 153
Engine stall torque RPM, test with the hydrostatic drive 154
Engine stall torque RPM, test with hydrostatic drive and working hydraulics 155
Hydraulic pressure cut-off 156
Working hydraulic pressure 158
Steering oil pressure 159
Testing 159
Operating time for steering wheel 161
Operating force of steering wheel 162
Brake 163
WA70-7 – Brake 163
Main brake valve – basic adjustment 164
Brake efficiency 165
Measuring the stopping distance 165
Parking brake efficiency 166
Bleeding/ filling up the brake circuit 167
WA70-7 – Bleeding/ filling up the brake circuit 167
Cabin – adjustment 169
Proportional amplifier 170
WA70-7 – Test certificate 171
DISASSEMBLY AND ASSEMBLY 173
Comments 177
Starter assembly 178
Removal of starter assembly 178
Installation of starter assembly 179
Alternator assembly 180
Removal of alternator assembly 180
Installation of alternator assembly 181
Radiator assembly 182
Removal of radiator assembly 182
Installation of radiator assembly 186
Fan assembly 187
Removal of fan assembly 187
Installation of fan assembly 188
Water pump assembly 189
Removal of water pump assembly 189
Installation of water pump assembly 191
Fuel tank assembly 192
Removal and installation of fuel tank assembly 192
Installation 192
Engine cover assembly 193
Removal of engine cover assembly 193
Installation of engine cover assembly 194
Engine cover support assembly 195
Removal of engine cover support assembly 195
Installation of engine cover support assembly 196
Engine assembly 197
Removal of engine assembly 197
Installation of engine assembly 203
Clutch assembly 205
Removal of clutch assembly 205
Installation of clutch assembly 206
Main brake valve assembly 207
Removal of main brake valve assembly 207
Installation of main brake valve assembly 208
Priority valve assembly 209
Removal of priority valve assembly 209
Installation of priority valve assembly 210
Orbit-roll-valve assembly 211
Removal of orbit-roll-valve assembly 211
Installation of orbit-roll-valve assembly 213
Counterweight assembly 214
Removal of counterweight assembly 214
Installation of counterweight assembly 216
Main control valve assembly – WA70-7 217
Removal of control valve assembly 217
Installation of main control valve assembly 219
Monitor assembly 220
Removal of monitor assembly 220
Installation of monitor assembly 221
Articulated joint assembly 222
Removal of articulated joint assembly 222
Installation of articulated joint assembly 223
Variable motor assembly 224
Removal of variable motor assembly 224
Installation of variable motor assembly 226
Rear axle assembly 227
Removal of rear axle assembly 227
Installation of rear axle assembly 229
Front axle assembly 230
Removal of front axle assembly 230
Installation of front axle assembly 232
Front axle 233
Brake disc group 233
Disassembly 233
Assembly 235
Brake caliper 237
Hydraulic principle of operation 237
Differential position 238
Mechanical principle of operation 238
Caliper removal 238
Disassembly (calliper removed) 239
Disassembly 239
Assembly 241
Caliper reassembly 243
Replacement of guide protective covers 243
Pad replacement 244
Rear axle 245
Trunnions group and flange 245
Disassembly 245
Assembly 246
Epicyclic reduction gear group 248
Disassembly 248
Assembly 249
Wheel hub 250
Disassembly 250
Assembly 252
Wheel shaft – WA70-7 254
Disassembly 254
Assembly 255
Differential support group 256
Disassembly 256
Assembly 257
Bevel gear marking test 261
Differential locking group 262
Disassembly 262
Assembly 263
Differential group (LSD 25%) 264
Disassembly 264
Assembly 265
Pinion group 266
Disassembly 266
Assembly 267
Transmission box 270
Disassembly 270
Assembly 275
Variable displacement pump assembly 280
Removal of variable displacement pump assembly 280
Installation of variable displacement pump assembly 282
Hydraulic pump assemblies 283
Removal of the two hydraulic pump assemblies 283
Installation of hydraulic pump assembly 284
Quick coupler assembly 285
Removal of quick coupler assembly 285
Installation of quick coupler assembly 286
Steering cylinder assembly 287
Removal of steering cylinder assembly 287
Installation of steering cylinder assembly 288
Lift cylinder assembly 289
Removal of lift cylinder assembly 289
Dump cylinder assembly 291
Removal of dump cylinder assembly 291
Installation of dump cylinder assembly 292
Replacing windows in driver’s cab 293
Stuck glass 293
Installation 295
Door and side windows 296
Door window assembly 296
Side window assembly 296
others 297
Hydraulic circuit diagram – WA70-7 299
Wiring diagram 1/5 – WA70-7 300
Wiring diagram 2/5 – WA70-7 301
Wiring diagram 3/5 – WA70-7 302
Wiring diagram 4/5– WA70-7 303
Wiring diagram 5/5 – WA70-7 304
DESCRIPTION:
Komatsu WA70-7 Wheel Loader Shop Manual VENBM02000 – PDF DOWNLOAD
Precautions during work:
S.V 24/12/24