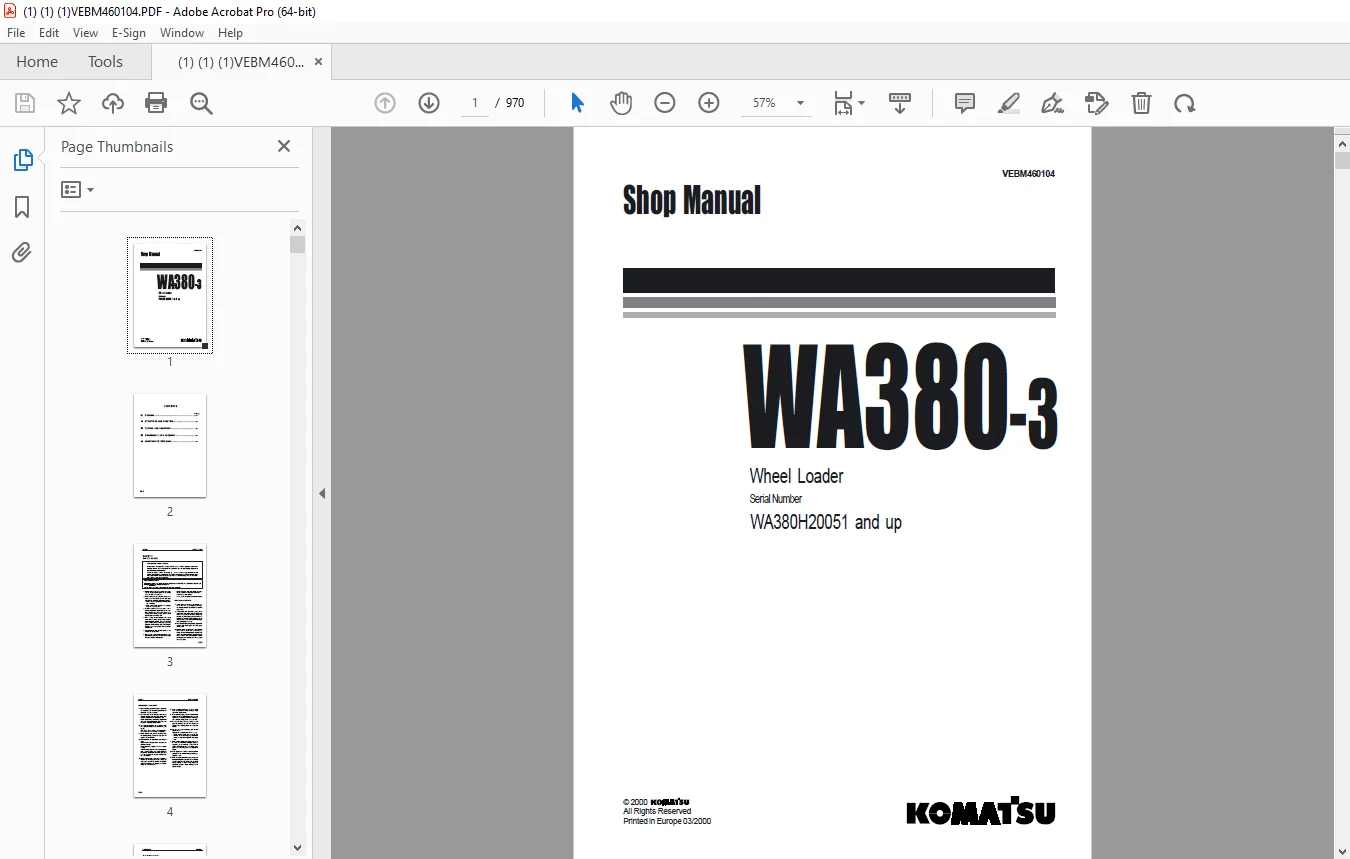
Komatsu Wheel Loader WA380-3 Shop Manual VEBM460104 – PDF DOWNLOAD
$34.95
Komatsu Wheel Loader WA380-3 Shop Manual VEBM460104 – PDF DOWNLOAD
Description
Komatsu Wheel Loader WA380-3 Shop Manual VEBM460104 – PDF DOWNLOAD
FILE DETAILS:
Komatsu Wheel Loader WA380-3 Shop Manual VEBM460104 – PDF DOWNLOAD
Language : English
Pages : 970
Downloadable : Yes
File Type : PDF
IMAGES PREVIEW OF THE MANUAL:
TABLE OF CONTENTS:
Komatsu Wheel Loader WA380-3 Shop Manual VEBM460104 – PDF DOWNLOAD
Contents 2
01 General 9
Up to SN WA380H20500 11
Dimensions and weights 11
Dimensions and weights high-lift 12
Specifications 13
Weight table 16
List of lubricant and water 17
SN WA380H20501 and up 18
Dimensions and weights 18
Specifications 19
Weight table 22
List of lubricant and water 23
Outlines of service 25
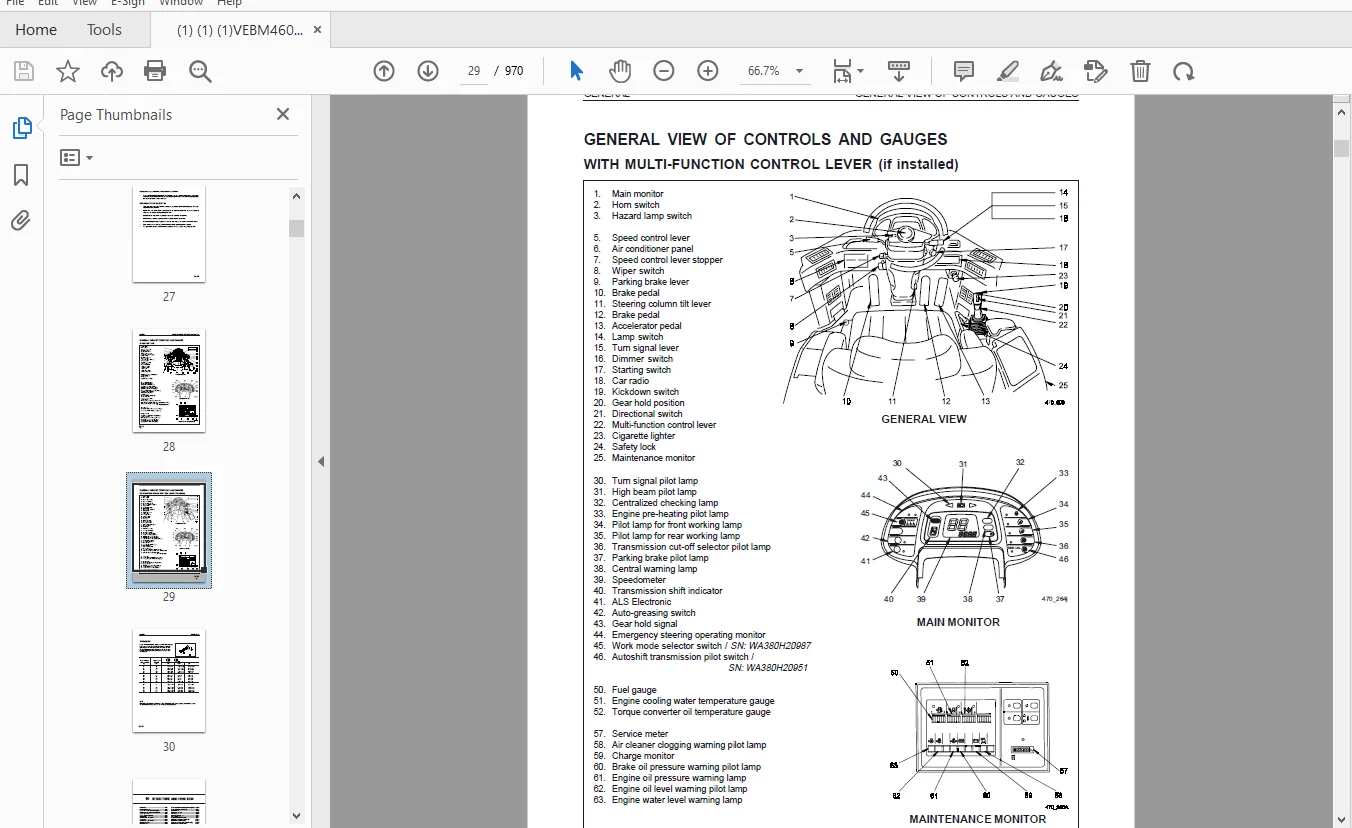
General view of controls and gauges 28
Torque list 30
10 Structure and function 31
Power train 33
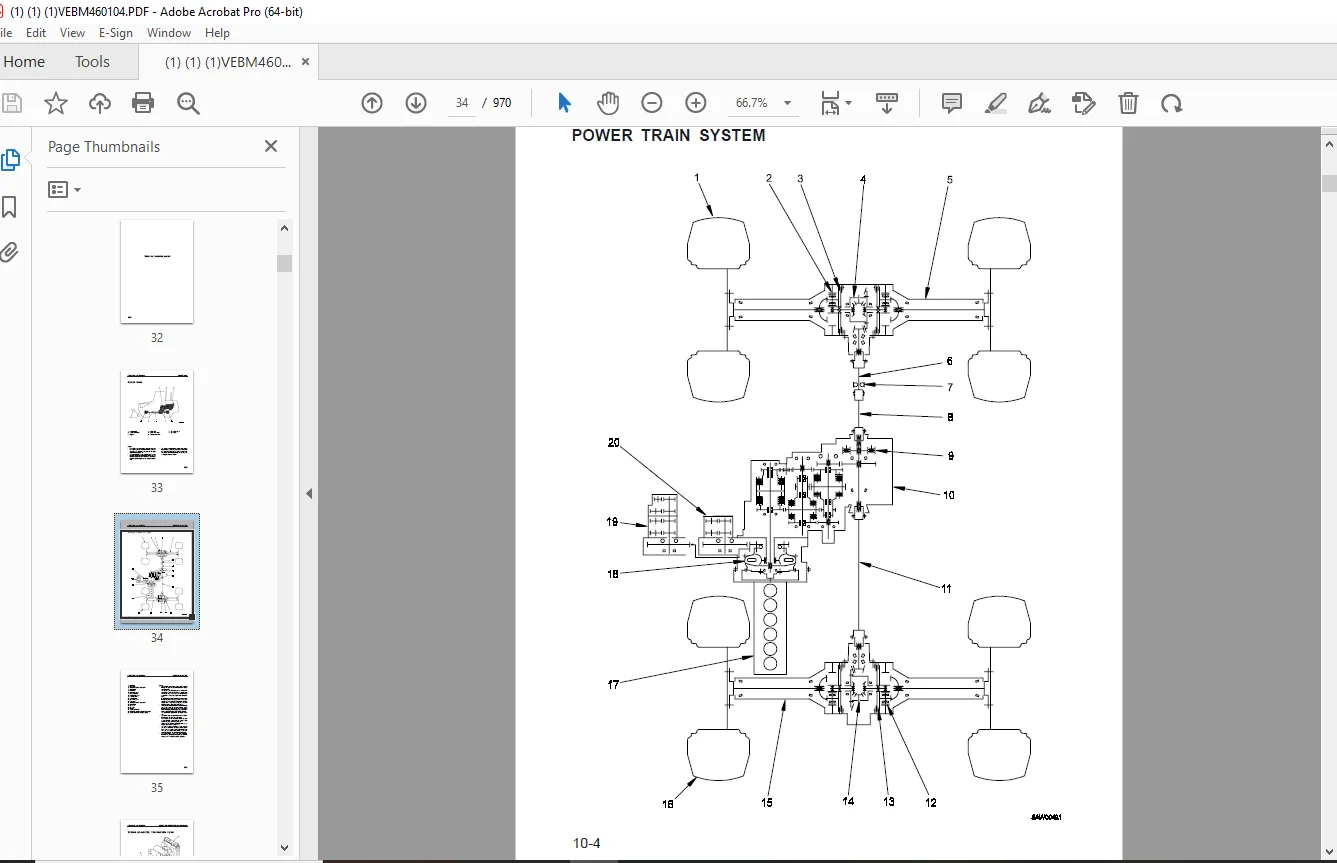
Power train system 34
Torque converter, transmission piping 36
Transmission hydraulic circuit diagram 37
Torque converter 39
Torque converter oil filter 41
Transmission 43
Transmission control valve 53
Upper valve 54
Transmission solenoid valve 56
Pilot reducing valve 57
Main relief valve 58
Torque converter outlet port valve 59
Priority valve 60
Directional selector valve 61
H-L selector valve and range selector valve 62
Emergency manuel spool 64
Electronic control modulation valve (ECMV) 65
Pilot oil filter 68
Accumulator valve 69
Flow control valve 71
Check valve 72
Drife shaft 73
Axle 74
Differential 76
Final drive 81
Axle mount, center hinge pin 82
Steering piping 85
Steering control, orbit roll 86
Orbit roll valve 87
Steering valve 88
Overload relief valve 89
Steering relief valve 91
Operation of demand valve 92
Emergency steering 99
Brake piping109
Park brake and foot brake circuits110
Brake valve111
Accumulator charge valve116
Accumulator for brake system120
Brake circuit diagram122
Brake134
Parking brake control136
Parking brake137
Parking brake valve138
Hydraulic piping139
Work equipment hydraulic system diagram140
Work equipment lever linkage150
Hydraulic tank151
Oil filter bypass valve152
PPC valve153
Operation of PPC valve158
PPC relief valve161
Accumulator (for PPC valve)162
Main control valve (up to H20383)163
Relief valve (up to H20383)167
Safety valve with suction (up to H20383)168
Suction valve (up to H20383)169
Main control valve (from H20384 up to H20836)170
Safety valve with suction (H20384 and up)172
Antcavitation valve (H20384 and up)173
Safety valve (H20384 and up)173
Main control valve (H20837 and up)174
Operation of cut-off valve (up to H20383)176
Work equipment valve operation178
Hydraulic safety system (up to H20836)184
Hydraulic safety system location (up to H20836)185
Hydraulic safety valve (up to H20836)186
Work equipment linkage187
Bucket189
Bucket positioner and boom kick-out190
Wiring diagrams197
Machine monitor system241
Transmission auot-shift control system248
Transmission controller253
ECSS (ALS electronic)255
Sensors265
Engine starting circuit270
Engine stop circuit271
Preheating circuit272
Electric transmission277
Combination switch278
Kick-down, hold switch280
Kick-down electric circuit diagram281
Transmission cut-off function286
Parking brake: transmission neutralizer287
Air conditioner289
20 Testing and adjusting343
Standard value table for engine344
Standard value table for chassis346
Tesz certificate350
Standard value table for electrical system354
Tools for testing, adjusting and troubleshooting367
Adjusting valve clearance369
Measuring compression pressure373
Measuring blow-by pressure375
Testing and adjusting fuel injection timing377
Measuring intake air pressure 379
Measuring engine oil pressure380
Measuring engine speed381
Measuring stall speed382
Testing the fan belt tension384
Measuring turbocharger clearance385
Turbocharger wastegate actuator – visual inspection386
Turbocharger wastegate actuator – functional checking388
Adjusting valve clearance389
Measuring compression pressure390
Measuring blow-by pressure391
Testing and adjusting fuel injection timing392
Measuring exhaust color395
Measuring inkake air pressure (boost pressure)396
Measuring exhaust gas pressure397
Measuring engine oil pressure398
Measuring engine speed399
Testing and adjusting fan belt tension400
Method for adjusting engine stop cable401
Measuring accelerator pedal403
Basic adjustment of accelerator pedal405
Measuring operating force, travel of speed lever407
Measuring stall speed408
Measuring torque converter, transmission, parking brake oil pressure410
Method of operating emergency manual spool412
Measuring clearance between tire and wheel414
Measuring steering oil pressure417
Measuring operating force, travel of brake pedal419
Measuring brake performance420
Testing brake oil pressure421
Testing for brake disk wear422
Bleeding air from brake system423
Measuring parking brake performance424
Manual release method for parking brake425
Testing wear of parking brake disk426
Measuring work equipment control lever427
Measuring work equipment hydraulic pressure429
Measuring PPC-valve pressure431
Measuring work equipment435
Testing and adjusting bucket positioner437
Testing and adjusting boom kick-out438
Adjusting main monitor440
Gas side test and topping up gas pressure441
Hydraulic accumulator443
Troubleshooting445
POINTS TO REMEMBER WHEN TROUBLESHOOTING446
SEQUENCE OF EVENTS IN TROUBLESHOOTING447
PRECAUTIONS WHEN CARRYING OUT MAINTENANCE448
HANDLING CONNECTORS455
CHECKS BEFORE TROUBLESHOOTING456
METHOD OF USING TROUBLESHOOTING CHARTS457
CONNECTOR TYPES AND MOUNTING LOCATION466
CONNECTION TABLE FOR CONNECTOR PIN NUMBERS475
TROUBLESHOOTING OF ENGINE SYSTEM (S MODE)483
TROUBLESHOOTING OF MAIN MONITOR SYSTEM (M MODE)503
TROUBLESHOOTING OF MAINTENANCE MONITOR SYSTEM (K MODE)541
TROUBLESHOOTING OF ELECTRICAL SYSTEM (E MODE)561
TROUBLESHOOTING OF TRANSMISSION CONTROLLER SYSTEM (A MODE)599
TROUBLESHOOTING OF HYDRAULIC AND MECHANICAL SYSTEM (T MODE)619
TROUBLESHOOTING OF ECSS (D MODE)643
30 Disassembly and assembly657
Precautions when carrying out operations659
Special tool list662
Starting motor665
Alternator666
Engine oil cooler667
Fuel injection pump668
Water pump672
Turbocharger673
Nozzle holder674
Thermostat675
Cylinder head676
Radiator683
Engine687
Torque converter charging pump693
Torque converter, transmission695
Torque converter700
Transmission705
Transmission clutch pack729
Transmission control valve749
Transmission accumulator valve757
Drive shaft759
Front axle764
Rear axle765
Differential771
Axle housing786
Center hinge pin803
Steering gear810
Steering valve813
Steering cylinder830
Brake valve832
Right brake valve (tandem)834
Left brake valve (single)836
Parking brake disc838
Hydraulic tank841
Hydraulic filter844
Hydraulic, steering, switch, PPC pump845
Main control valve849
PPC valve857
Bucket cylinder862
Boom cylinder865
Hydraulic cylinder867
Work equipment873
Counterweight878
Fuel tank879
Cab, floor frame882
Cab885
Main monitor887
Maintenance monitor889
Air conditioner unit890
Air conditioner condenser896
Dry receiver898
Air conditioner condenser compressor899
40 Maintenance standard901
Engine mount, transmission mount902
Torque converter charging pump903
Torque converter904
Transmission905
Transmission control valve913
Flow control valve917
Accumulator valve918
Drive shaft919
Differential920
Final drive923
Axle mount925
Center hinge pin926
Steering column928
Steering valve929
Steering cylinder mount930
Brake931
Brake valve932
Parking brake935
Hydraulic pump936
Main control valve937
PPC valve941
Hydraulic cylinder942
Work equipment linkage943
Bucket945
Bucket positioner and boom kick-out946
Diagrams947
A3947
A0967
DESCRIPTION:
Komatsu Wheel Loader WA380-3 Shop Manual VEBM460104 – PDF DOWNLOAD
G.B 13/12/24