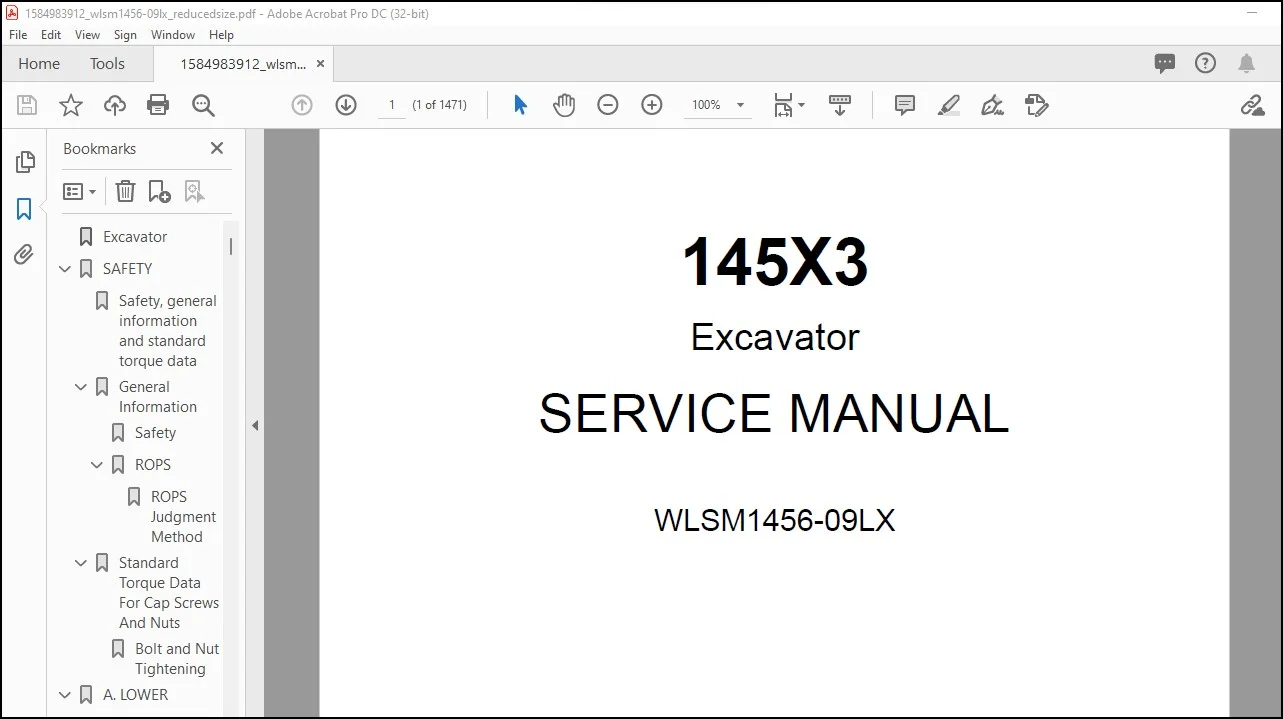
Linkbelt 145X3 Excavator Service Manual WLSM1456-09LX – PDF DOWNLOAD
Original price was: $75.95.$33.95Current price is: $33.95.
Linkbelt 145X3 Excavator Service Manual WLSM1456-09LX – PDF DOWNLOAD
Description
Linkbelt 145X3 Excavator Service Manual WLSM1456-09LX – PDF DOWNLOAD
FILE DETAILS:
Linkbelt 145X3 Excavator Service Manual WLSM1456-09LX – PDF DOWNLOAD
Language : English
Pages : 1471
Downloadable : Yes
File Type : PDF
Size: 88.7 MB
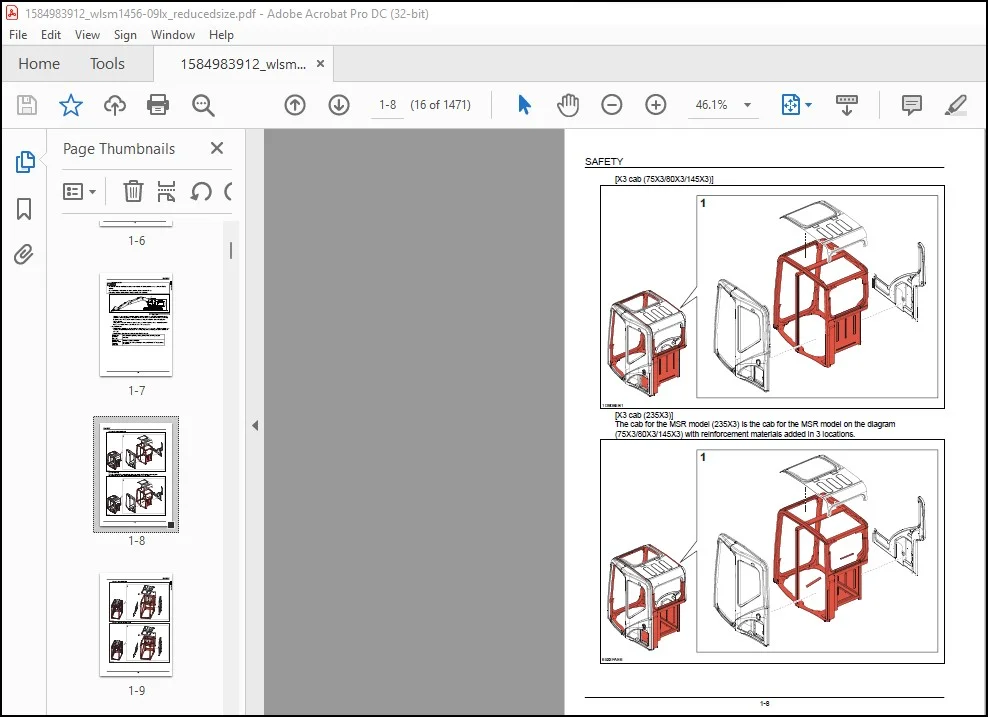
IMAGES PREVIEW OF THE MANUAL:
Need help? Contact: [email protected]
https://vimeo.com/770696857
DESCRIPTION:
Linkbelt 145X3 Excavator Service Manual WLSM1456-09LX – PDF DOWNLOAD
General Information:
Cleaning:
Clean the metal parts with a cleaning fluid or steamer that meets standards. (except for the bearing) After cleaning the parts, let them dry well and inject oil into all parts. Inject oil into the bearing after letting it dry.
Inspection:
When disassembling parts, inspect all the parts. Replace any worn or damaged parts. Inspect them thoroughly to prevent early failures.
Bearing:
If the bearing is loose, replace it. Install the bearing after air drying it.
Needle bearing:
- When inserting the needle bearing, be careful not to scratch it.
- Inject grease into the location where the needle bearing is to be inserted.
Gear:
Check for any wear or damage.
Oil seals, O-rings, gaskets:
- Always install new oil seals, O-rings, and gaskets.
- Inject grease into the locations where oil seals and O-rings are to be inserted.
Shaft:
- Check for any wear or damage.
- Check the oil seal on the bearing and damaged shaft.
Service parts:
Install genuine LBX Link-Belt service parts. When ordering parts, see the parts catalog that has genuine LBX Link-Belt part numbers listed. Any failures caused by installing a nongenuine part are not covered by the warranty.
Lubrication (fuel, hydraulic oil):
Use oils from specified manufacturers or the ones specified in the operator’s manual or Service Manual. Any failures caused by using other fuel or hydraulic oil than specified are not covered by the warranty.
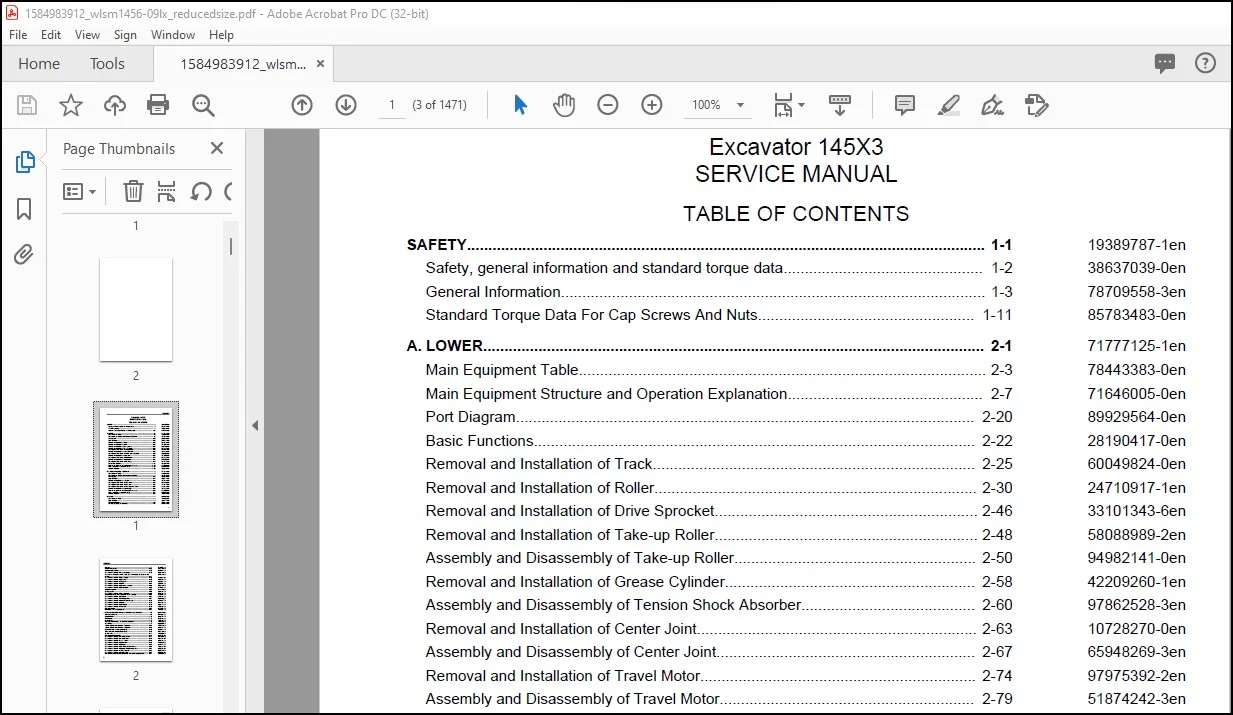
TABLE OF CONTENTS:
Linkbelt 145X3 Excavator Service Manual WLSM1456-09LX – PDF DOWNLOAD
SAFETY 1-1 19389787-1en
Safety, general information and standard torque data 1-2 38637039-0en
General Information 1-3 78709558-3en
Standard Torque Data For Cap Screws And Nuts 1-11 85783483-0en
A LOWER 2-1 71777125-1en
Main Equipment Table 2-3 78443383-0en
Main Equipment Structure and Operation Explanation 2-7 71646005-0en
Port Diagram 2-20 89929564-0en
Basic Functions 2-22 28190417-0en
Removal and Installation of Track 2-25 60049824-0en
Removal and Installation of Roller 2-30 24710917-1en
Removal and Installation of Drive Sprocket 2-46 33101343-6en
Removal and Installation of Take-up Roller 2-48 58088989-2en
Assembly and Disassembly of Take-up Roller 2-50 94982141-0en
Removal and Installation of Grease Cylinder 2-58 42209260-1en
Assembly and Disassembly of Tension Shock Absorber 2-60 97862528-3en
Removal and Installation of Center Joint 2-63 10728270-0en
Assembly and Disassembly of Center Joint 2-67 65948269-3en
Removal and Installation of Travel Motor 2-74 97975392-2en
Assembly and Disassembly of Travel Motor 2-79 51874242-3en
Maintenance Standards 2-118 16266917-1en
Pressure Measurement and Adjustment Procedures 2-126 83246188-1en
Drain Volume Measurement Procedures 2-127 72272769-0en
Air Bleed Procedure 2-129 76863098-0en
B C SWING UNIT, COUNTERWEIGHT 3-1 97410031-1en
Main Equipment Table 3-2 78443383-0en
Main Equipment Structure and Operation Explanation 3-4 71646005-0en
Port Diagram 3-11 89929564-0en
Basic Functions 3-12 28190417-0en
Removal and Installation of Swing Unit 3-16 15726031-1en
Assembly and Disassembly of Swing Motor 3-20 69583460-5en
Assembly and Disassembly of Swing Unit 3-35 77245471-0en
Assembly and Disassembly of Swing Reduction Gear 3-38 61287321-0en
Removal and Installation of Counterweight 3-49 15990209-0en
Pressure Measurement and Adjustment Procedures 3-56 83246188-1en
Drain Volume Measurement Procedures 3-57 72272769-0en
Air Bleed Procedure 3-58 76863098-0en
H ENGINE 4-1 53979139-1en
Main Equipment Table 4-4 78443383-0en
Basic Functions 4-6 28190417-0en
Primary specifications 4-46 33833561-1en
Function, Structure, and Operations 4-48 54767583-4en
Contents
1
Symptom 4-92 19251071-0en
Functional Inspection 4-106 69663730-0en
Maintenance precautions 4-116 50933097-0en
Removal and Installation of Engine Assembly 4-119 23494110-0en
Removal and Installation of Fuel Cooler, Engine Intercooler, Radiator, and Oil
Cooler 4-124
28776642-0en
Removal and Installation of Turbo Charger 4-133 42858817-3en
Removal and Installation of EGR Valve 4-136 37450341-0en
Removal and Installation of Top Cover 4-139 18253803-0en
Removal and Installation of Muffler 4-140 69390734-0en
Removal and Installation of Cylinder Head Cover 4-142 78412812-0en
Removal and Installation of Cylinder Block 4-180 75278091-0en
Lubrication System 4-229 70203119-0en
Cooling System 4-278 69949934-0en
Removal and Installation of Exhaust Manifold 4-284 78382524-0en
Disassembly, Removal and Installation of DPD Assembly 4-289 96284664-0en
Removal and Installation of Fuel Tank 4-294 52699534-0en
Removal and Installation of Fuel Supply Pump 4-297 18906180-0en
Removal and Installation of Common Rail Assembly 4-310 24718817-0en
Removal and Installation of Injector 4-313 49612614-0en
Removal and Installation of Starter Motor 4-318 98134171-0en
Removal and Installation of Alternator 4-319 47829873-0en
Preheating System 4-320 85293671-0en
Introduction to the trouble diagnosis 4-322 17894058-2en
J HYDRAULIC EQUIPMENT (PUMP, OPERATION SYSTEM VALVE) 5-1 68276312-1en
Main Equipment Table 5-5 78443383-0en
Basic Functions 5-13 28190417-0en
Port Diagram 5-28 89929564-0en
Hydraulic Device 5-48 41566527-0en
Main Equipment Structure and Operation Explanation 5-49 71646005-0en
Control Valve 5-66 85958950-0en
4 Stack Solenoid Valve Operation Explanation 5-106 67705302-0en
3 Stack Solenoid Valve Operation Explanation 5-108 38126393-0en
Upper Pilot Valve (remote control valve) 5-110 25350181-0en
Travel Pilot Valve (remote control valve) 5-116 39613125-0en
Cushion Valve 5-121 11949795-0en
Pressure Bleeding Operations 5-126 80016034-1en
Removal and Installation of Hydraulic Oil Tank 5-127 36881526-0en
Removal and Installation of Hydraulic Pump 5-131 18643784-1en
Removal and Installation of Pump Coupling 5-135 24823791-0en
Removal and Installation of Control Valve 5-138 63137302-0en
Removal and Installation of Pilot Blocs 5-143 46976647-0en
Removal and Installation of Travel Remote Control Valve 5-144 71608263-4en
Removal and Installation of Operation Remote Control Valve 5-147 14130834-4en
Removal and Installation of 4 Stack Solenoid 5-155 89670842-5en
Removal and Installation of Cushion Valve 5-158 87903301-1en
Procedures for Assembly and Disassembly of Hydraulic Pump Main Unit 5-161 59889726-0en
Contents
2
Pump Main Unit Maintenance Standards 5-167 54580195-0en
Procedures for Assembly and Disassembly of Control Valve 5-191 17697175-0en
Procedures for Assembly and Disassembly of Operation Remote Control Valve 5-232 80887250-1en
Procedures for Assembly and Disassembly of Travel Remote Control Valve 5-243 23581849-0en
Assembly and Disassembly of Cushion Valve 5-256 38410900-0en
Pressure Measurement and Adjustment Procedures 5-260 83246188-1en
Hydraulic Pump Flow Measurement Procedures 5-275 62052930-0en
Air Bleed Procedure 5-279 76863098-0en
Hydraulic Equipment Layout 5-280 81702821-0en
Overall view 5-281 93806028-0en
N CAB 6-1 25744330-1en
Removal and Installation of Operator’s Seat 6-2 73057136-4en
Removal and Installation of Cab Assembly 6-3 49919189-0en
Removal and Installation of Wiper 6-7 25113440-4en
Removal and Installation of Cab Front Glass 6-8 51688380-4en
Window Lock Adjustment Procedures 6-10 90955407-5en
Tightening torque 6-12 29026121-4en
R ELECTRICAL PARTS 7-1 18400544-1en
Electrical and Engine Functions and Service Support 7-4 83471066-0en
Basic Functions 7-5 28190417-0en
Accessories 7-8 18248122-0en
Battery Disconnect Switch 7-18 41210822-0en
Reset 7-19 54833228-0en
Milli-amp List 7-20 75537064-0en
Safety 7-22 98211632-0en
Service Support 7-25 30914595-0en
Setting 7-58 46403101-0en
Service Monitor 7-72 48309251-0en
Computer Explanation 7-86 92729003-0en
Connection Connector Pin Layout 7-92 81470562-0en
Sequence Circuit Diagram 7-95 95593007-0en
Electrical Equipment Layout Diagram 7-109 15573839-0en
Removal and Installation of Wiper Controller 7-139 90990258-0en
Removal and Installation of Wiper Motor 7-140 27539700-5en
Removal and Installation of Monitor 7-142 71925310-6en
ECM Replacement Procedure 7-144 65037709-1en
Removal and Installation of ECM 7-145 40114235-0en
Removal and Installation of Computer A 7-146 88300195-0en
Removal and Installation of Computer B 7-147 51924239-0en
Air Conditioner Overall Diagram 7-148 70666574-0en
Assembly and Disassembly of Unit 7-191 80491730-0en
Removal and Installation of Compressor 7-196 20570260-4en
Removal and Installation of Condenser 7-197 44556061-0en
Removal and Installation of Receiver Dryer 7-199 67605030-3en
Work Precautions 7-201 23051033-6en
Contents
3
V ATTACHMENTS 8-1 84181484-1en
Main Equipment Table 8-2 78443383-0en
Maintenance Standards 8-4 16266917-1en
Removal and Installation of Bucket Cylinder 8-16 55586201-3en
Removal and Installation of Arm Cylinder 8-19 34302078-0en
Removal and Installation of Boom Cylinder 8-24 60869008-0en
Removal and Installation of Offset Cylinder 8-28 58474667-0en
Procedures for Operation/Assembly and Disassembly of Hydraulic Cylinder
(made by KYB) 8-32
55983566-0en
Port Diagram 8-68 89929564-0en
Removal and Installation of HBCV 8-69 95886020-0en
Air Bleed Procedure 8-72 76863098-0en
Removal and Installation of Bucket 8-74 32138276-1en
Removal and Installation of Bucket Link 8-76 92026381-0en
Removal and Installation of Arm 8-78 35510946-5en
Removal and Installation of Boom 8-80 22534719-0en
Removal and Installation of Base Boom 9-1 91433883-0en
Removal of Base Boom 9-3 12186832-0en
Installation of Base Boom 9-5 41453466-0en
Removal and Installation of Offset Boom 10-1 54370869-0en
Removal of Offset Boom 10-3 34344525-0en
Installation of Offset Boom 10-6 47117600-0en
Z OTHER 11-1 68145258-1en
Specifications 11-3 53620175-0en
Arm Dimension 11-18 31180251-0en
Main Unit Weight 11-36 12343363-0en
Bolt Size and Torque Table 11-40 30335582-1en
Overall View 11-45 34508823-0en
WORK RANGE DIAGRAM 11-51 20473064-1en
New Machine Performance Judgment Table 11-64 72039816-1en
FLUIDS AND LUBRICANTS 11-72 18850575-0en
Main Unit-side Diagnostic Trouble Code List 11-74 61222915-2en
Main Unit-side Trouble 11-76 14139955-0en
List of special tools 11-155 95642836-0en
PLEASE NOTE:
- This is not a physical manual but a digital manual – meaning no physical copy will be couriered to you. The manual can be yours in the next 2 mins as once you make the payment, you will be directed to the download page IMMEDIATELY.
- This is the same manual used by the dealers inorder to diagnose your vehicle of its faults.
- Require some other service manual or have any queries: please WRITE to us at [email protected]
S.V