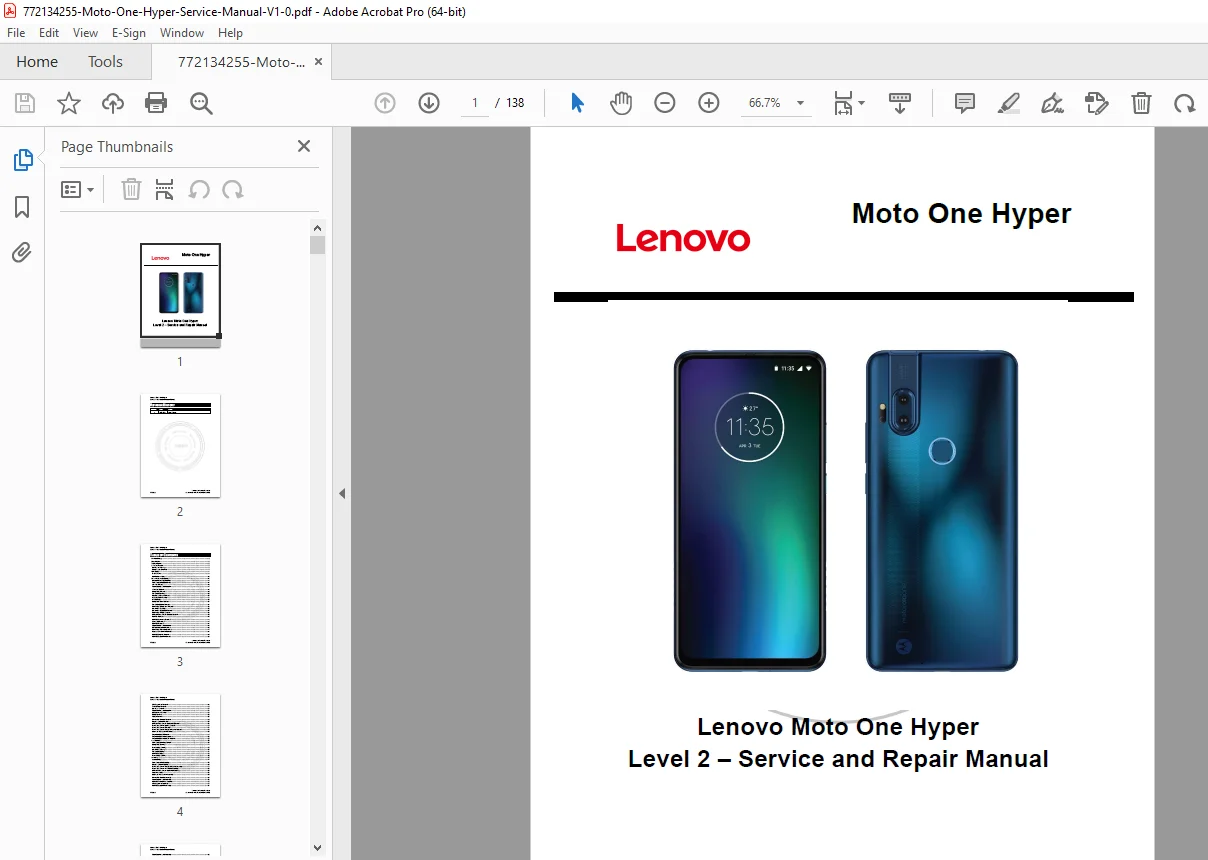
Motorola Moto One Hyper Service Repair Manual PDF
Original price was: $120.00.$18.95Current price is: $18.95.
Official Level 2 service and repair manual for Motorola Moto One Hyper smartphone. This comprehensive 138-page PDF includes complete disassembly procedures, parts refresh cleaning, and assembly instructions with detailed photos. Covers pop-up camera, battery replacement, display removal, motherboard service, fingerprint sensor, and all internal components. Essential technical reference for phone repair technicians, mobile service centers, and electronics repair professionals performing component-level repairs.
Description
Motorola Moto One Hyper Service Repair Manual Level 2 Workshop PDF DOWNLOAD
DESCRIPTION
Lenovo Motorola Moto One Hyper – Complete Level 2 Service & Repair Manual
This is the official Level 2 service and repair manual (Revision 1.0, November 25, 2019) for the Motorola Moto One Hyper smartphone. This professional-grade 138-page Moto One Hyper repair manual PDF provides complete step-by-step disassembly, parts refresh, and reassembly procedures with detailed photographs for every component, making it the ultimate technical reference for phone repair professionals.
📋 FILE DETAILS
| Detail | Information |
|---|---|
| Manual Type | Level 2 Service & Repair Manual |
| Manufacturer | Lenovo Motorola |
| Model | Moto One Hyper (Codename: Defender) |
| Revision | Version 1.0 |
| Release Date | November 25, 2019 |
| Total Pages | 138 pages |
| Page Format | Letter size |
| PDF Quality | High-quality factory manual with detailed photos |
| Author | Jonathan Rydz (Lenovo) |
📱 MOTO ONE HYPER SPECIFICATIONS
Key Features Covered:
- Pop-Up Front Camera – Motorized 32MP selfie camera mechanism
- Rear Camera System – 64MP main camera + 8MP depth sensor
- Display – 6.5″ Full HD+ IPS LCD
- Battery – 4000mAh (ATL486770)
- Fast Charging – 45W Hyper Charging support
- Fingerprint Sensor – Rear-mounted capacitive sensor
- Build – Battery inlay (rear cover) with plastic/glass construction
- Connectivity – Dual SIM, NFC, Headset Jack, USB-C
- Processor – Qualcomm Snapdragon (4GB/6GB RAM variants)
- Storage – 128GB internal storage
Regional Variants Covered:
- LATAM (Latin America) – ICE, SAN, TER variants
- EU (Europe) – ICE, SAN variants
- APEM (Asia Pacific) – ICE, TER variants
- CN (China) – ICE, TER variants
- RU (Russia) – ICE variant
- BR (Brazil) – ICE, SAN, TER variants
📖 COMPLETE TABLE OF CONTENTS
SAFETY INFORMATION (2 pages)
Cautions and Warnings:
- ✓ Electrostatic Discharge (ESD) Protection Requirements
- ✓ ESD Mat and Ground Strap Usage
- ✓ Component Handling Precautions
Battery Safety Guidelines:
- ✓ Battery Handling Procedures
- ✓ Damage Inspection Requirements
- ✓ Surface and Edge Inspection
- ✓ Screw Clearance Requirements
- ✓ Safety Critical Notes
INTRODUCTION (4 pages)
External Views:
- ✓ Complete External Component Identification
- ✓ Front View with All Features Labeled
- ✓ Rear View Component Locations
- ✓ Side Button Placement
- ✓ Port and Jack Locations
External Parts List:
- Headset Jack (3.5mm)
- Receiver Mesh
- Pop-up Camera Bracket
- Pop-up Camera Lens
- Main Display Lens
- Volume Keys
- Power Key
- Battery Inlay (Rear Cover)
- Flash Lens
- Rear-Facing Camera Deco
- Rear-Facing Camera Ring
- Rear-Facing Camera Lens
- Fingerprint Sensor (FPS)
- FPS Bezel
- Speaker Mesh
- USB-C Port
- Front Ring
- Middle Plane (Frame)
- SIM/SD Card Tray
Main Exploded Views:
- ✓ Complete Component Layout Diagram
- ✓ Assembly Exploded View
- ✓ Parts List with Recovery Part Numbers
- ✓ Regional Variant Part Numbers
DISASSEMBLY AND RECOVERY (63 pages)
Disassembly Map:
- ✓ Complete Disassembly Flowchart
- ✓ Step Sequence Overview
Tools Required:
- ✓ Battery Inlay/Display Removal Fixture (MR-M2-001)
- ✓ Battery Inlay Removal Insert (MR-M2-001-047)
- ✓ Heating Plate (3-00-Z1-10000)
- ✓ Hot Plate
- ✓ 3mm Allen Wrench
- ✓ Thin Plastic Spudger
- ✓ SIM/SD Tray Removal Tool
- ✓ Black Stick
- ✓ Torque Driver with PH00 Bit
- ✓ Torx T4 Bit
- ✓ Shim Tool
- ✓ Plastic Tweezers
- ✓ ESD Mat and Wrist Strap
- ✓ Protective Gloves
Complete Disassembly Procedures (Step-by-Step with Photos):
- SIM Tray Removal
- Water Detection Label Inspection (Pre-Disassembly)
- IMEI Label Removal
- Battery Inlay Removal (Rear Cover)
- Top Carrier Removal
- Receiver Sub Board Removal
- NFC Inlay Foam Removal
- NFC Antenna Removal
- Battery Inlay Foam Removal
- Top Carrier Graphite Removal
- Rear-Facing Camera Lens Removal
- Speaker Box Removal
- Speaker Box Copper Foil Removal
- Rear-Facing 64MP Camera Removal
- 8MP Depth Camera Grommet Removal
- Main Flex Cable Removal
- Main PCB Connectors Removal
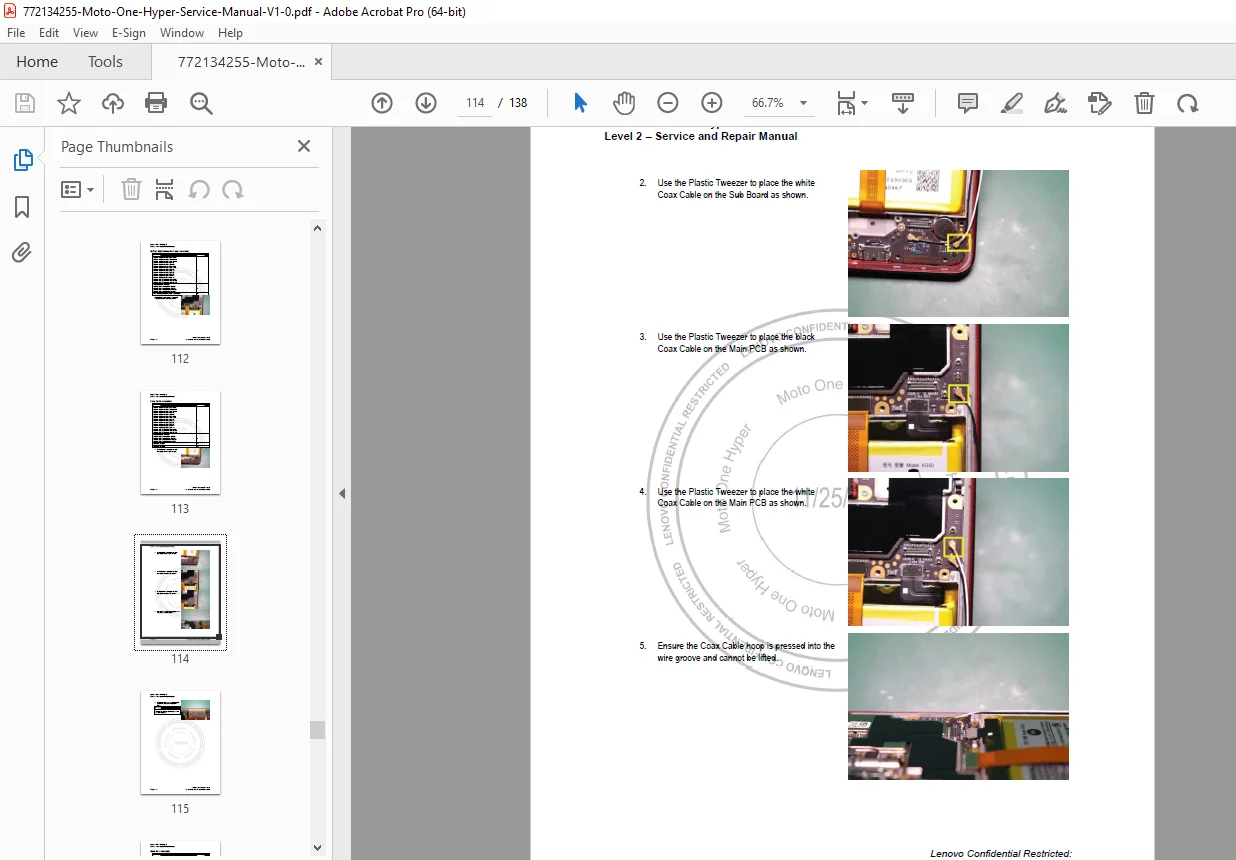
- Coax Cable Removal
- Main PCB (Motherboard) Removal
- Water Detection Label Inspection (Internal)
- TOF Sensor Grommet Removal
- Rear-Facing Flash Lens Removal
- Headset Jack Grommet Removal
- Main PCB Graphite Sheet Removal
- Main PCB Copper Foil Removal
- CPU Copper Pad Removal
- Thermal Pads Removal
- Sub Board Removal
- Water Detection Label Inspection (Sub Board)
- USB-C Grommet Removal
- Battery Removal (4000mAh)
- Vibrator Motor Removal
- Primary MIC Grommet Removal
- Earpiece Speaker Removal
- 8MP Camera Steel Sheet Removal
- Pop-Up Front-Facing Camera Bracket Removal
- 32MP Pop-Up Front-Facing Camera Removal
- Front-Facing Camera Waterproof Bracket Removal
- Secondary MIC Grommet Removal
- Fingerprint Sensor Removal
- Fingerprint Sensor Foam Removal
- Fingerprint Sensor Light Film Removal
PARTS REFRESH (6 pages)
Tools Required for Parts Refresh:
- ✓ Cleaning Equipment List
- ✓ Proper Solvents and Materials
Component Cleaning Procedures:
- ✓ Battery Inlay Cleaning (Rear Cover)
- ✓ Front Housing Cleaning
- ✓ Speaker Box Cleaning
- ✓ Top Carrier Cleaning
- ✓ Main PCB Cleaning
- ✓ Front Housing Final Cleaning
ASSEMBLY (61 pages)
Assembly Map:
- ✓ Complete Assembly Flowchart
- ✓ Reverse Disassembly Sequence
Tools Required for Assembly:
- ✓ Complete Tool List
- ✓ Adhesive Application Tools
- ✓ Alignment Fixtures
Complete Assembly Procedures (Step-by-Step with Photos):
- Earpiece Speaker Assembly
- Front-Facing Camera Waterproof Bracket Assembly
- Pop-Up Camera and Bracket Assembly (Critical Alignment)
- 8MP Depth Camera Steel Sheet Assembly
- Vibrator Motor Assembly
- Secondary MIC Grommet Assembly
- Primary MIC Grommet Assembly
- Water Detection Label Assembly (Multiple Locations)
- Main PCB Thermal Pads Assembly
- CPU Copper Pad Assembly
- Main PCB Copper Foil Assembly
- Main PCB Graphite Sheet Assembly
- Headset Jack Grommet Assembly
- Battery Assembly (4000mAh)
- Thermal Gel Application
- Main PCB (Motherboard) Assembly
- Front-Facing Camera BtB Connector Adhesive Assembly
- Rear-Facing 64MP Camera Assembly
- USB-C Grommet Assembly
- Sub Board Assembly
- Battery BtB Connector Foam Assembly
- Coax Cable Assembly
- Main Flex Cable Assembly
- Rear-Facing Flash Lens Assembly
- TOF Sensor Grommet Assembly
- Earpiece Speaker Board Assembly
- Rear-Facing Camera Lens Assembly
- Speaker Box Assembly
- Top Carrier Graphite Assembly
- NFC Antenna Assembly
- Front-Facing Camera Deco Waterproof Adhesive Assembly
- Top Carrier Assembly
- NFC Foam Assembly
- Light Film Assembly
- Side Key Cushion Assembly
- Battery Inlay Adhesive Assembly (Rear Cover)
- Fingerprint Sensor Foam Assembly
- Fingerprint Sensor Assembly
- Battery Inlay Assembly (Final Rear Cover Installation)
- IMEI Label Assembly
- SIM Tray Assembly
🔍 KEY FEATURES OF THIS MOTO ONE HYPER REPAIR MANUAL PDF
Level 2 Repair Documentation:
- Component-level repair procedures
- Board-level service instructions
- Individual IC and component access
- Advanced troubleshooting capability
Pop-Up Camera System:
- Complete motorized camera disassembly
- Bracket alignment procedures
- Waterproof seal replacement
- Mechanical assembly instructions
- Critical alignment specifications
Comprehensive Photo Documentation:
- Every step photographed in detail
- Component identification photos
- Tool usage illustrations
- Connector locations clearly marked
- Screw locations identified
Professional Repair Standards:
- ESD protection requirements
- Battery safety critical notes
- Water detection label inspection points
- Adhesive replacement specifications
- Torque specifications for screws
Multiple Regional Variants:
- LATAM, EU, APEM, CN, RU, BR markets
- Color variants (ICE, SAN, TER)
- Part number cross-references
- Recovery part identification
💼 WHO NEEDS THIS MOTOROLA SMARTPHONE SERVICE GUIDE?
- Mobile phone repair technicians performing Moto One Hyper repair manual PDF procedures
- Independent repair shop owners servicing Motorola smartphone service guide repairs
- Electronics service centers performing Moto Hyper disassembly instructions
- Mobile device refurbishment companies handling pop-up camera phone repair
- Technical training schools teaching Level 2 phone service manual techniques
- Warranty repair centers using Motorola repair workshop guide procedures
- Parts recovery specialists performing component-level repairs
- DIY advanced users attempting professional-grade repairs
✅ WHAT MAKES THIS MANUAL ESSENTIAL?
Official Lenovo Documentation:
- Genuine factory service procedures
- Authorized repair methods
- Official part numbers and variants
- Verified assembly sequences
Complete Coverage:
- Every component documented
- Every screw location identified
- Every connector labeled
- Every adhesive specified
Professional Quality:
- 138 pages of detailed instructions
- High-resolution photographs
- Step-by-step procedures
- Critical safety notes highlighted
Pop-Up Camera Expertise:
- Specialized motorized camera service
- Alignment and calibration procedures
- Mechanism disassembly details
- Reassembly critical steps
Regional Variant Support:
- Multiple market configurations
- Part number cross-references
- Color variant identification
- All hardware revisions covered
Battery Safety Focus:
- 4000mAh battery handling procedures
- Damage inspection requirements
- Safety critical notes
- Proper removal techniques
🎯 INSTANT DIGITAL DELIVERY
Download immediately after purchase and access all 138 pages of official Level 2 service documentation for the Motorola Moto One Hyper! No shipping delays or waiting for printed manuals. This searchable PDF allows you to quickly locate specific Moto One Hyper repair manual PDF procedures, Motorola smartphone service guide component locations, or Moto Hyper disassembly instructions when servicing devices. Jump directly to pop-up camera phone repair sections, reference Level 2 phone service manual procedures during repairs, or review Motorola repair workshop guide assembly steps at your workbench. Print only the sections you need for your current repair or keep the entire manual on your tablet or smartphone for instant access in your repair shop. Whether you’re replacing a broken pop-up camera mechanism, servicing the main PCB, replacing the 4000mAh battery, repairing the fingerprint sensor, or performing complete refurbishment, this comprehensive factory manual provides the same technical information Lenovo-authorized service centers use worldwide. Repair with confidence using official procedures and specifications!