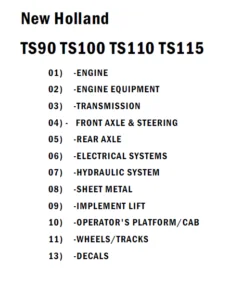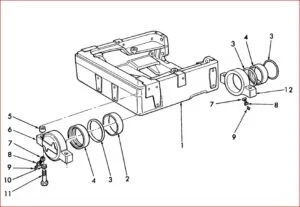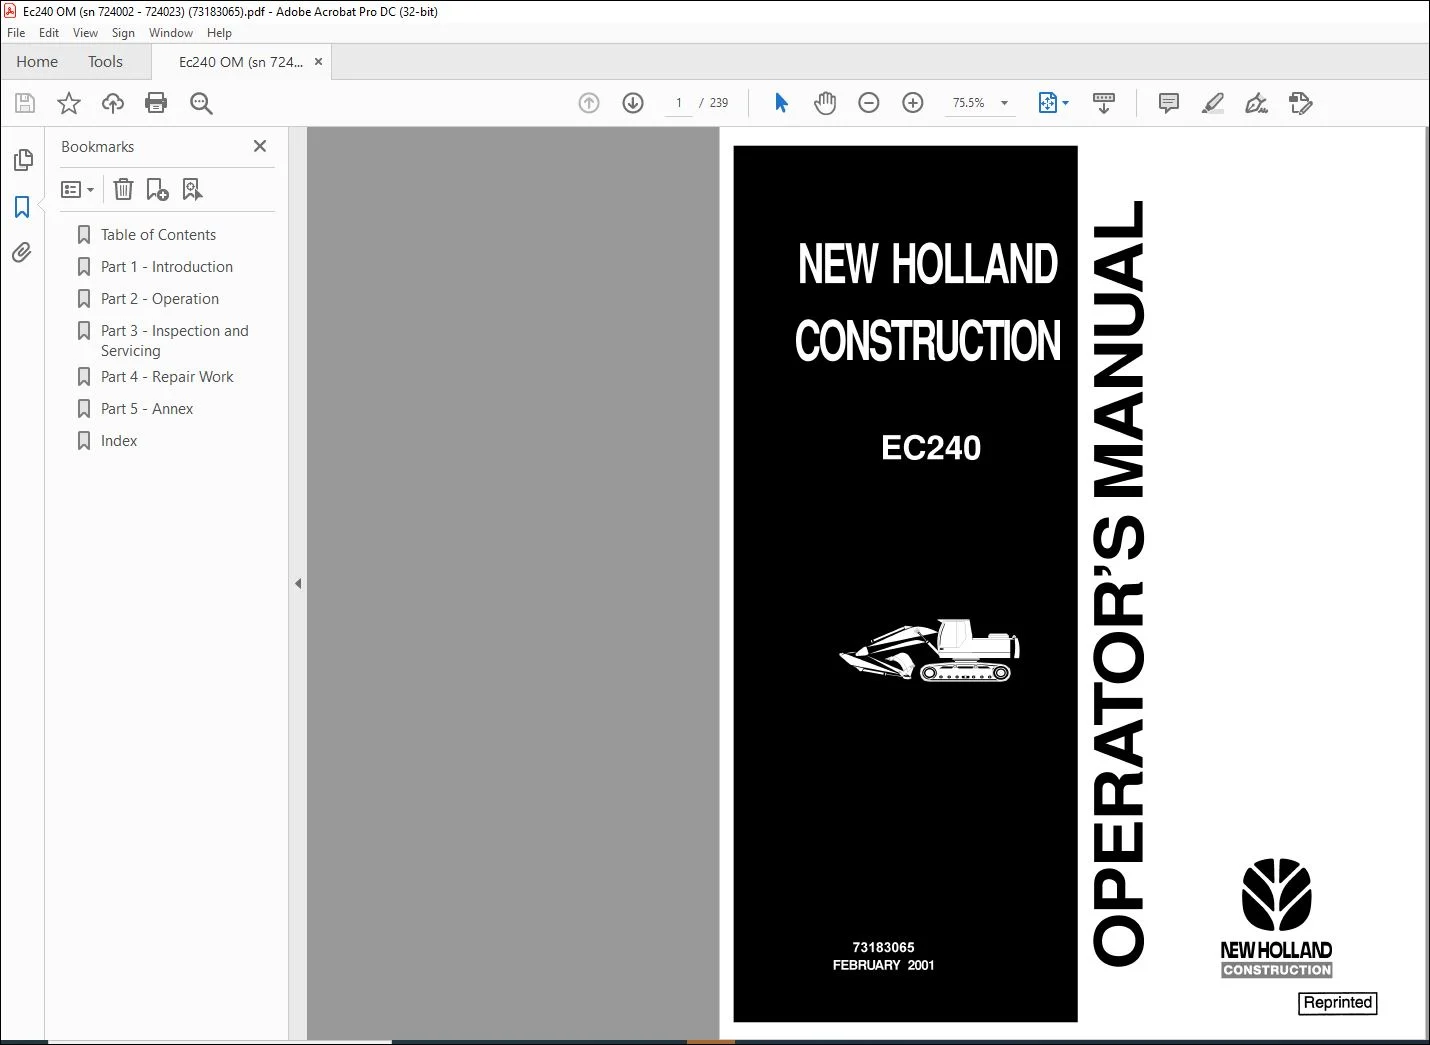
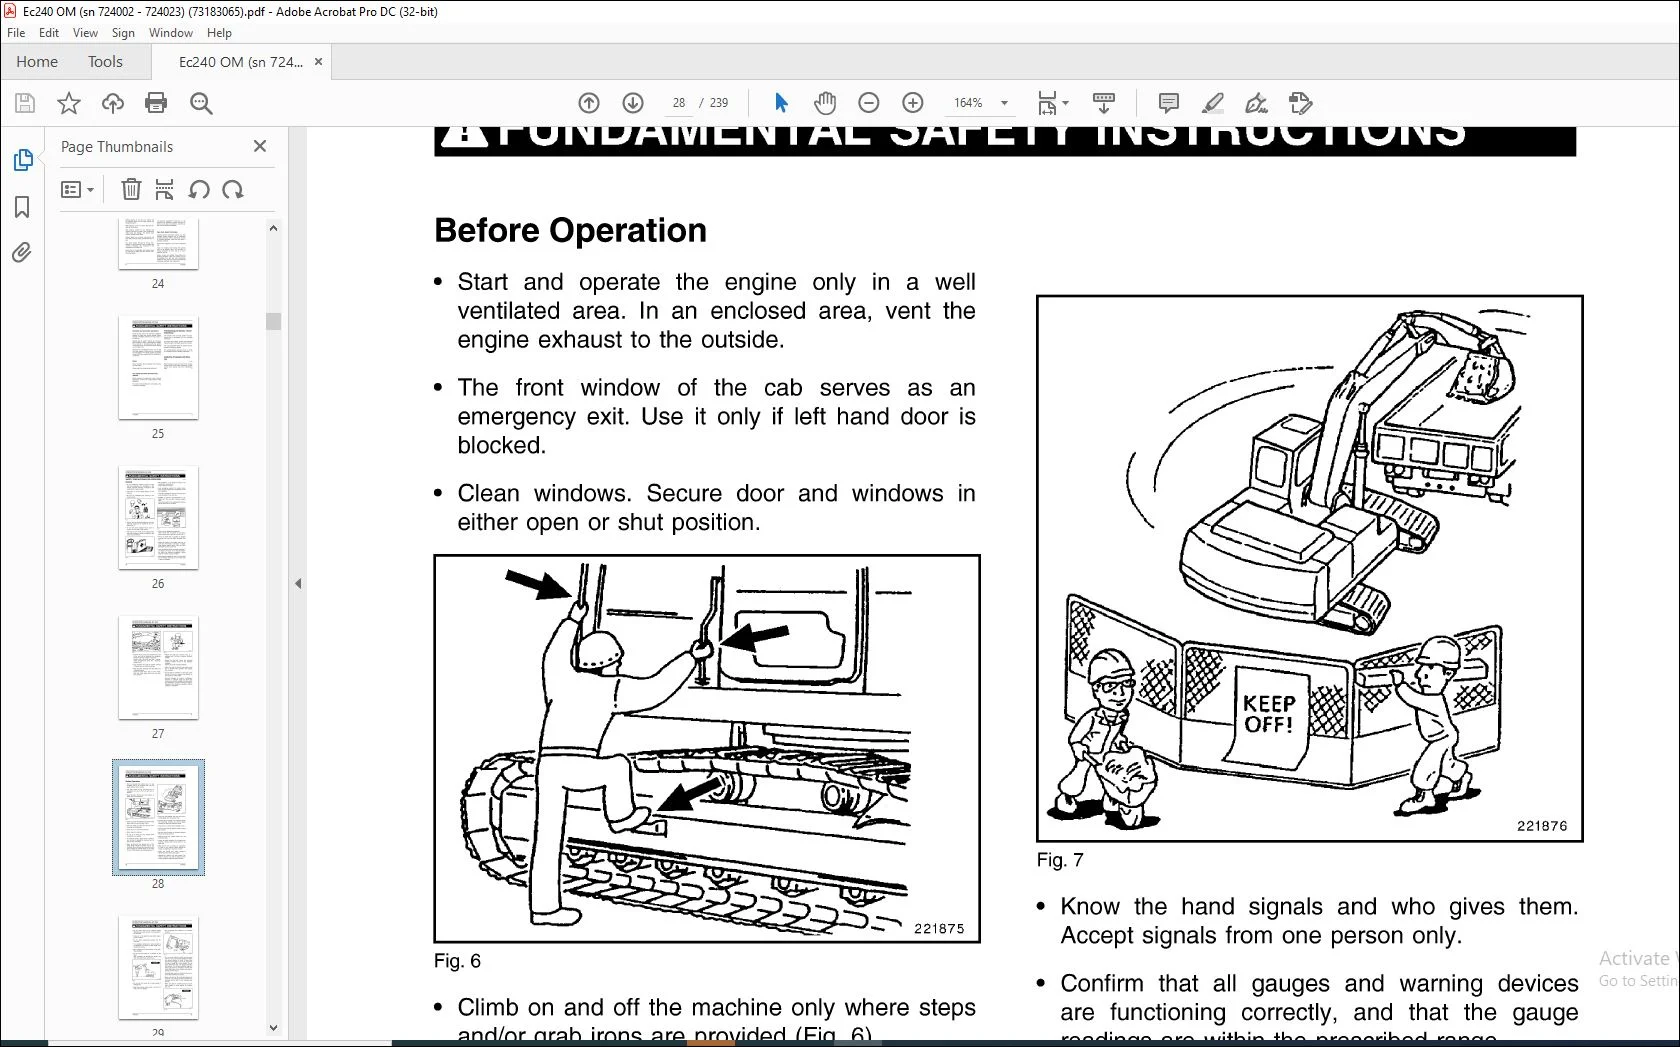
New Holland EC240 Excavator Operator’s Manual 73183065 – PDF DOWNLOAD
Original price was: $89.95.$28.95Current price is: $28.95.
New Holland EC240 Excavator Operator’s Manual 73183065 – PDF DOWNLOAD
Description
New Holland EC240 Excavator Operator’s Manual 73183065 – PDF DOWNLOAD
IMAGES PREVIEW OF THE MANUAL:
DESCRIPTION:
New Holland EC240 Excavator Operator’s Manual 73183065 – PDF DOWNLOAD
PREFACE:
These operating instructions are designed to familiarize the operator with the machine and its designated use. The instruction manual contains important information on how to operate the machine safely, properly and with maximum efficiency.
- Observing these instructions helps to prevent hazardous situations, to reduce repair costs and downtimes and to increase the reliability and service life of the machine.
- The instruction manual must be supplemented by the respective national rules and regulations for accident prevention and environmental protection. The operating instructions must always be available in the operator’s cab of the machine.
The operating instructions must be read and put into practice by any person in charge of carrying out work with or on the machine, such as
– operation, including setting-up, troubleshooting in the course of work, care, evacuation of production
waste and disposal of fuels and consumables.
– maintenance (inspection, servicing, repair) and I or
– transport.
- In addition to the operating instructions and the mandatory rules and regulations for accident prevention and environmental protection in the user’s country and at place where the machine is to be used, the generally recognized technical rules for safe and proper working must be observed.
- This information is valid at the moment of printing. As the manufacturer constantly improves his products, some information may result as not updated. In case of differences, always ask your Service Center. The operating instructions are directed to the construction- machine specialist.
- They cannot provide basic know-how. This can be acquired, for example, in several days’ instruction by a qualified NEW HOLLAND CONSTRUCTION mechanic or by attending an NEW HOLLAND CONSTRUCTION training course for operators or maintenance personnel.
TABLE OF CONTENTS:
New Holland EC240 Excavator Operator’s Manual 73183065 – PDF DOWNLOAD
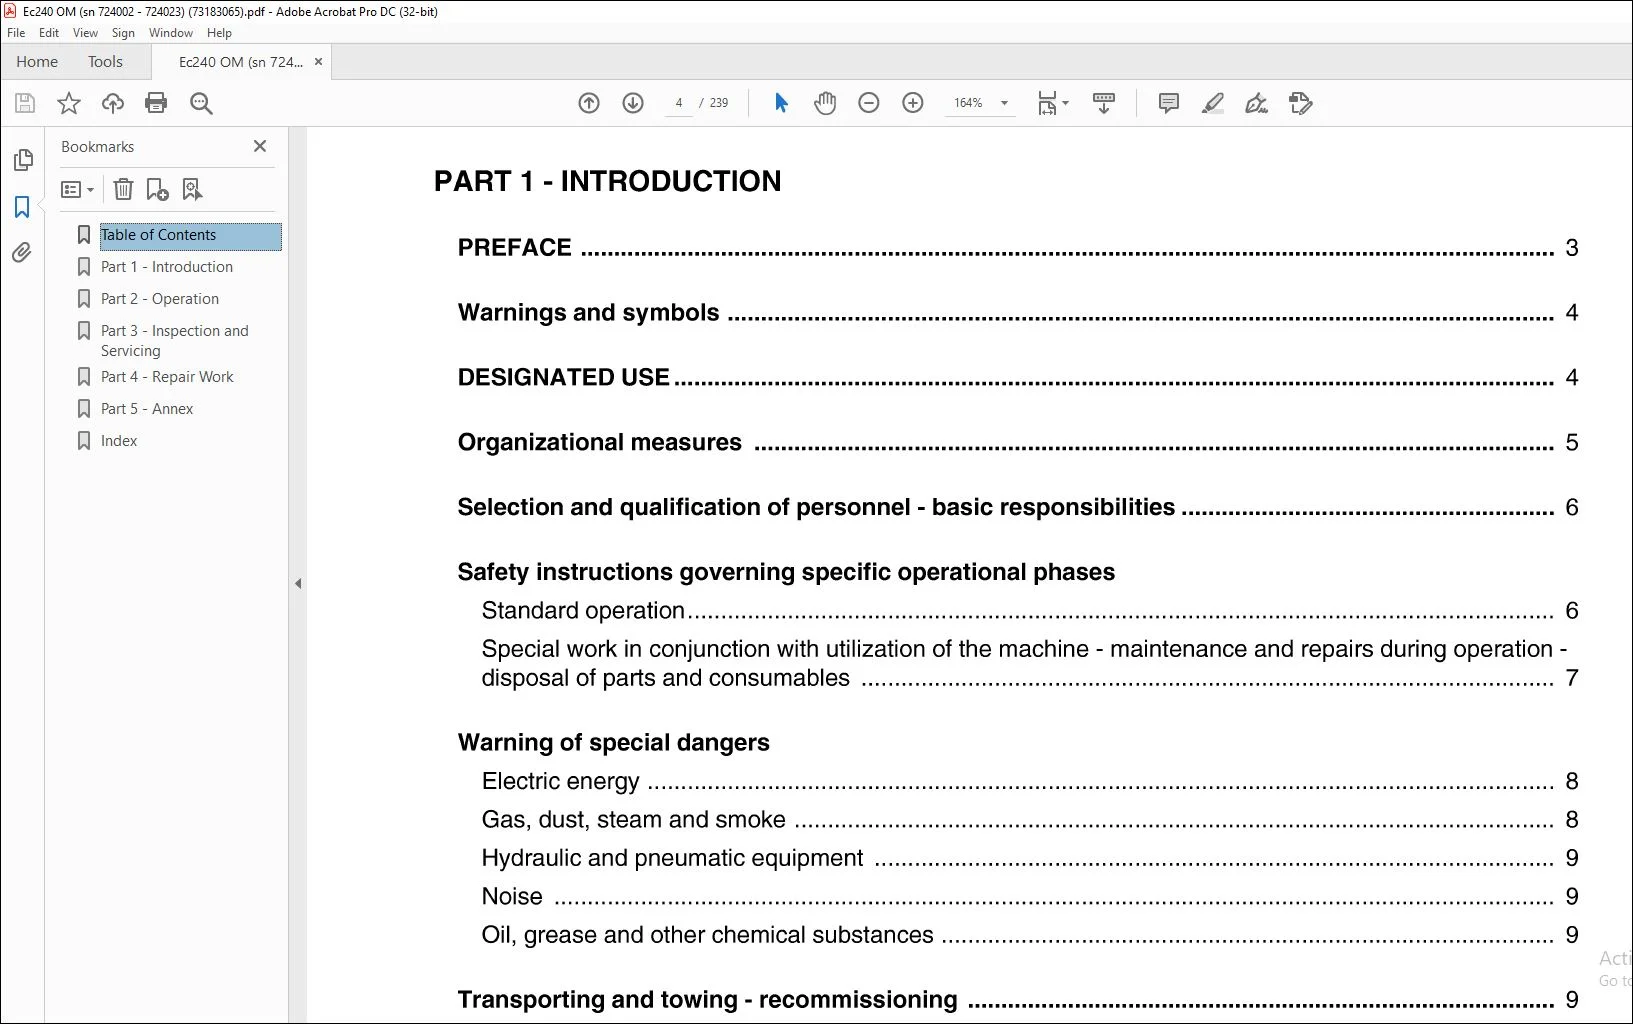
PART 1 – INTRODUCTION
PREFACE 3
Warnings and symbols 4
DESIGNATED USE 4
Organizational measures 5
Selection and qualification of personnel – basic responsibilities 6
Safety instructions governing specific operational phases
Standard operation 6
Special work in conjunction with utilization of the machine – maintenance and repairs during operation –
disposal of parts and consumables 7
Warning of special dangers
Electric energy 8
Gas, dust, steam and smoke 8
Hydraulic and pneumatic equipment 9
Noise 9
Oil, grease and other chemical substances 9
Transporting and towing – recommissioning 9
California, Proposition 65 Warning 9
SAFETY PRECAUTIONS FOR OPERATION 10
General 10
Before Operation 12
PART 2-0PERATION
Operation – safety instructions 21
DESCRIPTION OF THE MACHINE
Machine layout 25
Superstructure 25
Undercarriage 25
Working equipment 25
Undercarriage 25
Superstructure 25
Hydraulic system 25
Steering 25
Crawler unit brake 25
Electrical system 25
Working equipment 25
SIGNS
Warning and instruction signs 27
Machine number 27
Engine number 27
Component numbers 27
DRIVERS’$ CAB
Climbing Up and Down 28
Opening / Closing the Driver’s Cab Door 29
Adjustment of driver’s seat 30
Adjustment of seat suspension 30
Fore and aft adjustment of seat 30
Adjustment of seat position 30
Adjustment of backrest inclination 30
Adjustment of armrests 30
Adjusting the control console position
Adjusting the Mirrors 32
Opening and Closing the Windscreen 32
Front window – Removing the lower part 33
Opening / closing side window 33
Emergency exit 33
Using the Sunshade 34
Rolling out the Sunshade 34
Rolling up the Sunshade 34
Cab interior lamp – switching on and off 35
Socket outlet in cab 35
MONITORING-, WARNING- AND CONTROL ELEMENTS
Description of control panel 36
Control panel operating instructions 37
Control panel 38
Supplementary control panel 46
Control elements (SAE-control) 48
STARTING UP THE MACHINE 52
Refuelling
Refuelling, safety instructions 52
Refuelling 52
Switching the electrical system on and off 53
Immobilizer, entering the code 54
Starting and stopping the engine
Starting the engine 55
Starting the engine with cold-starting aid 56
Engine does not start 57
Shutting off the engine 57
Battery main switch 57
Ventilation and heating
Ventilation 58
Heating 58
Adjusting the heating performance 58
Defrosting the front and rear screens 59
Switching the windscreen wiper/ washer on and off 59
To activate intermittent wiping 59
To activate permanent wiping 59
To de-activate the wiper 59
To activate the wipe/ wash function 59
DRIVING 60
Driving – Safety instructions 60
Fastening the retaining belt 61
Bringing the machine to basic position 62
Selecting direction of travel 62
Braking and stopping
Braking travelling movement 63
Parking brake/ travel 63
Altering travelling speed
Gear mode 63
Drive – forward / reverse
Travel forwards straight ahead 64
Travel reverse straight ahead 64
Travel forward to right 65
Travel reverse to right 65
Travel forward to left 65
Travel reverse to left 65
Turning on the spot
Turn to left 66
Turn to right 66
Travel with loading on the hook 67
Travel after PCS failure 67
After travel operation 67
Transporting the machine
Transport – Safety instructions 68
WORKING OPERATION 70
Working operation – Safety instructions
Extreme positioning of working equipment – Instructions 71
Before beginning work 71
Switching on floodlamps 72
Switching on the floodlamps 72
Switching off flood lamps 72
Automatic speed reduction 73
Switching off the automatic speed reduction 73
Switching on the automatic speed reduction 73
Selecting the PCS output stage 74
Activating the pilot control 74
Switching off the pilot control 75
Superstructure swinging and braking
Superstructure swinging 76
Swing superstructure to right 76
Swing superstructure to left 76
Superstructure braking 76
Superstructure holding brake – function 76
Applying the superstructure holding brake 77
Releasing the superstructure holding brake 77
Swing; changing the mode of operation 78
Superstructure holding brake – emergency operation 79
Working with backhoe or grab equipment (SAE-control)
Raising and lowering boom 81
Extending and retracting stick 81
Swing superstructure 81
Filling and emptying backhoe 81
Opening and closing grab 81
Rotating grab 81
Activate the Power assist function 81
Activate the Power Boost function 81
Activate the horn 81
Power assist, function 82
Switching the power assist on 82
Switching the power assist off 82
Power Boost, function 83
Switching the Power Boost function on 83
Operating methods 84
Working operation in case of PCS failure
Switching the proportional valve over to emergency operation 86
After daily operation
Shutting off the machine 87
WORKING EQUIPMENT 88
Assembling working equipment – safety instructions
Protective roof against falling objects 89
Securing the machine 89
Attaching and detaching the grab equipment
Attaching and detaching the grab equipment – Safety instructions 90
Attaching the grab 90
Detaching the grab 91
Selecting the backhoe / grab equipment 92
Detaching/ attaching the backhoe bucket 93
Corrosion protection for pins and bearings (bushings and hubs)
Part nos for Vol er A C 94
Application of Voler A C 94
HYDRAULIC HAMMER 96
Working with the hydraulic hammer, safety instructions 96
Working with a hydraulic hammer
Switching on the hydraulic hammer 97
Switching off the hydraulic hammer 97
SCRAP SHEARS 98
Working with scrap shears, safety instructions 98
Working with scrap shears
Switching on the scrap shears 99
Switching off the scrap shears 99
LIFTING-GEAR OPERATION 100
Lifting-gear operation – safety instructions 1 00
Loading hooks on backhoe buckets and couplers
Loading hook capacity 101
Excavator load capacity 101
Overload warning system
Function of overload warning system 102
Activating overload warning system 102
Testing the overload warning system 103
Deactivating overload warning system 103
Pipe-fracture safety system, function 104
OPTIONAL EQUIPMENT
Rotary beacon 1 05
Switch rotary beacon ON 1 05
Switch rotary beacon OFF 1 05
Switching on the floodlamps at the rear of the cab 106
Radio 107
Refuelling system
Refuelling with the refuelling system, safety instructions 108
Refuelling with the refuelling system 109
Driver’s seat – adjusting the lumbar support
Adjusting the lumbar support 110
Driver’s seat with pneumatic suspension and integrated heating
Adjusting the pneumatic suspension 111
Fore-and-aft adjustment 111
Adjusting the seat cushion 111
Adjusting the backrest 111
Adjusting the armrests 111
Adjusting the lumbar support 112
Switching on the seat heating 112
To switch on the seat heating: 112
To switch off the seat heating: 112
Multi-position boom
Description of multi-position boom 113
Working with the multi-position boom 113
Lowering boom upper section 113
Raising boom upper section 113
Transporting the machine with multi-position boom 113
Air conditioner
Switching the air conditioner on/ off 114
KEYBOARD, FURTHER FUNCTIONS
Service (key 16), function 115
Display (key 18), function 116
To indicate the engine revolutions 116
To indicate the time of day 116
Display, setting the contrast 117
Setting the time 118
Immobilizer, deactivate/ activate 119
PART 3 – INSPECTION AND SERVICING
Inspection and servicing – safety instructions 123
Inspection and servicing plans – instructions
Plan V – Once before first commissioning 128
Plan N – After first commissioning 129
Plan T – every 10 OH or every working shift 130
Plan W – every 50 OH or weekly 130
Plan A – after every 250 OH or 6 months 131
Plan B – after every 500 OH 131
Plan C – after every 1000 OH 131
Plan D – after every 3000 OH 131
LUBRICATING CHART – GREASE
Lubricating chart – Grease 135
LUBRICATING CHART-GREASE
Lubricating chart – Grease 137
Filling quantities – grease 137
Joints and hinges 137
INSPECTION PLAN – OIL
Inspection plan – oil 139
Filling quantities for oil change 139
Other filling quantities 139
LUBRICANTS 140
Oils for internal combustion engines 140
Oils for hydraulic system, mineral 141
Oils for gearboxes 142
Greases for bearing points and swing rings 143
SERVICING
Draining hose for oil changes 144
ENGINE 145
Engine, safety instructions for inspection and servicing
Checking the engine oil level / topping up with oil 146
Checking the drive belts 147
Checking the coolant level 147
AIR-INTAKE SYSTEM
Emptying the dust collector 148
Removing, checking, and cleaning the main filter element 149
Checking / replacing the safety filter element 150
Checking air intake lines 150
Cold-starting system – Replacing the cold-starting fluid cartridge 151
FUEL SYSTEM 152
Fuel system – Safety instructions
Fuel filter – draining water 153
Fuel filter, change 153
Primary fuel filter, change 153
Bleeding the fuel system 153
Cleaning the fuel tank 154
ELECTRICAL SYSTEM
Electrical system – Safety instructions 155
Alternator – instructions 155
Battery, checking
Battery – checking the fluid level 156
Battery – checking the charge 156
Removing and installing the battery 157
HYDRAULIC SYSTEM
Hydraulic system – safety instructions 158
Depressurizing the hydraulic system 158
Checking the hydraulic oil level 159
Topping up with hydraulic oil 159
Changing the hydraulic oil return-flow filter 160
Replacing the breather valve 160
Changing line filters 161
Changing the hydraulic oil 162
Draining hydraulic oil 162
Cleaning the hydraulic oil reservoir 163
Filling with hydraulic oil 163
Venting the hydraulic system 164
Cleaning the combinated cooler 165
SWING GEAR
Swing gear – checking oil level 166
Swing gear – changing oil 166
Superstructure holding brake – Function checking 167
SWING RING
Swing ring – Instructions 168
Swing ring – checking grease filling 168
Swing ring – filling grease 169
Swing ring – lubricating bearing 169
Swing ring – checking tightness of screws 170
Lubricating the greasing nipples 170
Greasing the pedal valve tappets 171
Greasing the control valve tappets 171
TRAVEL GEAR UNIT
Travel gear unit – checking oil level 172
Travel gear unit – changing oil 172
CRAWLER UNIT
Cleaning the crawler unit 173
Checking tread rollers and track carrier rollers 173
Checking the front idler 174
Crawler shoes – checking tightness of screws 17 4
Crawler chain – Checking tension 175
Tensioning the crawler chain 175
Releasing crawler chain tension 176
AIR CONDITIONER 177
Air conditioner – Inspection and servicing work
Work to be carried out every month 178
Work to be performed every 6 months 179
Air conditioner – Checking/ tensioning the V-belt of the compressor 180
Air conditioner – Troubleshooting 181
WINDSCREEN WASHER
Topping up the wash fluid 185
Machine shutdown
Battery storage 186
Recommissioning 186
PART 4 – REPAIR WORK
Repair work – safety instructions 189
Accumulators, safety instructions 190
ENGINE
Engine, repair instructions 191
Assisted starting (with jump-leads)- Safety instructions
Assisted starting (with jump-leads) 192
Prior to assisted starting 192
Connecting the jumper cables 192
Starting up the engines 192
FUSES
Checking / replacing the fuses 193
Table of fuses 194
BULBS
Replacing the bulbs – Notes 195
Bulbs – Table 195
Replacing the bulb in the cab interior lamp 195
Replacing the bulb of the boom floodlamp 196
Replacing the bulb of the floodlamp on driver’s cab 196
Replacing the headlamp bulb 197
Working equipment – replacing a tooth 198
Clamshell, Wear Limits 199
PART 5 – ANNEX
TROUBLESHOOTING 203
Instructions on troubleshooting 203
Layout of the fault table
Fault 203
Possible causes 203
Measure 203
Section 203
FAULT TABLES
Combustion engine fault table 204
Working hydraulics (incl boom-adjusting and grab cylinder) fault table 205
Transmission fault table 206
Swing system fault table 207
Hammer operation (optional equipment) fault table 208
Grab rotation circuit (optional equipment) fault table 209
Table of fault codes 210
Tightening torques – Table 211
ABBREVIATIONS 212
INDEX 215
Contact us: [email protected]
https://vimeo.com/730229129
PLEASE NOTE:
- This is the same manual used by the DEALERSHIPS to SERVICE your vehicle.
- The manual can be all yours – Once payment is complete, you will be taken to the download page from where you can download the manual. All in 2-5 minutes time!!
- Need any other service / repair / parts manual, please feel free to contact us at heydownloadss @gmail.com . We may surprise you with a nice offer
S.V