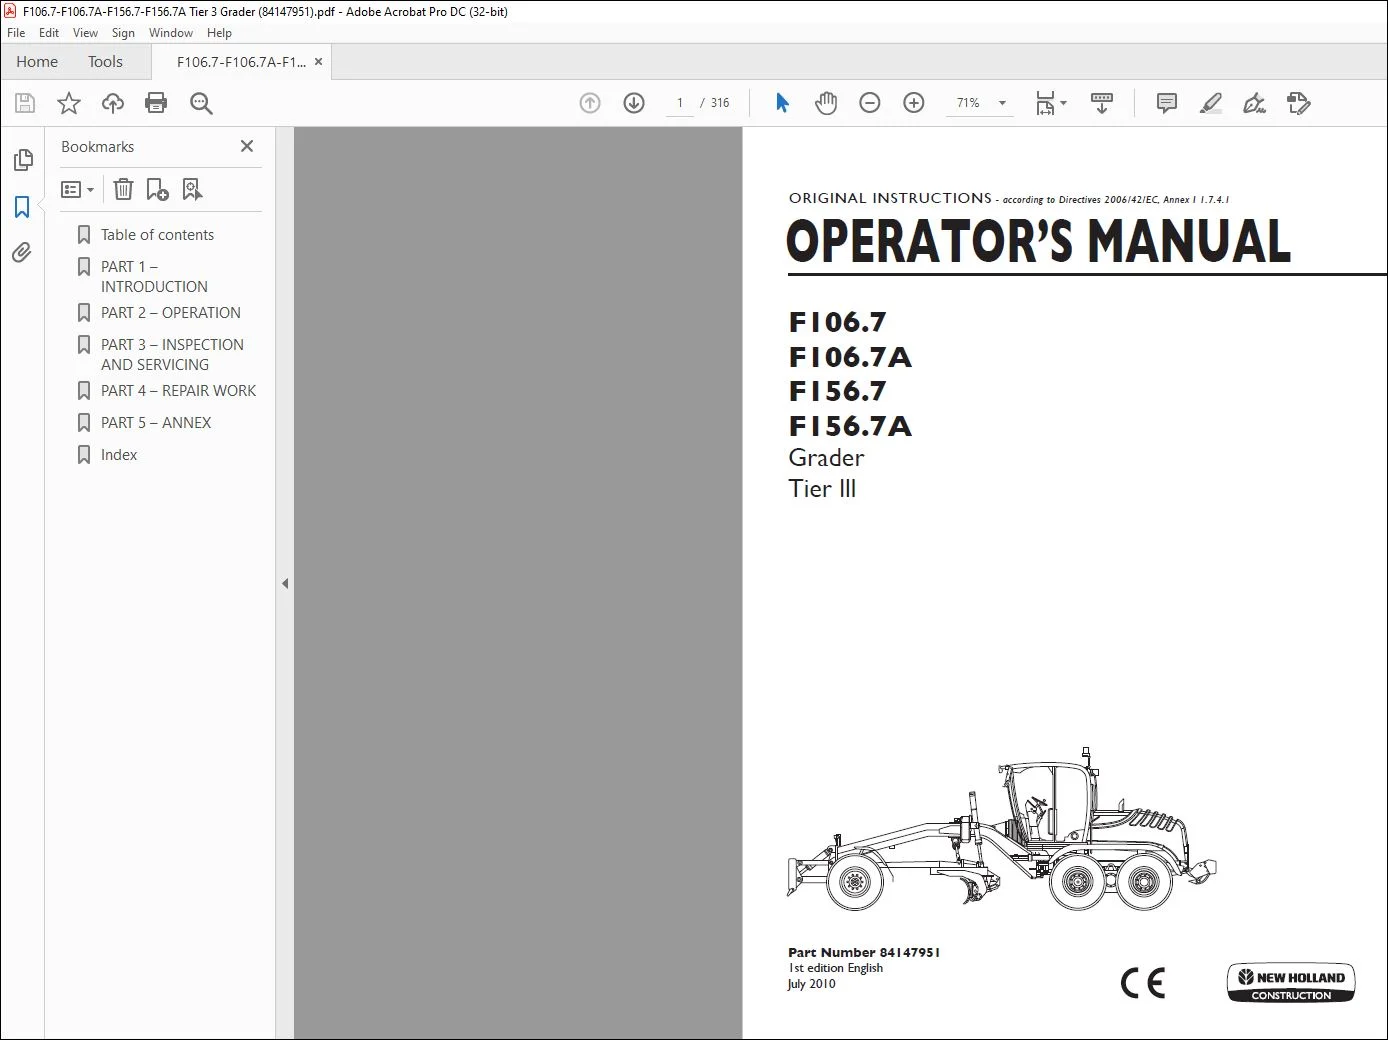
New Holland F106.7 F106.7A F156.7 F156.7A Grader Tier III Operator’s Manual 84147951 – PDF DOWNLOAD
Original price was: $86.95.$28.95Current price is: $28.95.
New Holland F106.7 F106.7A F156.7 F156.7A Grader Tier III Operator’s Manual 84147951 – PDF DOWNLOAD
Description
New Holland F106.7 F106.7A F156.7 F156.7A Grader Tier III Operator’s Manual 84147951 – PDF DOWNLOAD
IMAGES PREVIEW OF THE MANUAL:
DESCRIPTION:
New Holland F106.7 F106.7A F156.7 F156.7A Grader Tier III Operator’s Manual 84147951 – PDF DOWNLOAD
Foreword :
These operating instructions are designed to familiarize the operator with the machine and its designated use. The instruction manual contains important information about how to operate the machine safely, properly and economically.
- Observing these instructions helps to prevent hazardous situations, to reduce repair costs and downtimes and to increase the reliability and service life of the machine.
- The instruction manual must be supplemented by the respective national rules and regulations for accident prevention and environmental protection.
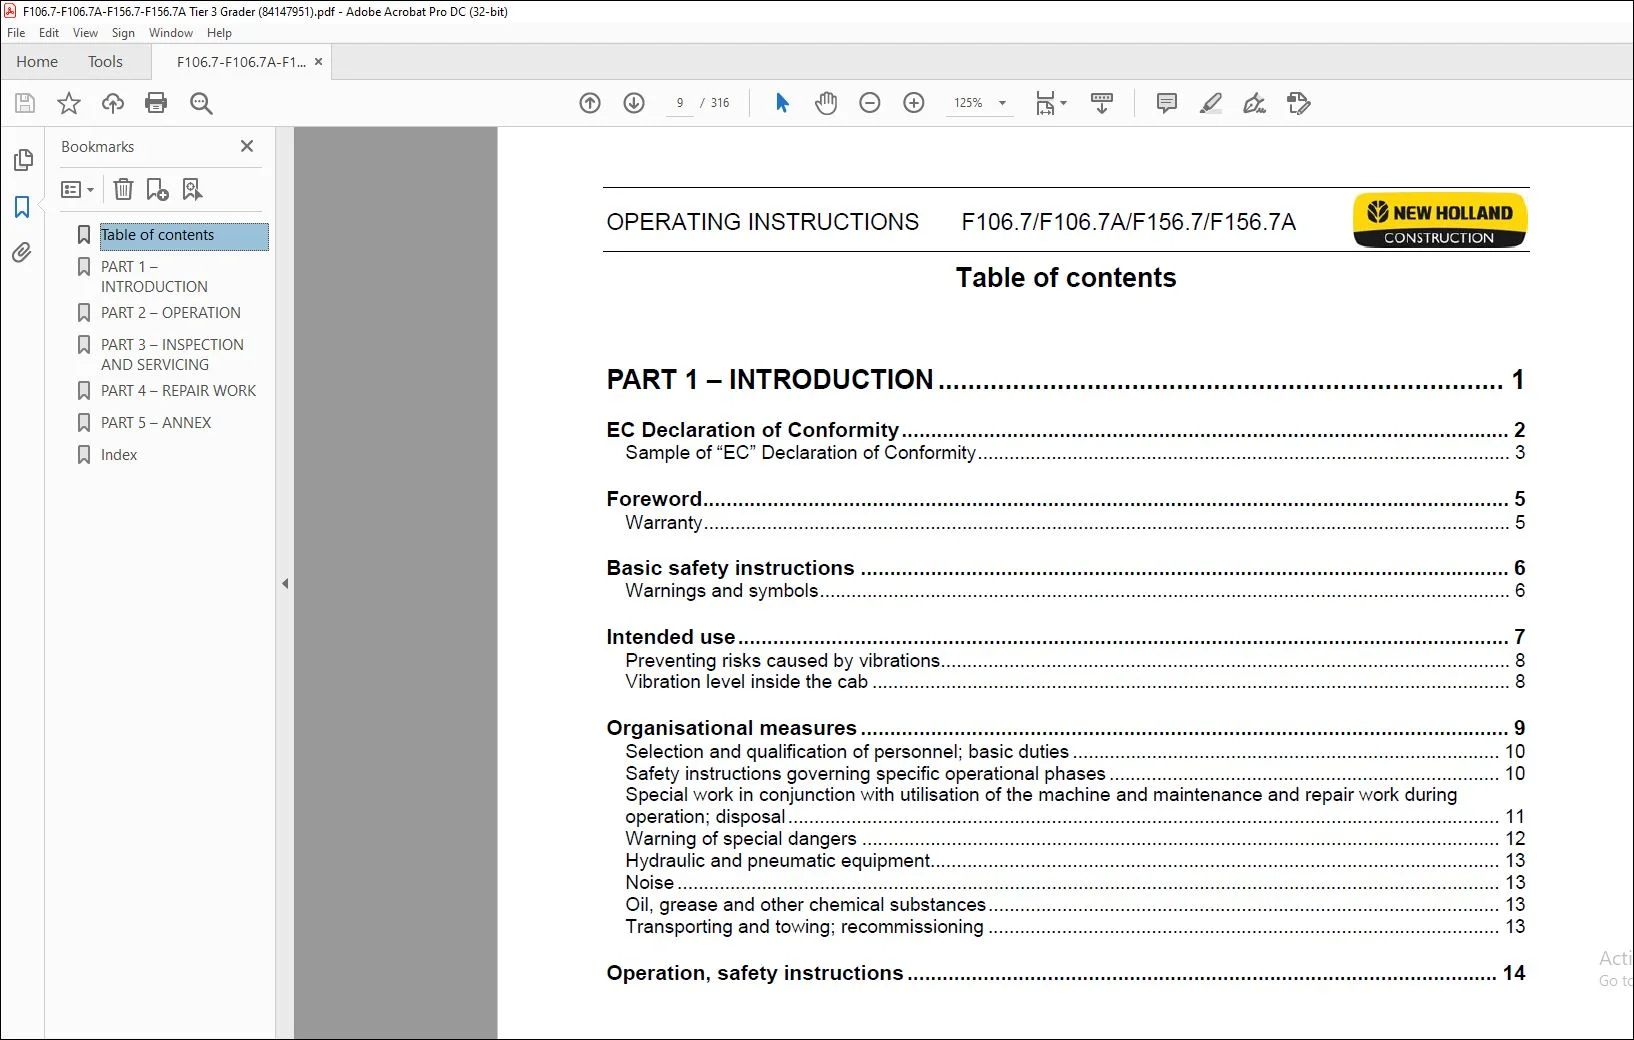
TABLE OF CONTENTS:
New Holland F106.7 F106.7A F156.7 F156.7A Grader Tier III Operator’s Manual 84147951 – PDF DOWNLOAD
PART 1 – INTRODUCTION 1
EC Declaration of Conformity 2
Sample of “EC” Declaration of Conformity 3
Foreword 5
Warranty 5
Basic safety instructions 6
Warnings and symbols 6
Intended use 7
Preventing risks caused by vibrations 8
Vibration level inside the cab 8
Organisational measures 9
Selection and qualification of personnel; basic duties 10
Safety instructions governing specific operational phases 10
Special work in conjunction with utilisation of the machine and maintenance and repair work during
operation; disposal 11
Warning of special dangers 12
Hydraulic and pneumatic equipment 13
Noise 13
Oil, grease and other chemical substances 13
Transporting and towing; recommissioning 13
Operation, safety instructions 14
OPERATING INSTRUCTIONS F106 7/F106 7A/F156 7/F156 7A
VIII
PART 2 – OPERATION 17
Identification, model plates 18
Model plate of the machine 19
Model plate of the engine 19
Model plate of the cab 20
Description of the machine 20
Machine layout 21
General description 22
Basic machine 22
Frame 22
Drive 22
All-wheel drive 22
Rear axle, tandem drive 22
Front axle 22
Brakes 22
Steering 22
Hydraulic system 22
Electrical system 22
Equipment 22
Main dimensions 23
Main dimensions F106 7/F106 7A 23
Main dimensions F156 7/F156 7A 24
Instrument panel warning and monitoring elements 26
Operation of the multi-function LCD display 28
Main screen 29
Service menu 32
Language selection on initial start-up 33
Control elements in front 35
Control elements, side console 37
Instrument panel indicator lamps 39
Instrument panel indicators 40
Transmission oil temperature 43
Hydraulic fluid temperature 44
Fuel reserve indicator 45
Engine coolant temperature display 46
Putting the machine into operation 47
Putting into daily operation 47
Starting the engine 47
OPERATING INSTRUCTIONS F106 7/F106 7A/F156 7/F156 7A
IX
Refuelling 48
Refuelling safety instructions 48
Filling in fuel 49
Refuelling station (option) 50
Refuelling using the refuelling station 51
Switching the electrical system on and off 52
Starter switch 52
Prior to starting the engine 53
Run-in period 53
Starting and stopping the engine 54
Starting the engine 54
Noise emission 55
Outside the machine 55
Inside the cab 55
CE mark 55
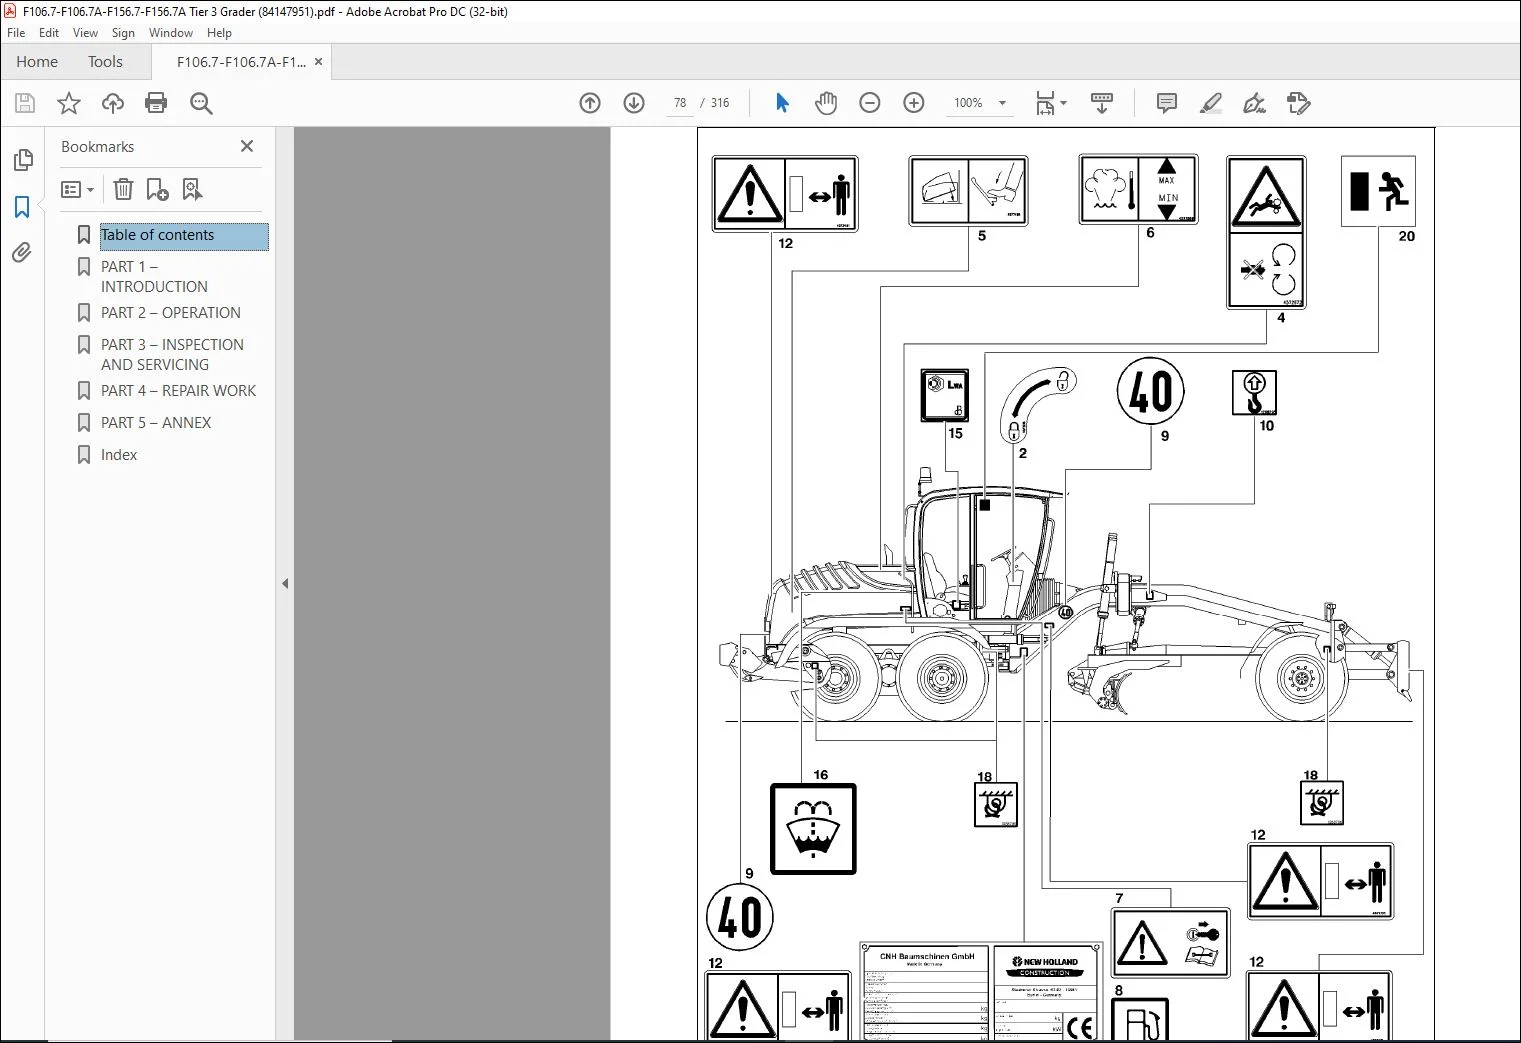
Warnings and notices 56
Machine number 60
Engine number 60
Powershift transmission number 60
Component numbers 60
Cab door 61
Opening the door 61
Closing the door 61
Emergency exit 61
Cab attachments 62
Adjusting the mirrors 62
Cab interior lighting 62
Storage compartment 62
Sun protection roller blind 62
Documentation 63
First-aid box 63
Fire extinguisher (option) 63
Warning triangle 63
Driver’s cab ROPS and FOPS 64
Entering and leaving the machine 65
Engine speed adjustment 66
Engine fails to start 67
Shut off the engine 67
Ventilation and heating 68
Ventilation 68
Heating 68
Intake openings 69
Outlet nozzles 69
Air conditioning system (option) 70
Switching on the air conditioning system 70
Adjusting the air temperature 70
Switching off the air conditioning system 70
OPERATING INSTRUCTIONS F106 7/F106 7A/F156 7/F156 7A
X
Windscreen wiper/washer 71
Horn, turn signal, high beam and headlamp flasher 72
Switching on the lighting 72
Floodlamps, driver’s cab 73
Floodlamps 73
Driving 75
Driving, safety instructions 75
Braking system 77
Service brake 77
Parking brake 77
Adjusting the steering column 78
Steering 79
Emergency steering 79
Articulated-frame steering 79
Drive 80
All-wheel drive 80
Gearshift lever – powershift transmission 81
Warming up the machine 83
Warming up the engine 83
Warming up the powershift transmission 83
Warming up the working hydraulics 83
Articulated joint 84
Locking the articulated joint 84
Releasing the articulated joint lock 84
Driving 85
Driving on public roads 85
Before putting the machine into operation 88
Setting off 89
Checks done during driving 90
Stopping 90
Downhill driving 90
Monitoring the indicators 91
Brake-pressure-dependent transmission cutout/Inching (option) 92
Machine recovery/towing 93
Recovery and towing; safety instructions 93
Towing attachments 93
Transport 94
Transport, important instructions 94
Crane loading 95
Working operation 96
Working operation, safety instructions 96
Grader use 96
OPERATING INSTRUCTIONS F106 7/F106 7A/F156 7/F156 7A
XI
Control levers for working attachments 97
Control layout 98
Working hydraulics – fast gear 100
Increasing the working speed 100
Blade 100
Swivel arm 100
Readjusting the swivel arm 101
Wheel rake 102
Emergency lowering of the working equipment 103
Emergency lowering of the blade 103
Lower the left-hand side of the blade 103
Lower the right-hand side of the blade 103
Emergency lowering of the blade out of floating position 104
Lower the left-hand side of the blade 104
Lower the right-hand side of the blade 104
Emergency lowering of front grading blade/rear ripper 104
After daily use 105
Working equipment 106
Installing working equipment, safety instructions 106
Securing the machine 107
Floating position (option) 108
Front grading blade (option) 109
Rear ripper (option) 110
Blade ripper (option) 112
Rotary beacon (option) 113
Radio (option) 114
Environmentally friendly hydraulic fluid – biodegradable (option) 115
Environmentally friendly hydraulic fluid, operating instructions 115
Environmentally friendly hydraulic fluid, change over 115
Sampling 116
Driver’s seat 117
Adjustment of driver’s seat, safety instructions 117
Adjusting the driver’s seat – pneumatic suspension (comfort seat) 118
Adjusting the weight-dependent suspension 118
Adjustment of dampening 118
Adjusting the suspension/height of the seat 118
Adjusting the horizontal fore-aft suspension 118
Fore-and-aft adjustment 119
Seat depth adjustment 119
Backrest adjustment 119
Seat inclination adjustment 119
Adjusting the driver’s seat – mechanical suspension 120
Adjusting the weight-dependent suspension 120
Weight adjustment 120
Height adjustment 120
Fore-and-aft adjustment 121
Seat depth adjustment 121
Backrest adjustment 121
Seat inclination adjustment 121
Safety belt 122
OPERATING INSTRUCTIONS F106 7/F106 7A/F156 7/F156 7A
XII
Calling up the service screens 123
Service/Select menu 123
Preferences menu 124
Preferences menu 124
Options menu 126
Options 126
Combination menu 128
Hardware/Software menu 129
Hardware screen 129
The Software screen 129
Combination instrument configuration menu 130
Fault codes 132
Fault screen 132
Red warnings 132
Yellow warnings 133
Fault code classification 133
Vehicle fault codes 134
Engine fault codes 136
Transmission fault codes 147
Coupling codes 150
FWD control fault codes (all-wheel control) 154
Internal AIC fault codes 154
Clear fault memory 155
OPERATING INSTRUCTIONS F106 7/F106 7A/F156 7/F156 7A
XIII
PART 3 – INSPECTION AND SERVICING 157
Inspection and servicing, safety instructions 158
Inspection and servicing plans – instructions 164
Intervals 164
Cleaning work 164
Warranty 164
Engine oil changing 165
Coolant change 165
Oils/greases 165
Regular oil analyses 165
Servicing material 165
Further servicing tasks 165
Maintenance plans 166
Plan V – once before initial commissioning 166
Plan T – every 10 OH or once per working shift 167
Plan W – every 50 OH or weekly 167
Plan N – once after 250 OH 168
Plan A – once after 750 OH 169
Plan B – once after 500 OH 169
Plan C – once after 1000 OH 169
Plan D – once after 3000 OH 169
Lubrication plan – grease 172
Lubricating chart – grease, front axle, tandem axle 172
Lubrication plan – grease, blade 174
Inspection plan – oil 176
Filling quantities – oil 177
Inspection plan – coolant 178
Filling quantities – coolant 179
Lubricants 180
I Oils for internal combustion engines (change interval 500 OH) Standard 180
I Oils for internal combustion engines (change interval 250 OH) Option 181
II Oils for hydraulic systems, mineral 182
II Oils for hydraulic systems, biodegradable 183
III Oils for axles and gearboxes 184
III A Oils for axles and gearboxes (selection) 185
IV Oils for powershift transmissions with Ergopower 186
V Greases for bearing points and slewing rings 187
Service work 188
Draining hose for oil changes 188
Engine 189
Engine and engine compartment, safety instructions for inspection and servicing 189
Engine hood 190
Checking the engine oil level/topping up oil 191
Changing the engine oil 192
Replacing the engine oil filter 193
Alternator/water pump drive belt 194
Checking the coolant level 196
OPERATING INSTRUCTIONS F106 7/F106 7A/F156 7/F156 7A
XIV
Air intake system 197
Dust removal valve 197
Main filter element 198
Checking/replacing the safety filter 200
Checking the air intake line 200
Fuel system 201
Fuel system, safety instructions 201
Replacing the fuel filter 202
Fuel prefilter water separator 203
Fuel tank, draining off water and deposits 204
Cleaning the fuel tank 205
Bleeding the fuel system 206
Work on electrical systems, instructions 207
Battery 208
Warnings 208
Removing and installing the batteries 209
Battery fluid level, acid density and voltage checks 210
Replacing the battery 211
Recharging the battery outside the machine 212
Battery storage 213
Hydraulic system 214
Hydraulic system, safety instructions 214
Hydraulic system, checking and adjusting pressures 214
Checking the hydraulic oil level 214
Depressurizing the hydraulic system 215
Depressurizing the hydraulic reservoir 215
Filling with hydraulic oil 216
Replacing the hydraulic reservoir breather valve 216
Changing the hydraulic oil 217
Draining off the hydraulic oil 217
Replacing the hydraulic oil return-flow filter 218
Cleaning the hydraulic reservoir 219
Cleaning the multi-purpose radiator 220
Changing the front-wheel drive oil filter 221
Powershift transmission 222
Powershift transmission, safety instructions 222
Powershift transmission, checking the oil level 222
Powershift transmission, changing the oil 223
Powershift transmission, changing the oil filter 224
Rear axle 225
Rear axle, checking the oil levels 225
Rear axle, changing the oil 225
Rear axle, checking the chain tension 226
Blade slewing gear 227
Blade slewing gear, checking the oil level 227
Blade slewing gear, changing the oil 227
Brakes 228
Working on brakes, safety instructions 228
Accumulators, safety instructions 228
Service brake 229
OPERATING INSTRUCTIONS F106 7/F106 7A/F156 7/F156 7A
Parking brake 230
Removal of the protective hood 230
Adjusting elements and removable elements 230
Maintenance and replacement of the brake lining pads 230
Installing the brakes 231
Emergency release of the parking brake 231
Tyres and wheels 232
Tyres and wheels, safety instructions 232
Checking the tyre pressure and refilling the tyres 235
Tyre pressures – admissible tyre sizes 236
Changing a wheel 237
Decommissioning 239
Decommissioning procedure 239
Periodic checks during decommissioned period 239
Recommissioning 240
Preserving the engine 241
Removing the engine preservation agent 241
Cleaning/replacing the fresh air/recirculated air filter mats in the cab 242
Cleaning the fresh air filter mat 242
Dry cleaning 242
Wet cleaning 242
Cleaning the recirculated air filter mat 242
Air conditioning system (option) 243
Inspection and servicing work, safety instructions 243
Air conditioner, inspection and servicing work 244
Location of components inside the machine 244
Air conditioner, checking/retensioning the compressor V-belt 245
Air conditioner, fault tables 246
Electrical system 250
Electrical system, safety instructions 250
Alternator, instructions 250
OPERATING INSTRUCTIONS F106 7/F106 7A/F156 7/F156 7A
PART 4 – REPAIR WORK 251
Repair work, safety instructions 252
Engine 254
Engine, repair instructions 254
Alternator, replacing the drive belt 254
Assisted starting (with jumper cables), safety instructions 254
Assisted starting (with jumper cables) 255
Electrical system 257
Checking/replacing fuses 257
Fuse/relay box 1F/1K 258
Fuse/relay box 2F/2K 259
Fuse/relay box 3F/3K 260
Fuse/relay box 4F/4K 261
Diagnosis sockets 262
Lighting 263
Headlamp – driving light/parking light (1, Fig 1) 264
Driving light 264
Parking light 264
Turn signal (2, Fig 1) 265
Rear lamp (3 and 4, Fig 1) 265
Number plate lamp (5, Fig 1) 266
Sidemarker lamp/turn signal (6, Fig 1) 266
Floodlamps (7, Fig 1) 267
Replacing bulbs 268
Bulbs – table 268
Rotary beacon (option) 269
Equipment 270
Blade, replacing the cutting edges 270
Welding operations 271
Welding operations, safety instructions 271
Protection of electronic modules during welding operations 272
OPERATING INSTRUCTIONS F106 7/F106 7A/F156 7/F156 7A
PART 5 – ANNEX 275
Troubleshooting and correcting malfunctions 276
Troubleshooting and correcting malfunctions, instructions 276
Malfunction table structure 276
Malfunction tables 277
Combustion engine, fault table 277
Steering system, fault table 278
Brake system, fault table 279
Driving gearbox (manual transmission), fault table 280
Gearshift fault table 281
Working equipment fault table 282
Front-wheel drive of all-wheel version (EDCV), fault table 283
Abbreviations 284
Diesel fuel quality specifications 290
SN EN 590 Class 0, January 2000 290
Index 291
Contact us: [email protected]
https://vimeo.com/735331606
PLEASE NOTE:
- This is the SAME exact manual used by your dealers to fix your vehicle.
- The same can be yours in the next 2-3 mins as you will be directed to the download page immediately after paying for the manual.
- Any queries / doubts regarding your purchase, please feel free to contact [email protected]
S.V