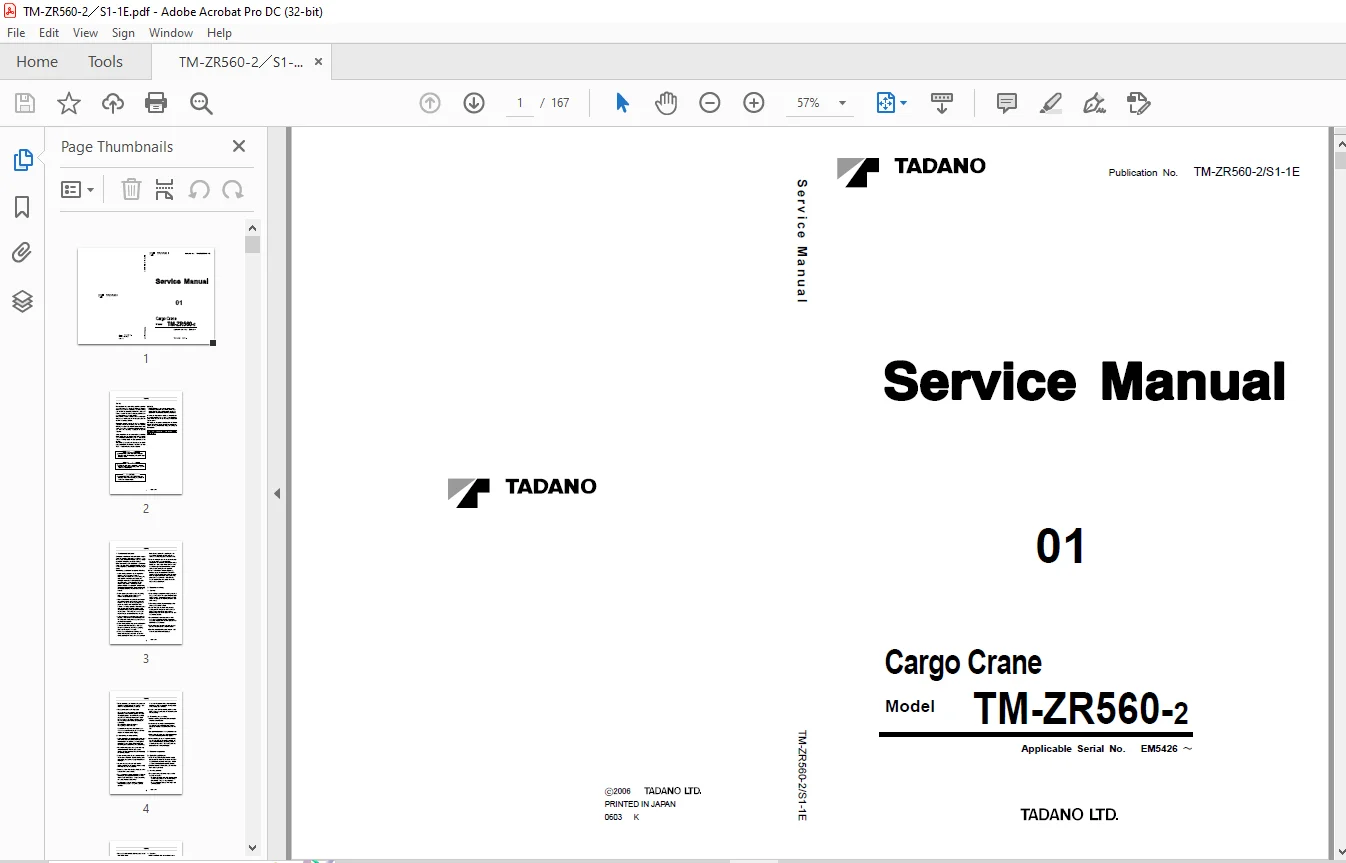
Tadano Faun Cargo Crane TM-ZR560-2 Service Manual SN EM5426 – PDF DOWNLOAD
$28.95
Tadano Faun Cargo Crane TM-ZR560-2 Service Manual SN EM5426 – PDF DOWNLOAD@
Description
Tadano Faun Cargo Crane TM-ZR560-2 Service Manual SN EM5426 – PDF DOWNLOAD
FILE DETAILS:
Tadano Faun Cargo Crane TM-ZR560-2 Service Manual SN EM5426 – PDF DOWNLOAD
Language : English
Pages : 167
Downloadable : Yes
File Type : PDF
DESCRIPTION:
Tadano Faun Cargo Crane TM-ZR560-2 Service Manual SN EM5426 – PDF DOWNLOAD
Safety:
Most accidents that occur during machine operation and maintenance are caused by failure to observe basic safety rules and precautions. Before operating your machine or performing maintenance, read and become familiar with all the safety precautions and recommendations given in this section.
- Remember that failure to observe even a single precaution could involve you and the people around the machine in a serious accident. Foreseeing potential dangers is vital for preventing accidents.
- All personnel working with the machine, including the supervisor, machine operator and oiler, should be sensitive to potentially dangerous situations and take the necessary measures to prevent accidents.
- Safety precautions and recommendations are outlined in this section and are also included in the operation and maintenance instructions given in subsequent sections. Warning labels are also provided on the machine.
1. Fundamental cautions
Servicemen inexperienced in the units of this machine should be cautious about safety operations. They must acquire sufficient knowledge about the equipment before dismounting and disassembling it. Before dismounting each component, a serviceman should read this service manual thoroughly and find out the weight of the component, then lift it by proper means.
The following are cautions to be observed all the time.
TABLE OF CONTENTS:
Tadano Faun Cargo Crane TM-ZR560-2 Service Manual SN EM5426 – PDF DOWNLOAD
TM-ZR560-2/S1-1E 1
Safety 2
1 Fundamental cautions 3
2 Cautions in working 3
2 1 General 3
2 2 Dismounting and disassembling 4
2 3 Remounting and assembling 4
3 Cautions in operation 4
3 1 Brake fluid replenishment 4
3 2 Handling of battery 4
3 3 Handling of radiator 5
3 4 Cooling fan 5
4 About waste disposal 5
4 1 Gasoline 5
4 2 Hydraulic oil 5
4 3 Motor oil 5
Foreword 6
1 Applicable Unit No 6
1 1 Unit No of the TM-ZR560 series 6
2 Separate Service Manual 6
3 Outline of specifications 7
4 Conversion table 8
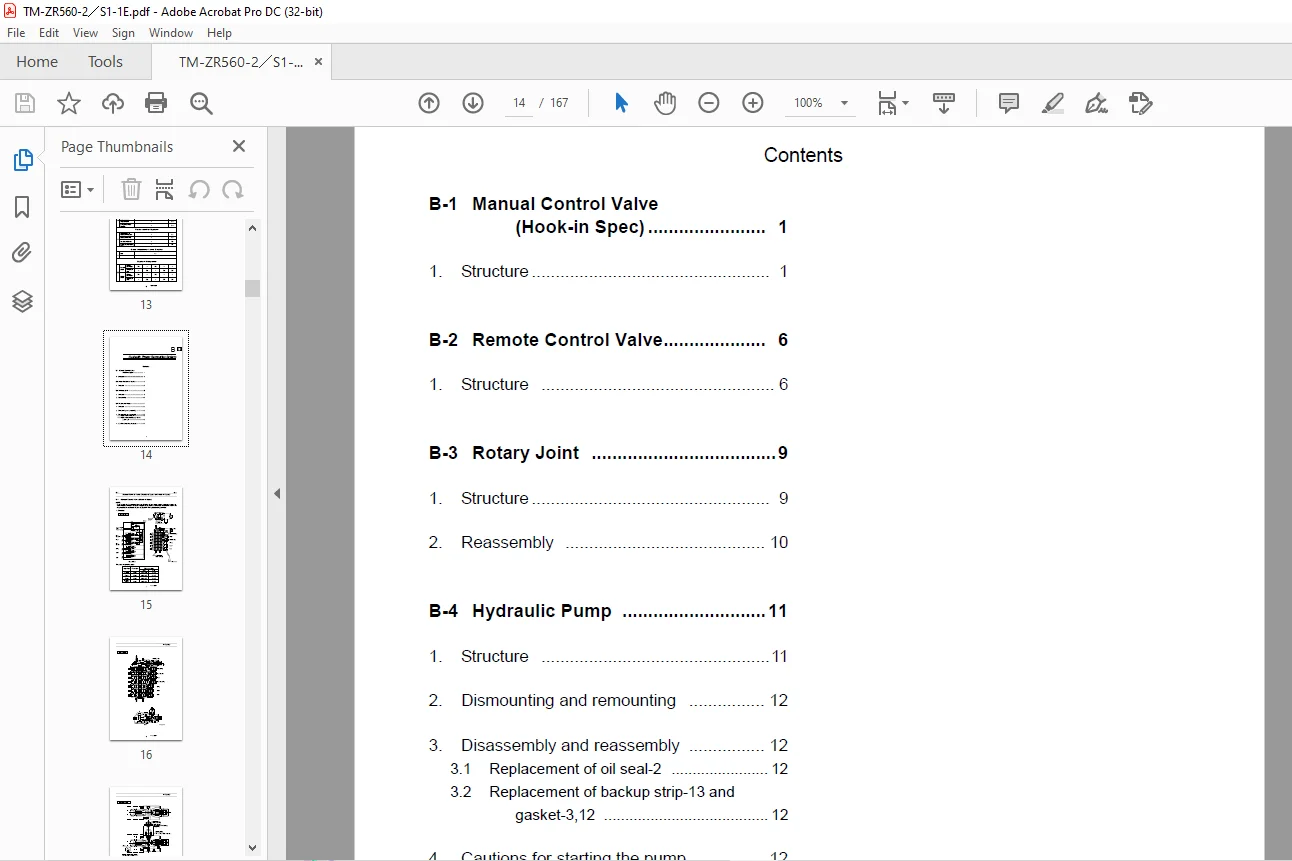
5 Contents 11
(B) Hydraulic Power Generating System 14
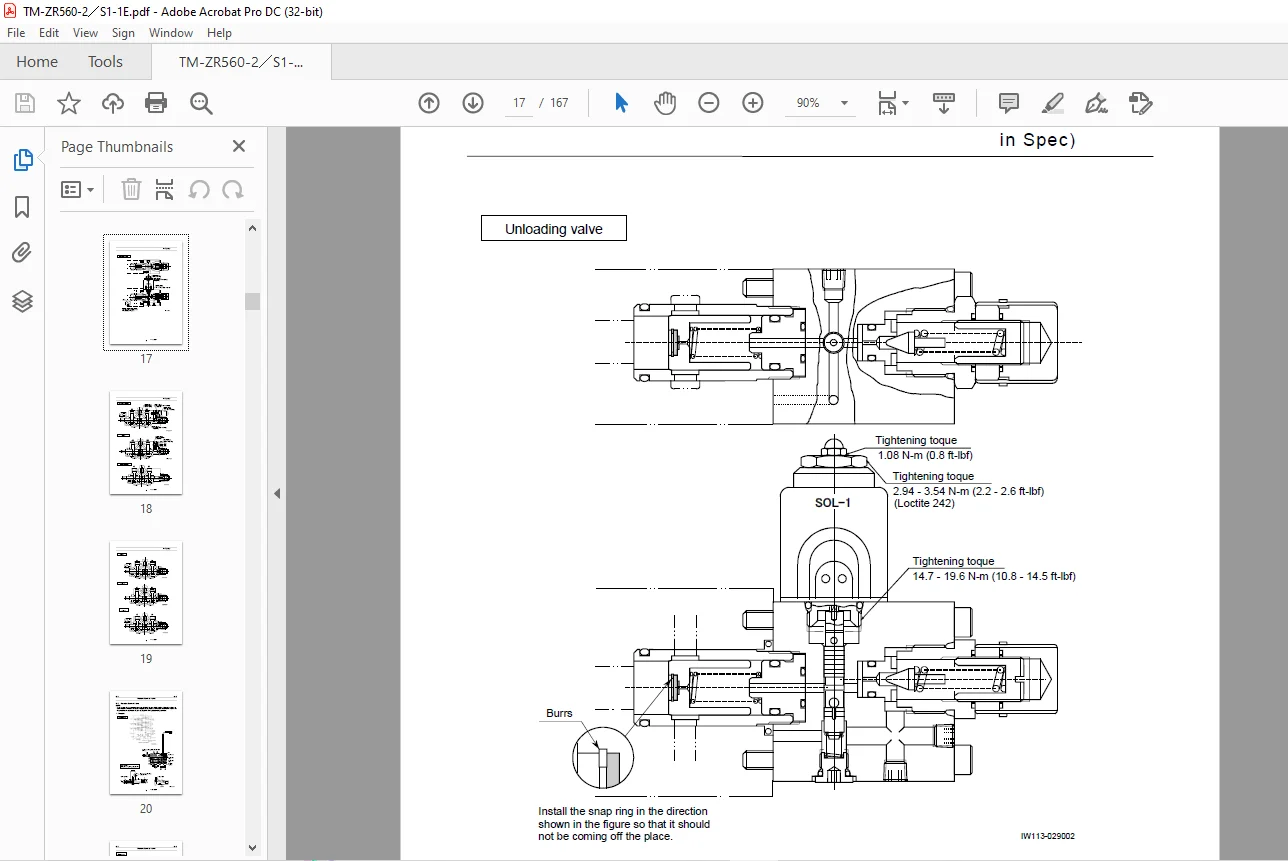
B-1 Manual Control Valve (Hook-in Spec) 15
1 Structure 15
B-2 Remote Control Valve 20
1 Structure 20
B-3 Rotary Joint 23
1 Structure 23
2 Reassembly 24
B-4 Hydraulic Pump 25
1 Structure 25
2 Dismounting and remounting 26
3 Disassembly and reassembly 26
3 1 Replacement of oil seal-2 26
3 2 Replacement of backup strip-13 and gasket-3,12 26
4 Cautions for starting the pump 26
(C) Outrigger System 27
C-1 Jack Cylinder 28
1 Structure 28
2 Check Valve Mounting Bolt 28
C-2 Pilot Check Valve (Jack) 29
1 Structure 29
C-3 Power Slide Cylinder 30
1 Structure 30
(D) Swing System 31
D-1 Hydraulic Motor (Swing): – EM5496 32
1 Structure 32
2 Disassembly and Reassembly 33
3 Operation Test 33
D-2 Hydraulic Motor (Swing) : EM5497- 34
1 Structure 34
2 Disassembly 35
3 Reassembly 35
4 Operation Test 35
D-3 Swing Speed Reducer 36
1 Structure 36
2 Dismounting And Remounting 37
3 Disassembly 37
D-4 Swing Bearing 39
1 Structure 39
2 Notes for Installation 40
(E) Boom Elevation System 41
E-1 Boom Elevating Cylinder 42
1 Structure 42
E-2 Counterbalance Valve (elevating) 43
1 Structure 43
2 Pressure detector for AML (AMA) 44
(F) Winch System 45
F-1 Explanation of Winch System (Standard Specifications) 46
1 General 46
1 1 Electrical Circuit 46
1 2 Hydraulic Circuit 46
2 Principle of Operation 47
2 1 Overwinding warning device 47
F-2 Explanation of winch system (Hook-in Specifications) 48
F-3 Hydraulic motor (Winch) 56
1 Structure 56
2 Thread size and tightening torque 57
F-4 Winch 58
1 Structure 58
2 Principle of Operation 59
2 1 Hoisting up 59
2 2 Hoisting down 59
(G) Boom Telescoping System 61
G-1 Boom (Four-Section Boom) 63
1 Structure 63
2 Notes for Reassembly 64
3 Boom Adjustment Procedures 65
3 1 Top Slide Plate Installation Procedure 65
3 2 Adjustment of Clearance between Boom Sections 65
G-2 Boom (Five-Section Boom) 67
1 Structure 67
2 Notes for Reassembly 68
3 Boom Adjustment Procedures 69
3 1 Top Slide Plate Installation Procedure 69
3 2 Adjustment of Clearance between Boom Sections 70
G-3 Boom (Six-Section Boom) 71
1 Structure 71
2 Notes for Reassembly 72
3 Boom Adjustment Procedures 74
3 1 Grease Application Procedure 74
3 2 Top Slide Plate Installation Procedure 74
3 3 Telescoping wire rope adjustment procedure 74
3 4 Adjustment of Clearance between Boom Sections 76
G-4 Telescoping Cylinder (Four-Section Boom) 78
1 Structure 78
2 Description of Operation 81
2 1 Control of Telescoping Sequence 81
2 2 Shock-Absorbing Mechanism of No 2 Cylinder 81
3 Notes for Reassembly of Cylinder Assembly 82
4 Notes for Reassembly of Telescoping Cylinder 84
5 Cautions about Telescoping Wire Rope Adjustment 85
6 Telescoping Wire Rope Adjustment Procedure 86
6 1 Wire rope adjustment with the telescoping cylinder out of the boom 86
6 2 Wire rope adjustment with the telescoping cylinder installed in the boom 88
G-5 Telescoping Cylinder (Five-Section Boom) 89
1 Structure 89
2 Description of Operation 92
2 1 Control of Telescoping Sequence 92
2 2 Shock-Absorbing Mechanism of No 3 Cylinder 94
3 Notes for Reassembly of Cylinder Assembly 95
4 Notes for Reassembly of Telescoping Cylinder 98
5 Telescoping Wire Rope Adjustment Procedure 99
5 1 Wire rope adjustment with the telescping cylinder out of the boom 100
5 2 Wire rope adjustment with the telescoping cylinder installed in the boom 101
G-6 Telescoping Cylinder (Six-Section Boom) 103
1 Structure 103
2 Description of Operation 106
2 1 Control of Telescoping Sequence 106
2 2 Shock-Absorbing Mechanism of No 3 Cylinder 108
3 Notes for Reassembly of Cylinder Assembly 109
4 Notes for Reassembly of Telescoping Cylinder 112
G-7 Counterbalance Valve (Telescoping) 114
1 Structure 114
(H) Safety System 116
H-1 Overload Prevention Device (AML) 117
1 Structure 117
2 Function of Components 117
3 Caution About Installing Length Detector 118
4 AML Adjustment 120
4 1 Attention for adjustment work 120
4 2 AML components 120
4 3 Selecting the crane model and capacity data 121
4 4 Zero-and span-adjustment of length detector 122
4 5 Zero-and span-adjustment of angle detector 123
4 6 Confirming Accuracy 123
5 List of Error Nos Related to AML 124
6 Adjustment items when parts are exchanged 125
H-2 Length Detector (Boom) 126
1 Structure and Function 126
2 Specifications 127
3 Disassembly 127
4 Assembly 128
5 Replacing the Potentiometer 130
H-3 Angle Detector (Boom) 131
1 Structure 131
2 Specifications (Potentiometer) 131
H-4 Outrigger Extension Detector 132
1 Procedure to adjust outrigger extension detector switch and uninstalled outrigger warning switch 132
1 1 Adjusting outrigger extension detector switch 132
1 2 Adjusting uninstalled outrigger warning switch 132
2 Checking outrigger extension detector switch and uninstalled outrigger warning switch 132
2 1 Checking outrigger extension detector switch 132
2 2 Checking uninstalled outrigger warning switch 132
(V) Radio Control System 135
V-1 Configurations of Radio-control System 136
1 Structure 136
1 1 Names and functions of each part 137
2 Crane control by Radio-control System 138
2 1 Preparation 138
2 2 Inching Mode Switch Operation 139
2 3 Alarm function 141
V-2 Radio-control Valve 142
1 Structure 142
1 1 Hydraulic circuit 142
1 2 Electric circuit 143
1 3 General View 144
1 4 Cross section 145
V-3 Acclerator Cylinder 147
1 Structure 147
V-4 Measures for Emergency Case 148
1 When Radio-control Mode Operation is Not Available 148
2 When Neither Radio Nor Manual Control Mode Operations are Available 150
3 Troubleshooting Guide 151
(Y) Data, Adjustment and Checks 153
Y-1 Service data 154
1 Set pressure 154
2 Hydraulic units 154
3 Hydraulic circuit 155
(Z) System Diagrams 157
Z-1 Hydraulic Circuit : Standard, Hook-in 158
Z-2 Hydraulic Circuit : with power slide 159
Z-3 Hydraulic Circuit : Spec TM-56Z-2-813 (Radio remote controls) 160
Z-4 Electrical Circuit : Spec TM-56Z-2-003,004,005,007 (Standard) 161
Z-5 Electrical Circuit : Spec TM-56Z-2-303,304,305 (Hook-in) 162
1 -EM5539 162
2 EM5540- 163
Z-6 Electrical Circuit : Spec TM-56Z-2-024, 025, 027 Standard (with power slide) 164
Z-7 Electrical Circuit : Spec TM-56Z-2-324, 325 Hook-in (with power slide) 165
Z-8 Electrical Circuit : Spec TM-56Z-2-813 Radio remote controls 166
History of revision 167
IMAGES PREVIEW OF THE MANUAL:
Customer Support: [email protected]
PLEASE NOTE:
- This is the SAME manual used by the dealers to troubleshoot any faults in your vehicle. This can be yours in 2 minutes after the payment is made.
- Contact us at [email protected] should you have any queries before your purchase or that you need any other service / repair / parts operators manual.
S.V