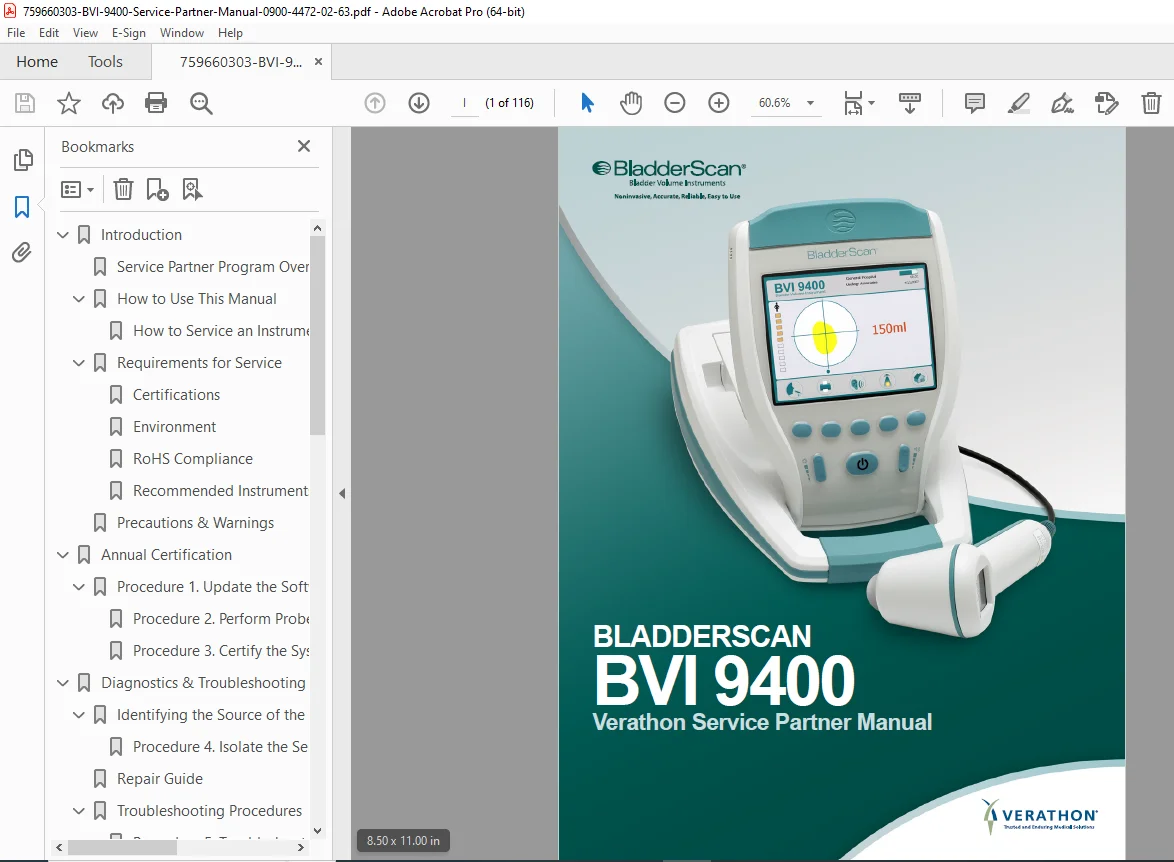
Verathon BladderScan BVI 9400 Service Manual PDF
Original price was: $85.00.$15.95Current price is: $15.95.
Professional service partner manual for Verathon BladderScan BVI 9400 portable ultrasound bladder volume measurement system. Complete 116-page technical documentation covering annual certification, probe calibration, console repair, and component replacement procedures. Includes detailed troubleshooting guides, diagnostic procedures, and ScanPoint technology servicing. Essential resource for certified biomedical technicians maintaining non-invasive bladder scanning equipment.
Description
Verathon BladderScan BVI 9400 Service Manual PDF – Complete Repair Guide DOWNLOAD
DESCRIPTION:
Verathon BladderScan BVI 9400 Service Manual – Professional Service Partner Guide
This comprehensive Verathon BladderScan BVI 9400 service manual PDF is the factory-authorized technical resource for certified biomedical equipment technicians and service partners maintaining the BladderScan BVI 9400 portable ultrasound bladder volume measurement system. This official portable bladder scanner repair guide download provides complete documentation for annual certification, troubleshooting, calibration, and component replacement of this advanced ultrasound bladder volume measurement system manual.
System Overview:
Verathon BladderScan BVI 9400 Portable Bladder Scanner
- Technology: 3D ultrasound imaging with ScanPoint® positioning technology
- Application: Non-invasive bladder volume measurement for clinical urology
- Patent Protection: U.S. Patents 5,235,985, 6,676,605, 6,884,217, 6,569,097
- Measurement Modes:
- Female bladder volume (non-hysterectomy)
- Male bladder volume
- Child bladder volume (pediatric patients <48″ tall, <60 lbs)
- Components: Portable console with integrated printer, handheld ultrasound probe
- Clinical Use: Hospital urology, nursing homes, catheterization protocols
- FDA Status: Rx only device (US)
- Manufacturer: Verathon Inc., Bothell, Washington, USA
- Manual Edition: Effective December 8, 2014
- Document Number: 0900-4472-02-63
Complete Manual Contents:
INTRODUCTION (Pages 1-5)
Service Partner Program Overview & Benefits:
- Factory-recommended certification and repair capabilities
- Annual maintenance requirements and standards
- Service partner program advantages
- Quality assurance protocols
How to Use This Manual:
- Color printing requirement for proper instruction clarity
- Manual organization and chapter structure
- Service workflow overview
- Procedure navigation guide
Requirements for Service:
Certifications:
- Required factory training and authorization
- Service partner qualification standards
- Technical competency requirements
Environment:
- Service facility requirements
- Environmental conditions for calibration
- Testing environment specifications
RoHS Compliance:
- Hazardous substance restrictions
- Environmental compliance standards
Recommended Instruments & Tools:
- Complete tool list for service procedures
- Specialized equipment requirements
- Test instrumentation specifications
Precautions & Warnings:
- Electrical safety protocols
- Device handling precautions
- Component sensitivity warnings
- ESD protection requirements
ANNUAL CERTIFICATION (Pages 6-20)
This BladderScan service partner technical documentation includes comprehensive annual maintenance:
Procedure 1: Update the Software
- Software version verification
- Firmware update procedures
- System compatibility checks
- Update validation testing
Procedure 2: Perform Probe Calibration
- Critical calibration requirements
- ScanPoint positioning calibration
- Probe accuracy verification
- Calibration validation procedures
- Required after every probe disassembly/reassembly
Procedure 3: Certify the System
- Complete system certification workflow
- Manufacturing test specification compliance
- Performance verification procedures
- Accuracy testing with tissue-equivalent phantoms:
- Adult bladder phantom (male/female modes)
- Pediatric bladder phantom (child mode)
- Measurement accuracy range verification
- Battery charging system testing
- Printer functionality verification
- Self-test execution and validation
- Certification documentation requirements
DIAGNOSTICS & TROUBLESHOOTING (Pages 21-32)
Identifying the Source of the Issue:
- Systematic diagnostic approach
- Performance vs. accuracy issue differentiation
- Component-level fault isolation
Procedure 4: Isolate the Service Issue
- Service issue identification methodology
- Component testing procedures
- Fault tree analysis
Repair Guide:
- Comprehensive troubleshooting flowcharts
- Service issue symptom matrix
- Corrective action procedures
- Component replacement decision trees
Troubleshooting Procedures:
Procedure 5: Troubleshoot the Connection to ScanPoint
- ScanPoint positioning system diagnostics
- Communication interface testing
- Connection fault resolution
Procedure 6: Troubleshoot by Using Ultrasound Images
- B-Mode ultrasound image analysis
- Bladder measurement accuracy assessment
- Image quality evaluation
- Zero volume troubleshooting
- Oversized bladder indication diagnostics
- Reaiming arrow analysis
- Scan positioning optimization
REPAIR & REPLACEMENT (Pages 33-95)
Minor Repairs & Replacements:
Procedure 7: Replace the Display Housing Lens
- Lens removal procedures
- Installation alignment
- Seal integrity verification
Procedure 8: Clean or Replace the Battery Contacts
- Contact cleaning procedures
- Battery connection maintenance
- Contact replacement when required
Procedure 9: Clean the Print Head
- Thermal print head maintenance
- Print quality optimization
- Cleaning solution specifications
Procedure 10: Replace the Printer Door
- Printer door mechanism service
- Hinge replacement
- Door alignment procedures
Console Repair (Detailed Disassembly/Reassembly):
Procedure 11: Disassemble the Console Base Housing
- Complete base housing disassembly
- Component access procedures
- Fastener identification and removal
Procedure 12: Replace the DSP PCBA
- Digital Signal Processor board replacement
- PCB connector procedures
- Post-replacement software update requirements
Procedure 13: Replace the Handle, Printer, or Top Cover Assembly
- Handle mechanism service
- Integrated printer replacement
- Top cover assembly procedures
Procedure 14: Disassemble the Console Display
- Display module disassembly
- LCD access procedures
- Component separation techniques
Procedure 15: Replace the Keypad PCBA or Keypad Flex Cable
- Keypad interface board replacement
- Flex cable routing and installation
- Contact integrity verification
Procedure 16: Replace the Console Hinges
- Display hinge mechanism service
- Hinge replacement procedures
- Alignment verification
Procedure 17: Replace the LCD or LCD Flex Cable
- Liquid crystal display replacement
- Flex cable routing procedures
- Display connection verification
Procedure 18: Replace the Inverter Flex Cable
- Backlight inverter cable service
- Cable routing procedures
- Connection verification
Procedure 19: Replace the Display Housing Bottom
- Display housing component replacement
- Structural integrity verification
Procedure 20: Reassemble the Console Display
- Complete display reassembly procedures
- Component alignment verification
- Functional testing
Procedure 21: Reassemble the Console Base Housing
- Base housing reassembly
- Fastener torque specifications
- Seal integrity verification
Procedure 22: Replace the Instrument Label
- Serial number label replacement
- Regulatory label positioning
Probe Repair:
This non-invasive bladder volume analyzer maintenance guide includes comprehensive probe service:
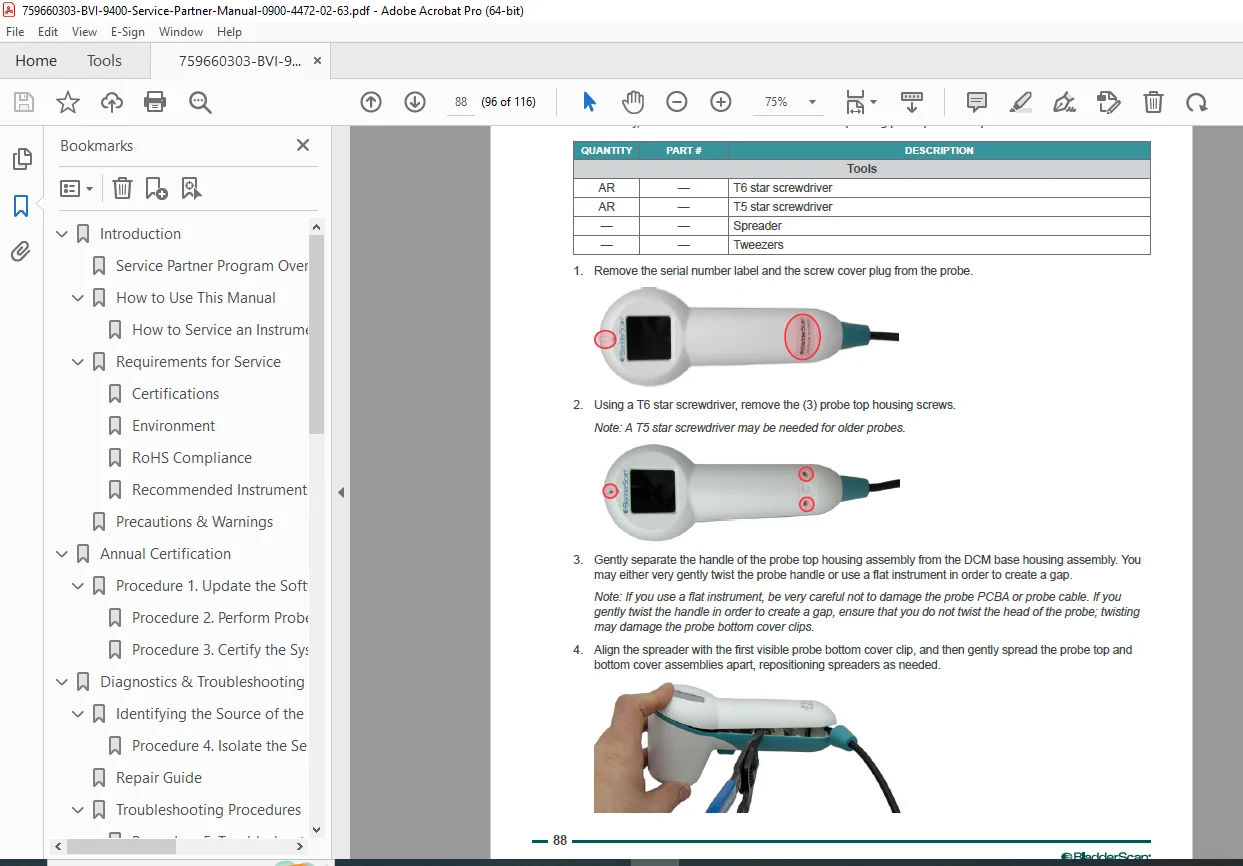
Procedure 23: Disassemble the Probe
- Probe housing disassembly
- Component access procedures
- Cable management
Procedure 24: Replace the Probe Top Cover Assembly or Housing
- Top cover housing replacement
- LCD transfer procedures (if functional)
- Microphone filter inspection
- Voice annotation troubleshooting
Procedure 25: Reassemble the Probe
- Complete probe reassembly procedures
- DCM (Dome Cover Module) bottom cover installation
- Probe PCBA connection procedures
- Probe cable strain relief positioning
- Flex cable routing and securing (Kapton tape)
- Housing clip engagement
- Screw installation (T6 star screwdriver)
- Screw cover plug installation with RTV sealant
- Critical cable wire curve verification
- Post-assembly calibration requirements
Procedure 26: Replace the Probe Serial Number Label
- Label kit components (preprinted label, spacer dots, protective film)
- Label installation procedures
- Protective film application
REFERENCE DOCUMENTATION (Pages 96-116)
Reference Procedures:
Procedure 27: Run a Self Test
- Self-test execution procedures
- Diagnostic information review
- Software version verification
- Storage capacity check
- DSP version confirmation
- Error code interpretation
Procedure 28: Scan a Tissue-Equivalent Phantom
- Tissue-equivalent phantom usage and care
- Annual phantom calibration requirements
- Phantom cleaning and refill procedures
- Loaner phantom availability during calibration
- Scan positioning requirements (all 4 quadrants)
- Adult bladder phantom scanning (Part #0620-0068)
- Pediatric bladder phantom scanning (Part #0620-0273)
- Measurement consistency verification
Procedure 29: Load Thermal Paper
- Thermal printer paper specifications
- Paper loading procedures
- Print quality verification
Accuracy Specifications:
- Male bladder volume accuracy ranges
- Female bladder volume accuracy ranges
- Child bladder volume accuracy ranges
- Measurement tolerance specifications
- Calibrated phantom values
Product & ScanPoint Specifications:
- System technical specifications
- ScanPoint positioning technology details
- Ultrasound frequency and penetration
- Measurement range specifications
- Power requirements
- Battery specifications
- Operating temperature ranges
- Storage conditions
System Parts & Assemblies:
Probe Parts & Assemblies:
- Probe PCBA (Part #0142-0706)
- Probe cable (Part #0600-0283 or 0600-0534)
- DCM bottom cover assembly (Part #0142-0686)
- Probe top cover assembly (Part #0142-0254)
- Probe top cover housing (Part #0142-0557)
- LCD assembly components
- Microphone and filter assembly
- Flex cables and connectors
- Housing screws (M2x5, M2x10)
- RTV sealant and Kapton tape
Console Parts & Assemblies:
- DSP PCBA (Digital Signal Processor)
- Keypad PCBA and flex cable
- LCD display and flex cable
- Inverter flex cable
- Battery and charger board
- Printer assembly and door
- Display housing lens
- Console hinges
- Handle assembly
- Top cover assembly
- Base housing components
- Power supply electronics
Part Numbers:
- Complete parts catalog with part numbers
- Assembly cross-references
- Replacement component specifications
- Tool requirements for each part
Glossary:
- Technical terminology definitions
- Acronym explanations
- Service-specific language
File Details:
| Specification | Details |
|---|---|
| Manual Name | Verathon BladderScan BVI 9400 Service Partner Manual |
| Equipment | Portable 3D Ultrasound Bladder Volume Measurement System |
| Technology | ScanPoint® Positioning, NeuralHarmonics™ Processing |
| Measurement Modes | Male, Female, Child (Pediatric) |
| Year | December 8, 2014 (Effective Date) |
| Document Number | 0900-4472-02-63 |
| Total Pages | 116 pages |
| PDF Quality | High-quality color technical manual (color printing required) |
| File Size | 8.9 MB |
| Language | English |
| Publisher | Verathon Inc., Bothell, WA, USA |
| Manual Type | Official Factory Service Partner Manual |
Who Needs This Manual?
This urology ultrasound scanner troubleshooting manual is essential for:
- ✓ Verathon authorized service partners
- ✓ Certified biomedical equipment technicians (BMET/CBET)
- ✓ Hospital clinical engineering departments
- ✓ Urology department technical staff
- ✓ Medical equipment service companies
- ✓ Healthcare technology management professionals
- ✓ Long-term care facility maintenance teams
Why Download This Service Manual?
Factory-Authorized Service Partner Program: Official Verathon documentation ensures proper certification procedures and warranty compliance for bladder scanner servicing.
Annual Certification Requirements: Detailed procedures for mandatory annual maintenance ensure device accuracy and regulatory compliance for clinical use.
ScanPoint Technology Servicing: Comprehensive troubleshooting for proprietary 3D ultrasound positioning technology unique to BladderScan systems.
Complete Component Replacement: Step-by-step disassembly and reassembly procedures for both console and probe components with detailed photographs.
Probe Calibration Mastery: Critical calibration procedures required after every probe service to maintain measurement accuracy for patient care.
Ultrasound Image Diagnostics: B-Mode image analysis procedures help identify mechanical vs. software issues affecting bladder volume measurements.
Tissue-Equivalent Phantom Protocols: Proper phantom usage and calibration procedures for validating system accuracy with calibrated test instruments.
Important Service Requirements:
⚠ Service Partner Authorization: This manual is intended for Verathon-authorized service partners. Factory training required for certification procedures.
⚠ Color Printing Required: Manual must be printed in color to clearly understand instructions and component identification.
⚠ Annual Certification Mandatory: Device accuracy may be compromised if annual certification is not performed by prescribed date.
⚠ Probe Calibration Critical: Calibration MUST be performed after every probe disassembly/reassembly to maintain measurement accuracy.
⚠ Genuine Parts Required: Use only authentic Verathon replacement parts (Part #s provided) to maintain FDA compliance and warranty.
⚠ Phantom Calibration: Tissue-equivalent phantoms require annual calibration to maintain accuracy verification capabilities.
Instant PDF Download
Download your Verathon BladderScan BVI 9400 service manual PDF immediately after purchase. This searchable color PDF manual works on all devices and must be printed in color for proper service procedures. Essential portable bladder scanner repair guide download for maintaining critical urology diagnostic equipment.