
Aprilia RX 125 SX 125 Service Station Manual 2008 – Full Workshop Repair PDF Download
Original price was: $29.95.$17.95Current price is: $17.95.
Complete Aprilia RX 125 and SX 125 Service Station Manual (doc 854196, 2008) covering engine, gearbox, clutch, suspension, brakes, electrical, cooling, bodywork, torque values and scheduled maintenance.
Description
Aprilia RX 125 SX 125 Service Station Manual 2008 – Full Workshop Repair PDF
This is the complete Aprilia Service Station Manual for the RX 125 and SX 125 motorcycles, published under document number 854196 with a 2008 copyright. Written for Aprilia dealers and their qualified mechanics, it is the same workshop reference used in the service network to carry out scheduled maintenance, component removal and refitting, engine overhauls, chassis work, electrical diagnosis and pre-delivery preparation on both the RX and SX variants of the 125 two-stroke. Anyone maintaining, repairing or restoring an Aprilia RX 125 or SX 125 will find the factory procedures, service limits, torque values and fluid capacities needed to do the job correctly rather than by guesswork.
File Details
- Manual type: Service Station Manual (workshop service and repair reference)
- Brand: Aprilia (Piaggio & C. S.p.A.)
- Models covered: Aprilia RX 125, Aprilia SX 125
- Document number: 854196
- Copyright / publication date: 2008
- Language: English
- Page count: 219 pages
- File format: PDF (printable, viewable on desktop, tablet or phone)
Chapters Covered in This Aprilia RX SX 125 Service Station Manual
- CHAR – Characteristics: dimensions and mass, engine, gearbox, transmission ratios, capacities, electrical system, frame and suspensions, brakes, wheels and tyres, fuel supply, tightening torques, recommended products chart
- S-TOOLS – Special Tools: store codes, tool descriptions and illustrations of the factory service tooling referenced throughout the manual
- MAIN – Maintenance: routine maintenance table, spark plug service, gearbox oil inspection and replacement, air filter cleaning, cooling system level check and top-up, braking system fluid check, clutch adjustment, headlight aiming
- TROUBL – Troubleshooting: starting fault diagnosis, battery recharge circuit, recharge check, control data, flywheel check, voltage regulator check, turn signal system and indicator device check, horn control, diode check
- ELE SYS – Electrical System: components arrangement, electrical system installation, connector and cable routing for the front, central and rear sections, general wiring diagram, dashboard configuration, wheel-size configuration, odometer reset, service warning light reset, checks and inspections
- ENG VE – Engine from Vehicle: vehicle preparation, engine removal from the chassis, engine installation to the chassis
- ENG – Engine: gearbox shafts, disassembly and assembly, primary and secondary shaft checks, desmodromic drum, starter motor, generator side, clutch side, head and timing, cylinder head, cylinder-piston assembly, crankcase and crankshaft, lubrication, oil pump, SAS valve
- P SUPP – Power Supply: fuel tank and fuel cock, oil mixer tank, carburettor removal and disassembly, carburettor refitting, ignition and Axone use, engine parameter screens, device activation, error display, adjustable parameters
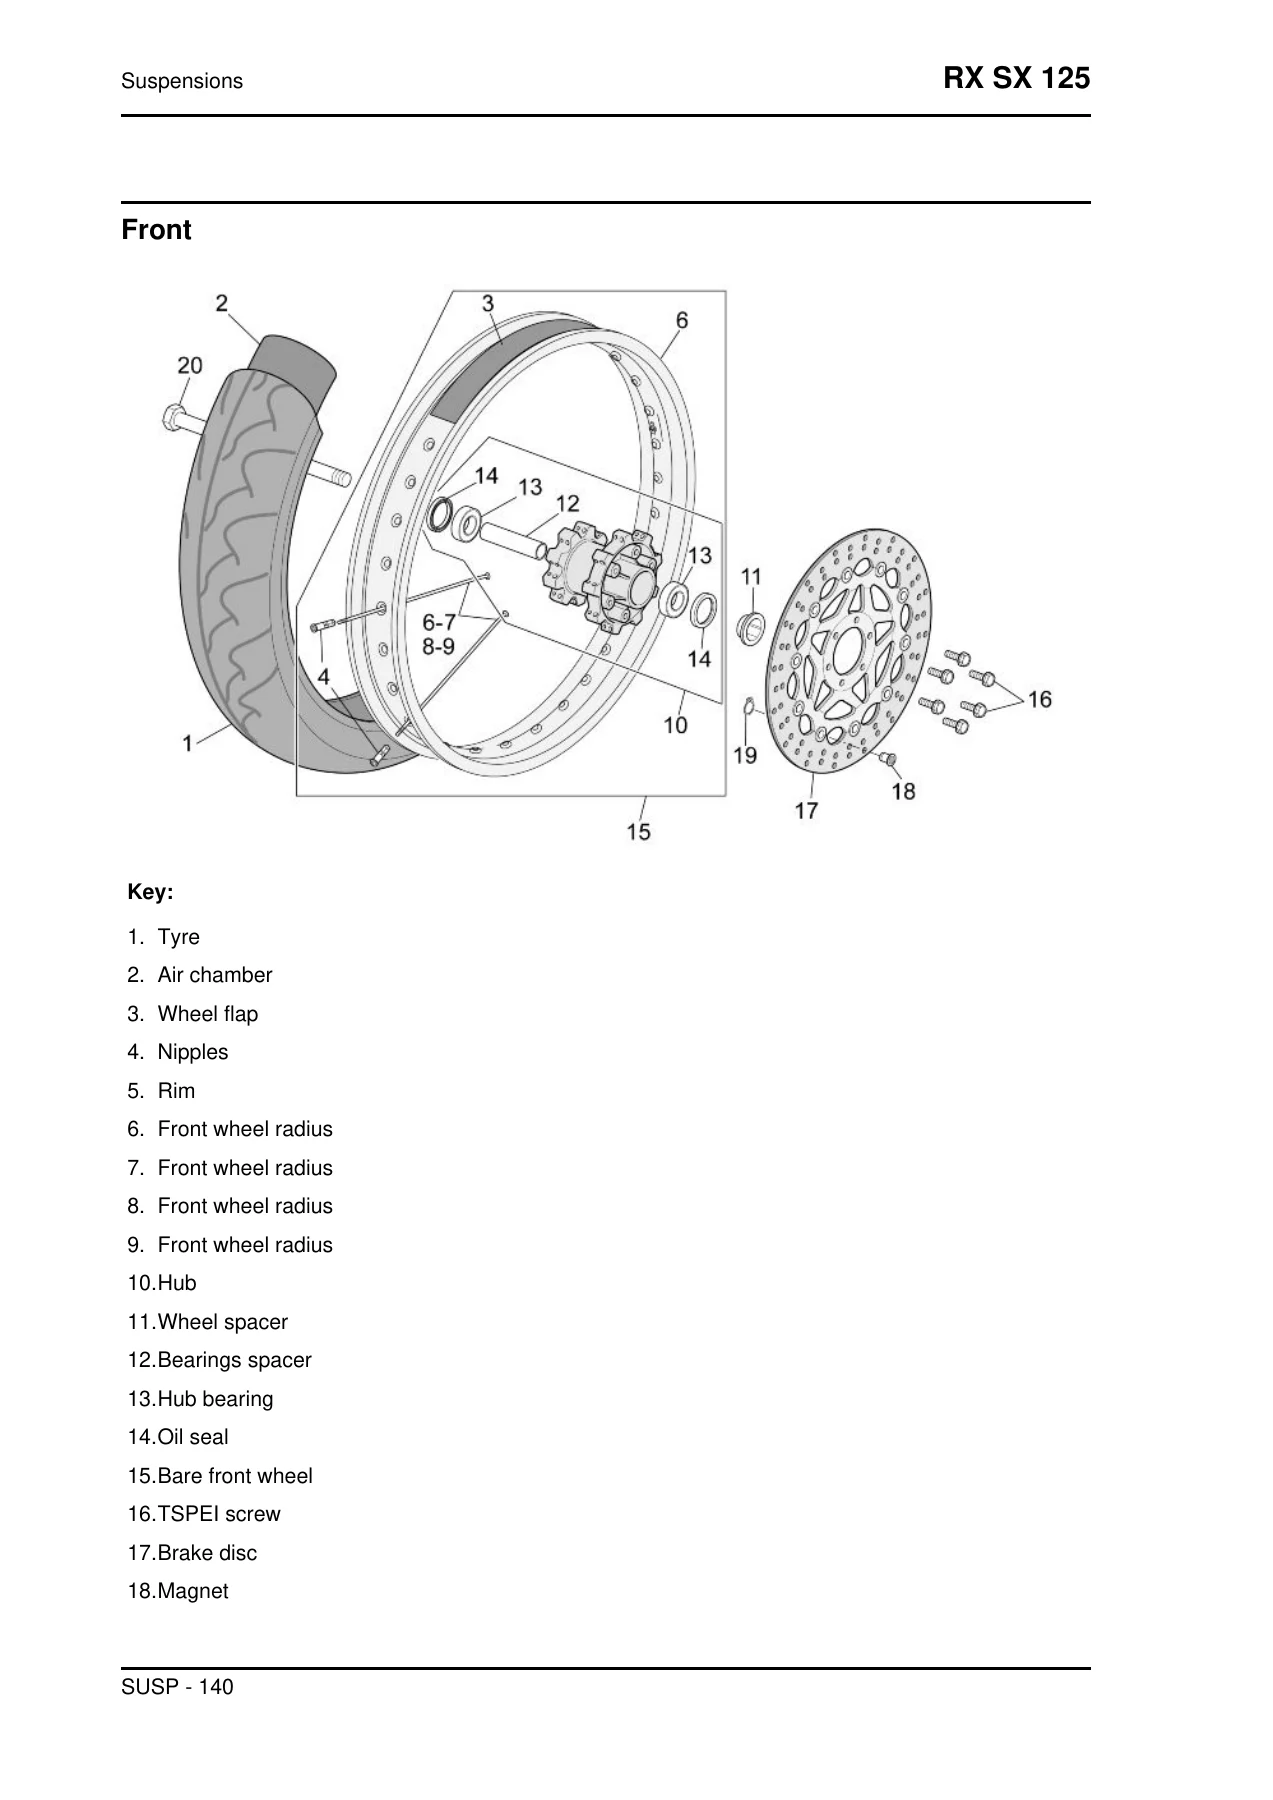
- SUSP – Suspensions: front wheel removal, checking and installation, front fork removal, oil draining and reassembly, steering bearing play adjustment, rear wheel, rear shock absorber, linkages
- CHAS – Chassis: swingarm removal and installation, drive chain inspection and adjustment, chain sliders, exhaust tail pipe and manifold, RAVE valve
- COOL SYS – Cooling System: radiator layout, coolant replacement, water pump removal and refitting, radiator removal
- BODYW – Bodywork: seat, headlight assembly, taillight assembly, side body panels, fuel tank, front mudguard, mixture oil tank, battery, tail guard
- PRE DE – Pre-Delivery: aesthetic inspection, tightening torque inspection, electrical system check, level checks, road test, static test and functional inspection
The structure of this Aprilia RX SX 125 service manual follows the way a workshop actually works on the machine. It opens with the data you need on the bench first – dimensions, capacities, gearbox ratios, torque tables and lubricant recommendations – then moves section by section through the vehicle: remove the engine from the frame, strip the top end, split the crankcase, service the gearbox, check the clutch, rebuild the fork, adjust the chain, diagnose the electrical system, replace the coolant, and finish with the pre-delivery checks that Aprilia dealers are expected to perform on a new or freshly serviced bike. Torque values, wear limits, clearances and fluid quantities appear alongside the procedure they belong to, so you are not flicking back and forth to a separate data appendix.
Engine, Gearbox and Clutch Work on the Aprilia RX 125 and SX 125
The engine chapter covers the single-cylinder two-stroke unit in detail. Gearbox shafts are disassembled and reassembled with wear limits for the primary and secondary shaft journals, the desmodromic drum contact zones, fork wear, roller condition, gear shaft and fork shaft deviation limits. The clutch section covers disc pack removal, measuring clutch plate distortion and coated disc thickness, checking the clutch bell teeth, hub wear and needle bearing condition, and the correct reassembly order with the upper disc orientation. Cylinder and piston work includes cylinder ovality limits, piston-to-wall clearance, ring end gap and axial clearance measurement, and the piston size groupings and cylinder size codes so the right matching parts are selected. The crankshaft and crankcase chapter covers splitting the crankcase halves with the factory extractor plate, crankcase bearing inspection and refitting, refitting the crankcase halves, and the axial clearance requirements for the crankshaft. Starter motor and idle gear removal and fitting are also included, along with the generator side flywheel and stator work and the clutch side cover removal.
Fuel, Ignition and Carburettor Service
The power supply chapter documents removal and refitting of the Dell’Orto carburettor used on both RX and SX 125, including throttle valve and throttle position sensor handling, heater removal, float chamber, maximum, minimum and start-up nozzle removal, and the TPS refitting procedure with the self-learning positions afterwards. Ignition coverage includes the Axone diagnostic tool screens for the RX SX 125, covering the ISO screen, engine parameter reading, device activation, error display list and adjustable parameters such as throttle self-learning minimum and maximum positions. Error codes are listed with their meaning, from crankshaft position sensor open circuit and shorted to ground through ignition capacitor and coil faults to intake manifold valve and air temperature sensor issues, plus supply voltage low and high conditions, throttle position sensor faults and outlet solenoid valve checks.
Chassis, Suspension, Brakes and Cooling
The suspension chapter gives full front fork servicing: draining the fork oil, disassembling the fork, checking the wheel holder stem for bending within the 0.2 mm limit, checking sliding bushings, refilling fork oil to the specified air gap of 150 mm from the sleeve rim, and reassembling the fork with new sealing ring, dust guard and O-ring. Steering bearing play adjustment is covered with the ring nut torque procedure. Rear suspension work includes rear shock absorber removal and installation, connecting rod and linkage removal with ball retainer and oil seal replacement, and shock absorber spring preload adjustment. The chassis chapter covers swingarm removal and refitting with roller casing replacement, drive chain removal, inspection and adjustment to the specified 25 – 35 mm vertical oscillation, and RAVE exhaust valve removal, cleaning, inspection and refitting. The cooling system chapter documents coolant replacement, water pump removal and refitting with correct alignment, and radiator removal.
Electrical System and Wiring Diagrams
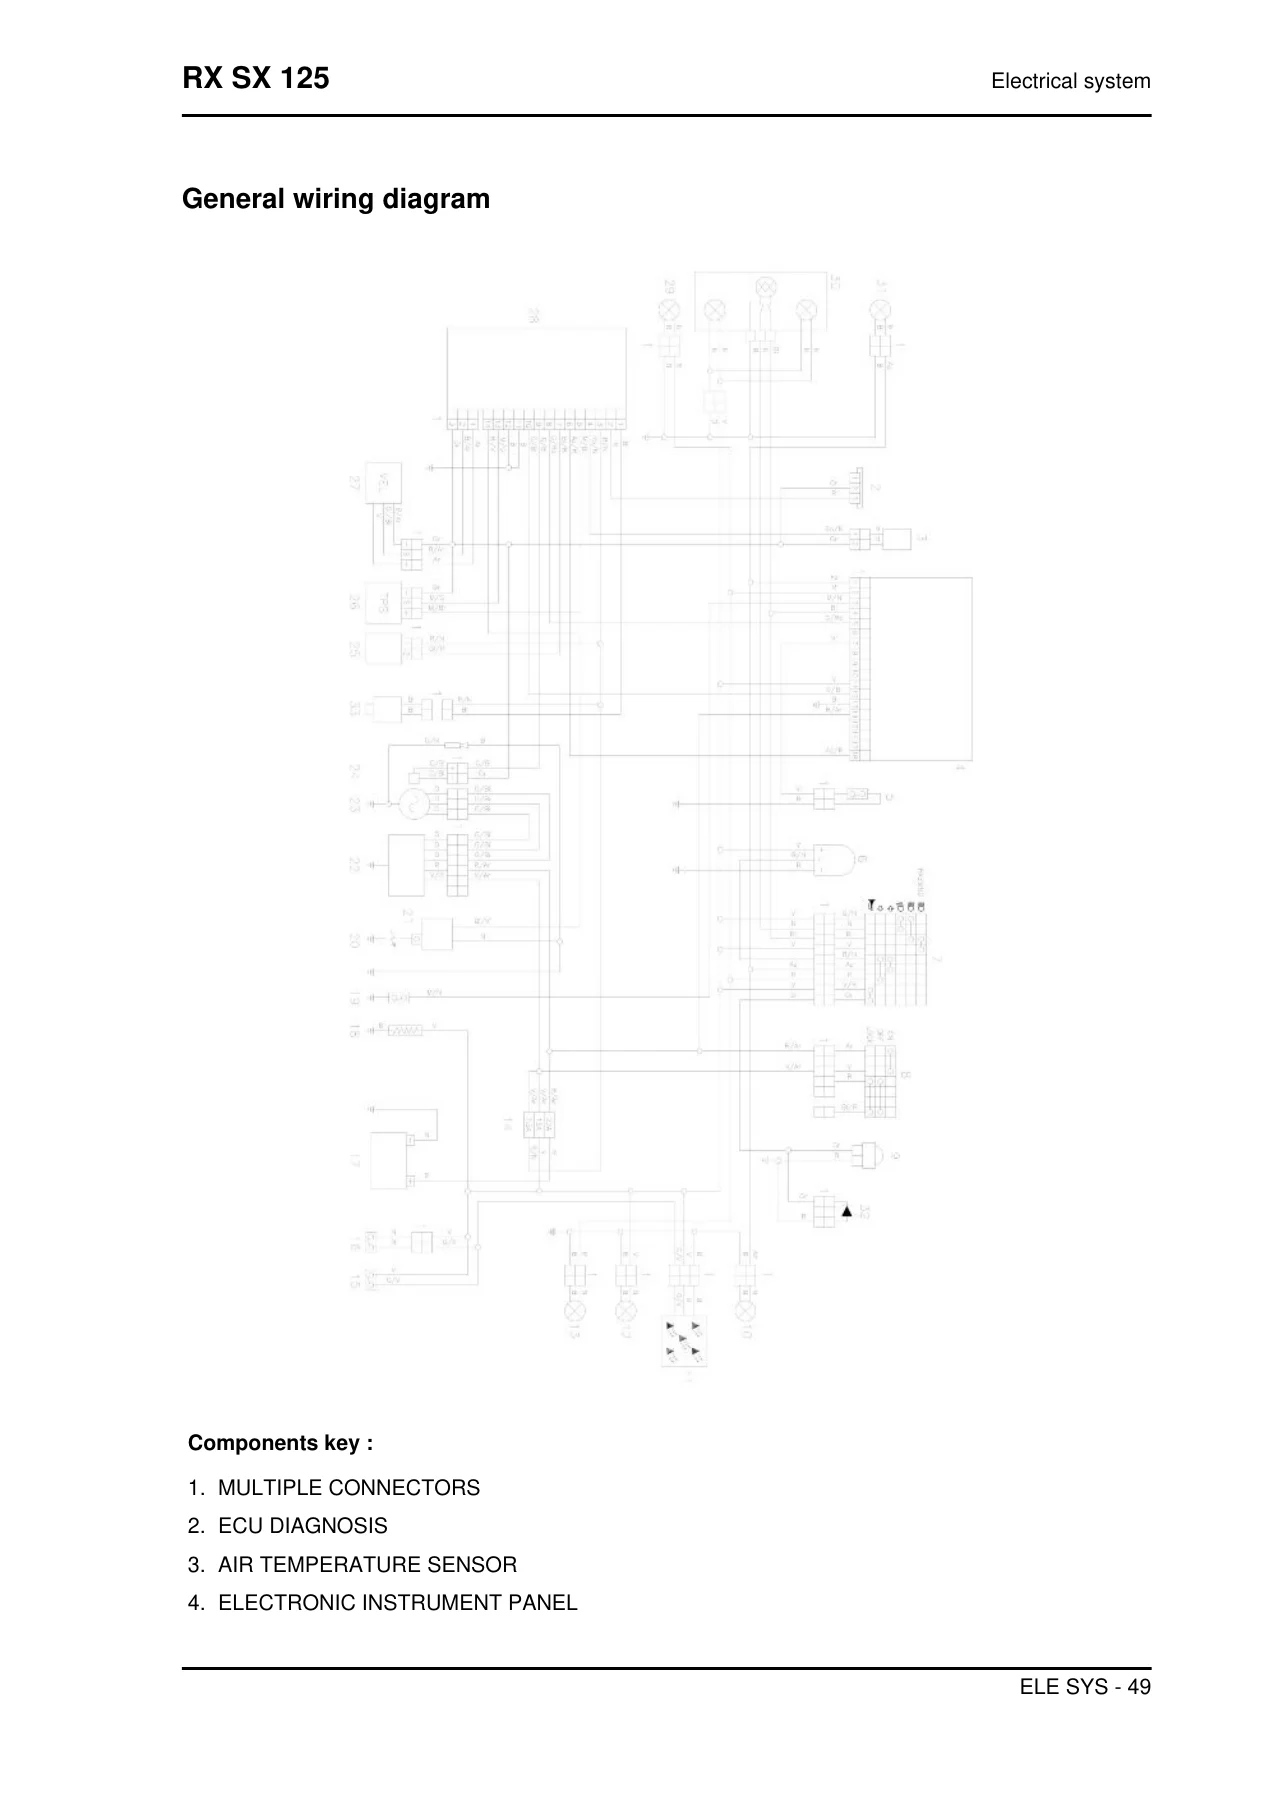
The electrical system chapter is unusually thorough. It shows the components arrangement, the cable harness routing subdivided into front, central and rear sections, and the connector identification at each point on the machine, including instrument panel, pick-up, regulator, control unit, ground eyelets, key switch and light switch connectors. The general wiring diagram covers the full machine, and the pinout for the instrument panel is included. Diagnostics for the recharge circuit, voltage regulator output, flywheel off-load voltage, turn indicator device, horn and diode are all covered with tester values.
Why This Aprilia RX SX 125 Workshop Manual Belongs on the Bench
If you are servicing, repairing or restoring an Aprilia RX 125 or SX 125, this Service Station Manual is the reference that turns a difficult job into a defined procedure. It gives you the Aprilia tightening torques for wheels, brakes, axles, suspension and engine mountings, the fluid capacities for gearbox oil, fork oil and coolant, the wear limits for clutch, piston, cylinder, forks and swingarm, and the adjustment values for chain tension, clutch free play and headlight aim. It tells you which special tools Aprilia expects to be used, which components must be replaced rather than reused, and the exact order to follow so that gaskets, seals and bearings survive the job. Whether you are replacing a top end, splitting the crankcase, rebuilding the fork, chasing an electrical fault or simply doing an oil change and air filter service, the procedure and the numbers are in the same document.
IMAGES PREVIEW
Delivery is instant. The Aprilia RX 125 SX 125 Service Station Manual 2008 is supplied as a downloadable PDF, so there is no shipping, no waiting and no postage cost. Use it on a laptop in the workshop, a tablet next to the bike or a phone at the track, and print the pages you need for the job at hand. Keep it on file for the life of the machine and it pays for itself the first time it saves you a stripped thread, a wrongly torqued fastener or a misdiagnosed fault.

Reviews
There are no reviews yet.