
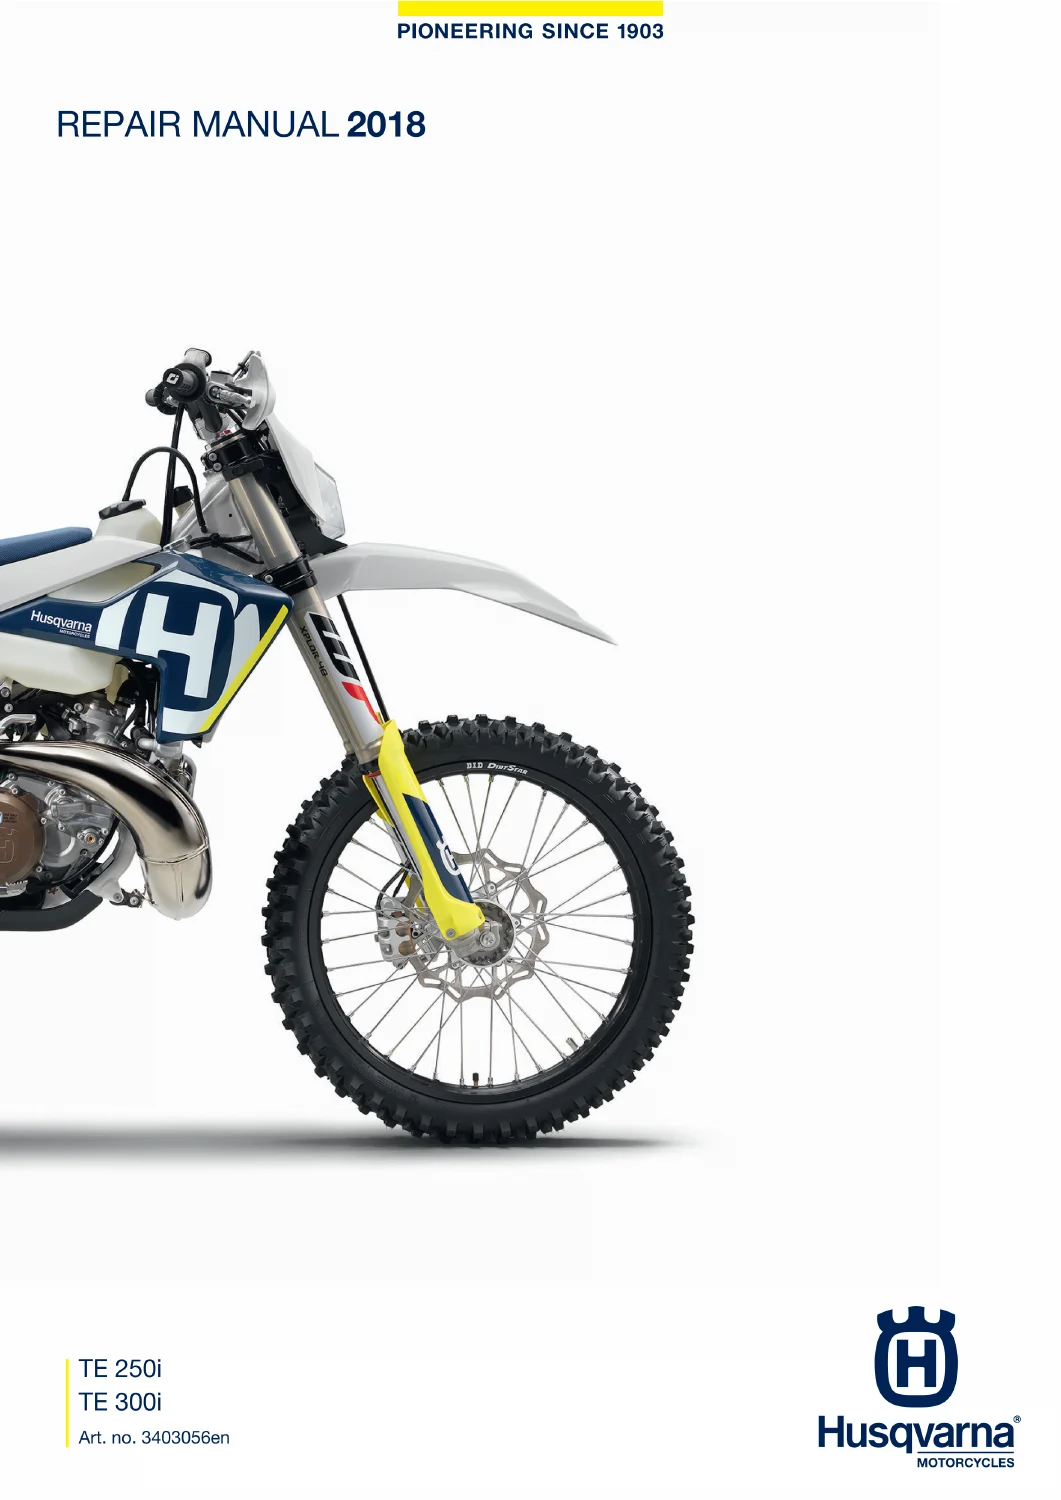
Husqvarna TE 250i TE 300i 2018 Repair Manual PDF Download
Original price was: $27.95.$16.95Current price is: $16.95.
Genuine Husqvarna factory repair manual for the fuel-injected 2018 TE 250i and TE 300i, covering full engine rebuild, WP suspension, electrical and wiring diagrams.
Description
File Details
- Manual type: Repair Manual (factory workshop manual)
- Brand and models: Husqvarna TE 250i, TE 300i
- Language: English
- Page count: 359 pages
- File format: PDF
- Article number: 3403056en
- Edition: 2018 model year, issued 05/2017
- Publisher: Husqvarna Motorcycles GmbH, Mattighofen, Austria
Covers the Fuel-Injected TE 250i and TE 300i
This is the genuine Husqvarna repair manual for the 2018 TE 250i and TE 300i enduro models, both fitted with the fuel-injected two-stroke engine, and it is written for the exact model codes F2303R7 (TE 250i EU), F2375R7 (TE 250i US) and F2403R7 (TE 300i EU). Every procedure uses Husqvarna’s own means of representation, tightening torque tables and special tool references, so the manual reads exactly as it does in an authorized workshop, right down to the degree-of-risk warning symbols used ahead of each hazardous step. The introduction is explicit that the manual assumes the work is carried out by a fully trained mechanic and does not repeat general workshop safety practice, so it goes straight to model-specific procedure rather than padding with generic content.
Full Engine Teardown and Rebuild
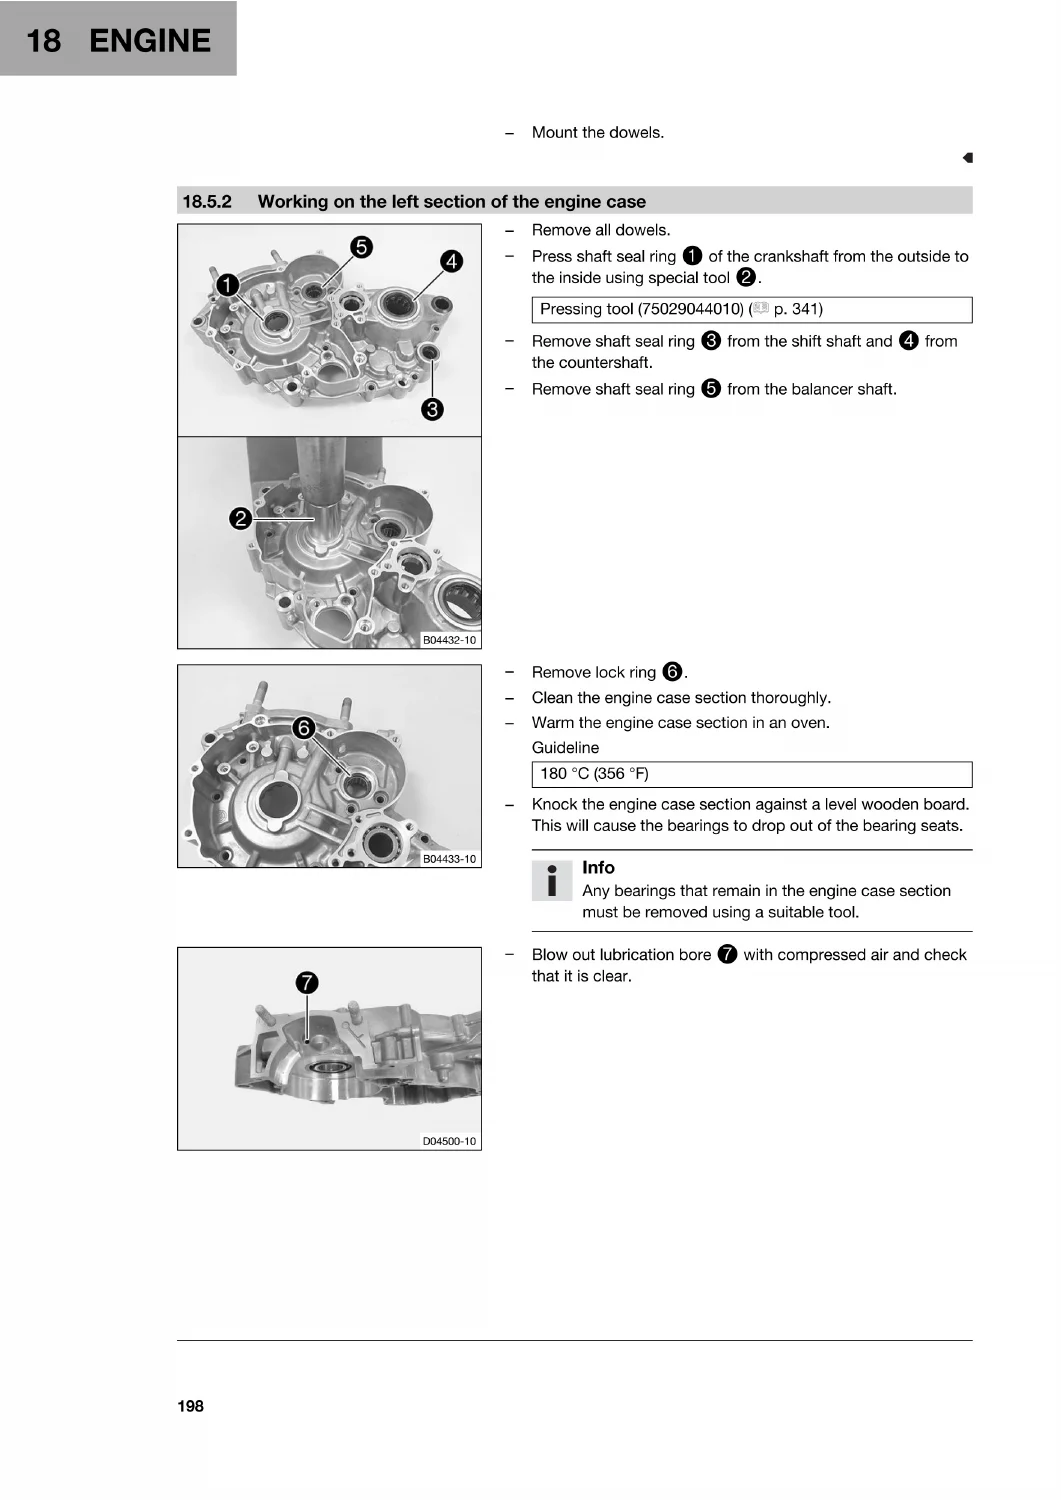
Section 18 walks through a complete engine removal, disassembly and rebuild: clamping the engine into a work stand, draining gear oil, removing the alternator cover, kick starter, injection valves, cylinder head, cylinder, piston, clutch, balancer shaft, shift mechanism, crankshaft and both crankcase halves, followed by the full reassembly sequence including heating the case in an oven to seat new bearings. Section 25, Technical Data, then backs this up with exact bore, stroke, displacement, piston/cylinder clearances and wear limits, connecting rod play, and crankshaft run-out figures for both the 250i and 300i engines, plus a complete torque chart for every engine fastener from M5 through M18, noting exactly which threads take Loctite 243 or Loctite 2701.
Chassis, Suspension and Electronics
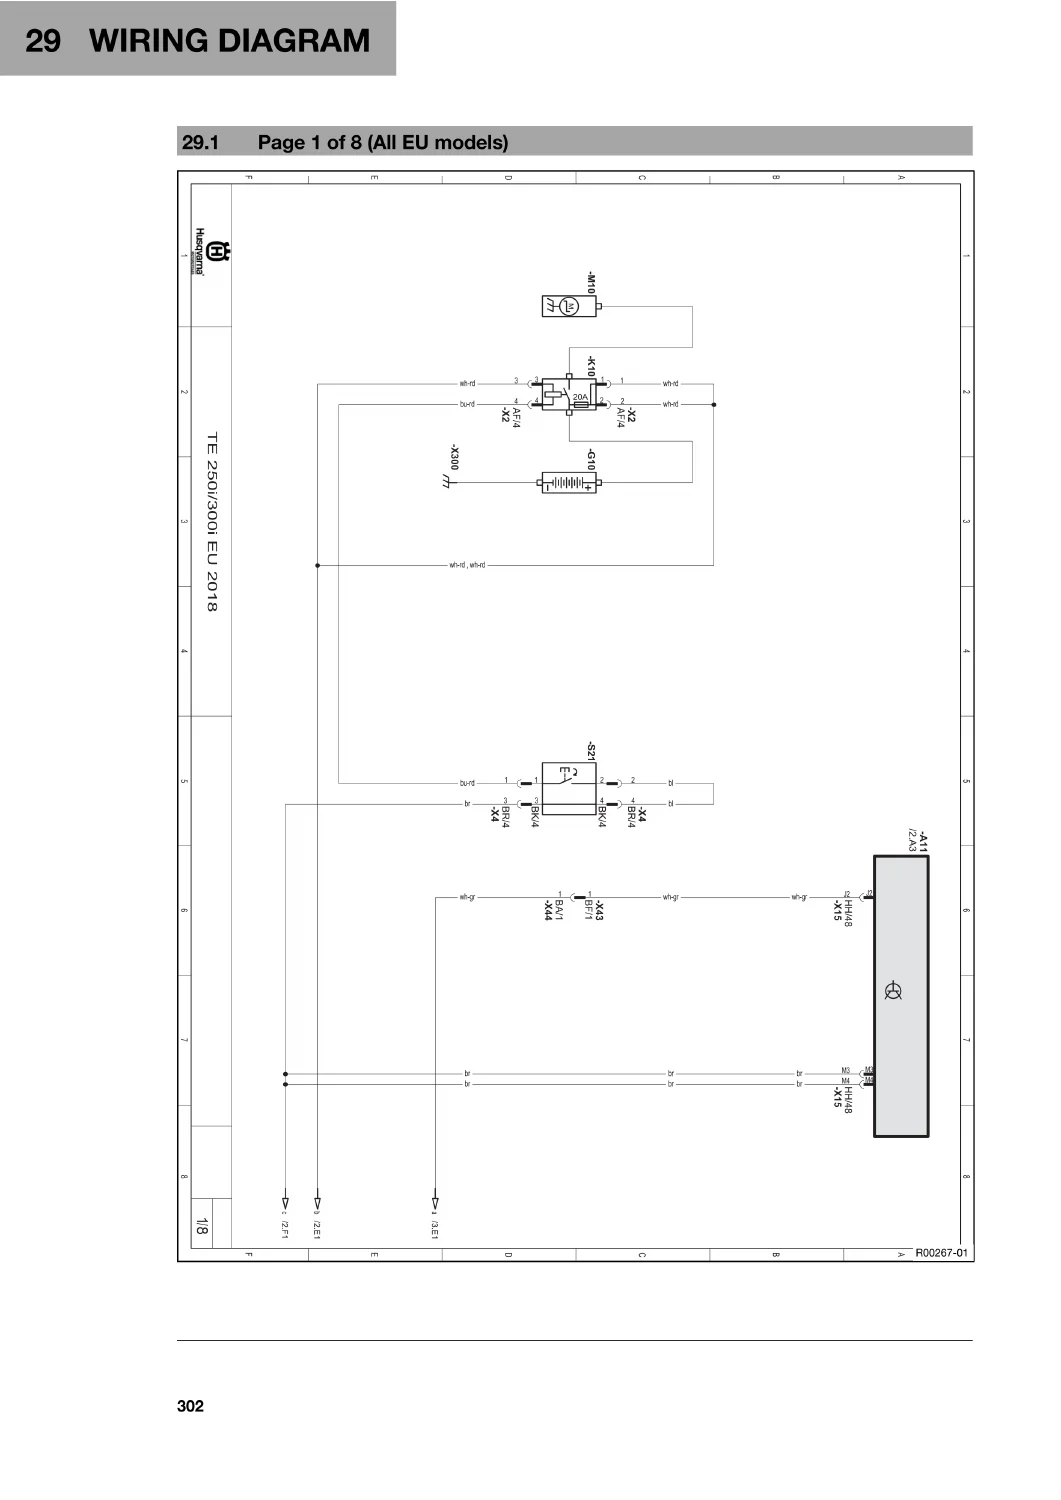
The WP Xplor 48 fork and WP 5018 DCC Link shock absorber each get dedicated adjustment, disassembly and rebuild chapters covering compression and rebound damping, spring preload, bleeding, seal ring retainers and nitrogen charging, with exact click settings and spring rates by rider weight. Beyond suspension, the manual covers the frame, swingarm, wheels, brakes, wiring harness and lithium-ion battery, lighting and instruments, throttle body and idle speed adjustment, electric starter, and includes the full multi-page wiring diagrams for both EU and US-market wiring, plus fuse ratings for the main circuit and individual power consumers.
Brakes, Service Schedule and Storage
The Brake System chapter covers checking and changing the front and rear brake linings, adjusting the free travel and basic position of both the hand and foot brake levers, and checking and bleeding the front and rear brake fluid. The Service Schedule chapter (Section 28) separates required work from recommended work at each interval, and is backed up by a full Cleaning, Care and Storage section covering correct pressure-washer technique to avoid forcing water into connectors and bearings, winter riding precautions against road salt, and the steps for laying the bike up in storage and preparing it for use again afterward.
Fuel Tank, Bodywork and Wheels
Fuel tank, seat and trim procedures cover removing and installing the fuel tank, checking fuel pressure, and changing the fuel screen, fuel filter and fuel pump. The manual also details the front fender and headlight mask removal, and wheel service including tyre pressure and condition checks, wheel bearing play, brake disc inspection, spoke tension and rim run-out for both spoked wheels. The full drivetrain kit change procedure and rear wheel bearing replacement are covered alongside chain, sprocket and chain guide inspection.
Chapters Covered
- Safety Advice and Important Notes
- Serial Numbers
- Motorcycle (lift stand use, starting procedures)
- Fork, Triple Clamp
- Handlebar, Controls
- Frame
- Shock Absorber, Swingarm
- Exhaust
- Air Filter
- Fuel Tank, Seat, Trim
- Mask, Fender
- Wheels
- Wiring Harness, Battery
- Brake System
- Lighting System, Instruments
- Engine (full disassembly and reassembly)
- Electric Starter
- Throttle Valve Body
- Technical Data
- Cleaning, Care and Storage
- Service Schedule
- Wiring Diagrams
- Substances, Auxiliary Substances and Special Tools
Together, these chapters take a technician from pre-ride checks through to a full engine-out rebuild, with the fastener torques, clearances and special tool part numbers needed to do fuel-injected two-stroke work correctly on every major system.
Diagnostics and Electrics
Electrical fault-finding coverage includes checking the crankshaft position sensor voltage with a peak voltage adapter, changing the main fuse and individual fuses, disconnecting and reconnecting the battery negative cable safely, recharging the lithium-ion battery, checking charging voltage and open-circuit current, testing the starter relay, and using the diagnostics connector. Throttle body chapters cover idle speed adjustment, programming the ambient pressure sensor after a change in altitude, and using the cold start button correctly in cold weather.
Get Instant Access
Fuel-injected two-stroke enduro bikes reward precise setup, and this manual supplies the exact figures Husqvarna itself uses, not a generic aftermarket guess. Diagnose an injection fault, rebuild the top end, or dial in the WP suspension with confidence. The PDF downloads instantly after payment, works on any phone, tablet or computer, and prints cleanly for the workshop, with no shipping wait between ordering and getting the bike back together correctly.
Reviews
There are no reviews yet.