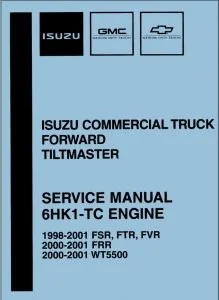
Isuzu 4HK1, 6HK1 Diesel Engine Workshop Manual – PDF DOWNLOAD
$28.95
Isuzu 4HK1, 6HK1 Diesel Engine Workshop Manual – PDF DOWNLOAD
Description
Isuzu 4HK1, 6HK1 Diesel Engine Workshop Manual – PDF DOWNLOAD
FILE DETAILS:
Isuzu 4HK1, 6HK1 Diesel Engine Workshop Manual – PDF DOWNLOAD
Language : English
Pages : 328
Downloadable : Yes
File Type : PDF
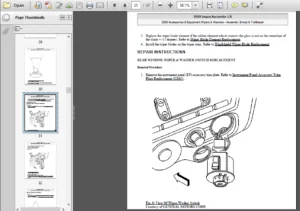
IMAGES PREVIEW OF THE MANUAL:
TABLE OF CONTENTS:
Isuzu 4HK1, 6HK1 Diesel Engine Workshop Manual – PDF DOWNLOAD
GENERAL INFORMATION 1
General Information 1
General Information 2
Service Precautions 2
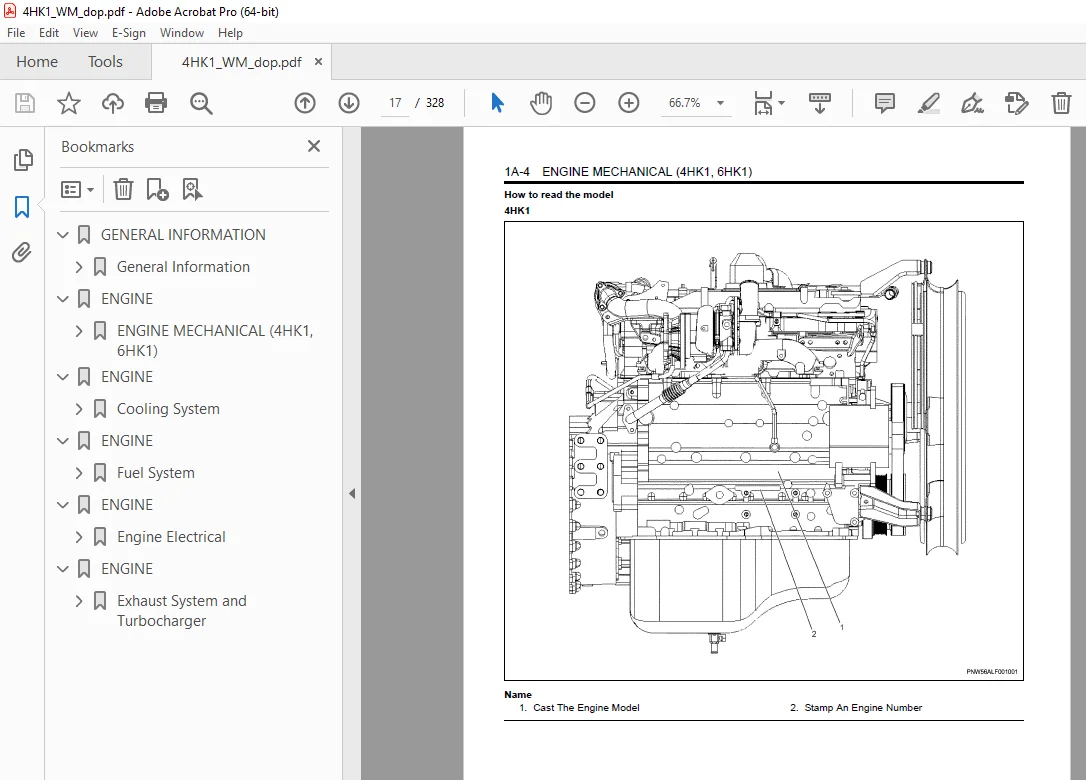
Reading the model 6
General information 7
ENGINE 14
ENGINE MECHANICAL (4HK1, 6HK1) 14
ISUZU DIESEL ENGINE (4HK1, 6HK1) 16
Precautions on Service Work 16
Main Data and Specifications 24
Cylinder Head Cover 27
Components 27
Removal 28
Installation 29
Torque Specifications 31
Inlet Cover 33
Components 33
Removal 34
Installation 35
Torque Specifications 37
Turbocharger and Exhaust Manifold 38
Components 38
Removal 39
Inspection 40
Installation 41
Torque Specifications 45
Timing Gear Train 48
Components 48
Removal 49
Inspection 51
Installation 53
Torque Specifications 64
Special Tool 65
Rocker Arm Shaft ASM 66
Components 66
Removal 66
Disassembly 67
Reassembly 69
Installation 70
Torque Specifications 72
Camshaft ASM 73
Components 73
Removal 74
Disassembly 75
Reassembly 77
Fixing torque 79
Special Tool 79
Installation 80
Torque Specifications 82
Valve Stem Seal, Valve Spring 83
Components 83
Removal 83
Inspection 84
Installation 85
Special Tool 87
Cylinder Head 88
Components 88
Removal 88
Disassembly 92
Inspection 95
Reassembly 101
Installation 107
Torque Specifications 114
Special Tool 114
Piston, Connecting Rod 116
Components 116
Removal 116
Disassembly 117
Reassembly 123
Installation 125
Torque Specifications 127
Special Tool 127
Flywheel 128
Components 128
Removal 128
Inspection 130
Installation 130
Torque Specifications 132
Special Tool 132
Front Cover 133
Components 133
Removal 134
Installation 135
Torque Specifications 137
Crankshaft Front Oil Seal 139
Components 139
Removal 139
Installation 141
Torque Specifications 146
Special Tool 146
Crankshaft Rear Oil Seal 147
Components 147
Removal 147
Installation 148
Special Tool 151
Crankshaft 152
Components 152
Removal 152
Disassembly 154
Reassembly 154
Inspection 154
Installation 159
Torque Specifications 163
Special Tool 163
Cylinder Block 165
Components 165
Removal 165
Inspection 166
Installation 167
Lubrication System 170
Precautions on Service Work 170
Function Check 171
Special Tool 172
Oil Port Cover ASM 173
Components 173
Removal 173
Installation 173
Oil Cooler 175
Components 175
Removal 176
Disassembly 177
Reassembly 177
Installation 178
Oil Pan 181
Components 181
Removal 181
Installation 182
Oil Pump 184
Components 184
Removal 184
Disassembly 185
Reassembly 185
Inspection 186
Installation 187
Oil Pressure Switch 191
Inspection 191
ENGINE 192
Cooling System 192
Cooling System 193
Precautions on Service Work 193
Function Check 196
A List of Defective Phenomena 198
Main Data and Specifications 198
Water Pump (4HK1) 199
Components 199
Removal 199
Inspection 200
Installation 201
Torque Specifications 202
Water Pump (6HK1) 203
Removal 203
Installation 205
Torque Specifications 207
Disassembly 208
Inspection and Repair 209
Reassembly 210
Thermostat 213
Components 213
Removal 213
Inspection 213
Installation 214
Drive Belt 215
Components 215
Inspection 215
Torque Specifications 217
ENGINE 218
Fuel System 218
Fuel System 219
Precautions on Service Work 219
Special Tool 226
Fuel Filter ASM 227
Components 227
Removal 227
Installation 227
Fuel Filter Element 228
Removal 228
Installation 228
Special Tool 228
Fuel Injector 229
Components 229
Removal 230
Installation 233
Torque Specifications 237
Special Tool 238
Fuel Supply Pump 239
Components 239
Removal 240
Installation 241
Torque Specifications 244
Common Rail 245
Components 245
Removal 246
Disassembly 248
Reassembly 249
Installation 249
Torque Specifications 252
ENGINE 254
Engine Electrical 254
Service Precautions 255
General Procedure 255
Charging System 256
General Description 256
Generator (4HK1) 258
Removal 258
Installation 259
Torque Specifications 259
Specifications 260
Connector terminal 260
Internal connections 260
Disassembly of generator 261
Inspection and repair of generator 262
Performance test 264
Handling of generator 265
Trouble and Action 266
Starting System 267
General Description 267
On-vehicle Service: Starting System 268
Starter (4HK1) 269
Removal 269
Installation 270
Torque Specifications 270
Main Data and Specifications 271
Connections (Nikko Electric Industry Co , Ltd) 272
Disassembly of starter 273
Inspection and repair of starter 274
Handling of starter 277
Trouble countermeasure 278
Preheating System 279
Glow Plug Replacement 279
Precautions on Service Work 280
A List of Defective Phenomena 280
Main Data and Specifications 281
Starter (6HK1) 282
Specifications 282
Sectional view (reference) 283
Output Characteristic (reference) 284
Disassembly and Inspection of Starter 285
Disassembly 286
Inspection and maintenance 287
Assembly of Starter 291
No Load Test 295
Specifications 295
Generator (6HK1) 296
Specifications 296
Charging Circuit 296
Structure 297
Disassembly and Inspection of Generator 298
Disassembly 299
Inspection 302
Assembly 304
Bench Testing 305
Trouble Diagnosis 306
Specifications 306
ENGINE 307
Exhaust System and Turbocharger 307
EGR System 308
Precautions on Service Work 308
Explanations on Functions and Operation 308
EGR Valve and EGR Cooler 309
Components 309
Removal 309
Inspection 310
Installation 310
Torque Specifications 311
Exhaust System 312
A List of Defective Phenomena 312
Troubleshooting 312
Turbocharger (6HK1) 313
Table of Specifications 313
Turbocharger Structured Diagram 314
Disassembly and Inspection of Turbocharger 315
Disassembly 316
Inspection 318
Assembly of Turbocharger 321
Assembly 322
Turbocharger (4HK1) 327
Inspection of Turbocharger 327
Inspection 327
Measurement Tool 328
Other Material 328
DESCRIPTION:
Isuzu 4HK1, 6HK1 Diesel Engine Workshop Manual – PDF DOWNLOAD
Precautions on Service Work:
To prevent damage to the engine and ensure reliability of its performance, pay attention to the following in maintaining the engine: When taking down the engine on the ground, do not make the bearing surface of the oil pan touch directly the ground. Use a wood frame, for example, to support the engine with the engine foot and the flywheel housing.
Because there is only a small clearance between the oil pan and the oil pump strainer, it can damage the oil pan and the oil strainer.
• When maintaining the engine, never fail to remove the battery ground cable. If not, it may damage the wire harness or electrical parts. If you need electricity on for the purpose of inspection, for instance, watch out for short circuits and others.
• Apply engine oil to the sliding contact surfaces ofthe engine before reassembling it. This ensures adequate lubrication when the engine is first started.
• When valve train parts, pistons, piston rings, connecting rods, connecting rod bearings or crankshaft journal bearings are removed, put them in order and keep them.
• Gaskets, oil seals, O-rings, etc. must be replaced with new ones when the engine is reassembled.
• As for parts where a liquid gasket is used, remove an old liquid gasket completely and clean it up thoroughly so that no oil, water or dust may be clung to them. Then, apply the designated liquid gasket to each place anew before assembly.
• Surfaces covered with liquid gasket must be assembled within 7 minutes of gasket application. If more than 7 minutes have elapsed, remove the existing liquid gasket and apply new liquid gasket.
• When assembling or installing parts, fasten them with the specified tightening torque so that they may be installed properly.
S.V 05/01/2025