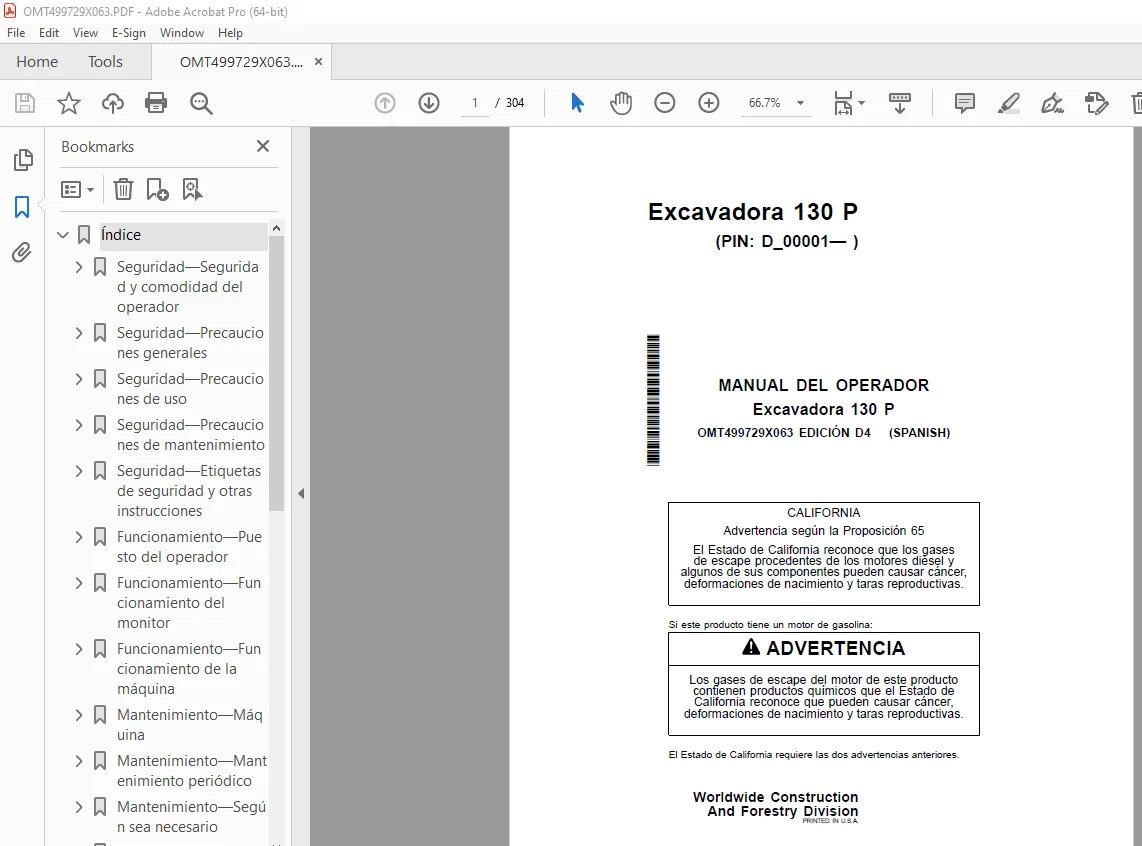
Manual de Operación John Deere Excavadora 130 P (OMT499729X063) PDF
$28.95
John Deere Excavator 130 P OPERATOR’S MANUAL OMT499729X063 – PDF DOWNLOAD
Description
John Deere Excavator 130 P OPERATOR’S MANUAL OMT499729X063 – PDF DOWNLOAD
TABLE OF CONTENTS:
John Deere Excavator 130 P OPERATOR’S MANUAL OMT499729X063 – PDF DOWNLOAD
Index 29
Safety—Operator Safety and Comfort 35
Safety and Operator Comfort Features 35
Safety—General Precautions 36
Identifying Safety Information 36
Following Safety Instructions 36
Operate Only If Qualified 36
Use of Protective Equipment 37
Protection against noise 37
Avoid making unauthorized modifications to the machine 37
Setting controls 37
Inspecting the machine 38
Stay away from moving parts 38
Avoid high-pressure fluids 38
Avoid contact with high-pressure oil 39
Work in ventilated places 39
Avoid the risk of static electricity when refueling 40
High waste applications 40
Fire prevention, cleaning debris from the machine 41
In the event of a fire in the machine 41
Preventing battery explosions 42
Safe handling of chemicals 42
Safe handling 42
Decommissioning—Proper Recycling and Disposal of Fluids and Components 43
Being Prepared in an Emergency 43
Cleaning Debris from the Machine 44
Adding Cab Guards for Special Uses 44
Safety—Precautions for Use 45
Correct Use of steps and handholds 45
Starting the engine only from the driver’s seat 45
Use and maintenance of the seat belt 45
Heated and ventilated driver’s seat 46
Preventing unexpected machine movements 46
Preventing workplace hazards 47
Do not allow companions on the machine 48
Prevention of accidents due to machine going backwards 48
Avoid overturning of the machine and damage 49
Be extremely careful when lifting objects 49
Turn the machine carefully 50
Operate the boom with care 50
Avoid electrical lines 50
Inspection and maintenance of ROPS 51
Moving Safely 51
Preventing Acid Burns 52
Adding and Using Accessories Safely 52
Safety—Maintenance Precautions 53
Parking and Preparing for Safe Maintenance 53
Safely Maintaining Machines 53
Safely Maintaining the Cooling System 54
Remove Paint Before Welding or Heating 54
Safely Performing Welding Repairs 55
Safely Handling Metal Pins 55
Using Appropriate Lifting Equipment 55
Safety—Safety Labels and Other Instructions 56
Safety Labels and Other Instructions 56
Operation—Operator’s Station 64
Pedals, Levers, and Dashboards 64
Switch Panel 65
Switch Panel Functions 66
Left Rear Dashboard 67
Horn 68
Boost Button 68
Pilot control cut-off lever 69
Left console 69
Advance alarm and advance alarm override switch 70
Seat heater switch (if equipped) 70
Right console 70
Right activation switch 71
Service ADVISOR™ Remote (SAR) switch (if equipped) 71
Cab Heater and Air Conditioning 72
Celsius and Fahrenheit Display Selection 73
AM/FM Radio Operation 74
Fire Extinguisher Mounting Location 75
Alternate Exit Tool 75
Cabin Light Switch 76
Aperture of the upper front window (alternative exit) 76
Removal and storage of the lower front window 77
Opening the cabin door window 77
Opening and closing the polycarbonate-type roof exit cover 78
Using the seat belt 78
Adjusting the suspension seat Mechanical 79
Air Suspension Seat Adjustment—If Equipped 80
Pilot Control Lever Console Height Adjustment 81
Operation—Monitor Operation 82
Monitor 82
Monitor Functions 83
MONITOR START-UP 84
Main Menu 85
Main Menu—Alarm List 86
Main menu—Air conditioning 91
Main menu—Radio 93
Main menu—Work mode 95
Main menu—Parameter menu 96
Main menu—Parameter menu—Date and time 97
Main menu—Settings menu—Accessory name entry 98
Main Menu—Parameter Menu—Auto Power Off 98
Main Menu—Parameter Menu—Automatic Exhaust Filter Cleaning 98
Main Menu—Parameter Menu—Secondary Meter Selection 99
Main Menu—Settings Menu—Rear Camera Monitor 100
Main Menu —Parameter menu—Selection of displayed items 101
Main menu—Parameter menu—Backlight adjustment 101
Main menu—Parameter menu—Language 102
Main menu—Parameter menu—Selection of measurement units 102
Main menu—Measurement menu parameters—Main menu sequence change 103
Main Menu—Information Menu 103
Main Menu—Information Menu—Operation 104
Main Menu—Information Menu—Maintenance 105
Main Menu—Information Menu—Troubleshooting 105
Main Menu—Information Menu—Monitoring 106
Operation—Power Operation machine 107
Before starting work 107
Daily inspection of the machine before starting 107
Battery disconnect switch 108
Engine break-in period 109
Starting the engine 110
Warming up in cold weather 111
Operation within the limits of the machine 112
Operation of Digging and Grading 113
Operator Skill 113
Pedals and Goggles 114
Software Delivery Process with Service ADVISOR™ Remote (SAR) 115
Service ADVISOR™ Remote (SAR) Operation 116
Control Stick Pattern Operation 118
Pattern Conversion of control levers 119
Operating in water and mud 120
Driving on a steep or slippery slope 121
Lifting 122
Lowering the boom with the engine off 123
Parking the machine 124
Loading the machine for transport 125
Setting up the long arm for transport or Operation—If Equipped 127
Trailer Recovery Procedure 128
Lifting the Machine 129
Maintenance—Machine 130
Required Emissions-Related Information 130
Tier 3-Stage IIIA/MAR-I Emission Control Engines 130
Diesel Fuel 131
Fuel Lubricating Capacity Diesel 132
Diesel Fuel Handling and Storage 132
Biodiesel Fuel 133
Diesel Fuel Analysis 134
Supplemental Diesel Fuel Additives 134
Fuel Filters 135
Reducing the Effects of Low Temperatures in Diesel Engines 136
Break-In™ Diesel Engine Break-In Oil 137
Diesel Engine Oil—Tier 3 and Stage IIIA 138
Engine Oil and Filter Service Intervals—Tier 3 and Stage IIIA Engines 139
Diesel Engine Oil Service Interval for High Altitude Operation 140
Oil Filters 140
Coolant diesel engine (engine with wet cylinder liners) 141
Water quality for mixing with coolant concentrate 142
Operating the machine in hot weather 142
Checking the freezing point of coolant 143
Disposing of coolant 143
Alternative and Synthetic Lubricants 144
Lubricant Storage 144
Lubricant Mixture 144
Hydraulic Oil 145
Swing and Forward Gearbox Oil 146
Track Adjuster Grease, Work Tool Pivots, Swing Bearing, and Swing Bearing Gear 146
Maintenance —Periodic maintenance 147
Maintaining the machine at specified intervals 147
Regularly checking the tractor operating hour meter 147
Preparing the machine for maintenance 148
Opening access doors for service 149
Opening the engine cover for maintenance 149
Fuel tank 149
Hydraulic Breaker Field Mount Kit 150
3-Way Coolant and Fluid Analysis Program Test Kits 150
Maintenance Intervals 151
Required Parts 153
Maintenance—As Necessary 154
Removing and Cleaning the Tank Inlet Filter Screen fuel 154
Checking the windshield washer fluid level 154
Checking and cleaning the engine air filter dust discharge valve 154
Checking and adjusting the track chain slack 155
Cleaning the rear camera lens (if applicable) 156
Cleaning and tightening the battery terminals 157
Maintenance—Every 10 hours or daily 158
Checking the engine oil level 158
Checking the engine coolant level 159
Checking the hydraulic tank oil level 160
Maintenance—Every 50 working hours or weekly 162
Draining Removal of Water and Sediment from Fuel Tank Sump 162
Drain Primary Fuel Filter and Water Separator 162
Drain Final Fuel Filter 163
Drain Auxiliary Fuel Filter and Water Separator (If Equipped) 163
Grease Accessory Pivots 164
Maintenance—Every 100 hours 165
Inspection and tightening of track chain hardware 165
Maintenance—Every 250 hours 166
Checking the swing gearbox oil level 166
Draining water and sediment from the hydraulic tank sump 167
Checking the electrolyte level Hybrid Battery—If Equipped 168
Check Propulsion Gearbox Oil Level 170
Lubricate Front End Pin Joints 171
Sampling Engine Oil 171
Maintenance—Every 500 Hours 172
Lubricate Swing Bearing 172
Grease slewing bearing gear 172
Replacing the primary fuel filter and water separator 173
Replacing the final fuel filter 174
Replacing the auxiliary fuel filter and water separator—If equipped 175
Checking the air intake ducts 176
Draining and filling engine oil and replacing 177
Cleaning the Fresh Air and Cabin Circulating Air Filters 178
Fluid Sampling 178
Maintenance—Every 1,000 Hours 179
Draining and Filling the Swing Gearbox Oil 179
Replacing the Hydraulic Reservoir Oil Filter 180
Replacing the control oil filter 181
Removing and cleaning the engine crankcase ventilation hose 182
Inspecting the serpentine belt 182
Replacing the air filter elements 183
Replacing the engine air filter dust relief valve engine 184
Check coolant condition 184
Maintenance—Every 2,000 hours 185
Check and adjust engine valve clearance 185
Drain and fill propulsion gearbox oil 185
Maintenance—Every 5,000 hours 186
Drain and fill hydraulic tank oil 186
Replacing the Hydraulic Tank Vent Cover Filter 188
Maintenance—Every 6,000 Hours 190
Draining the Cooling System 190 Cooling
System Filling and Bleeding Procedure 191
Miscellaneous—Machine 192
Periodic Machine Cleaning 192
Inspection 193
Replacing the seat belt 194
Bleeding the fuel system 195
Cleaning the radiator, oil, charge air and fuel coolers 196
Do not service or adjust the injection nozzles or fuel pump 196
Do not perform maintenance on control valves, cylinders, pumps or motors 196
Precautions to be taken with the alternator and regulator 197
Safe handling, testing and maintenance of batteries 198
Use of the battery charger 199
Use of batteries Booster—24V System 201
Battery Replacement 201
Fluid Sampling Test Ports 202
On-Machine Welding 202
JDLink Machine Monitoring System (MMS)JDLink is a trademark of Deere & Company™—If Equipped 203
Keep Connectors Clean of electronic control units 203
Installing 12 V accessories 203
Replacing fuses 204
Proper Installation of the Rollover Protective Structure 206
Replacing Bucket Teeth 207
Replacing Bucket Tooth Ridge—Reinforced Bucket 208
Replacing Bucket Teeth—TK Series 209
Removing and Installing the Bucket 210
General Information About the Track Chain Slack 214
Track Shoe Hardware Check 214
Hardware Torque Specifications 214
Unified Inch Torque Values for Bolts and Screws 215
Metric Bolt and Screw Torque Values 217
Miscellaneous—Operational Test 219
Functional Test 219
Checking Diagnostic Codes 219
Functional Tests—Checks with Ignition Key Off and Engine Off 219
Functional Tests—Checks with Ignition Key On and Engine Off 222
Tests Operation—Checks with the ignition key on and the engine running 233
Miscellaneous: troubleshooting 260
Troubleshooting procedure 260
Engine 261
Hydraulic system 265
Electrical system 267
Software update 269
Miscellaneous—Storage 270
Preparing the machine for operation Storage 270
Monthly Storage Procedure 271
Miscellaneous—Machine Numbers 272
Product Identification Number (PIN) 272
Engine Serial Number Record 272
Propulsion Engine Serial Number Record 272
Engine Serial Number Record 273
Hydraulic Pump Serial Number Record 273
Keep Proof of Ownership 273
Store Your Machine Safely 274
Miscellaneous—Specifications 275
Engine Specifications 130 P 275
Empty and Fill Capacities 130 P 275
Machine Specifications 130 P 276
130P Working Limits 278
130P Lift Capacity—Without dozer blade; arm: 2.52 m (8 ft 3 in); spoon: Without spoon; shoe: 600 mm (24 in) 280
Load capacity 130 P—Level blade on the ground; arm: 2.52 m (8 ft 3 in); spoon: Without spoon; shoe: 600 mm (24 in) 281
130 P lift capacity—Without dozer blade; arm: 2.52 m (8 ft 3 in); spoon: Without spoon; shoe: 700 mm (28 in) 282
Load capacity 130 P—Level blade on the ground; arm: 2.52 m (8 ft 3 in); spoon: Without spoon; shoe: 700 mm (28 in) 283
Load capacity 130 P—Rubber track chain; without leveling blade; arm: 2.52 m (8 ft 3 in); spoon: Without spoon; shoe: 500 mm (20 in) 284
Load capacity 130 P—Rubber track chain; leveling blade on the ground; arm: 2.52 m (8 ft 3 in); spoon: Without spoon; shoe: 500 mm (20 in) 285
130 P lift capacity—Without dozer blade; arm: 3 01 m (9 ft 11 in); Spoon: Without spoon; shoe: 600 mm (24 in) 286
Load capacity 130 P—Level blade on the ground; arm: 3 01 m (9 ft 11 in); Spoon: Without spoon; shoe: 600 mm (24 in) 287
130 P lift capacity—Without dozer blade; arm: 3 01 m (9 ft 11 in); Spoon: Without spoon; shoe: 700 mm (28 in) 288
Load capacity 130 P—Over-ground leveling blade; arm: 3 01 m (9 ft 11 in); Spoon: Without spoon; shoe: 700 mm (28 in) 289
Load capacity 130 P—Rubber track chain; without leveling blade; arm: 3 01 m (9 ft 11 in); Spoon: Without spoon; shoe: 500 mm (20 in) 290
Load capacity 130 P—Rubber track leveling blade on the ground; arm: 3 01 m (9 ft 11 in); Spoon: Without spoon; shoe: 500 mm (20 in) 291
Expected machine life 292
Eurasian Economic Union 292
Page Number 29
Section 1-1 35
Section 1-2 36
Section 1-3 45
Section 1-4 53
Section 1-5 56
Section 2 -1 64
Section 2-2 82
Section 2-3 107
Section 3-1 130
Section 3-2 147
Section 3-3 154 Section
3-4 158 Section
3-5 162
Section 3-6 165
Section 3-8 166
Section 3 -9 172
Section 3-10 179
Section 3-11 185
Section 3-12 186
Section 3-13 190
Section 4-1 192
Section 4-2 219
Section 4-3 260
Section 4-4 270
Section 4-5 272
Section 4 -6 275
SV 05/24