
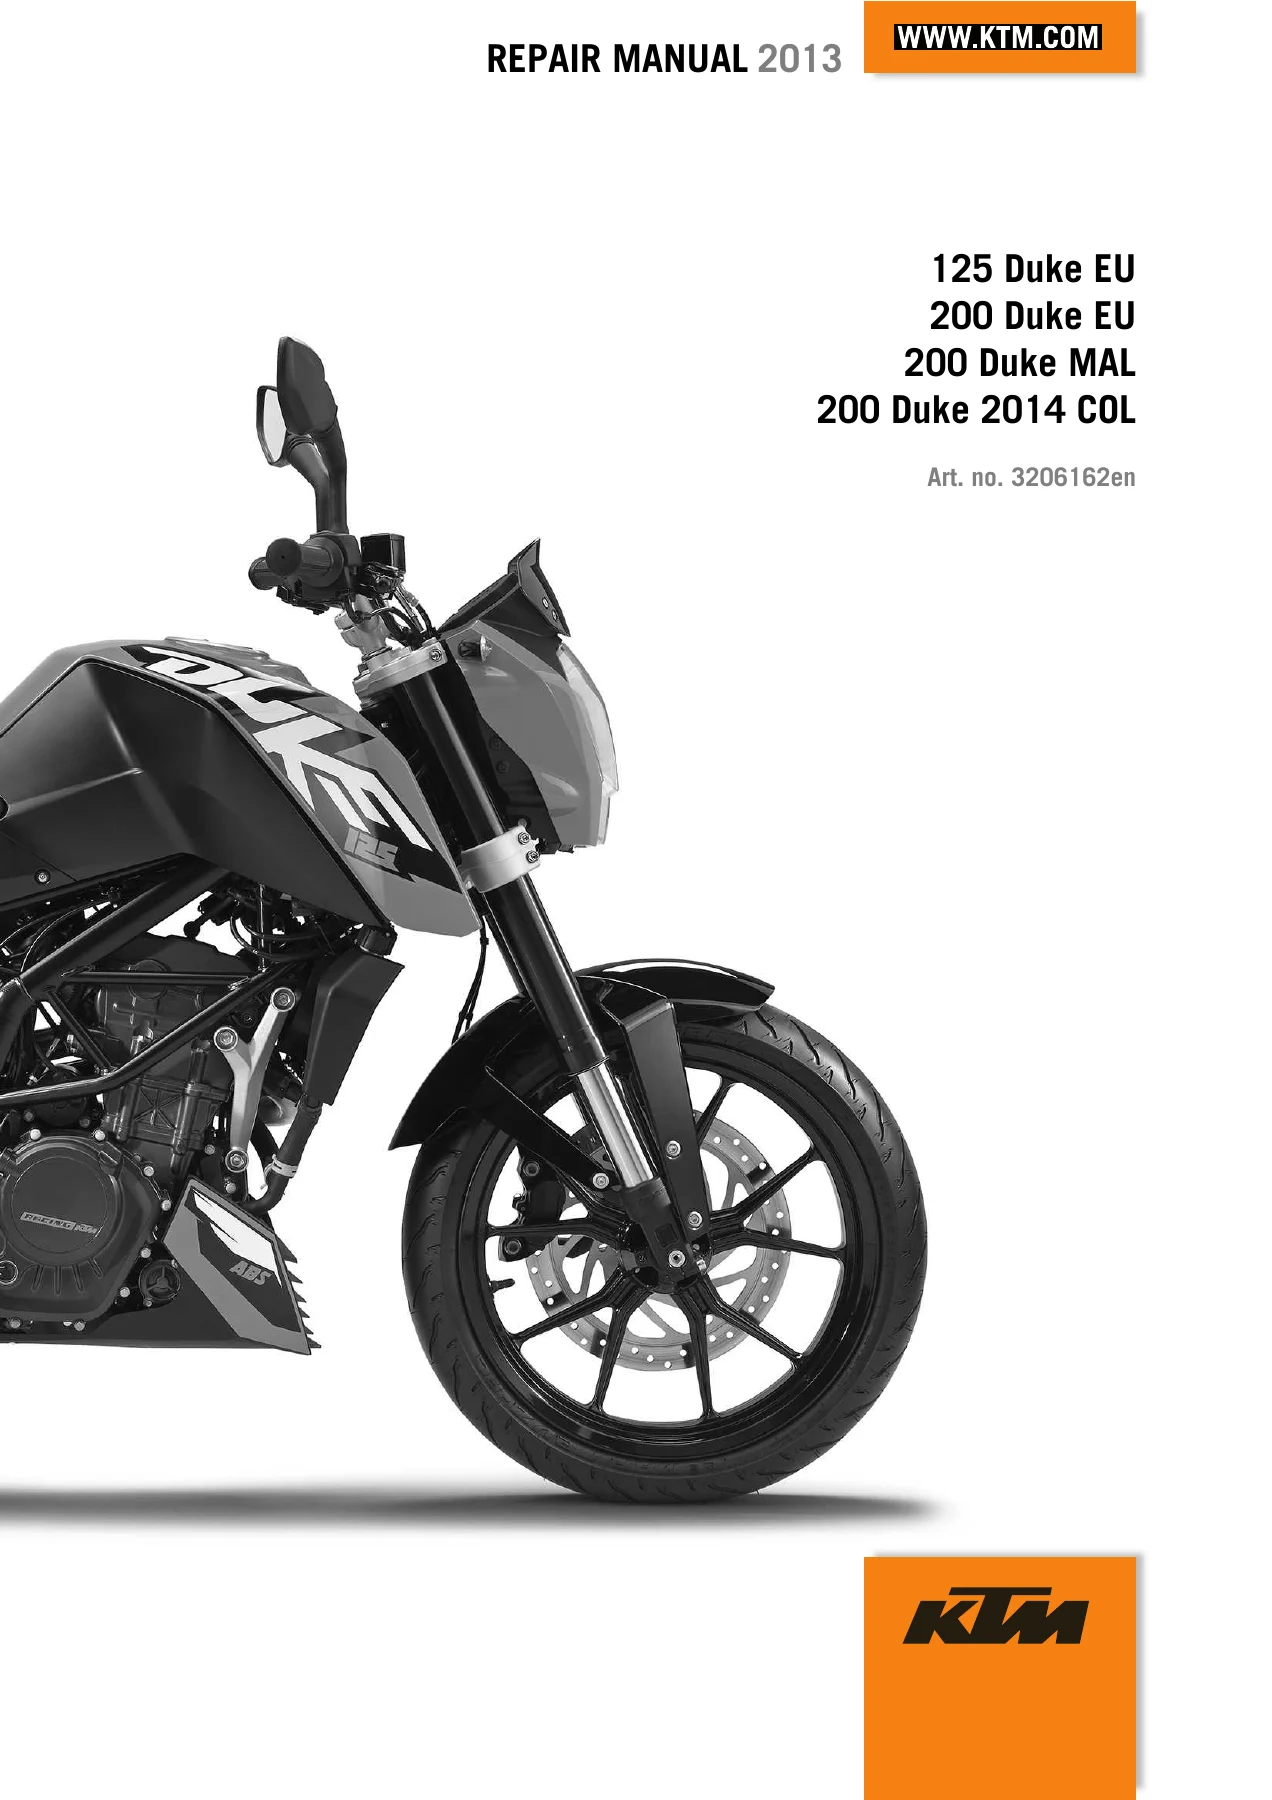
KTM 125 Duke 200 Duke Repair Manual 2013 – 3206162en PDF Workshop Guide
Original price was: $34.95.$24.95Current price is: $24.95.
Complete 2013 KTM 125 Duke and 200 Duke repair manual (doc 3206162en) covering engine, chassis, brakes, electrical, fuel system and more. 288-page PDF workshop guide with torque specs, wiring diagrams and step-by-step procedures.
Description
KTM 125 Duke & 200 Duke Repair Manual — 2013 Edition, Document 3206162en
This is the complete KTM repair manual for the 125 Duke EU, 200 Duke EU, 200 Duke MAL, and 200 Duke 2014 C0L models. Published in 2013 under document number 3206162en, this 288-page workshop guide covers the full motorcycle — engine, chassis, brakes, electrical system, fuel system, and all major assemblies. Every procedure, specification, and tightening torque has been extracted from the original KTM service documentation and formatted for use in a professional workshop or a well-equipped home garage.
File Details
- Manual type: Repair Manual (Workshop Manual)
- Brand: KTM
- Models covered: 125 Duke EU, 200 Duke EU, 200 Duke MAL, 200 Duke 2014 C0L
- Language: English
- Page count: 288
- File format: PDF
- Document number: 3206162en
- Edition/Date: 2013
Chapters Covered
- Means of Representation
- Safety Advice
- Important Information
- Serial Numbers
- Motorcycle
- Fork, Triple Clamp
- Handlebar, Controls
- Shock Absorber, Swingarm
- Exhaust
- Air Filter
- Fuel Tank, Seat, Trim
- Wheels
- Wiring Harness, Battery
- Brake System
- Lighting System, Instruments
- Engine
- Shift Mechanism
- Water Pump, Cooling System
- Lubrication System
- Ignition System
- Technical Data
- Cleaning/Protective Treatment
- Storage
- Service Schedule
- Wiring Diagram
- Substances
- Auxiliary Substances
- Special Tools
- Standards
Engine (Chapter 16)
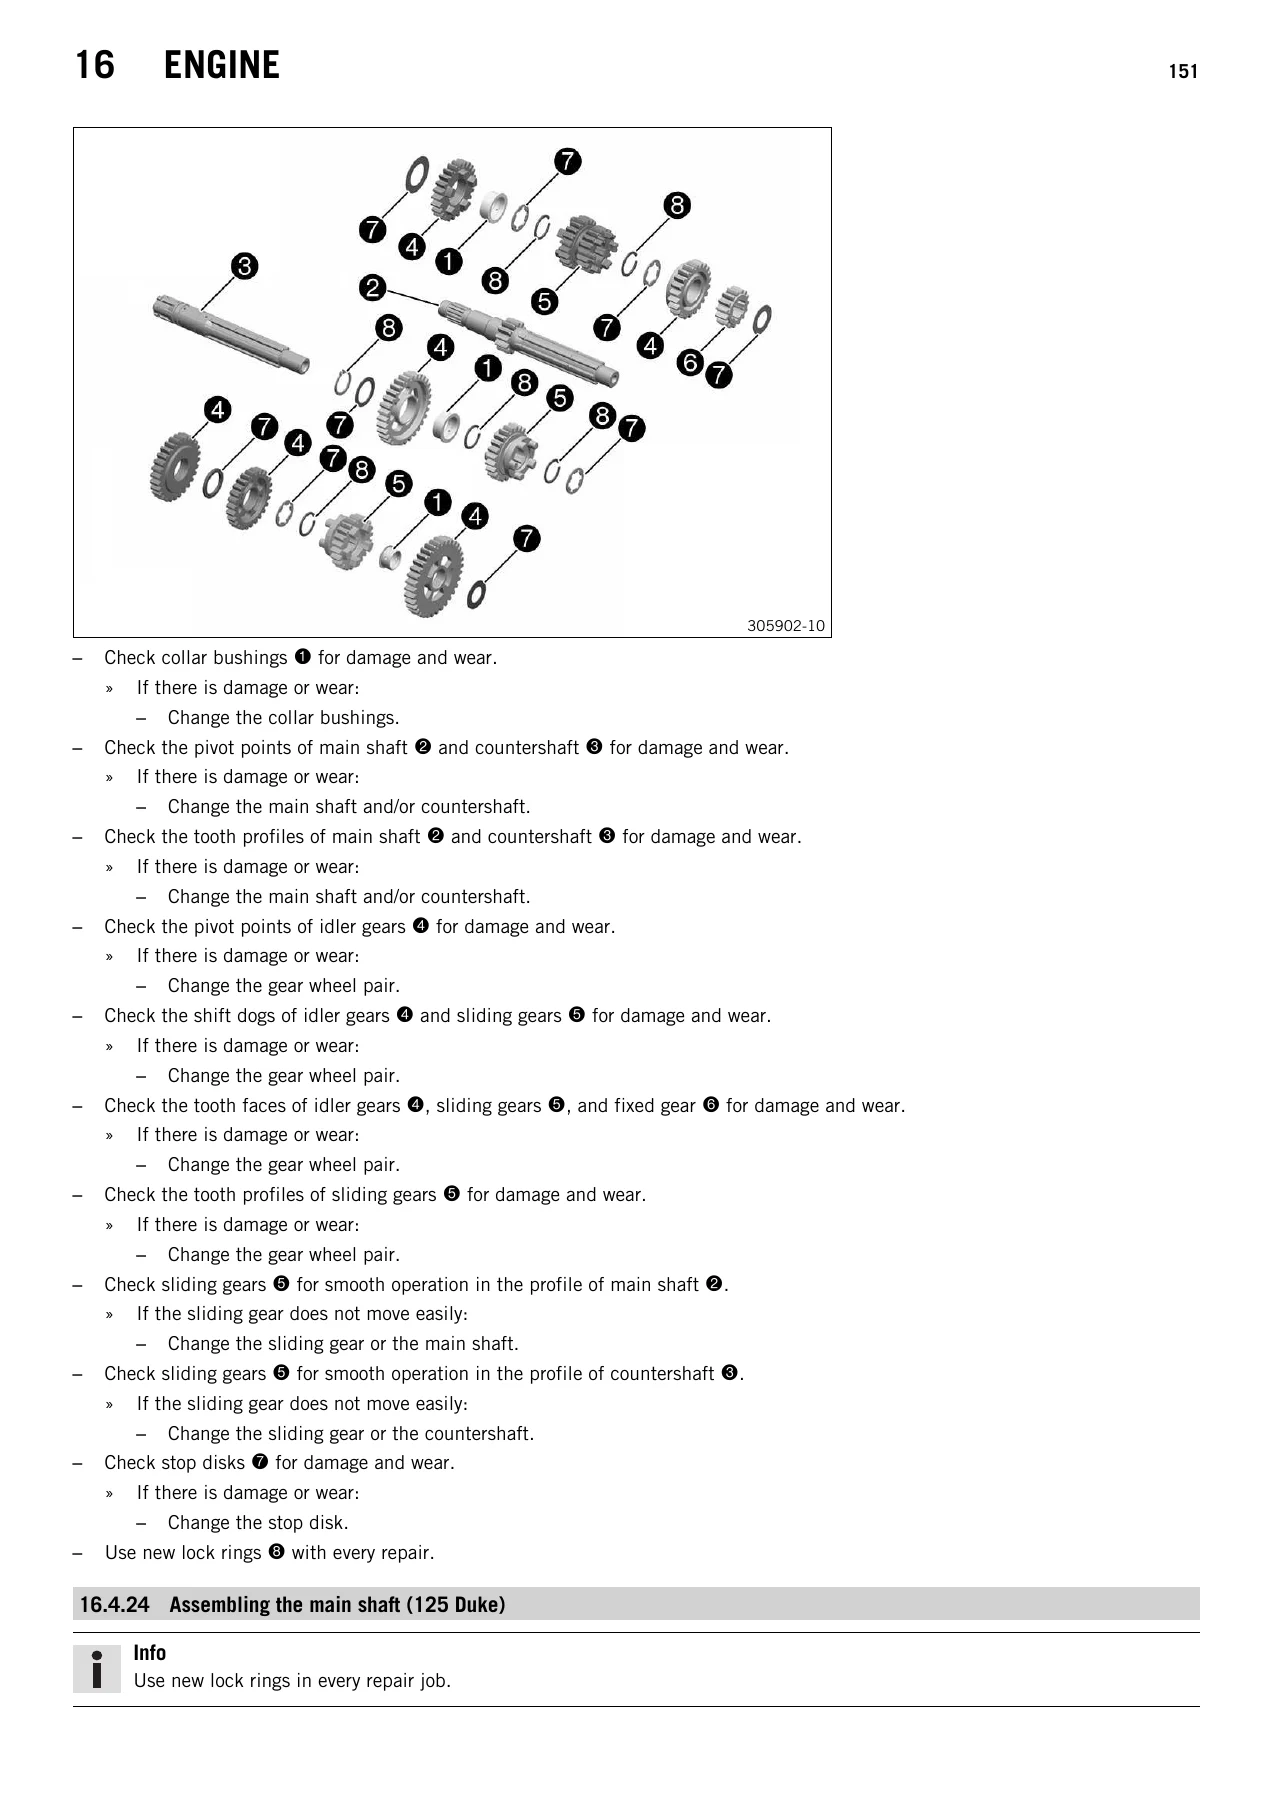
The largest section of this manual. It walks through removing the engine from the frame and installing it back, then goes into full disassembly procedures for both the 125 Duke and 200 Duke variants — draining engine oil, removing the valve cover, spark plug, clutch cover, starter motor, timing chain tensioner, camshaft, cylinder head, piston, water pump wheel, alternator cover, rotor, starter drive, balancer shaft, gear position sensor, clutch basket, primary gear, oil pump, shift shaft, shift drum, transmission shafts, and crankshaft. Every step includes the special tool required, the torque value, and the order of operation. Assembly procedures mirror the disassembly, with preassembly checks, valve clearance adjustment, and oil screen installation. The “Work on Individual Parts” section covers the left and right engine case sections, main bearing removal, conrod bearing replacement, balancer shaft bearing, camshaft bearing, cylinder head checking, cylinder measuring, piston ring end gap, piston measuring, piston/cylinder clearance, oil pump checking, oil pressure regulator valve, clutch checking and preassembly, shift mechanism inspection, main shaft and countershaft assembly and disassembly, timing assembly, stator replacement, electric starter drive, and freewheel checking.
Fork, Triple Clamp (Chapter 6)
Covers cleaning fork leg dust boots, removing and installing fork legs, disassembling, checking, and assembling fork legs, removing and installing the lower triple clamp, and checking and adjusting steering head bearing play. Includes the fork oil capacity and the special tools needed for clamping and disassembly.
Brake System (Chapter 14)
Front and rear brake service: checking and changing brake linings, checking and adding brake fluid, changing brake fluid, checking free travel of the foot brake lever, and adjusting it. The manual covers the ABS-equipped Duke EU/MAL models separately where procedures differ.
Wheels (Chapter 12)
Tire air pressure checking and correction, tire condition assessment, brake disc inspection, front wheel removal and installation, front brake disc removal and installation, rear wheel removal and installation, rear brake disc removal and installation, chain tension checking and adjusting, chain/rear sprocket/engine sprocket inspection, chain cleaning, and rear hub rubber damper checking.
Wiring Harness, Battery (Chapter 13)
Battery removal and installation, negative cable disconnection and reconnection, battery recharging, charging voltage checking, and fuse replacement for individual power consumers. The fuse box layout and amperage ratings are listed for both Duke COL and Duke EU/MAL variants.
Fuel Tank, Seat, Trim (Chapter 11)
Filler cap opening and closing, seat removal and mounting, passenger seat removal and mounting, fuel tank cover removal and installation, fuel tank removal and installation, front spoiler removal and fitting, front fender dismounting and installation, fuel pressure checking, fuel filter changing, and fuel pump replacement.
Exhaust (Chapter 9)
Exhaust manifold removal and installation, main silencer removal and installation. Includes exhaust clamp torque and lambda sensor torque with lubricant specification.
Lighting System, Instruments (Chapter 15)
Setting kilometers or miles, adjusting shift speed RPM 1 and RPM 2, setting the time, resetting the service interval display, checking and adjusting headlight range, changing the parking light bulb, and changing the headlight bulb.
Shock Absorber, Swingarm (Chapter 8)
Adjusting spring preload, removing and installing the shock absorber, removing and installing the spring, with the spring compressor special tool and the standard/full payload click settings.
Cooling System (Chapter 18)
Draining coolant, filling/bleeding the cooling system, checking antifreeze and coolant level, and checking coolant level. Includes coolant capacity and mixture ratio.
Lubrication System (Chapter 19)
Oil circuit diagram, checking engine oil level, checking engine oil pressure, changing engine oil and oil filter with oil screen cleaning, and adding engine oil. The oil pressure specifications at 1,500 rpm and 5,000 rpm are given with the coolant temperature condition.
Ignition System (Chapter 20)
Alternator stator winding resistance checks — between pins and short-to-ground testing.
Technical Data (Chapter 21)
Complete engine specifications for the 125 Duke and 200 Duke, engine tolerance and wear limits, engine tightening torques, capacities for engine oil, coolant, and fuel, chassis specifications, electrical system data, tire specifications, fork and shock absorber data, and chassis tightening torques.
Wiring Diagram (Chapter 25)
Nine-page wiring diagram for Duke EU/MAL models and eight-page wiring diagram for Duke COL models. Component locations and cable colors are listed for each diagram page.
Service Schedule (Chapter 24)
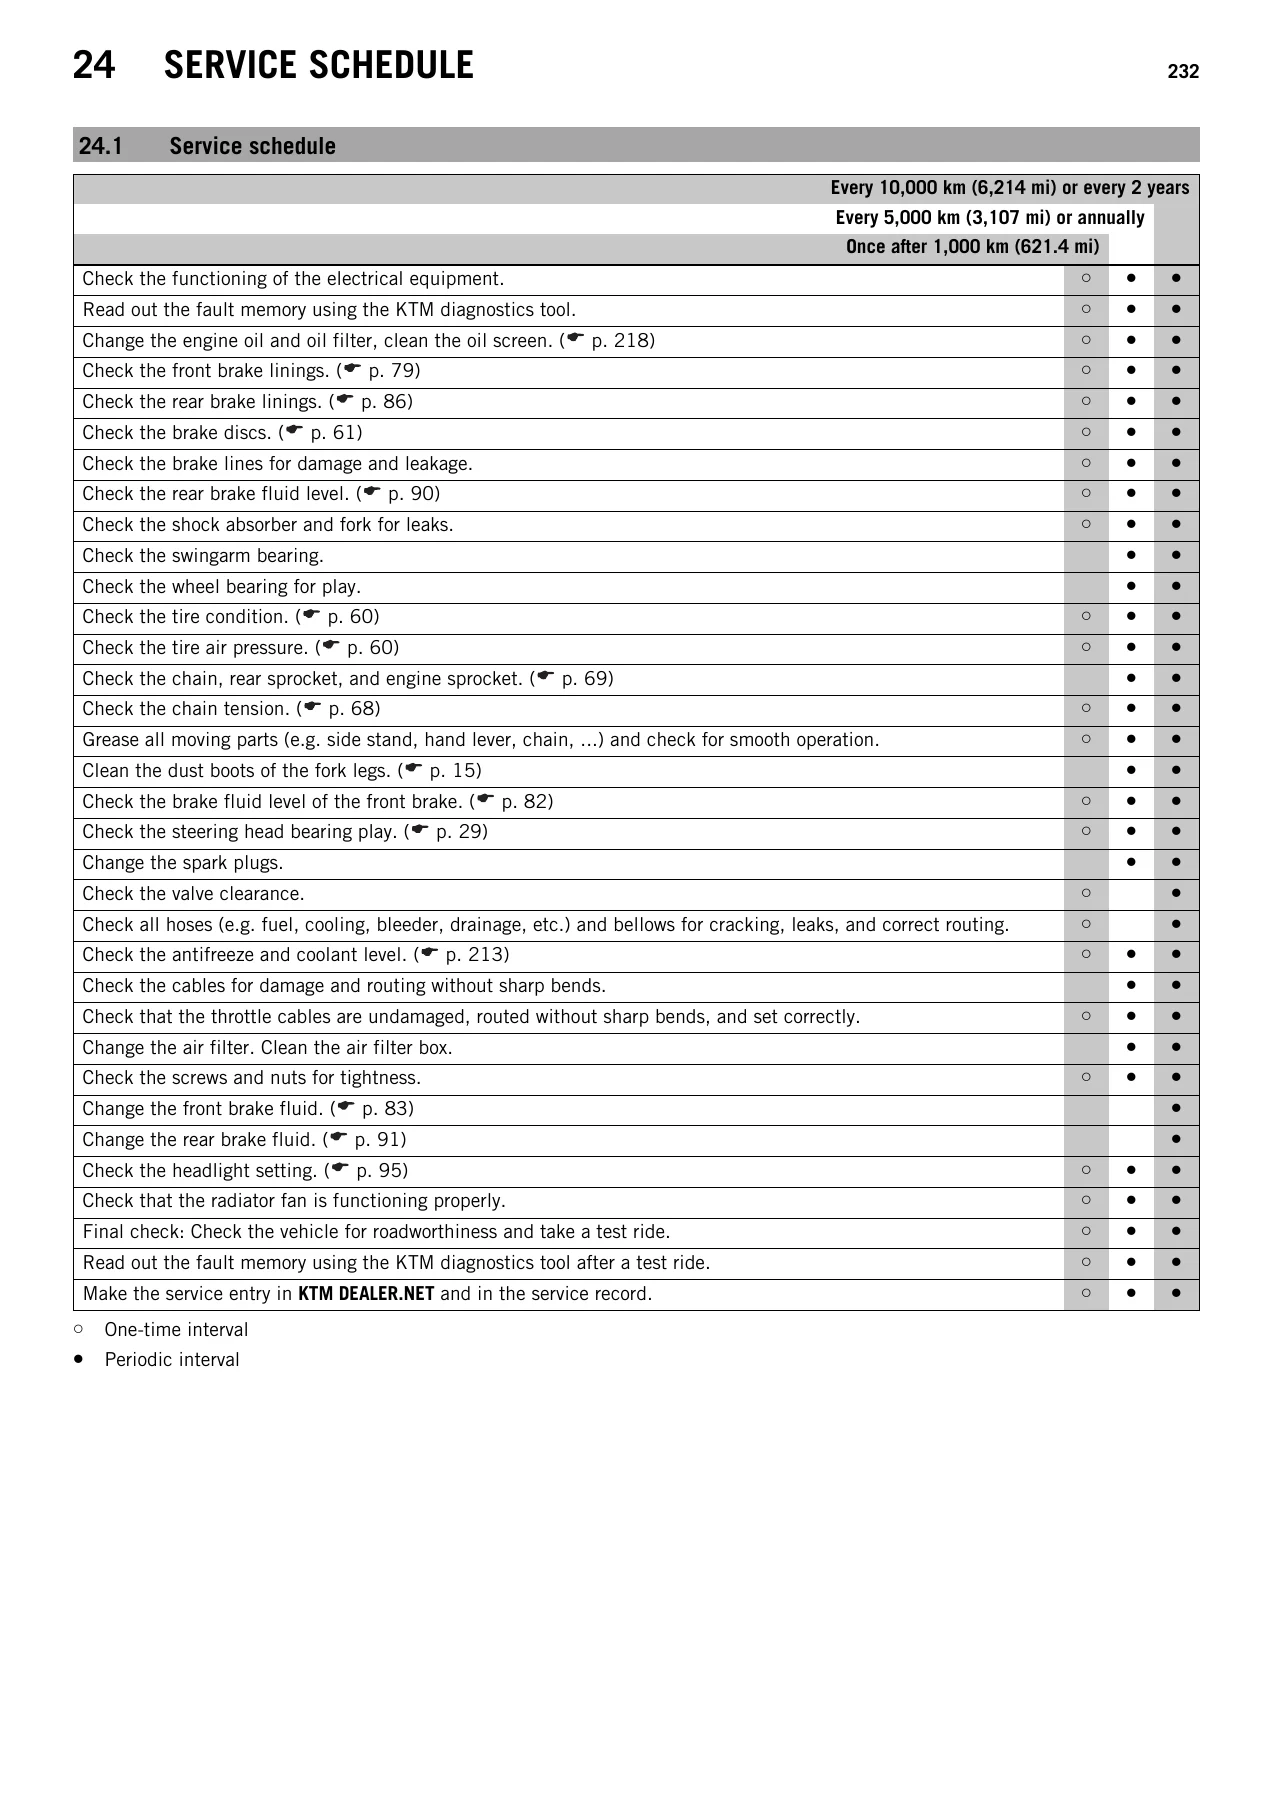
The full maintenance schedule with intervals at 1,000 km, every 5,000 km or annually, and every 10,000 km or every 2 years.
Special Tools (Chapter 28)
All KTM special tools referenced throughout the manual, with part numbers and illustrations — engine assembly stand, fixing arms, pullers, castle nut wrenches, clamping stand, spring compressor, mounting tools, and more.
What This KTM Duke Repair Manual Enables You to Do
Whether you are a KTM dealer technician or an experienced home mechanic, this 2013 KTM 125 Duke and 200 Duke repair manual gives you the exact procedures and specifications needed to service, diagnose, and repair these motorcycles correctly. The engine chapter alone spans more than 100 pages, covering every component from the crankshaft to the freewheel — with torque values, wear limits, and special tool references at each step.
Instead of guessing at clearances or tightening sequences, you work from the manufacturer’s own data. The technical data chapter provides bore and stroke, compression ratio, valve clearance, piston/cylinder mounting clearance, crankshaft classification dimensions, conrod bearing radial play, oil pump clearances, and clutch specifications. The tightening torque tables cover every fastener from M4 chassis screws to the M28 balancer shaft drive wheel nut.
The wiring diagrams — nine pages for EU/MAL and eight pages for COL — give you the complete electrical layout with component codes and cable colors, making electrical fault-finding practical rather than guesswork.
IMAGES PREVIEW
Because this is a digital PDF, there is no shipping wait and no physical book to keep on a shelf. You can download it immediately after purchase, view it on any device — laptop, tablet, or smartphone — and print only the pages you need for the job at hand. Keep it in the workshop, take it to the track, or store it on your phone for roadside reference. The file is yours to keep and use as often as you need.
This is the same repair manual KTM published for the 2013 Duke series under document 3206162en, covering the 125 Duke EU, 200 Duke EU, 200 Duke MAL, and 200 Duke 2014 C0L. If you own one of these motorcycles and plan to maintain or repair it yourself, this manual is the reference you want.
Reviews
There are no reviews yet.