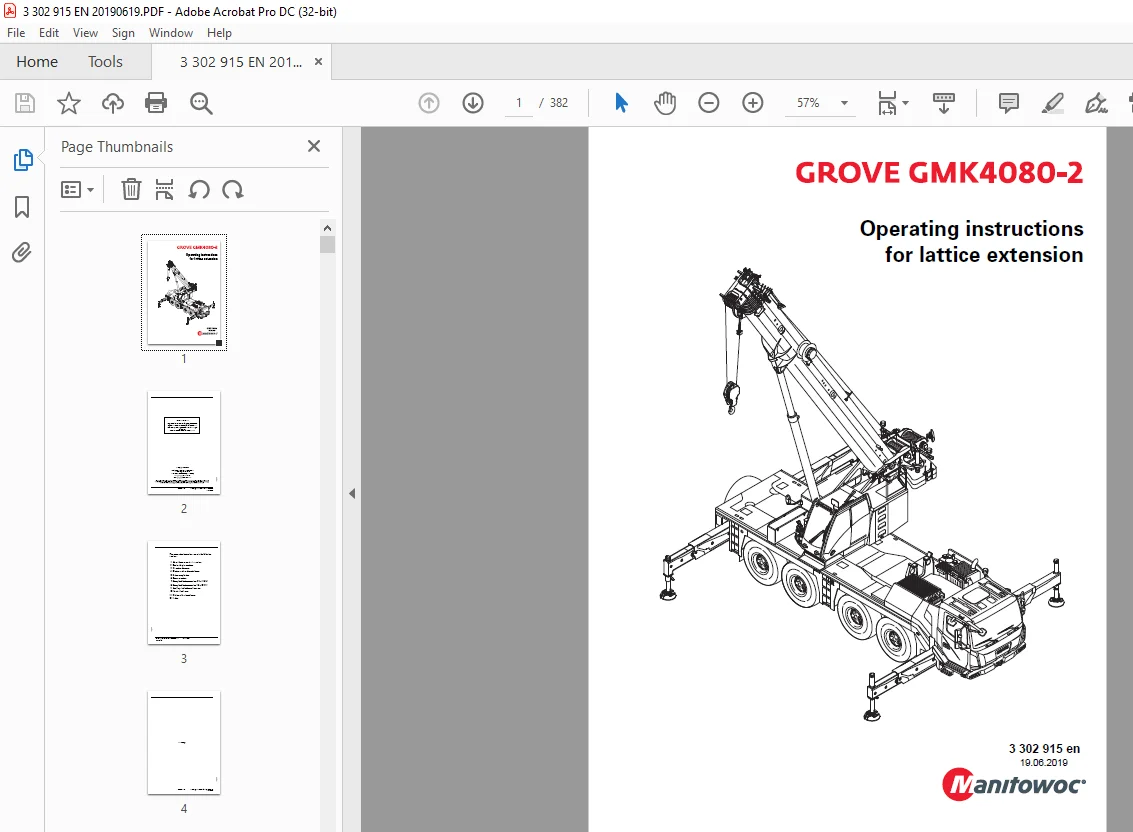
Manitowoc Grove Crane GMK4080-2 lattice extension Operating Manual
$28.95
The Manitowoc Grove GMK4080-2 Lattice Extension Operating Instructions Manual (3302915) is a crucial guide, providing detailed instructions for efficient operation. Conveniently available as a downloadable PDF for user reference.
Description
Manitowoc Grove Crane GMK4080-2 for lattice extension Operating Instructions Manual 3302915 – PDF DOWNLOAD
FILE DETAILS:
Manitowoc Grove Crane GMK4080-2 for lattice extension Operating Instructions Manual 3302915 – PDF DOWNLOAD
Language : English
Pages : 382
Downloadable : Yes
File Type : PDF
IMAGES PREVIEW OF THE MANUAL:
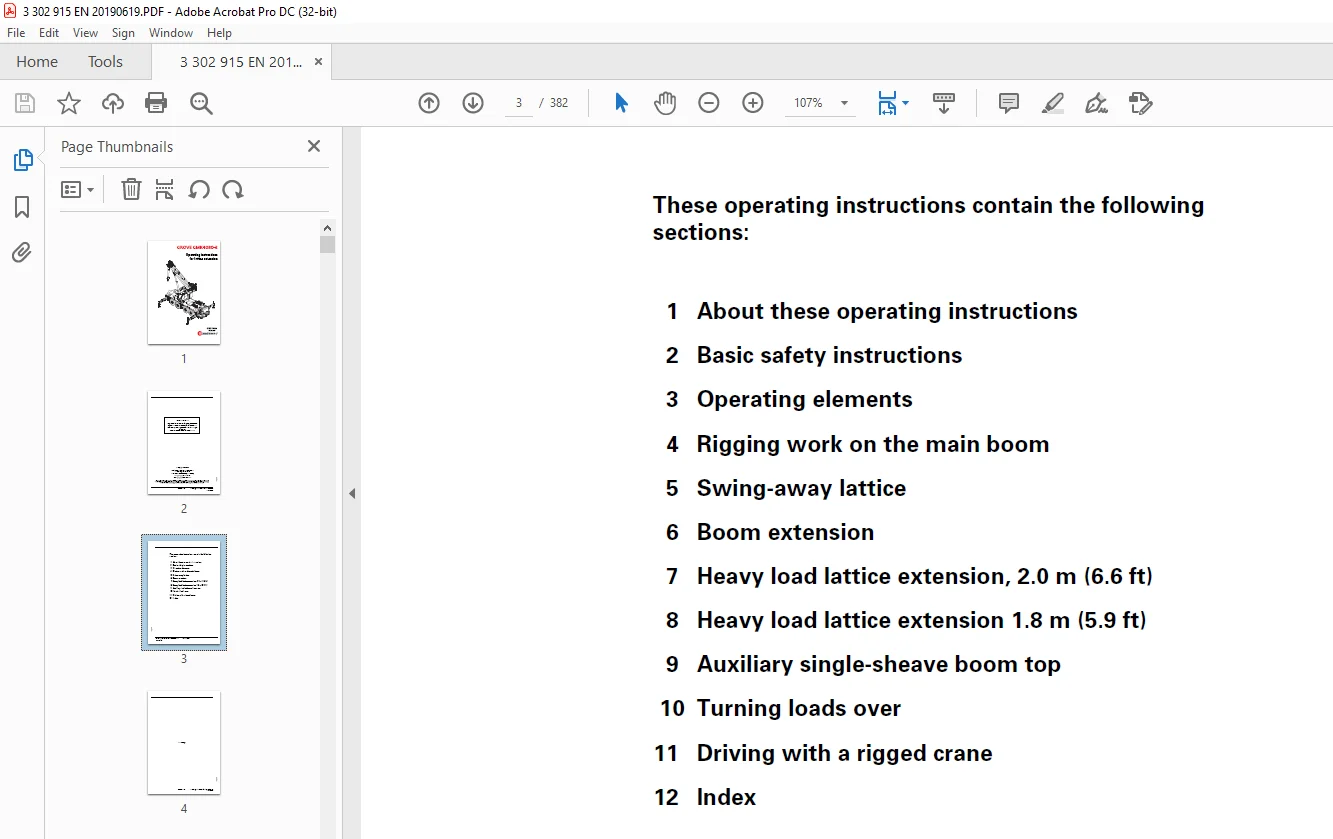
TABLE OF CONTENTS:
Manitowoc Grove Crane GMK4080-2 for lattice extension Operating Instructions Manual 3302915 – PDF DOWNLOAD
1 About these operating instructions 29
1 1 Validity 29
Validity of these operating instructions 29
Prerequisites for assembly and operation 29
References to other operating manuals 29
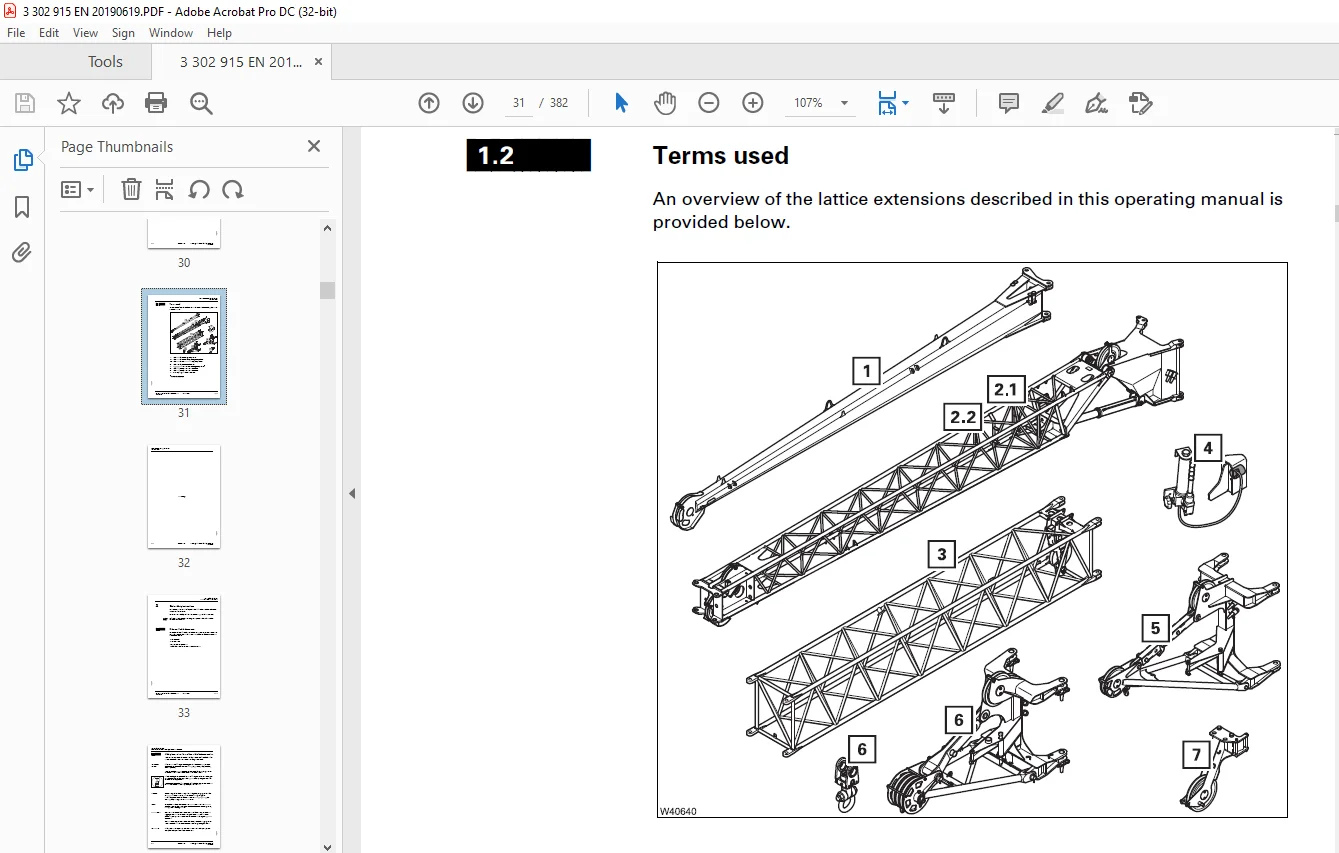
1 2 Terms used 31
2 Basic safety instructions 33
2 1 Other applicable documents 33
2 2 Safety instructions for working with a lattice extension 34
Working at heights 34
Slinging 34
Locks 34
Rigging mode 34
Two cranes 34
3 Operating elements 35
3 1 On the lattice extension 36
3 1 1 Overview 36
3 1 2 Connection section 1/main boom, rear 37
3 1 3 Connection section 2/main boom, rear 37
3 1 4 Connection section 1/main boom, front 38
3 1 5 Connection section 1/section 2, front 38
3 1 6 Connection section 2/main boom, front 39
3 1 7 Connection section 1/section 2, rear 39
3 1 8 Section 2 control unit 40
3 2 In the crane cab 41
3 2 1 Overview 41
3 2 2 On the CCS control unit 42
3 2 3 On the CCS control unit 43
Enter rigging mode/telescope status menu 43
3 2 4 At the right-hand control console 44
3 3 On the hand-held control 45
3 3 1 Connecting hand-held control 46
Connecting the hand-held control 46
3 4 Other operating elements 47
3 4 1 Rigging hook 47
4 Rigging work on the main boom 49
4 1 Hose drum 49
4 1 1 Slinging points 49
4 1 2 Transport dimensions and weights 50
4 2 Rigging work on the hose drum 51
4 2 1 Fitting/removing the hose drum 51
Installing 51
Removing 52
4 2 2 Checking the locking device on the hose drum 53
4 2 3 Positions of the hydraulic connections during operation 54
Working with the lattice extension 54
Main boom operation 55
4 2 4 Positions of the hydraulic hoses when rigging 56
When unrigging 56
When rigging 57
5 Swing-away lattice 59
5 1 Notes on this chapter 59
5 2 Operations planning 60
5 2 1 Assembly 60
5 2 2 Identification 61
5 2 3 Slinging points 62
On section 1 62
Section 2 and combinations 62
5 2 4 Transport dimensions and weights 65
5 2 5 Transport condition – removed 66
On the swing- away lattice 67
On the main boom 68
5 2 6 Transport condition – folded 69
Section 1 only 69
Section 2 only 70
Section 1 and section 2 71
5 3 Checklists for rigging work 73
5 3 1 Overview 73
5 3 2 CHECKLIST: Installing the swing-away lattice – in operating position 75
5 3 3 CHECKLIST: Installing the swing-away lattice – in transport position 79
5 3 4 CHECKLIST: Removing the swing-away lattice – from operating position 83
5 3 5 CHECKLIST: Removing the swing-away lattice – from transport position 89
5 3 6 CHECKLIST: Rigging the swing-away lattice 1 2 + 7 5 m (3 9 + 24 6 ft) – in the operating position 93
5 3 7 CHECKLIST: Rigging the swing-away lattice 1 2 + 13 8 m (3 9 + 45 3 ft) – in the operating position 97
5 3 8 CHECKLIST: Rigging the swing-away lattice 1 2 + 7 5 m (3 9 + 24 6 ft) – in the transport position 103
5 3 9 CHECKLIST: Rigging the swing-away lattice 1 2 + 13 8 m (3 9 + 45 3 ft) – in the transport position 109
5 3 10 CHECKLIST: Further rigging work 115
5 4 Rigging work 117
5 4 1 Notes on the position of the telescoping cylinder 117
5 4 2 Secure the swing-away lattice with guide rope 118
5 4 3 Establish/disconnect the connection section 2–main boom, front 119
Connecting 119
Disconnecting 119
5 4 4 Section 1/main boom, front – establish/disconnect the connection 121
Connecting 121
Disconnecting 121
5 4 5 Section 1/section 2, front – establish/disconnect the connection 122
Connecting 122
Disconnecting 122
5 4 6 Section 2/main boom, rear – establish/disconnect the connection 123
Connecting 123
Disconnecting 123
5 4 7 Section 1/main boom, rear – establish/disconnect the connection 124
Connecting 124
Disconnecting 124
5 4 8 Establishing/disconnecting the slewing connection 125
Disconnecting 126
5 4 9 Establishing/disconnecting the connection between the main boom/section 2 127
5 4 10 Relieving the strain on the connecting points 128
For derricking swing-away lattice 128
For a derricking swing-away lattice without hydraulic rigging aid 128
For a derricking swing-away lattice with hydraulic rigging aid 129
5 4 11 Section 1/section 2 – Establish/disconnect the left-hand connection 131
5 4 12 Section 1/section 2 – Establish/disconnect the right-hand connection 133
5 4 13 Swinging the swing-away lattice 135
5 4 14 Swinging section 1 137
5 4 15 Establishing/disconnecting the hydraulic connection – when rigging 138
Connecting 138
Disconnecting 139
5 4 16 Establishing/disconnecting the hydraulic connection – when installing 140
Connecting 140
Disconnecting 141
5 4 17 Establishing/disconnecting electrical connections 142
Section 2 – Main boom 143
Section 1 – section 2 145
5 4 18 Fold the deflection sheave in/out on section 2 147
Folding out 147
Folding in 148
5 4 19 Attaching/removing the hoist rope 149
Fitting 149
Removing 150
Reeving options 151
5 4 20 Installing/removing the lifting limit switch 152
Installing 152
Removing 153
5 4 21 Installing/removing the anemometer and air traffic control light 154
Installing 154
Removing 155
5 4 22 Derricking the swing-away lattice for rigging work – hand-held control 156
5 4 23 Installing/removing the camera 157
Installing 157
Removing 158
5 4 24 Derricking the swing-away lattice – Section 2 control unit 159
5 4 25 Setting the angle – with an auxiliary crane 160
5 4 26 Setting the angle – without an auxiliary crane 161
Enter the RCL code 161
Setting the angle 162
Setting a 0° angle 164
Inclining the truck crane 166
5 5 Operation with swing-away lattice 167
5 5 1 Setting the RCL 167
Input 167
Shutdown 168
5 5 2 Derricking the main boom 168
Slewing range of 360° 168
5 5 3 Telescoping with rigged swing-away lattice 169
Slewing range of 360° 169
5 5 4 Derricking the swing-away lattice in operation 169
Switching on the derricking gear 169
Raising and lowering 170
Switching off the derricking gear 170
5 5 5 Procedure if permissible wind speed is exceeded 171
5 5 6 Information about the main boom operation when the swing-away lattice is folded/rigged 172
Folded 172
Rigged 172
5 5 7 Instructions for turning loads over 173
5 6 Maintenance 175
5 6 1 Maintenance plan W 175
5 6 2 Maintenance plan M 1 175
5 6 3 Maintenance plan M 3 175
5 6 4 Maintenance plan M 12 176
5 6 5 Description of maintenance work 176
Pins 176
Sheaves 178
Piston rod 179
Joints 180
5 7 Finding and eliminating malfunctions 181
5 7 1 Troubleshooting table 181
6 Boom extension 183
6 1 Notes on this chapter 183
6 2 Operations planning 185
6 2 1 Assembly 185
6 2 2 Identification 186
Section 3 186
6 2 3 Slinging points 187
Section 3 187
6 2 4 Transport dimensions and weights 188
6 2 5 Transport condition 188
Section 3 188
6 3 Checklists for rigging work 189
6 3 1 Overview 189
6 3 2 CHECKLIST: Installing the boom extension 190
6 3 3 CHECKLIST: Removing the boom extension 195
6 4 Description of the rigging work 201
6 4 1 Section 3 – Folding out/folding in the deflection sheave 201
6 4 2 Section 3/main boom – Establish/disconnect the connection 202
6 4 3 Section 3/main boom – Establish/disconnect the electrical connections 204
6 4 4 Section 3/main boom – Establish/disconnect the hydraulic connection 206
6 4 5 Section 3/swing-away lattice – Establish/disconnect the connection 207
6 4 6 Section 3/swing-away lattice – Establish/disconnect the electrical connections 209
6 4 7 Section 3/swing-away lattice – Establish/disconnect the hydraulic connection 211
6 4 8 Section 3 – Fitting/removing the hoist rope 212
6 5 Operation with boom extension 213
6 5 1 Setting the RCL 213
Input 213
Shutdown 214
6 5 2 Derricking, telescoping the main boom 214
Slewing range of 360° 214
6 5 3 Procedure if permissible wind speeds are exceeded 215
6 5 4 Instructions for turning loads over 215
6 6 Maintenance 217
6 6 1 Maintenance plan M 1 217
6 6 2 Maintenance plan M 3 217
6 6 3 Description of maintenance work 218
7 Heavy load lattice extension, 2 0 m (6 6 ft) 219
7 1 Operations planning 219
7 1 1 Assembly 219
7 1 2 Identification 220
7 1 3 Slinging points 221
7 1 4 Transport dimensions and weights 222
7 1 5 Transport condition 223
7 2 Checklists for rigging work 225
7 2 1 Overview 225
7 2 2 CHECKLIST: Heavy load lattice extension 2 0 m (6 6 ft) installation into the working position 226
7 2 3 CHECKLIST: Heavy load lattice extension 2 0 m (6 6 ft) Installation into the transport position 229
7 2 4 CHECKLIST: Heavy load lattice extension 2 0 m (6 6 ft) removal from the working position 231
7 2 5 CHECKLIST: Heavy load lattice extension 2 0 m (6 6 ft) removal from the transport position 234
7 2 6 CHECKLIST: Heavy load lattice extension 2 0 m (6 6 ft) rigging into the working position 236
7 2 7 CHECKLIST: Heavy load lattice extension 2 0 m (6 6 ft) rigging into the transport position 239
7 3 Description of the rigging work 243
7 3 1 Section 5/main boom– Establish/separate the connection in the working position 243
7 3 2 Section 5/main boom – Establish/separate the connection in the transport position 244
7 3 3 Bringing section 5 from the transport position into the working position 246
7 3 4 Bringing section 5 from the working position into the transport position 248
7 3 5 Folding the rope attachment point in/out 250
7 3 6 Section 5 – Setting the angle – with the hoist rope 251
7 3 7 Section 5 – Setting the angle – with a chain hoist 253
7 3 8 Section 5 –Fitting/removing the hoist rope 255
7 3 9 Possible reeving methods on the heavy load lattice extension 256
7 3 10 Installing/removing the lifting limit switch 257
Installation 257
Removing 258
7 3 11 Installing / removing the anemometer and air traffic control light 259
Installing and removing 259
7 3 12 Installing/removing the camera 260
Installation 260
Removing 261
7 4 Operating the heavy load lattice extension 263
7 4 1 Setting the RCL 263
Input 263
shutdown 264
7 4 2 Derricking, telescoping the main boom 265
Slewing range of 360° 265
7 4 3 Procedure if permissible wind speeds are exceeded 266
7 4 4 Instructions for turning loads over 266
7 5 Maintenance 267
7 5 1 Maintenance plan M 1 267
7 5 2 Maintenance plan M 3 267
7 5 3 Description of maintenance work 268
8 Heavy load lattice extension 1 8 m (5 9 ft) 269
8 1 Operations planning 269
8 1 1 Possible operating modes 269
8 1 2 Assembly 270
8 1 3 Identification 270
8 1 4 Slinging points 271
Heavy load lattice extension 271
Sheaves package 272
Shackle 272
8 1 5 Transport dimensions and weights 273
Heavy load lattice extension 273
Shackle 273
Sheaves package 273
8 1 6 Transport condition 274
8 2 Checklists for rigging work 277
8 2 1 Overview 277
8 2 2 CHECKLIST: Heavy load lattice extension 1 8 m (5 9 ft) installation into the working position 278
8 2 3 CHECKLIST: Heavy load lattice extension 1 8 m (5 9 ft) installation into the transport position 281
8 2 4 CHECKLIST: Heavy load lattice extension 1 8 m (5 9 ft) removal from the working position 283
8 2 5 CHECKLIST: Heavy load lattice extension 1 8 m (5 9 ft) removal from the transport position 286
8 2 6 CHECKLIST: Heavy load lattice extension 1 8 m (5 9 ft) rigging into the working position 288
8 2 7 CHECKLIST: Heavy load lattice extension 1 8 m (5 9 ft) rigging into the transport position 291
8 3 Rigging work 295
8 3 1 Section 6/main boom – Establish/separate the connection in the working position 295
8 3 2 Section 6/main boom– Establish/separate the connection in the transport position 296
8 3 3 Bringing section 6 from the transport position into the working position 298
8 3 4 Bringing section 6 from the working position into the transport position 300
8 3 5 Folding the rope attachment point in/out 303
8 3 6 Section 6 – Setting the angle – with the hoist rope 304
8 3 7 Section 6 – Setting the angle – with a chain hoist 306
8 3 8 Section 6 – Fitting/removing the hoist rope 308
8 3 9 Possible reeving methods on the heavy load lattice extension 309
8 3 10 Installing/removing the lifting limit switch 311
Installation 311
Removing 312
8 3 11 Installing / removing the anemometer and air traffic control light 313
8 3 12 Installing/removing the camera 314
Installation 314
Removing 315
8 3 13 Installing/removing the air traffic control light 316
Installing 316
Removing 317
8 3 14 Installing/removing the shackle 318
Installing 318
Removing 319
8 3 15 Folding in/folding out the shackle 320
8 4 Heavy load lattice extension – Operation with hoist rope 321
8 4 1 Setting the RCL 321
Input 321
Shutdown 322
8 4 2 Derricking, telescoping the main boom 323
Slewing range of 360° 323
8 4 3 Procedure if permissible wind speeds are exceeded 324
8 4 4 Instructions for turning loads over 324
8 5 Heavy load lattice extension – Operation with a shackle 325
8 5 1 Setting the RCL 325
Input 325
Shutdown 326
8 5 2 Derricking the main boom 327
Lifting the load 327
Derricking 328
8 5 3 Telescoping the main boom 329
8 5 4 Procedure if permissible wind speeds are exceeded 330
8 6 Maintenance 331
8 6 1 Maintenance plan M 1 331
8 6 2 Maintenance plan M 3 331
8 6 3 Maintenance plan M 12 331
8 6 4 Description of maintenance work 332
9 Auxiliary single-sheave boom top 333
9 1 Operations planning 333
9 1 1 Identification and slinging points 333
9 1 2 Transport dimensions and weights 334
9 1 3 Transport condition 334
9 2 Description of the rigging work 337
9 2 1 Moving the auxiliary single-sheave boom top into operating position 337
9 2 2 Moving the auxiliary single-sheave boom top into the transport position 339
9 2 3 Installing/removing a folded auxiliary single-sheave boom top 341
9 2 4 Attaching/removing the hoist rope 343
9 2 5 Installing/removing the lifting limit switch 344
Installing 344
Removing 345
9 2 6 Installing/removing the anemometer and air traffic control light 346
Installing and removing 346
9 2 7 Installing/removing the camera 346
9 3 Operation with the auxiliary single-sheave boom top 347
9 3 1 Setting the RCL 347
Input 347
Shutdown 348
9 3 2 Procedure if permissible wind speeds are exceeded 349
9 3 3 Instructions for turning loads over 349
9 4 Maintenance 351
9 4 1 Maintenance plan M 1 351
9 4 2 Maintenance plan M 3 351
9 4 3 Description of maintenance work 352
10 Turning loads over 353
Prerequisites 353
10 1 Setting the RCL 354
Entering the reeving 354
Switching over to the auxiliary hoist 354
10 2 Turning a load over 355
11 Driving with a rigged crane 357
11 1 Safety instructions 357
11 2 Driving path 358
11 3 Permissible rigging modes and axle loads 359
Notes on the tables 359
11 3 1 Swing-away lattice 360
Swing-away lattice 1 2 + 7 5 m (3 9 + 24 6 ft) 360
Swing-away lattice 1 2 + 13 8 m (3 9 + 45 3 ft) 362
11 3 2 Boom extension 364
Boom extension 7 7 + 13 8 m (23 6 + 45 3 ft) 364
11 3 3 Heavy load lattice extension 2 0 m (6 6 ft) 366
Heavy load lattice extension 2 0 m (6 6 ft) 366
11 3 4 Heavy load lattice extension 1 8 m (5 9 ft) 368
Heavy load lattice extension 1 8 m (5 9 ft) 368
11 3 5 Auxiliary single-sheave boom top 370
11 4 Before driving 371
11 5 While driving 371
11 6 After driving 371
12 Index 373
A 375
B 375
D 376
H 376
L 378
M 378
O 378
P 379
R 379
S 379
T 380
Questions? Email us: [email protected]
S.M