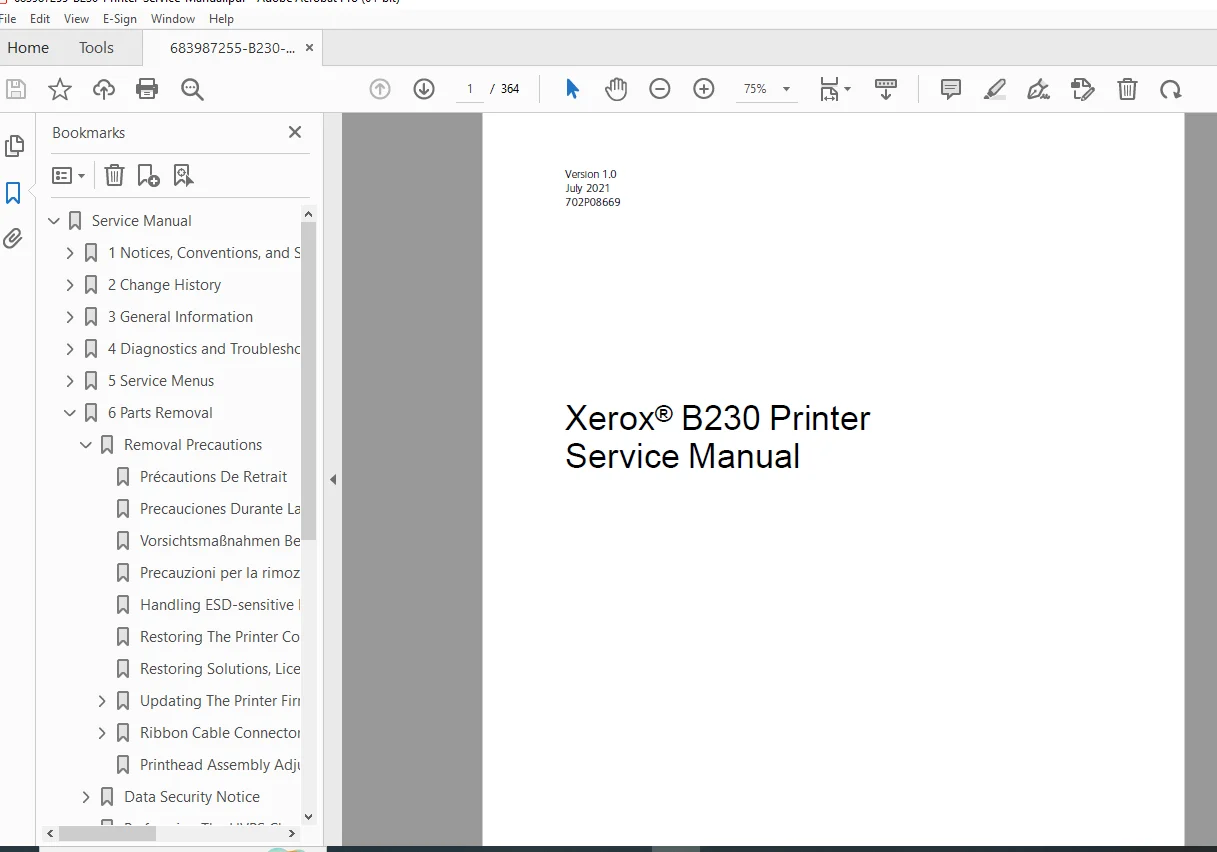
Xerox B230 Printer Service Manual 2021 – PDF DOWNLOAD
Original price was: $85.00.$16.95Current price is: $16.95.
Comprehensive Xerox B230 printer troubleshooting guide and B230 paper jam clearance procedures for laser printers. Includes Xerox B230 parts removal instructions, B230 error codes diagnostics, printer fuser replacement guide, and wiring diagram Xerox B230 printer. Covers diagnostics, parts catalog, specifications, and maintenance for certified technicians ensuring reliable repairs and adjustments.
Description
Xerox B230 Printer Service Manual 2021 – PDF DOWNLOAD
Description
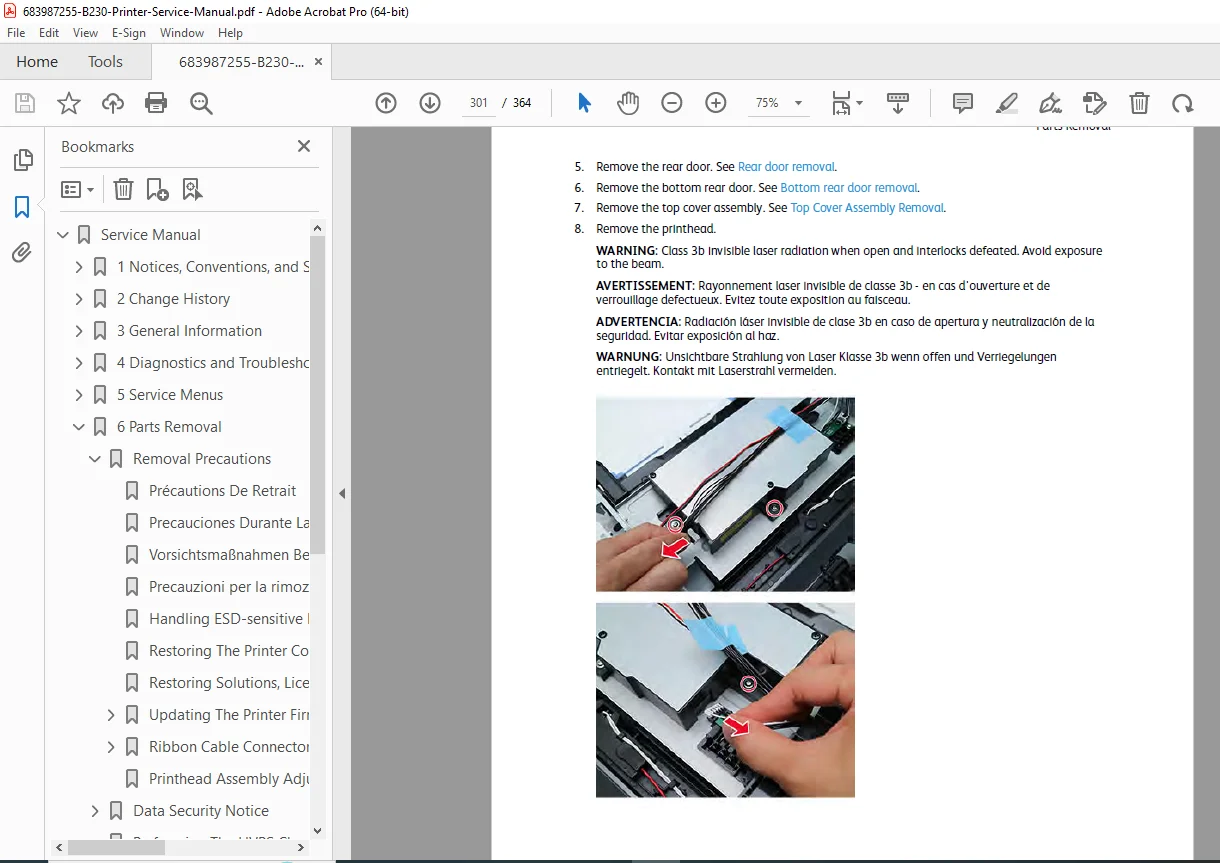
This detailed Xerox B230 printer service manual 2021 offers in-depth guidance for servicing, troubleshooting, and maintaining the Xerox B230 laser printer, designed for certified product-trained service personnel. It emphasizes safety with multilingual notices on laser hazards, electrical precautions, and health incident reporting, while providing Xerox B230 printer troubleshooting guide sections for print quality issues like gray backgrounds, blank pages, streaks, and skews, alongside B230 paper jam clearance procedures for codes 200, 202, 206, and 232. The manual includes step-by-step Xerox B230 parts removal instructions for components such as covers, drives, sensors, and electronics, with precautions for ESD-sensitive parts and ribbon cable handling.
Diagnostic tools cover B230 error codes diagnostics including user attendance messages (8-12, 31-33, 34-42, 55, 84, 88), hardware errors (111, 121, 126, 140, 6yy, 9yy), and other symptoms like no power or display issues. It details service menus for diagnostics, config, and engineer modes, plus recovery and invalid engine modes. The printer fuser replacement guide is highlighted in rear removals, with adjustments for printhead alignment and HVPS characterization. Theory of operation explains POR sequences, print cycles, paper paths, and main drive functions, supported by wiring diagram Xerox B230 printer for electrical troubleshooting.
Table of Contents
- 1 Notices, Conventions, and Safety Information (Page 9)
- Laser Notice (Page 10)
- Avis Relatif À L’utilisation Du Laser (Page 10)
- Aviso De Láser (Page 10)
- Laser-hinweis (Page 11)
- Avvertenza sui prodotti laser (Page 11)
- Conventions (Page 12)
- Conventions (Page 12)
- Convenciones (Page 12)
- Konventionen (Page 13)
- Convenzioni (Page 13)
- Safety Information (Page 15)
- Consignes De Sécurité (Page 15)
- Información De Seguridad (Page 16)
- Sicherheitshinweise (Page 17)
- Informazioni sulla sicurezza (Page 18)
- Health and Safety Incident Reporting (Page 20)
- 2 Change History (Page 23)
- July, 2021 (Page 24)
- 3 General Information (Page 25)
- Printer Model Configurations (Page 26)
- Locating the Printer Serial Number (Page 27)
- Supported Paper Sizes, Types, and Weights (Page 28)
- Supported Paper Sizes (Page 28)
- Supported Paper Types (Page 30)
- Supported Paper Weights (Page 31)
- Tools Required For Service (Page 32)
- 4 Diagnostics and Troubleshooting (Page 33)
- Troubleshooting Precautions (Page 34)
- Précautions De Dépannage (Page 34)
- Precauciones Durante La Solución De Problemas (Page 35)
- Vorsichtsmaßnahmen Bei Der Fehlerbehebung (Page 35)
- Precauzioni per gli interventi di riparazione (Page 36)
- Troubleshooting Overview (Page 38)
- Performing The Initial Troubleshooting Check (Page 38)
- Fixing Print Quality Issues (Page 39)
- Initial Print Quality Check (Page 39)
- Supplies Used to Resolve Print Quality Issues (Page 39)
- Gray or Solid Background Check (Page 40)
- Solid Color or Black Image Check (Page 45)
- Blank or White Pages Check (Page 48)
- Dark Print Check (Page 53)
- Light Print Check (Page 58)
- Paper Curl Check (Page 63)
- Folded or Wrinkled Paper Check (Page 66)
- Repeating Defects Check (Page 68)
- Skewed Print Check (Page 73)
- Streaked Vertical Lines Appear On Prints Check (Page 76)
- Horizontal White Lines Check (Page 81)
- Vertical White Lines Check (Page 85)
- Vertical Colored Lines or Banding Check (Page 90)
- Vertical Dark Streaks With Print Missing Check (Page 95)
- White Streaks and Voided Areas Check (Page 100)
- Clipped Pages or Images Check (Page 105)
- Compressed Images Appear On Prints Check (Page 110)
- Incorrect Margins On Prints Check (Page 114)
- Toner Rubs Off Check (Page 117)
- Toner Specks Appear On Prints Check (Page 120)
- Paper Jams (Page 124)
- Avoiding Jams (Page 124)
- 200 Paper Jams (Page 125)
- 202 Paper Jams (Page 133)
- 206 Paper Jams (Page 148)
- 232 Paper Jams (Page 157)
- User Attendance Messages (Page 163)
- Non-Xerox Supply (Page 163)
- 8–12 User Attendance Messages (Page 163)
- 31–33 User Attendance Messages (Page 167)
- 34–42 User Attendance Errors (Page 174)
- 55 User Attendance Messages (Page 178)
- 84 User Attendance Messages (Page 179)
- 88 User Attendance Messages (Page 183)
- Non-supply User Attendance Errors (Page 184)
- Printer Hardware Errors (Page 190)
- 111 Error Messages (Page 190)
- 121 Errors (Page 191)
- 126 Errors (Page 197)
- 140 Errors (Page 199)
- 6yy Errors (Page 202)
- Procedure Before Starting The 9yy Service Checks (Page 209)
- 9yy Errors (Page 210)
- Other Symptoms (Page 220)
- Base Printer Symptoms (Page 220)
- Door Switch Service Check (Page 220)
- Load Tray 1 With A4 Plain Paper Service Check (Page 222)
- Paper Did Not Arrive In The Bin Service Check (Page 225)
- Tray Insert Obstructed Service Check (Page 228)
- Unable To Remove Toner Cartridge Service Check (Page 229)
- No Display Service Check (Page 230)
- No Power Service Check (Page 232)
- Troubleshooting Precautions (Page 34)
- 5 Service Menus (Page 235)
- Understanding The Printer Control Panel (Page 236)
- Using The Control Panel (Page 236)
- Understanding The Status Of The Power Button and Indicator Light (Page 237)
- Diagnostics Menu (Page 238)
- Entering The Diagnostics Menu (Page 238)
- Reports (Page 238)
- Advanced Print Quality Samples (Page 238)
- Format Fax Storage (Page 238)
- Event Log (Page 239)
- Input Tray Quick Print (Page 240)
- Output Bin Quick Feed (Page 240)
- Printer Setup (Page 240)
- Printer Diagnostics & Adjustments (Page 242)
- Config Menu (Page 244)
- Entering The Config Menu (Page 244)
- Config Menu (Page 244)
- Service Engineer Menu (Page 246)
- Entering The Service Engineer (SE) Menu (Page 246)
- General SE (Page 246)
- Network SE (Page 246)
- Scan SE (Page 247)
- Entering Invalid Engine Mode (Page 248)
- Entering Recovery Mode (Page 249)
- For LED Display (Page 249)
- For 2-line Display (Page 249)
- For 2.4-, 4.3-, 7-, and 10-inch Displays (Page 249)
- For 2.8-inch Display (Page 250)
- Understanding The Printer Control Panel (Page 236)
- 6 Parts Removal (Page 251)
- Removal Precautions (Page 252)
- Précautions De Retrait (Page 252)
- Precauciones Durante La Extracción (Page 253)
- Vorsichtsmaßnahmen Bei Der Demontage (Page 253)
- Precauzioni per la rimozione (Page 254)
- Handling ESD-sensitive Parts (Page 254)
- Restoring The Printer Configuration After Replacing The Controller Board (Page 255)
- Restoring Solutions, Licenses, and Configuration Settings (Page 255)
- Updating The Printer Firmware (Page 257)
- Ribbon Cable Connectors (Page 258)
- Printhead Assembly Adjustment (Page 271)
- Data Security Notice (Page 273)
- Identifying Printer Memory (Page 273)
- Erasing Printer Memory (Page 273)
- Performing The HVPS Characterization (Page 274)
- Removal Procedures (Page 275)
- Left Side Removals (Page 276)
- Left Cover Removal (Page 276)
- Controller Board Removal (Page 279)
- LVPS Removal (Page 280)
- HVPS Removal (Page 281)
- Right Side Removals (Page 284)
- Right Cover Removal (Page 284)
- Main Drive Removal (Page 286)
- Pick Solenoid Removal (Page 288)
- Fan Assembly Removal (Page 288)
- Front Removals (Page 291)
- Front Door Removal (Page 291)
- Transfer Roller Removal (Page 291)
- Rear Removals (Page 293)
- Rear Door Removal (Page 293)
- Duplex Unit Removal (Page 293)
- Bottom Rear Door Removal (Page 293)
- Redrive Removal (Page 294)
- Fuser Removal (Page 295)
- Fuser Exit Flag Removal (Page 297)
- Top Removals (Page 299)
- Top Cover Assembly Removal (Page 299)
- Printhead Removal (Page 300)
- Bottom Removals (Page 303)
- Sensor (Fuser Exit) Removal (Page 303)
- Sensor (Paper Present) Removal (Page 303)
- Sensor (Staging and Input) Removal (Page 304)
- Input Sensor Flags Removal (Page 306)
- Pick Rollers Removal (Page 306)
- Removal Precautions (Page 252)
- 7 Component Locations (Page 311)
- Printer Configuration (Page 312)
- Controller Board Connectors (Page 313)
- 8 Maintenance (Page 317)
- Cleaning Printer Parts (Page 318)
- Cleaning The Printer (Page 318)
- Cleaning Printer Parts (Page 318)
- 9 Parts Catalog (Page 319)
- Legend (Page 320)
- Assembly 1: Covers (Page 321)
- Assembly 2: Paper Path (Page 323)
- Assembly 3: Drive (Page 325)
- Assembly 4: Sensors (Page 327)
- Assembly 5: Electronics (Page 329)
- 10 Printer Specifications (Page 331)
- Power Consumption (Page 332)
- Product Power Consumption (Page 332)
- Sleep Mode (Page 332)
- Hibernate Mode (Page 333)
- Off Mode (Page 333)
- Total Energy Usage (Page 333)
- Selecting A Location For The Printer (Page 334)
- Noise Emission Levels (Page 336)
- Temperature Information (Page 337)
- Power Consumption (Page 332)
- 11 Theory Of Operation (Page 339)
- POR Sequence (Page 340)
- Print Cycle Operation (Page 341)
- Print Engine Layout (Page 341)
- Print Cycle (Page 342)
- Printer Operation (Page 348)
- Printer Sections (Page 348)
- Printer Paper Path (Page 349)
- Printer Paper Path Sensors (Page 351)
- Main Drive (Page 352)
- 12 Part Number Index (Page 355)
- 13 Part Name Index (Page 357)
- 14 Wiring Diagram (Page 359)
- Wiring Diagram (B230) (Page 360)
Parts Catalog Legend (From page 320):
- Asm-index: Identifies the item in the illustration.
- Part number: Identifies the unique number that correlates with the part.
- Units/mach: Refers to the number of units actually used in the base machine or product.
- Units/FRU: Refers to the number of units in a particular FRU.
- Description: Describes the part.
- Abbreviations: NS (not shown) indicates the part is procurable but not pictured; PP (parts packet) indicates the part is contained in a parts packet.
Part Number Index (Extracted as table from pages 355-356):
| P/N | Part name |
|---|---|
| 002N03388 | Right cover |
| 002N03389 | Rear door |
| 002N03390 | Bottom rear door |
| 002N03391 | Left cover |
| 002N03394 | Control panel and fax FFC cable |
| 002N03403 | Top cover assembly |
| 002N03426 | Front door |
| 007N01854 | Main drive |
| 007N01856 | Redrive |
| 022N02900 | Pick roller |
| 022N02901 | Transfer roller |
| 046N00244 | Printhead |
| 050N00713 | Tray insert |
| 109N00874 | Controller board |
| 112N00262 | HVPS |
| 112N00263 | LVPS, 110 V |
| 112N00264 | LVPS, 220 V |
| 117N02196 | Cable kit parts pack |
| 121N01275 | Pick solenoid |
| 126N00454 | Fuser, 110 V |
| 126N00455 | Fuser, 220 V |
| 127N07966 | Fan assembly |
| 130N01905 | Sensor (paper present) |
| 130N01906 | Sensor (staging and input) |
| 130N01907 | Sensor (fuser exit) |
| 130N01908 | Sensor flags |
| 152N11949 | Duplex unit |
Part Name Index (Extracted as table from pages 357-358):
| P/N | Part name |
|---|---|
| 002N03390 | Bottom rear door |
| 117N02196 | Cable kit parts pack |
| 002N03394 | Control panel and fax FFC cable |
| 109N00874 | Controller board |
| 152N11949 | Duplex unit |
| 127N07966 | Fan assembly |
| 002N03426 | Front door |
| 126N00454 | Fuser, 110 V |
| 126N00455 | Fuser, 220 V |
| 112N00262 | HVPS |
| 002N03391 | Left cover |
| 112N00263 | LVPS, 110 V |
| 112N00264 | LVPS, 220 V |
| 007N01854 | Main drive |
| 022N02900 | Pick roller |
| 121N01275 | Pick solenoid |
| 046N00244 | Printhead |
| 002N03389 | Rear door |
| 007N01856 | Redrive |
| 002N03388 | Right cover |
| 130N01907 | Sensor (fuser exit) |
| 130N01905 | Sensor (paper present) |
| 130N01906 | Sensor (staging and input) |
| 130N01908 | Sensor flags |
| 002N03403 | Top cover assembly |
| 022N02901 | Transfer roller |
| 050N00713 | Tray insert |
No dedicated bookmarks are present in the PDF. The manual uses standard symbols for warnings, cautions, and notes, with translated safety sections for international compliance. Ideal for professionals applying Xerox B230 printer troubleshooting guide, B230 paper jam clearance procedures, Xerox B230 parts removal instructions, B230 error codes diagnostics, or printer fuser replacement guide in service environments, supported by wiring diagram Xerox B230 printer for electrical diagnostics.
File Details
- Manual Name: Xerox® B230 Printer Service Manual
- Models Covered: B230
- Year: 2021
- Manual PDF Quality: High-quality with clear text, tables, diagrams, and illustrations
- No of Pages: 364