★ TRUSTED BY 321,897+ PROFESSIONALS WORLDWIDE
🏒
Trusted Business
Verified & Licensed
πŸ›‘οΈ
Virus Free Files
100% Safe Downloads
πŸ”’
Secure Payment
SSL Protected
⚑
Instant Delivery
Available Immediately
Sale!

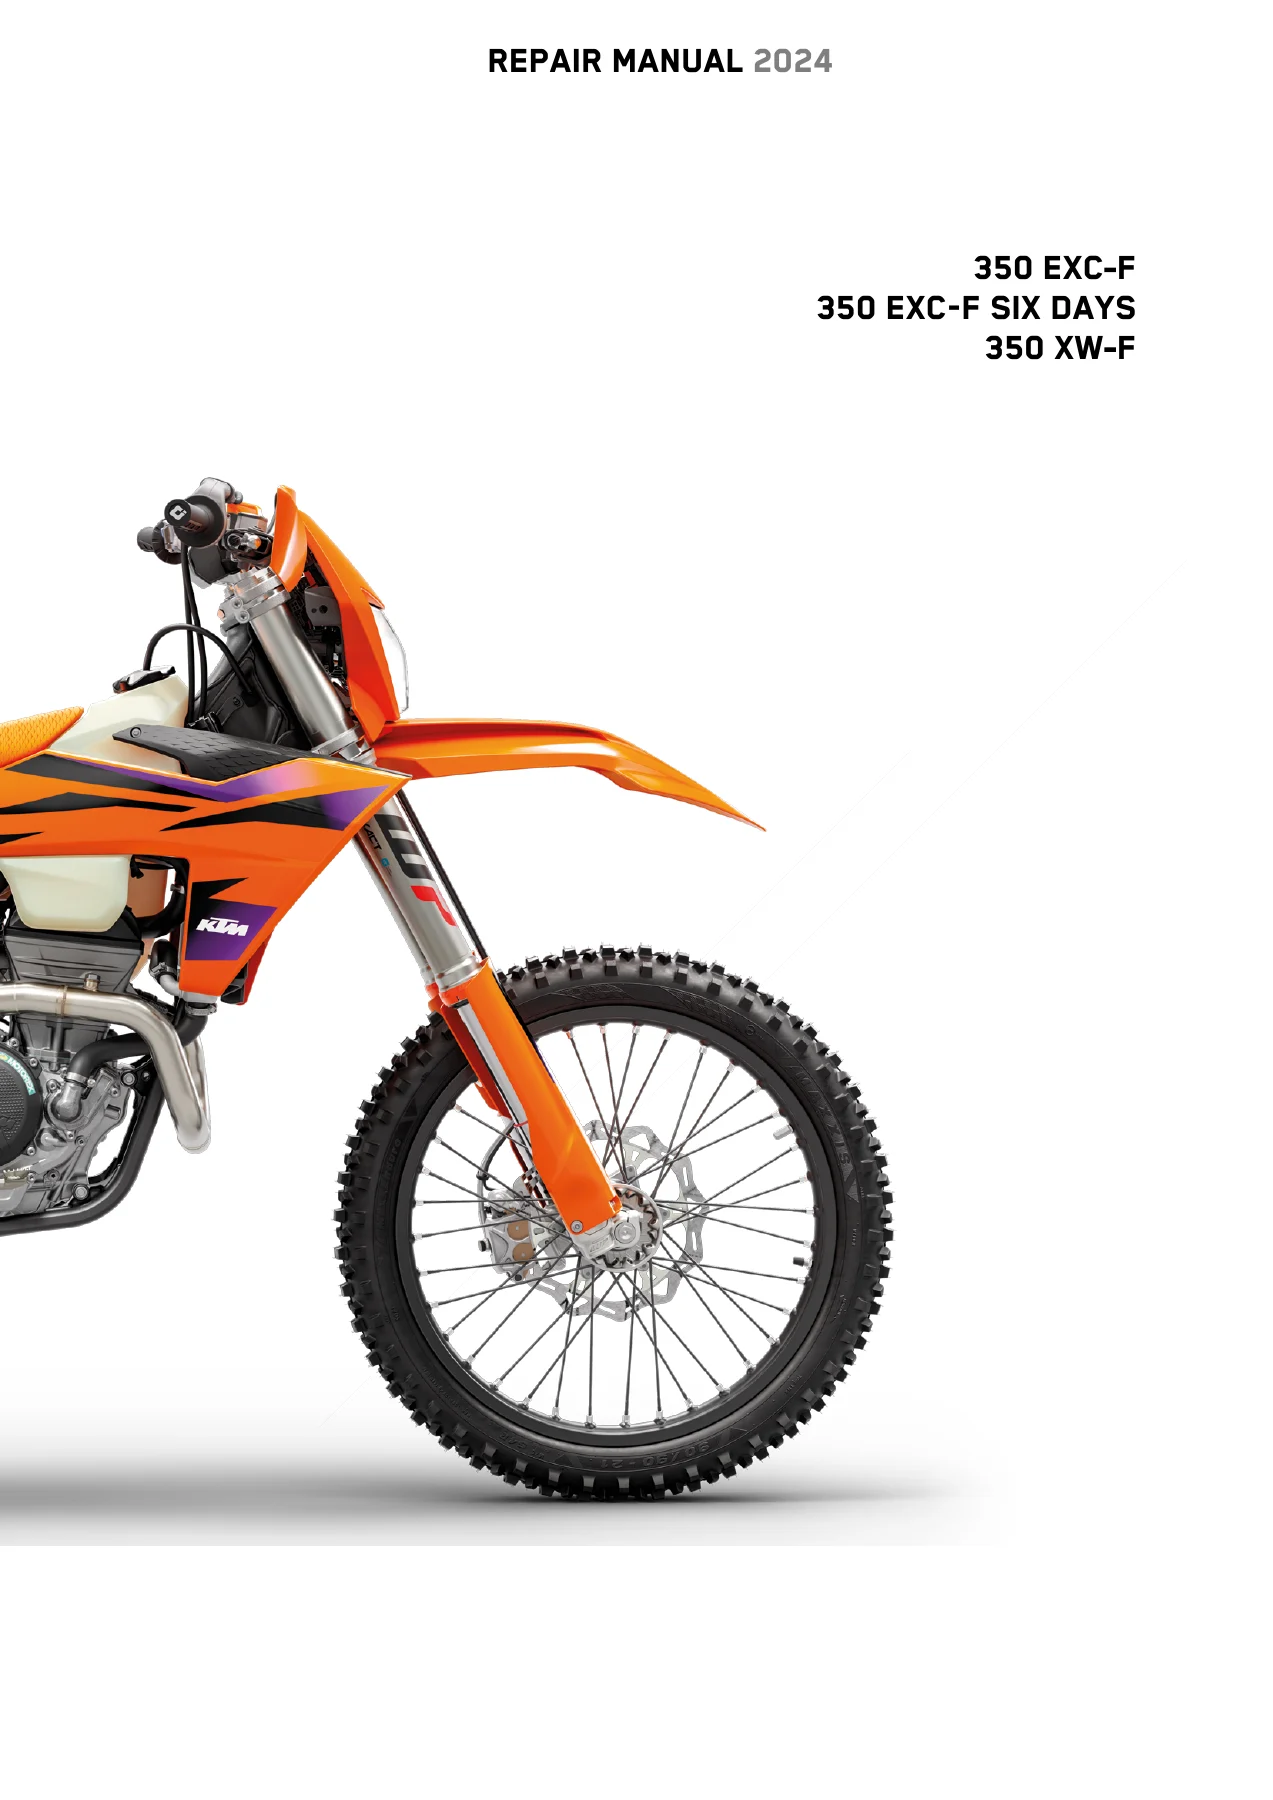
2024 KTM 350 EXC-F, 350 EXC-F Six Days & 350 XW-F Repair Manual PDF

Original price was: $44.95.Current price is: $27.95.

Complete 2024 KTM repair manual for 350 EXC-F, 350 EXC-F SIX DAYS and 350 XW-F models, covering engine overhaul, suspension, brakes, fuel and electrical systems, service schedules, technical specifications, wiring diagrams and special tools.

⚑
Instant PDF Download
Available immediately
πŸ’Ύ
Save to Your Device
Download & keep forever
πŸ›‘οΈ
Antivirus Scanned
100% virus-free
🌍
Trusted Worldwide
175,000+ customers

Description

2024 KTM 350 EXC-F, 350 EXC-F Six Days & 350 XW-F Repair Manual PDF

The 2024 KTM 350 EXC-F, 350 EXC-F Six Days & 350 XW-F Repair Manual PDF is a detailed repair and service reference for the 2024 350 EXC-F, 350 EXC-F SIX DAYS, and 350 XW-F families identified in the manual. It covers workshop procedures from routine checks and chassis service through complete engine removal, disassembly, inspection, measurement, reassembly, electrical testing, fuel-system work, brake service, suspension overhaul, technical specifications, service schedules, wiring diagrams, and special tools. Procedures distinguish between standard models, special models, XW-F, EXC-F US, BR, EU, and other regional variants wherever the work differs.

File Details

  • Manual type: Repair Manual
  • Brand: KTM
  • Models: 350 EXC-F, 350 EXC-F SIX DAYS, 350 XW-F
  • Model year: 2024
  • Language: English
  • Pages: 359
  • File format: PDF

Model and Regional Coverage

This 2024 KTM 350 repair manual identifies coverage for 350 EXC-F EU, 350 EXC-F, 350 EXC-F BR, 350 EXC-F SIX DAYS EU, 350 EXC-F SIX DAYS AR, 350 EXC-F SIX DAYS ASEAN, 350 EXC-F SIX DAYS BR, 350 EXC-F SIX DAYS CN, and 350 XW-F US. The procedure text marks model-specific differences rather than treating every configuration as identical. Examples include standard-model and special-model steering and suspension work, XW-F-specific items, EXC-F US service information, and market-specific electrical and battery details. This makes the manual useful when the exact model designation and regional configuration matter during a repair.

The manual also shows where to locate the vehicle identification number, type label, engine number, fork part number, and shock absorber article number. These identification sections help a technician confirm the machine and components before following a model-dependent procedure.

Workshop-Level Repair and Service Content

The manual is organized around actual workshop operations, with preparatory work, main work, finishing work, safety notes, required special tools, tightening instructions, fluids, measurements, and inspection criteria placed alongside the relevant procedures. It explicitly states that certain tasks require special KTM tools and workshop equipment. That is important for buyers planning major engine, suspension, bearing, brake, or diagnostic work rather than only basic maintenance.

Engine removal, teardown, inspection and assembly

A major section of the 2024 KTM 350 EXC-F, 350 EXC-F Six Days & 350 XW-F Repair Manual PDF is devoted to the engine. It covers removing and installing the engine, locking the engine for disassembly, draining engine oil and removing the oil filter, removing the cylinder head and cylinder, dismantling the alternator and clutch sides, separating the engine case, and working on individual engine components. Inspection and measurement procedures include the crankshaft, connecting rod and crank pin work, crankshaft run-out and end play, cylinder and piston measurement, piston-to-cylinder clearance, piston ring end gap, camshafts, camshaft pivot points, valves, valve springs, cylinder head, timing assembly, clutch, shift mechanism, main shaft, countershaft, and transmission.

Engine assembly is treated as a complete sequence, including engine-case assembly, clutch-side and alternator-side assembly, cylinder and cylinder-head installation, valve-clearance checking and adjustment, oil-filter and oil-screen installation, and removal from the engine work stand. Separate chapters then address the clutch, shift mechanism, cooling system, lubrication system, ignition, cylinder head, electric starter, and throttle valve body. This gives the manual depth for both internal engine work and the systems that support engine operation.

Suspension, steering, frame and running gear

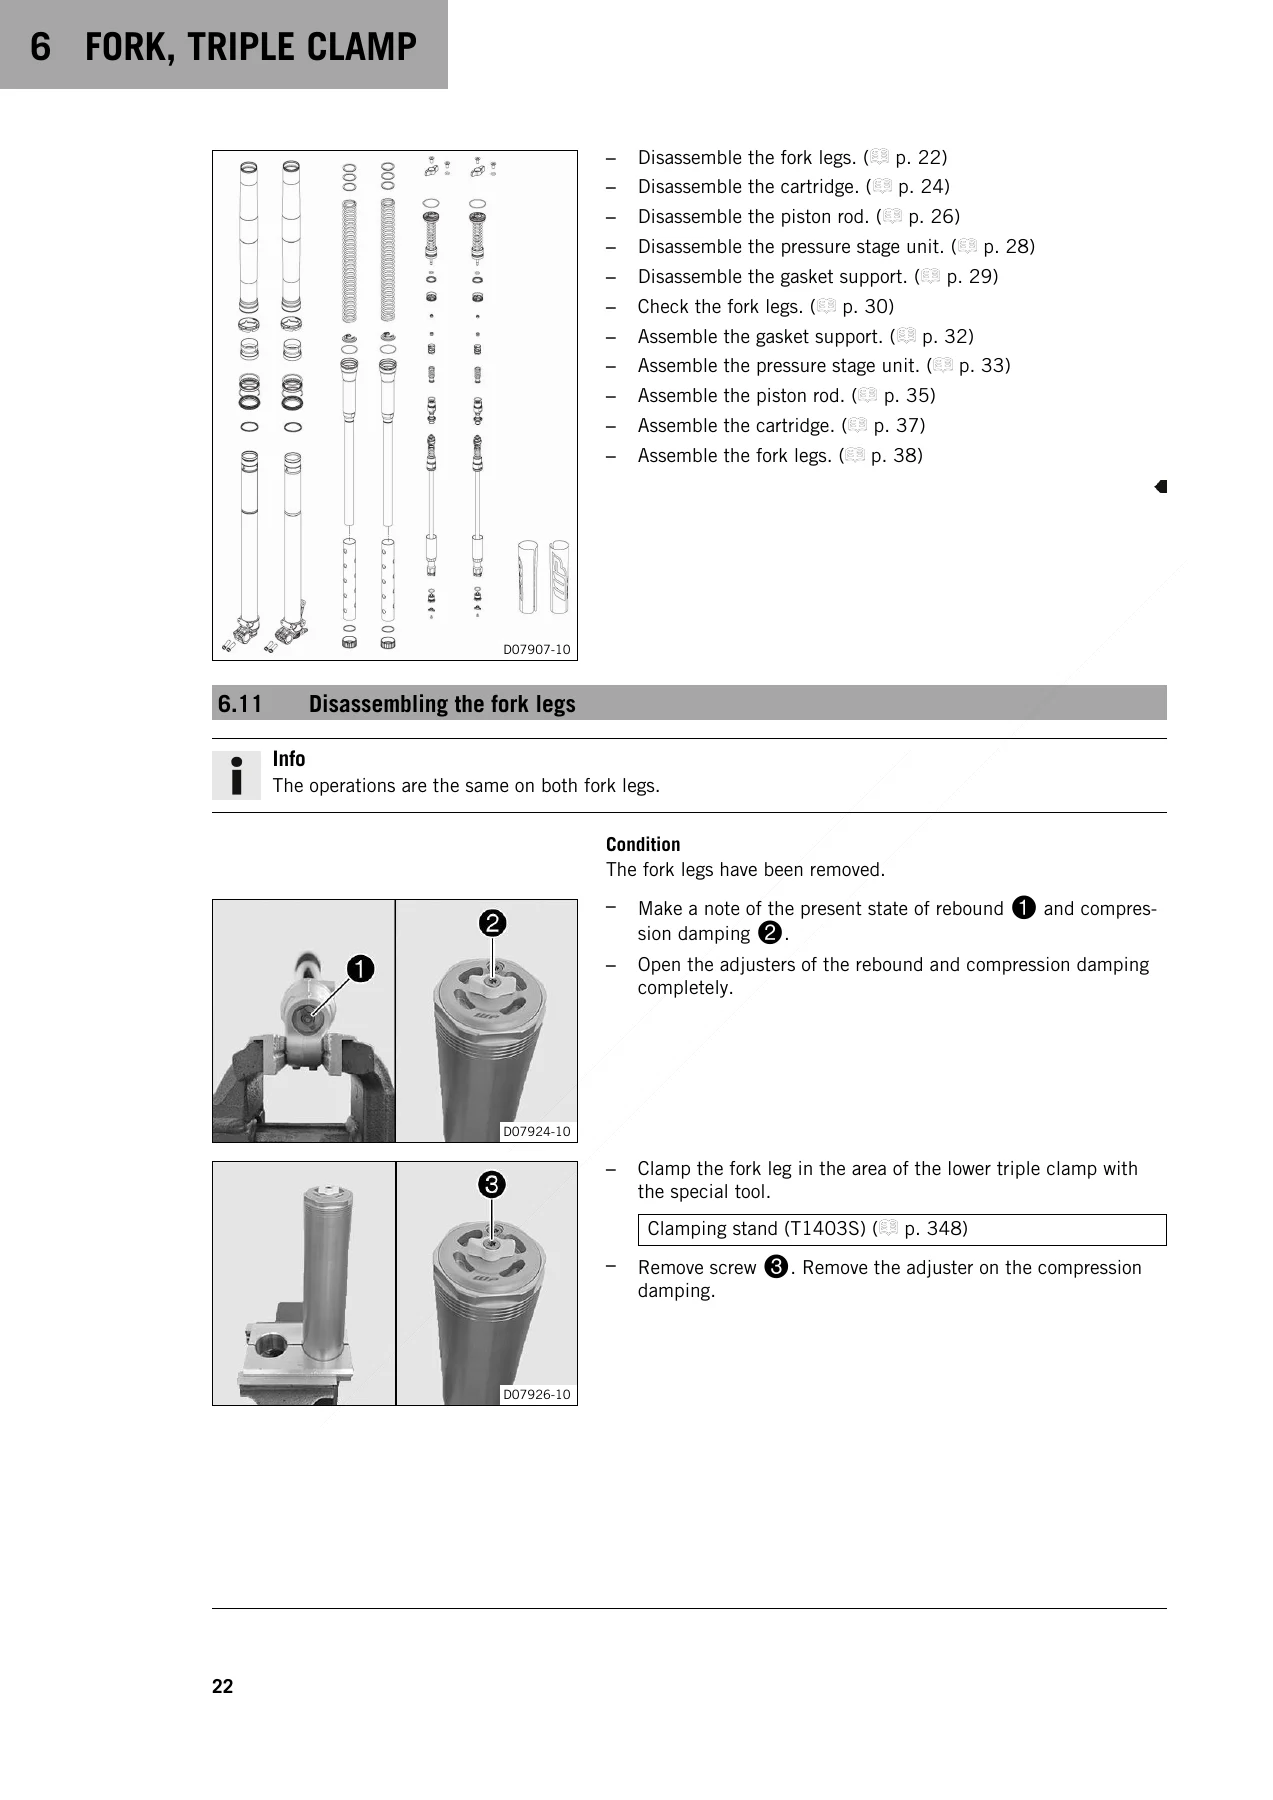
Front suspension coverage extends far beyond external adjustment. The fork and triple-clamp chapter includes compression and rebound damping, spring preload, fork-leg bleeding, dust-boot cleaning, fork-leg removal and installation, complete fork service, cartridge and piston-rod disassembly, pressure-stage and gasket-support work, inspection measurements, reassembly, steering-head bearing service, and lower triple-clamp procedures. The manual supplies inspection limits, oil quantities, tightening values, special-tool references, and setting guidance at the point of use.

Complete PDF Bookmark Tree

Complete Bookmarks

The complete bookmarks in the β€œ2024 KTM 350 EXC-F, 350 EXC-F Six Days & 350 XW-F Repair Manual PDF” are as follows:

1 MEANS OF REPRESENTATIONp. 9
1.1 Symbols usedp. 9
1.2 Formats usedp. 9
2 SAFETY ADVICEp. 10
2.1 Repair Manualp. 10
2.2 Safety advicep. 10
2.3 Degrees of risk and symbolsp. 10
2.4 Work rulesp. 10
3 IMPORTANT NOTESp. 12
3.1 Manufacturer warranty, implied warrantyp. 12
3.2 Fuel, auxiliary substancesp. 12
3.3 Spare parts, technical accessoriesp. 12
3.4 Figuresp. 12
4 SERIAL NUMBERSp. 13
4.1 Vehicle identification numberp. 13
4.2 Type labelp. 13
4.3 Key number (All standard models, EXC‑F BR, EXC-F SIX DAYS BR, 350 EXC‑F SIX DAYS EU, 350 EXC‑F SIX DAYS AR, 350 EXC‑F SIX DAYS ASEAN)p. 14
4.4 Engine numberp. 14
4.5 Fork part numberp. 14
4.6 Shock absorber article numberp. 15
5 MOTORCYCLEp. 16
5.1 Raising the motorcycle with the lift standp. 16
5.2 Removing the motorcycle from the lift standp. 16
5.3 Starting the vehiclep. 16
5.4 Starting the motorcycle to check the functionp. 17
6 FORK, TRIPLE CLAMPp. 19
6.1 Adjusting the compression damping of the forkp. 19
6.2 Adjusting the rebound damping of the forkp. 19
6.3 Adjusting the spring preload of the forkp. 20
6.4 Bleeding the fork legsp. 20
6.5 Cleaning the dust boots of the fork legsp. 21
6.6 Removing the fork legsp. 21
6.7 Installing the fork legsp. 22
6.8 Removing the fork protectorp. 23
6.9 Installing the fork protectorp. 23
6.10 Servicing the forkp. 23
6.11 Disassembling the fork legsp. 24
6.12 Disassembling the cartridgep. 26
6.13 Disassembling the piston rodp. 28
6.14 Disassembling the pressure stage unitp. 30
6.15 Disassembling the gasket supportp. 31
6.16 Checking the fork legsp. 32
6.17 Assembling the gasket supportp. 34
6.18 Assembling the pressure stage unitp. 35
6.19 Assembling the piston rodp. 37
6.20 Assembling the cartridgep. 39
6.21 Assembling the fork legsp. 40
6.22 Lubricating the steering head bearingp. 44
6.23 Removing the lower triple clampp. 44
6.24 Removing the lower triple clamp (All special models)p. 45
6.25 Installing the lower triple clampp. 46
6.26 Installing the lower triple clamp (All special models)p. 48
6.27 Changing the steering head bearing (All standard models, XW-F)p. 50
6.28 Changing the steering head bearing (All special models)p. 51
6.29 Checking the steering head bearing playp. 53
6.30 Adjusting the steering head bearing playp. 53
6.31 Adjusting the steering head bearing play (All special models)p. 54
7 HANDLEBAR, CONTROLSp. 55
7.1 Handlebar positionp. 55
7.2 Adjusting the handlebar positionp. 55
7.3 Adjusting the basic position of the clutch leverp. 57
7.4 Checking the throttle cable routingp. 57
7.5 Checking the play in the throttle cablep. 59
7.6 Adjusting the play in the throttle cablep. 59
7.7 Adjusting the characteristic map of the throttle responsep. 60
7.8 Checking the rubber gripp. 61
8 FRAMEp. 63
8.1 Checking the framep. 63
8.2 Removing the frame protectorp. 63
8.3 Installing the frame protectorp. 63
8.4 Removing the engine guard (All special models incl. XW-F)p. 63
8.5 Installing the engine guard (All special models incl. XW-F)p. 64
8.6 Changing the footrestsp. 64
9 SHOCK ABSORBER, LINK FORKp. 66
9.1 Adjusting the high-speed compression damping of the shock absorberp. 66
9.2 Adjusting the low-speed compression damping of the shock absorberp. 66
9.3 Adjusting the rebound damping of the shock absorberp. 67
9.4 Measuring the dimension of the rear wheel unloadedp. 67
9.5 Checking the static sag of the shock absorberp. 68
9.6 Checking the riding sag of the shock absorberp. 69
9.7 Adjusting the spring preload of the shock absorberp. 69
9.8 Adjusting the riding sagp. 70
9.9 Removing the shock absorberp. 71
9.10 Installing the shock absorberp. 72
9.11 Servicing the shock absorberp. 74
9.12 Removing the springp. 74
9.13 Disassembling the damperp. 75
9.14 Disassembling the piston rodp. 77
9.15 Checking the damperp. 78
9.16 heim joint, changingp. 79
9.17 Assembling the piston rodp. 80
9.18 Assembling the damperp. 82
9.19 Installing the springp. 84
9.20 Checking the shock absorber heim joint for playp. 85
9.21 Checking the link forkp. 86
9.22 Checking the fork bearing for playp. 86
9.23 Removing the link forkp. 87
9.24 Installing the link forkp. 88
9.25 Changing the link fork bearingp. 89
10 EXHAUST SYSTEMp. 92
10.1 Removing the manifoldp. 92
10.2 Installing the manifoldp. 93
10.3 Removing the main silencerp. 94
10.4 Installing the main silencerp. 94
10.5 Changing the glass fiber yarn filling in the main silencerp. 94
10.6 Cleaning the spark arrestor (EXC-F US, XW-F US)p. 95
11 AIR FILTERp. 97
11.1 Removing the air filter box coverp. 97
11.2 Installing the air filter box coverp. 97
11.3 Preparing air filter box cover for securingp. 98
11.4 Removing the air filterp. 98
11.5 Installing the air filterp. 99
11.6 Cleaning the air filter and air filter boxp. 99
12 FUEL TANK, SEAT, TRIMp. 101
12.1 Opening the fuel tank filler capp. 101
12.2 Closing the fuel tank filler capp. 101
12.3 Removing the seatp. 102
12.4 Mounting the seatp. 102
12.5 Removing the fuel tankp. 103
12.6 Installing the fuel tankp. 104
12.7 Changing the fuel screenp. 106
12.8 Changing the fuel filterp. 107
12.9 Changing the fuel pumpp. 109
12.10 Checking the fuel pressurep. 111
13 MASK, FENDERp. 113
13.1 Removing the front fenderp. 113
13.2 Installing the front fenderp. 113
13.3 Removing the headlight mask with the headlightp. 114
13.4 Installing the headlight mask with the headlightp. 114
14 WHEELSp. 115
14.1 Checking tire pressurep. 115
14.2 Checking the tire conditionp. 115
14.3 Checking the wheel bearing for playp. 116
14.4 Checking the brake discsp. 117
14.5 Checking spoke tensionp. 117
14.6 Checking the rim run-outp. 118
14.7 Front wheelp. 119
14.7.1 Removing the front wheelp. 119
14.7.2 Installing the front wheelp. 120
14.7.3 Changing the front wheel bearingp. 120
14.7.4 Changing the front brake discp. 121
14.8 Rear wheelp. 122
14.8.1 Removing the rear wheelp. 122
14.8.2 Installing the rear wheelp. 123
14.8.3 Changing the rear wheel bearingp. 124
14.8.4 Changing the rear brake discp. 126
14.8.5 Checking the chain tensionp. 127
14.8.6 Adjusting the chain tensionp. 127
14.8.7 Checking the chain, rear sprocket, engine sprocket, and chain guidep. 128
14.8.8 Checking for chain dirt accumulationp. 131
14.8.9 Cleaning the chainp. 131
14.8.10 Changing the drivetrain kitp. 131
15 WIRING HARNESS, BATTERYp. 136
15.1 Changing the main fusep. 136
15.2 Changing the fuses of individual electrical power consumersp. 136
15.3 Disconnecting the negative cable of the 12-V batteryp. 138
15.4 Connecting the negative cable of the 12-V batteryp. 138
15.5 Removing the 12-V batteryp. 139
15.6 Installing the 12-V batteryp. 141
15.7 Charging the 12-V battery (All standard models without BR)p. 142
15.8 Charging the 12-V battery (EXC‑F BR, EXC-F SIX DAYS BR)p. 143
15.9 Checking the charging voltagep. 144
15.10 Checking the open-circuit currentp. 145
15.11 Checking the starter relayp. 145
15.12 Checking the wiring harnessp. 147
15.13 Diagnostics connectorp. 147
16 BRAKE SYSTEMp. 148
16.1 Checking that the brake linings of the front brake are securedp. 148
16.2 Changing the brake linings of the front brakep. 148
16.3 Checking the free travel of the hand brake leverp. 150
16.4 Adjusting the basic position of the hand brake lever (XW-F)p. 151
16.5 Adjusting the free travel of the handbrake leverp. 151
16.6 Checking the front brake fluid levelp. 151
16.7 Adding front brake fluidp. 152
16.8 Changing the front brake fluidp. 153
16.9 Checking that the brake linings of the rear brake are securedp. 155
16.10 Changing the rear brake liningsp. 155
16.11 Checking the free travel of foot brake leverp. 157
16.12 Adjusting the basic position of the foot brake leverp. 158
16.13 Checking the rear brake fluid levelp. 158
16.14 Adding rear brake fluidp. 159
16.15 Changing the rear brake fluidp. 160
17 LIGHTING SYSTEM, INSTRUMENTSp. 163
17.1 Checking the headlight settingp. 163
17.2 Adjusting the headlight rangep. 163
17.3 Changing the headlight bulbp. 164
17.4 Changing the turn signal bulb (All standard models, All standard models)p. 164
17.5 Combination instrument overviewp. 166
17.6 Activation and testp. 166
17.7 Setting kilometers or milesp. 166
17.8 Setting the combination instrumentp. 167
17.9 Setting the clockp. 167
17.10 Adjusting the wheel circumferencep. 168
17.11 Viewing the lap timep. 169
18 ENGINEp. 170
18.1 Removing the enginep. 170
18.2 Installing the enginep. 174
18.3 Engine disassemblyp. 180
18.3.1 Clamping engine into the engine work standp. 180
18.3.2 Locking the engine for disassemblyp. 180
18.3.3 Draining the engine oil and removing the oil filterp. 181
18.3.4 Removing the cylinder head and the cylinderp. 182
18.3.5 Disassembling the alternator sidep. 184
18.3.6 Dismantling the clutch sidep. 186
18.3.7 Preparing the engine for housing disassemblyp. 190
18.3.8 Dismantling the engine casep. 193
18.4 Working on individual partsp. 194
18.4.1 Working on the right section of the engine casep. 194
18.4.2 Working on the left section of the engine casep. 196
18.4.3 Working on the clutch coverp. 197
18.4.4 Checking the oil pressure control valvep. 199
18.4.5 Checking the lubrication systemp. 200
18.4.6 Removing the crankshaft bearing inner racep. 200
18.4.7 Installing the crankshaft bearing inner racep. 201
18.4.8 Changing the connecting rod, conrod bearing and crank pinp. 202
18.4.9 Checking the crankshaft run-out at the bearing pinp. 204
18.4.10 Measuring the crankshaft end playp. 205
18.4.11 Checking/measuring the cylinderp. 205
18.4.12 Checking/measuring the pistonp. 206
18.4.13 Measuring the piston/cylinder mounting clearancep. 207
18.4.14 Checking the piston ring end gapp. 207
18.4.15 camshafts, checkingp. 208
18.4.16 Checking the pivot points of the camshaftsp. 208
18.4.17 Removing the valvesp. 209
18.4.18 valves, checkingp. 210
18.4.19 valve springs, checkingp. 210
18.4.20 Checking the valve spring seatp. 211
18.4.21 Checking the cam leversp. 211
18.4.22 Checking the cylinder headp. 211
18.4.23 Installing the valvesp. 212
18.4.24 Checking the freewheelp. 213
18.4.25 freewheel, removingp. 213
18.4.26 freewheel, installingp. 214
18.4.27 Checking the electric starter drivep. 215
18.4.28 Checking the timing assemblyp. 216
18.4.29 Preparing the timing chain tensioner for installationp. 217
18.4.30 Checking the clutchp. 218
18.4.31 Checking the shift mechanismp. 219
18.4.32 Preassembling the shift shaftp. 220
18.4.33 Disassembling the main shaftp. 220
18.4.34 Disassembling the countershaftp. 221
18.4.35 Checking the transmissionp. 222
18.4.36 Assembling the main shaftp. 224
18.4.37 Assembling the countershaftp. 225
18.5 Engine assemblyp. 226
18.5.1 Assembling the engine casep. 226
18.5.2 Preparing the engine for assemblyp. 227
18.5.3 Assembling the clutch sidep. 230
18.5.4 Assembling the alternator sidep. 235
18.5.5 Installing the cylinder head and the cylinderp. 237
18.5.6 Checking the valve clearancep. 240
18.5.7 Adjusting the valve clearancep. 241
18.5.8 Removing the engine blockingp. 242
18.5.9 Installing the oil filter and the oil screenp. 243
18.5.10 Removing the engine from the engine work standp. 244
19 CLUTCHp. 245
19.1 Checking/correcting the fluid level of hydraulic clutchp. 245
19.2 Checking the clutchp. 246
19.3 Changing the hydraulic clutch fluidp. 253
20 SHIFT MECHANISMp. 255
20.1 Changing the gear position sensorp. 255
20.2 Programming the gear position sensorp. 256
20.3 Programming the quickshifter (All special models)p. 257
21 WATER PUMP, COOLING SYSTEMp. 258
21.1 Cooling systemp. 258
21.2 Checking the antifreeze and coolant levelp. 258
21.3 Checking the coolant levelp. 259
21.4 Draining the coolantp. 260
21.5 Refilling coolantp. 260
21.6 Changing the coolantp. 261
21.7 Changing the coolant pipep. 262
22 LUBRICATION SYSTEMp. 267
22.1 Oil circuitp. 267
22.2 Checking the engine oil levelp. 267
22.3 Changing the engine oil and oil filter, cleaning the oil screensp. 268
22.4 Adding engine oilp. 271
22.5 Checking the oil pressurep. 271
23 IGNITIONp. 274
23.1 Ignition coil – checking the secondary windingp. 274
23.2 Checking the spark plug connectorp. 274
23.3 Alternator – checking the stator windingp. 274
23.4 Removing the stator and crankshaft speed sensorp. 275
23.5 Installing the stator and crankshaft speed sensorp. 275
23.6 Changing the spark plugp. 276
24 CYLINDER HEADp. 278
24.1 Checking the valve clearancep. 278
24.2 Adjusting the valve clearancep. 281
25 ELECTRIC STARTERp. 282
25.1 Checking the starter motorp. 282
26 THROTTLE VALVE BODYp. 283
26.1 Adjusting the idle speedp. 283
26.2 Checking the basic setting of throttle position sensor circuit Ap. 283
26.3 Adjusting the basic throttle position sensor settingp. 284
26.4 Performing the initialization runp. 287
27 TECHNICAL SPECIFICATIONSp. 288
27.1 Enginep. 288
27.2 Tolerance, engine wear limitsp. 289
27.3 Engine tightening torquesp. 289
27.4 Capacitiesp. 292
27.4.1 Engine oilp. 292
27.4.2 Coolantp. 292
27.4.3 Fuelp. 292
27.5 Chassisp. 292
27.6 Electrical systemp. 293
27.7 Tiresp. 294
27.8 Forkp. 295
27.9 Shock absorberp. 295
27.10 Chassis tightening torquesp. 296
28 CLEANING, CAREp. 299
28.1 Cleaning the motorcyclep. 299
28.2 Checks and maintenance steps for winter operationp. 300
29 STORAGEp. 301
29.1 Storagep. 301
29.2 Preparing for use after storagep. 302
30 SERVICE SCHEDULEp. 303
30.1 All standard models, All special models incl. XW-Fp. 303
30.1.1 Additional informationp. 303
30.1.2 Service schedulep. 303
30.2 EXC-F USp. 305
30.2.1 Additional informationp. 305
30.2.2 Service schedulep. 305
31 WIRING DIAGRAMp. 308
31.1 Page 1 of 5 (All standard models, All special models incl. XW-F)p. 308
31.2 Page 2 of 5 (All standard models, All special models incl. XW-F)p. 310
31.3 Page 3 of 5 (All standard models, All special models incl. XW-F)p. 312
31.4 Page 4 of 5 (All standard models, All special models incl. XW-F)p. 314
31.5 Page 5 of 5 (All standard models, All special models incl. XW-F)p. 316
31.6 Page 1 of 5 (EXC-F US)p. 318
31.7 Page 2 of 5 (EXC-F US)p. 320
31.8 Page 3 of 5 (EXC-F US)p. 322
31.9 Page 4 of 5 (EXC-F US)p. 324
31.10 Page 5 of 5 (EXC-F US)p. 326
32 SUBSTANCESp. 328
33 AUXILIARY SUBSTANCESp. 330
34 SPECIAL TOOLSp. 332
35 STANDARDSp. 352
36 LIST OF ABBREVIATIONSp. 353
INDEXp. 354
1p. 354
Ap. 354
Bp. 354
Cp. 354
Dp. 355
Ep. 355
Fp. 355
Gp. 356
Hp. 356
Ip. 356
Kp. 356
Lp. 356
Mp. 356
Op. 357
Pp. 357
Qp. 357
Rp. 357
Sp. 357
Tp. 357
Vp. 358
Wp. 358

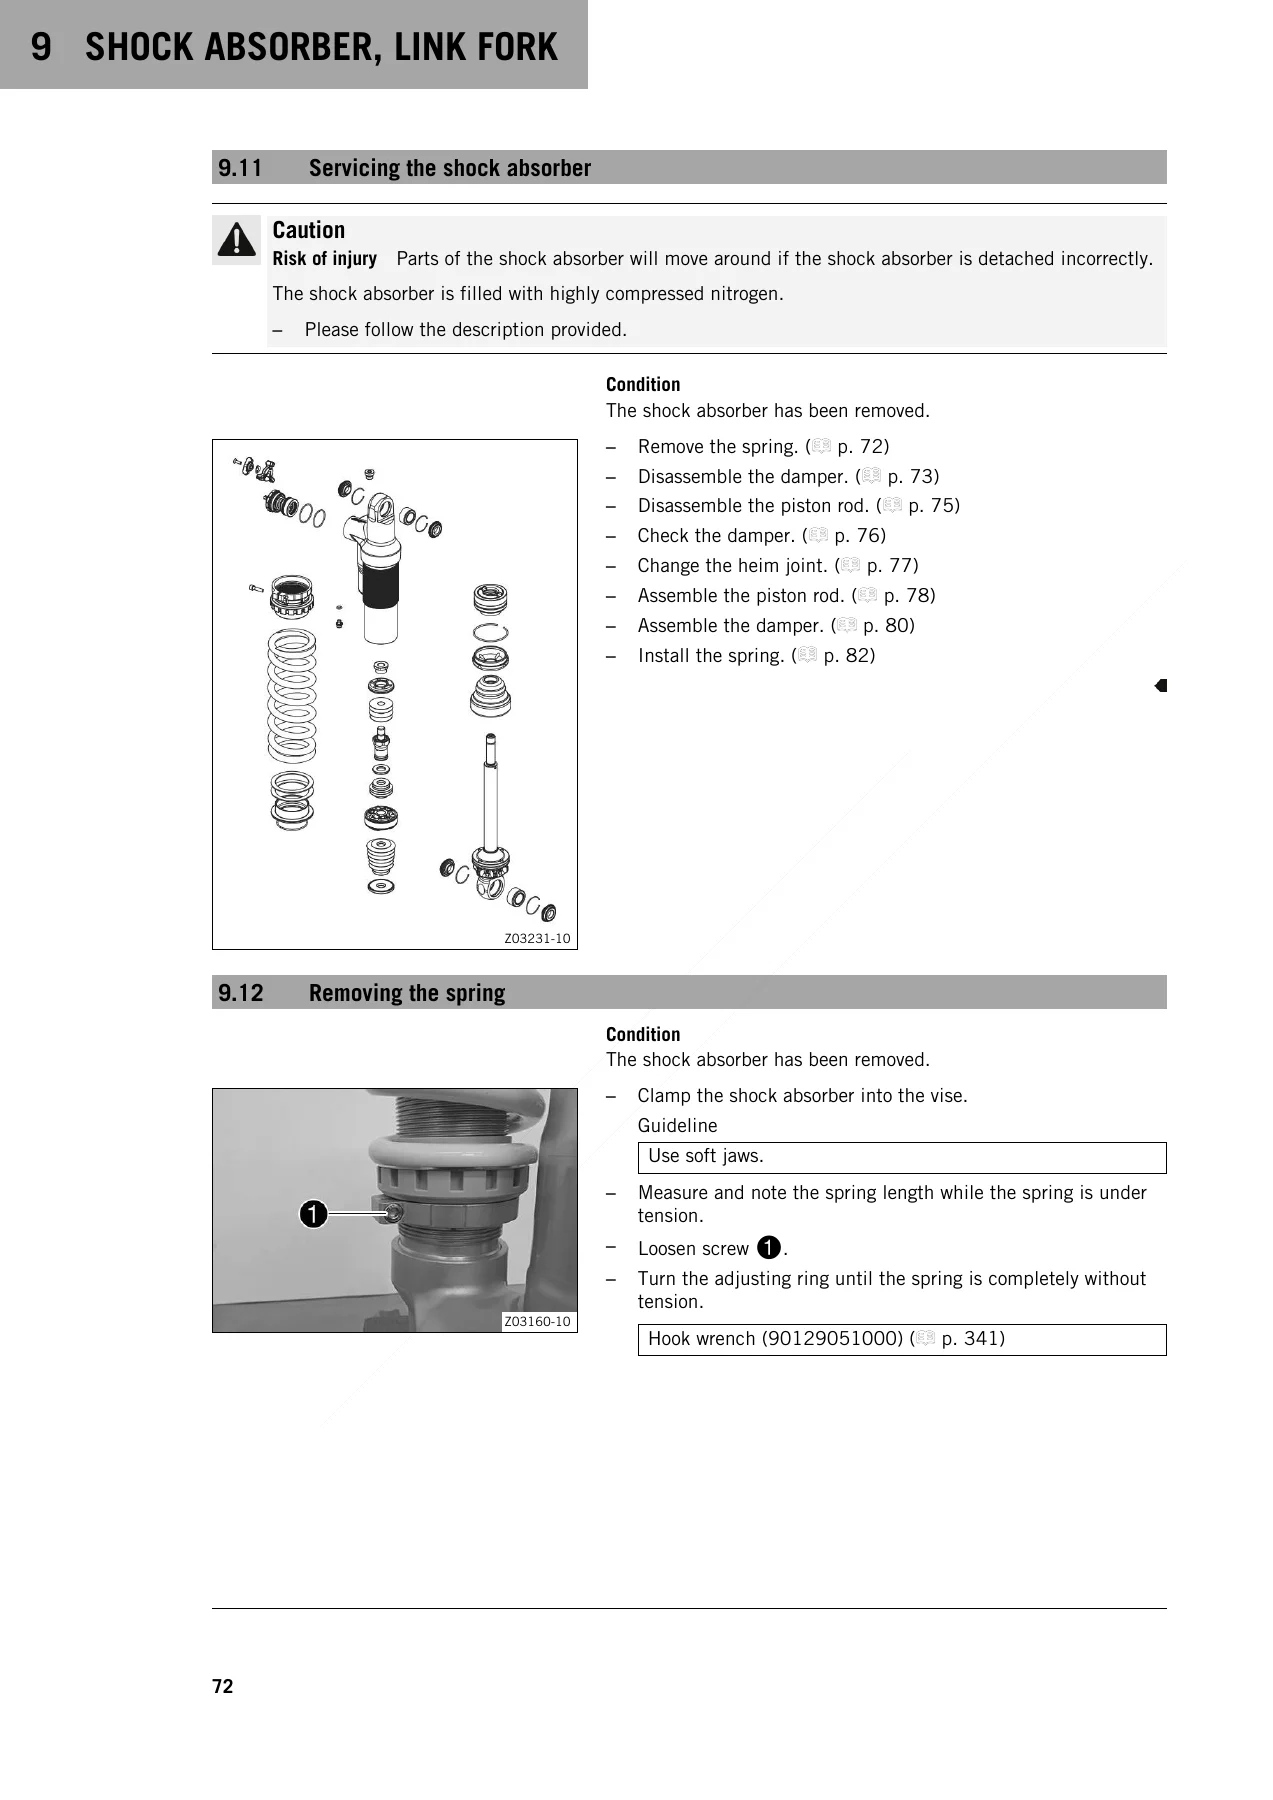
The rear suspension chapter covers high- and low-speed compression damping, rebound damping, static and riding sag, spring preload, spring selection, shock absorber removal and installation, damper and piston-rod service, heim-joint replacement, and link-fork and bearing work. Frame inspection, engine-guard procedures, footrest replacement, wheel service, wheel bearings, brake discs, spoke tension, rim run-out, chain tension, chain wear, chain cleaning, sprockets, and drivetrain-kit replacement are also included.

Fuel, intake, exhaust, brakes and electrical diagnosis

Fuel-system procedures include fuel-tank removal and installation, fuel screen replacement, fuel filter and fuel pump replacement, and fuel-pressure testing with the required test setup. Air-filter service covers removal, correct installation, cleaning, and air-filter-box care. Exhaust work includes manifold and main-silencer removal and installation, glass-fiber packing replacement, and spark-arrestor cleaning where applicable.

The brake section provides front and rear brake-lining checks and replacement, hand- and foot-brake lever free-travel adjustment, brake-fluid level checks, adding fluid, and complete front and rear brake-fluid replacement procedures. Electrical coverage includes fuses, the 12-V battery, battery charging, charging-voltage testing, open-circuit current, starter-relay testing, wiring-harness checks, and the diagnostics connector. Lighting and instrument procedures cover the headlight, turn signals where applicable, combination instrument, units, clock, wheel circumference, and related settings.

For electrical fault tracing, the manual includes multi-page wiring diagrams with component identifications for standard and special models including XW-F, plus a separate EXC-F US diagram set. The diagrams identify items such as control units, battery, alternator, starter relay, starter motor, fuel pump, lighting, sensors, injection components, ignition coil, switches, instrument, and diagnostics connector. The technical-specification chapter further consolidates engine data, wear limits, tightening torques, capacities, chassis data, electrical information, tires, fork, shock absorber, and chassis tightening torques.

Chapters Covered

  • 1. Means of Representation – symbols used; formats used
  • 2. Safety Advice – repair manual guidance; safety advice; degrees of risk and symbols; work rules
  • 3. Important Notes – warranty notes; fuel and auxiliary substances; spare parts and technical accessories; figures
  • 4. Serial Numbers – vehicle identification number; type label; key number; engine number; fork part number; shock absorber article number
  • 5. Motorcycle – lift-stand procedures; starting the vehicle; starting for function checks
  • 6. Fork, Triple Clamp – damping and spring-preload adjustment; fork service and overhaul; steering-head bearing and triple-clamp work
  • 7. Handlebar, Controls – handlebar position; clutch lever; throttle cables; throttle-response characteristic; rubber grips
  • 8. Frame – frame inspection; frame protector; engine guard; footrests
  • 9. Shock Absorber, Link Fork – damping and sag; spring preload; shock service; damper and piston rod; heim joint; link fork and bearings
  • 10. Exhaust System – manifold; main silencer; glass-fiber yarn filling; spark arrestor
  • 11. Air Filter – air-filter-box cover; air filter removal and installation; cleaning
  • 12. Fuel Tank, Seat, Trim – seat and fuel tank; fuel screen; fuel filter; fuel pump; fuel-pressure check
  • 13. Mask, Fender – front fender; headlight mask and headlight
  • 14. Wheels – tires; wheel bearings; brake discs; spokes and rim run-out; front and rear wheels; chain and drivetrain
  • 15. Wiring Harness, Battery – fuses; 12-V battery; charging checks; starter relay; wiring harness; diagnostics connector
  • 16. Brake System – front and rear linings; lever adjustment; brake-fluid checks and replacement
  • 17. Lighting System, Instruments – headlight; turn signals; combination instrument and settings
  • 18. Engine – engine removal and installation; engine disassembly; individual-part inspection and repair; engine assembly
  • 19. Clutch – hydraulic clutch fluid level; clutch checking; hydraulic clutch fluid replacement
  • 20. Shift Mechanism – gear-position sensor replacement and programming; quickshifter programming for applicable models
  • 21. Water Pump, Cooling System – cooling system; antifreeze and coolant checks; draining, refilling and changing coolant; coolant pipe
  • 22. Lubrication System – oil circuit; engine-oil level; oil and filter change; oil screens; oil pressure
  • 23. Ignition – ignition coil; spark-plug connector; alternator stator; crankshaft-speed sensor; spark plug
  • 24. Cylinder Head – valve-clearance checking and adjustment
  • 25. Electric Starter – starter-motor check
  • 26. Throttle Valve Body – idle speed; throttle-position sensor checks and adjustment; initialization run
  • 27. Technical Specifications – engine; wear limits; tightening torques; capacities; chassis; electrical system; tires; fork; shock absorber
  • 28. Cleaning, Care – motorcycle cleaning; checks and maintenance for winter operation
  • 29. Storage – storage preparation; returning the motorcycle to use
  • 30. Service Schedule – standard and special models including XW-F; separate EXC-F US schedule
  • 31. Wiring Diagram – five-page diagram set for standard/special models including XW-F; five-page EXC-F US set
  • 32. Substances – brake fluid; coolant; engine oil; fork oil; shock absorber fluid; fuel specifications
  • 33. Auxiliary Substances – cleaners, greases, lubricants and related workshop substances
  • 34. Special Tools – identified workshop tools and tool specifications
  • 35. Standards – referenced oil and viscosity standards
  • 36. List of Abbreviations – abbreviations used throughout the manual

Taken together, these chapters give a technician a connected path from identification and preliminary checks through dismantling, measurement, repair, adjustment, reassembly and final function checks. The service schedule also links recurring maintenance to the detailed procedures elsewhere in the manual, while the technical data, wiring diagrams, substances and special-tool sections provide the supporting references needed during workshop work.

Repair with the Correct Procedures and Specifications

The 2024 KTM 350 EXC-F, 350 EXC-F Six Days & 350 XW-F Repair Manual PDF is suited to owners and technicians handling maintenance, diagnosis, chassis work, suspension servicing, brake repairs, electrical checks, fuel-system work, valve service, clutch and transmission work, or a major engine teardown and rebuild. Having the prescribed sequences, inspection limits, tightening instructions, fluid information, wiring diagrams, service intervals and special-tool references in one manual helps repairs follow the documented procedure instead of relying on memory or approximate settings.

Delivered as an instant PDF after payment, there is no shipping delay or physical book to wait for. Open it on a compatible phone, tablet, laptop or desktop, keep it available in the workshop, and print the pages you need for the job.

IMAGES PREVIEW
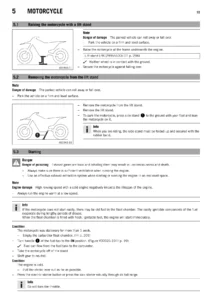
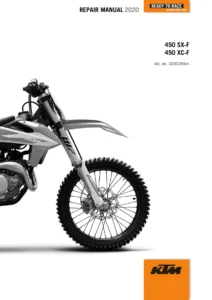
2024 KTM 350 EXC-F, 350 EXC-F Six Days & 350 XW-F Repair Manual PDF β€” PDF page 1 preview
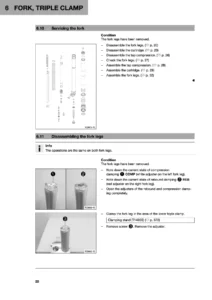
2024 KTM 350 EXC-F, 350 EXC-F Six Days & 350 XW-F Repair Manual PDF β€” PDF page 24 preview
2024 KTM 350 EXC-F, 350 EXC-F Six Days & 350 XW-F Repair Manual PDF β€” PDF page 74 preview

Reviews

There are no reviews yet.

Be the first to review “2024 KTM 350 EXC-F, 350 EXC-F Six Days & 350 XW-F Repair Manual PDF”

What Our Customers Say

β˜…β˜…β˜…β˜…β˜… Live reviews from customers
Loading customer reviews...
0
    0
    Your Cart
    Your cart is emptyReturn to Shop
    πŸ›’
    Recently Purchased
    πŸ•’ verified order