★ TRUSTED BY 321,897+ PROFESSIONALS WORLDWIDE
🏢
Trusted Business
Verified & Licensed
🛡️
Virus Free Files
100% Safe Downloads
🔒
Secure Payment
SSL Protected
Instant Delivery
Available Immediately
Sale!

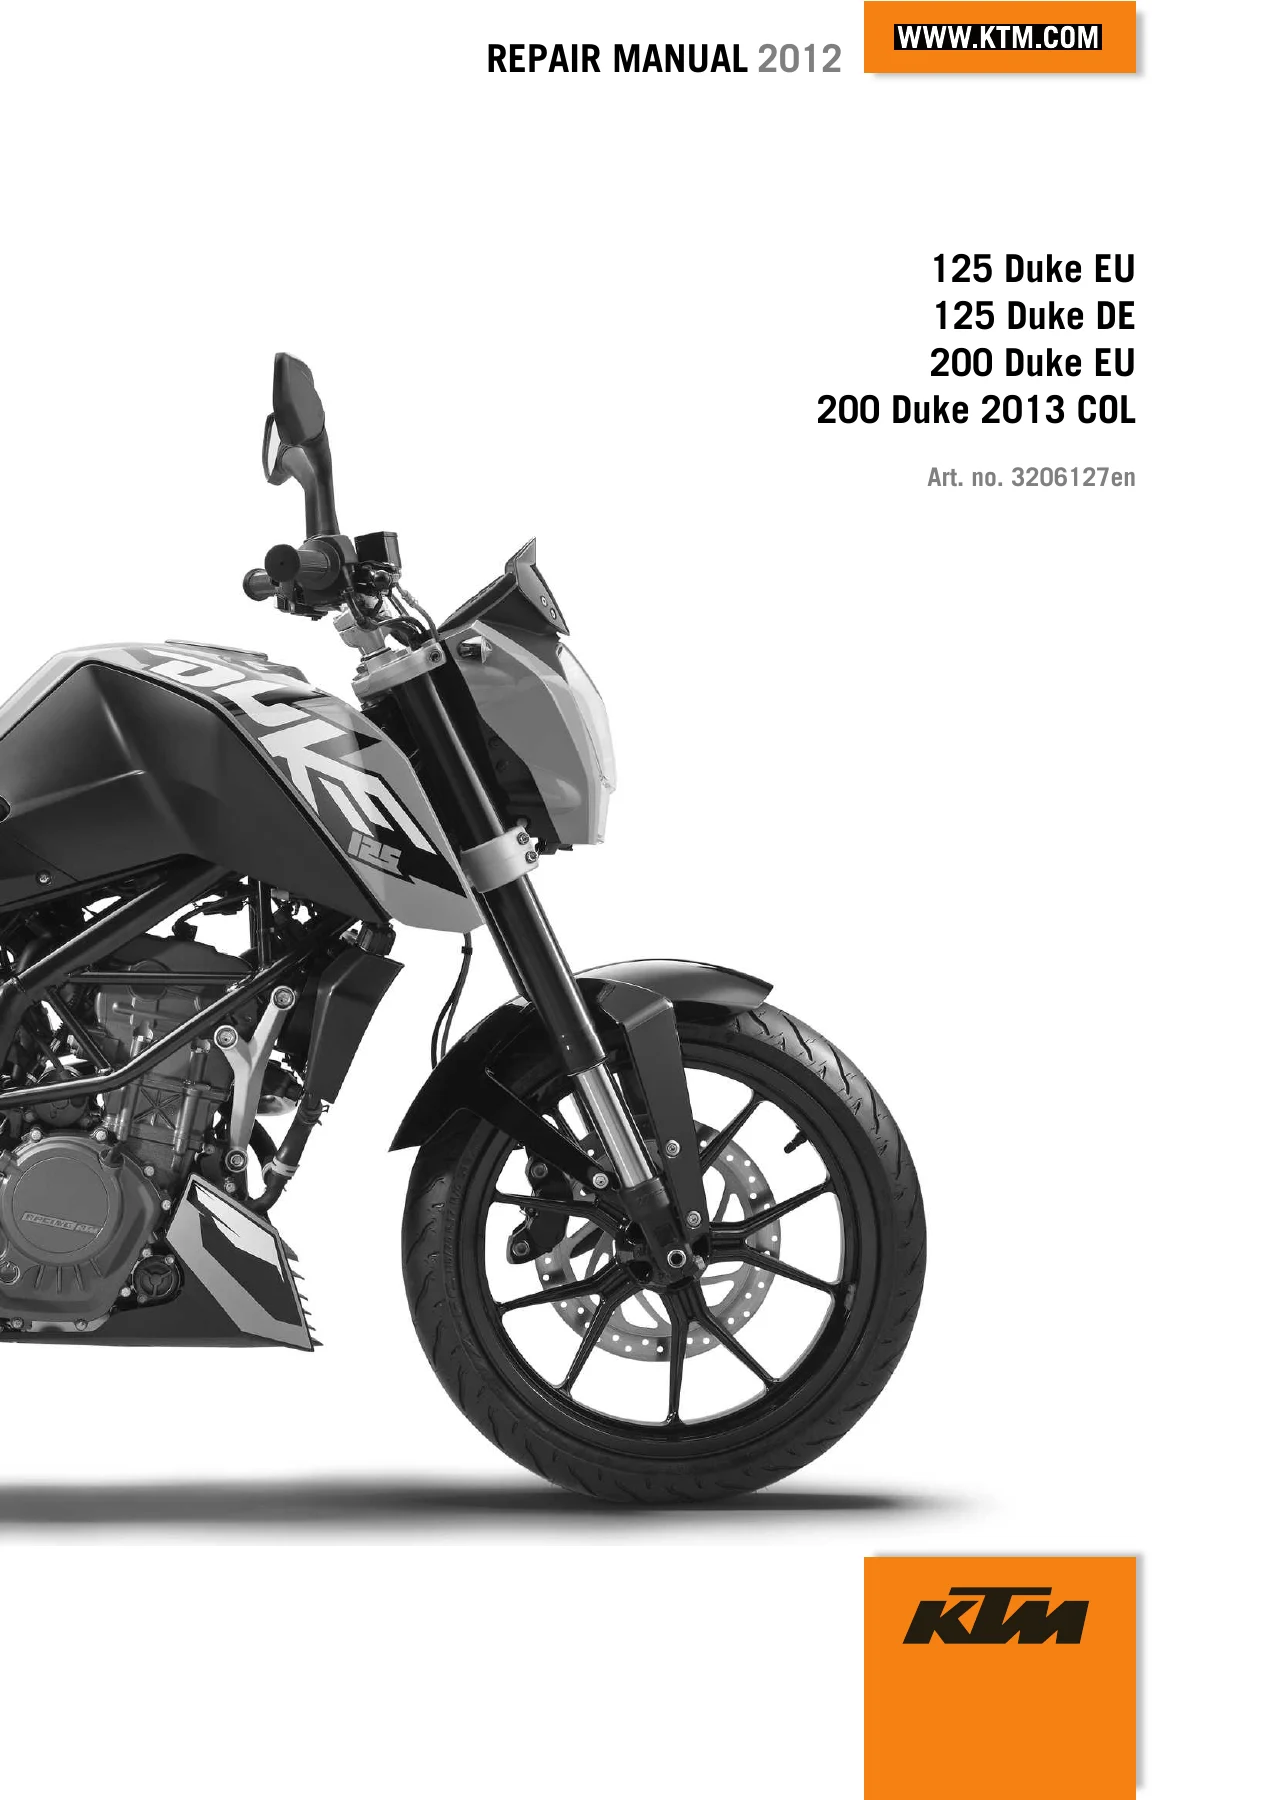
KTM 125 Duke & 200 Duke 2012-2013 Repair Manual PDF Download

Original price was: $29.95.Current price is: $17.95.

Complete factory-based repair manual for the 2012-2013 KTM 125 Duke and 200 Duke covering full engine teardown, chassis service, electrical diagnostics, and technical data. Instant PDF download, art. no. 3206127en.

Instant PDF Download
Available immediately
💾
Save to Your Device
Download & keep forever
🛡️
Antivirus Scanned
100% virus-free
🌍
Trusted Worldwide
175,000+ customers

Description

KTM 125 Duke & 200 Duke 2012-2013 Repair Manual PDF Download

This KTM 125 Duke & 200 Duke 2012-2013 Repair Manual PDF Download (Art. no. 3206127en, revised July 2013) is the complete workshop reference for the 125 Duke EU, 125 Duke DE, 200 Duke EU, and 200 Duke 2013 COL models. It is built around the same repair sequences used in the KTM workshop, walking a technician through every removal, disassembly, inspection, and reassembly step for both single-cylinder engines from start to finish.

File Details

  • Manual type: Factory-style repair manual
  • Brand / Models: KTM 125 Duke EU, 125 Duke DE, 200 Duke EU, 200 Duke 2013 COL
  • Language: English
  • Page count: 267 pages
  • File format: PDF, instant digital download
  • Document number: Art. no. 3206127en
  • Revision: Revised July 2013

Complete PDF Bookmark Tree

Complete Bookmarks

The complete bookmarks in the “KTM 125 Duke & 200 Duke 2012-2013 Repair Manual PDF Download” are as follows:

1 MEANS OF REPRESENTATIONp. 8
1.1 Symbols usedp. 8
1.2 Formats usedp. 8
2 SAFETY ADVICEp. 9
2.1 Repair Manualp. 9
2.2 Safety advicep. 9
2.3 Degrees of risk and symbolsp. 9
2.4 Work rulesp. 9
3 IMPORTANT NOTESp. 10
3.1 Guarantee, warrantyp. 10
3.2 Operating and auxiliary substancesp. 10
3.3 Spare parts, accessoriesp. 10
3.4 Figuresp. 10
4 SERIAL NUMBERSp. 11
4.1 Chassis number/type labelp. 11
4.2 Key numberp. 11
4.3 Engine numberp. 11
5 MOTORCYCLEp. 12
5.1 Raising the motorcycle with the rear wheel standp. 12
5.2 Taking the motorcycle off of the rear wheel standp. 12
5.3 Raising the motorcycle with the front wheel standp. 12
5.4 Taking the motorcycle off of the front wheel standp. 13
5.5 Raising the motorcycle with the work standp. 13
5.6 Removing the motorcycle from the work standp. 14
5.7 Startingp. 15
5.8 Starting the motorcycle to make checksp. 16
6 FORK, TRIPLE CLAMPp. 17
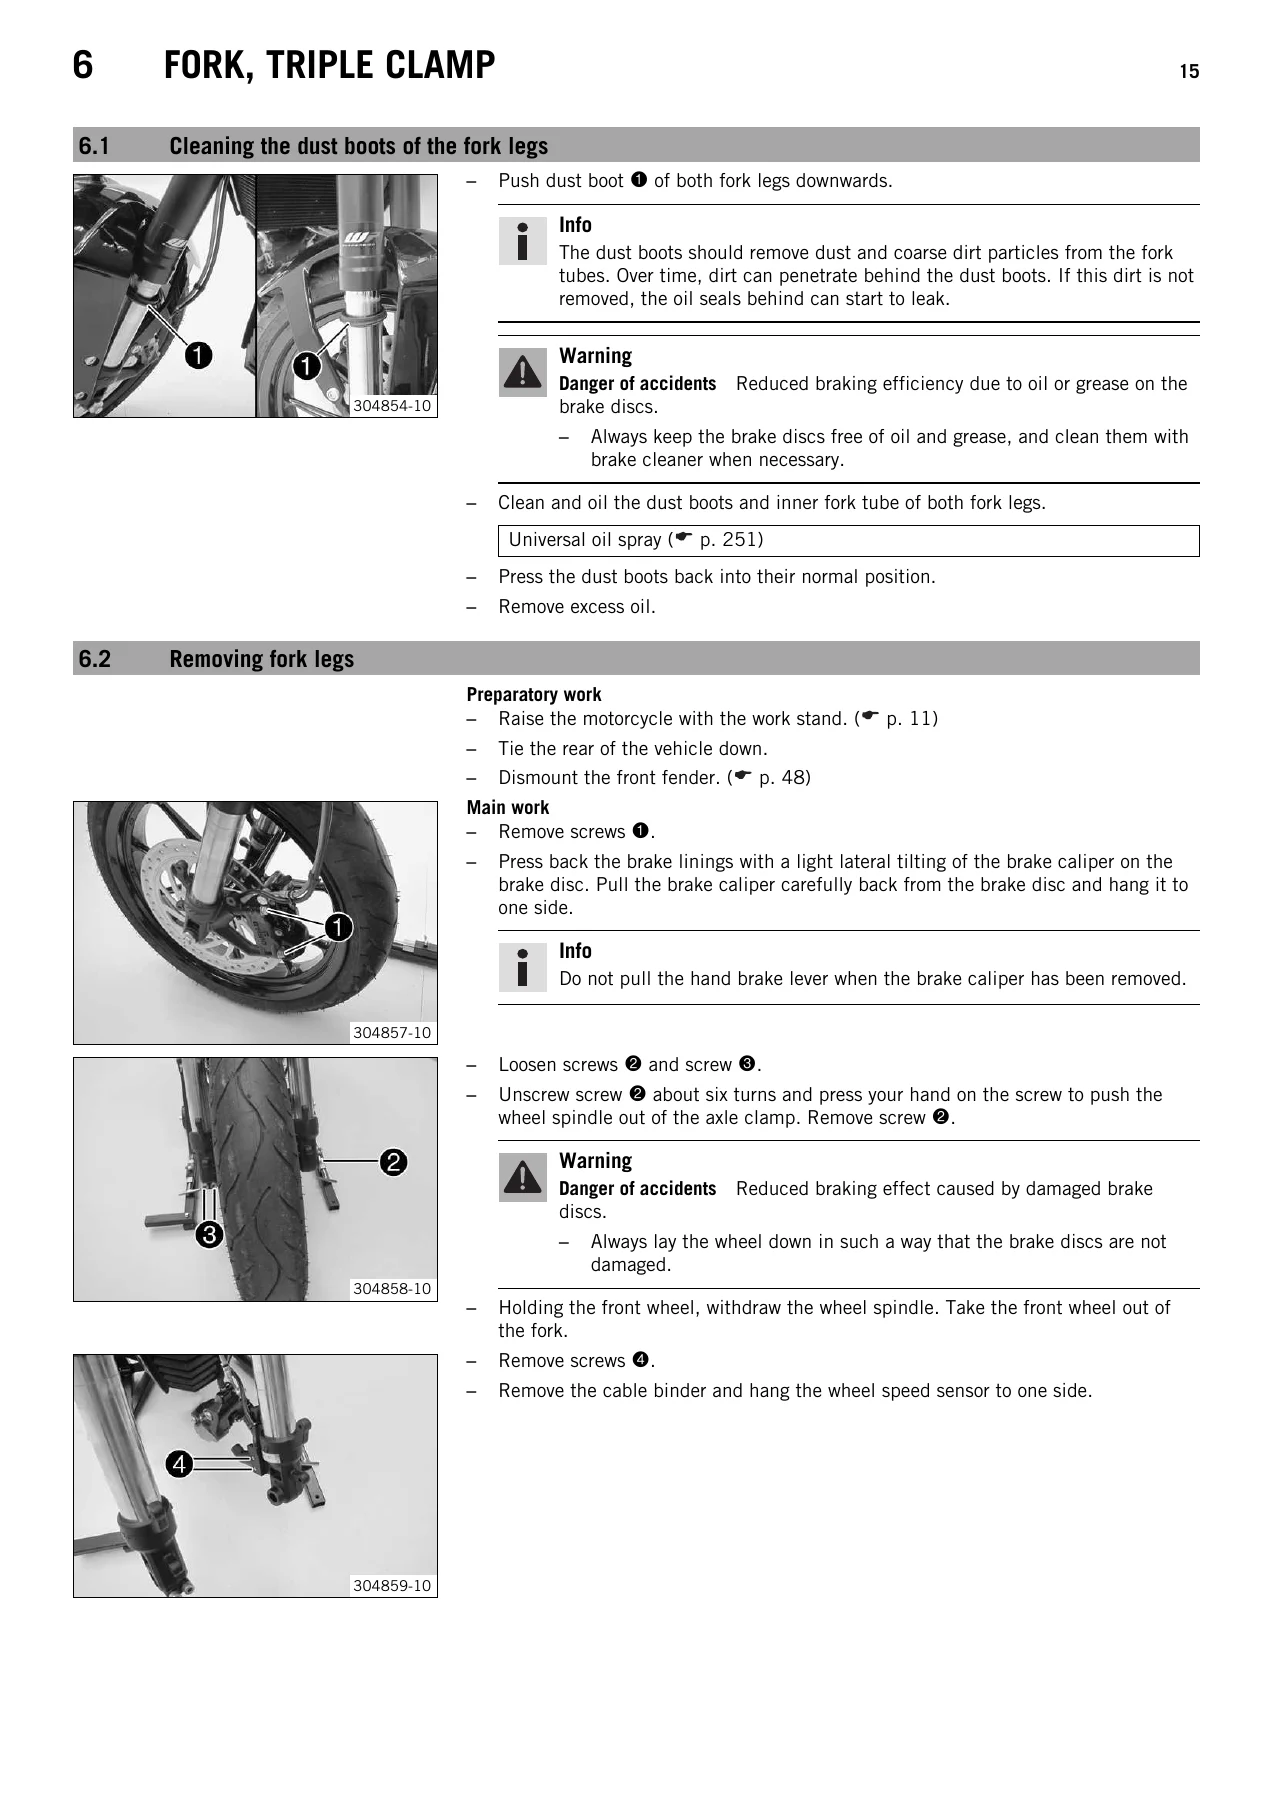
6.1 Cleaning the dust boots of the fork legsp. 17
6.2 Removing fork legsp. 17
6.3 Installing the fork legsp. 18
6.4 Disassembling the fork legsp. 19
6.5 Checking the fork legsp. 21
6.6 Assembling the fork legsp. 22
6.7 Removing the lower triple clampp. 24
6.8 Installing the lower triple clampp. 26
6.9 Checking the steering head bearing playp. 28
6.10 Adjusting the steering head bearing playp. 29
7 HANDLEBAR, CONTROLSp. 30
7.1 Checking the play in the throttle cablep. 30
7.2 Adjusting the play in the throttle cablep. 30
7.3 Checking the clutch lever playp. 30
7.4 Adjusting the clutch cable playp. 31
8 SHOCK ABSORBER, SWINGARMp. 32
8.1 Adjusting the spring preload of the shock absorberp. 32
8.2 Removing the shock absorberp. 32
8.3 Installing the shock absorberp. 32
8.4 Removing the springp. 33
8.5 Installing the springp. 33
9 EXHAUSTp. 35
9.1 Removing the exhaust manifoldp. 35
9.2 Installing the exhaust manifoldp. 36
9.3 Removing the main silencerp. 37
9.4 Installing the main silencerp. 38
10 AIR FILTERp. 39
10.1 Removing the air filterp. 39
10.2 Installing the air filterp. 39
11 FUEL TANK, SEAT, TRIMp. 40
11.1 Opening the filler capp. 40
11.2 Closing the filler capp. 40
11.3 Removing the seatp. 40
11.4 Mounting the seatp. 41
11.5 Removing the passenger seatp. 41
11.6 Mounting the passenger seatp. 41
11.7 Removing the fuel tank coverp. 41
11.8 Installing the fuel tank coverp. 44
11.9 Removing the fuel tankp. 46
11.10 Installing the fuel tankp. 48
11.11 Removing the front spoilerp. 49
11.12 Fitting front spoilerp. 49
11.13 Dismounting the front fenderp. 50
11.14 Installing the front fenderp. 50
11.15 Checking the fuel pressurep. 50
11.16 Changing the fuel filterp. 52
11.17 Replacing the fuel pumpp. 53
12 WHEELSp. 55
12.1 Checking the tire air pressurep. 55
12.2 Checking the tire conditionp. 55
12.3 Checking the brake discsp. 56
12.4 Front wheelp. 56
12.4.1 Removing the front wheelp. 56
12.4.2 Installing the front wheelp. 56
12.4.3 Removing the brake disc of the front brakep. 57
12.4.4 Installing the brake disc of the front brakep. 57
12.5 Rear wheelp. 58
12.5.1 Removing the rear wheelp. 58
12.5.2 Installing the rear wheelp. 58
12.5.3 Removing the brake disc of the rear brakep. 59
12.5.4 Installing the brake disc of the rear brakep. 59
12.5.5 Checking the chain tensionp. 60
12.5.6 Adjusting the chain tensionp. 60
12.5.7 Checking the chain, rear sprocket, and engine sprocketp. 61
12.5.8 Cleaning the chainp. 62
12.5.9 Checking the rear hub rubber dampersp. 63
13 WIRING HARNESS, BATTERYp. 64
13.1 Removing the batteryp. 64
13.2 Installing the batteryp. 64
13.3 Disconnecting the negative cable of the batteryp. 65
13.4 Reconnecting the negative cable of the batteryp. 65
13.5 Recharging the batteryp. 65
13.6 Checking the charging voltagep. 66
13.7 Changing the fuses of individual power consumersp. 67
14 BRAKE SYSTEMp. 68
14.1 Checking the front brake liningsp. 68
14.2 Changing the front brake liningsp. 68
14.3 Checking the brake fluid level of the front brakep. 70
14.4 Adding front brake fluidp. 70
14.5 Changing the front brake fluidp. 71
14.6 Checking the rear brake liningsp. 72
14.7 Changing the rear brake liningsp. 73
14.8 Checking the free travel of foot brake leverp. 74
14.9 Adjusting the free travel of the foot brake leverp. 75
14.10 Checking the rear brake fluid levelp. 75
14.11 Adding rear brake fluidp. 76
14.12 Changing the rear brake fluidp. 76
15 LIGHTING SYSTEM, INSTRUMENTSp. 78
15.1 Setting kilometers or milesp. 78
15.2 Adjusting the shift speed RPM 1p. 78
15.3 Adjusting the shift speed RPM 2p. 78
15.4 Setting the timep. 79
15.5 Resetting the service interval displayp. 79
15.6 Checking the headlight settingp. 79
15.7 Adjusting the headlight rangep. 80
15.8 Changing the parking light bulbp. 81
15.9 Changing the headlight bulbp. 82
16 ENGINEp. 84
16.1 Removing the enginep. 84
16.2 Installing the enginep. 87
16.3 Disassembling the enginep. 92
16.3.1 Preparations (125 Duke)p. 92
16.3.2 Draining the engine oil (125 Duke)p. 92
16.3.3 Removing the chain securing guide (125 Duke)p. 93
16.3.4 Removing the valve cover (125 Duke)p. 93
16.3.5 Removing the spark plug (125 Duke)p. 93
16.3.6 Removing the clutch cover (125 Duke)p. 93
16.3.7 Setting the engine to ignition top dead center (125 Duke)p. 94
16.3.8 Removing the starter motor (125 Duke)p. 94
16.3.9 Removing the timing chain tensioner (125 Duke)p. 95
16.3.10 Removing the camshaft (125 Duke)p. 95
16.3.11 Removing the cylinder head (125 Duke)p. 96
16.3.12 Removing the piston (125 Duke)p. 96
16.3.13 Removing the water pump wheel (125 Duke)p. 97
16.3.14 Removing the alternator cover (125 Duke)p. 98
16.3.15 Removing the rotor (125 Duke)p. 98
16.3.16 Removing the starter drive (125 Duke)p. 99
16.3.17 Removing the balancer shaft drive wheel (125 Duke)p. 99
16.3.18 Removing the gear position sensor (125 Duke)p. 100
16.3.19 Removing the spacer (125 Duke)p. 101
16.3.20 Removing the clutch basket (125 Duke)p. 101
16.3.21 Removing the primary gear (125 Duke)p. 102
16.3.22 Removing the oil pump (125 Duke)p. 102
16.3.23 Removing the shift shaft (125 Duke)p. 103
16.3.24 Removing the shift drum locating (125 Duke)p. 103
16.3.25 Removing the locking lever (125 Duke)p. 103
16.3.26 Removing the oil filter (125 Duke)p. 103
16.3.27 Removing the left engine case (125 Duke)p. 104
16.3.28 Removing the shift rails (125 Duke)p. 105
16.3.29 Removing the shift drum (125 Duke)p. 105
16.3.30 Removing the shift forks (125 Duke)p. 105
16.3.31 Removing the transmission shafts (125 Duke)p. 105
16.3.32 Removing the balancer shaft (125 Duke)p. 106
16.3.33 Removing the crankshaft (125 Duke)p. 106
16.3.34 Preparations (200 Duke)p. 106
16.3.35 Draining the engine oil (200 Duke)p. 106
16.3.36 Removing the chain securing guide (200 Duke)p. 107
16.3.37 Removing the valve cover (200 Duke)p. 107
16.3.38 Removing the spark plug (200 Duke)p. 107
16.3.39 Removing the clutch cover (200 Duke)p. 107
16.3.40 Setting the engine to ignition top dead center (200 Duke)p. 108
16.3.41 Removing the starter motor (200 Duke)p. 108
16.3.42 Removing the timing chain tensioner (200 Duke)p. 109
16.3.43 Removing the camshaft (200 Duke)p. 109
16.3.44 Removing the cylinder head (200 Duke)p. 110
16.3.45 Removing the piston (200 Duke)p. 110
16.3.46 Removing the water pump wheel (200 Duke)p. 111
16.3.47 Removing the alternator cover (200 Duke)p. 112
16.3.48 Removing the rotor (200 Duke)p. 112
16.3.49 Removing the starter drive (200 Duke)p. 113
16.3.50 Removing the balancer shaft drive wheel (200 Duke)p. 113
16.3.51 Removing the gear position sensor (200 Duke)p. 114
16.3.52 Removing the spacer (200 Duke)p. 115
16.3.53 Removing the clutch basket (200 Duke)p. 115
16.3.54 Removing the primary gear (200 Duke)p. 116
16.3.55 Removing the oil pump (200 Duke)p. 116
16.3.56 Removing the shift shaft (200 Duke)p. 117
16.3.57 Removing the shift drum locating (200 Duke)p. 117
16.3.58 Removing the locking lever (200 Duke)p. 117
16.3.59 Removing the oil filter (200 Duke)p. 117
16.3.60 Removing the left engine case (200 Duke)p. 118
16.3.61 Removing the shift rails (200 Duke)p. 119
16.3.62 Removing the shift drum (200 Duke)p. 119
16.3.63 Removing the shift forks (200 Duke)p. 119
16.3.64 Removing the transmission shafts (200 Duke)p. 119
16.3.65 Removing the balancer shaft (200 Duke)p. 120
16.3.66 Removing the crankshaft (200 Duke)p. 120
16.4 Work on individual partsp. 120
16.4.1 Work on the left section of the engine case (125 Duke)p. 120
16.4.2 Work on the right section of the engine case (125 Duke)p. 121
16.4.3 Changing the shaft seal ring of the water pump (125 Duke)p. 121
16.4.4 Removing the main bearing (125 Duke)p. 122
16.4.5 Checking the radial play of the lower conrod bearing (125 Duke)p. 123
16.4.6 Changing the conrod bearing (125 Duke)p. 124
16.4.7 Changing the balancer shaft bearing (125 Duke)p. 125
16.4.8 Changing the camshaft bearing (125 Duke)p. 125
16.4.9 Work on the cylinder head (125 Duke)p. 126
16.4.10 Checking the cylinder head (125 Duke)p. 127
16.4.11 Checking/measuring the cylinder (125 Duke)p. 127
16.4.12 Checking the piston ringp. 128
16.4.13 Checking/measuring the piston (125 Duke)p. 128
16.4.14 Checking the piston/cylinder mounting clearance (125 Duke)p. 129
16.4.15 Checking the oil pump (125 Duke)p. 129
16.4.16 Checking the oil pressure regulator valve (125 Duke)p. 129
16.4.17 Checking the clutch (125 Duke)p. 130
16.4.18 Preassembling the clutch (125 Duke)p. 131
16.4.19 Checking the shift mechanism (125 Duke)p. 132
16.4.20 Preassembling the shift shaft (125 Duke)p. 133
16.4.21 Disassembling the main shaft (125 Duke)p. 133
16.4.22 Dismantling the countershaft (125 Duke)p. 134
16.4.23 Checking the transmission (125 Duke)p. 134
16.4.24 Assembling the main shaft (125 Duke)p. 135
16.4.25 Assembling the countershaft (125 Duke)p. 136
16.4.26 Checking the timing assembly (125 Duke)p. 138
16.4.27 Changing the stator (125 Duke)p. 138
16.4.28 Checking the electric starter drive (125 Duke)p. 139
16.4.29 Checking the freewheel (125 Duke)p. 140
16.4.30 Work on the left section of the engine case (200 Duke)p. 140
16.4.31 Work on the right section of the engine case (200 Duke)p. 141
16.4.32 Changing the shaft seal ring of the water pump (200 Duke)p. 141
16.4.33 Removing the main bearing (200 Duke)p. 142
16.4.34 Checking the radial play of the lower conrod bearing (200 Duke)p. 143
16.4.35 Changing the conrod bearing (200 Duke)p. 144
16.4.36 Changing the balancer shaft bearing (200 Duke)p. 145
16.4.37 Changing the camshaft bearing (200 Duke)p. 145
16.4.38 Work on the cylinder head (200 Duke)p. 146
16.4.39 Checking the cylinder head (200 Duke)p. 147
16.4.40 Checking/measuring the cylinder (200 Duke)p. 147
16.4.41 Checking the piston ringp. 148
16.4.42 Checking/measuring the piston (200 Duke)p. 148
16.4.43 Checking the piston/cylinder mounting clearance (200 Duke)p. 149
16.4.44 Checking the oil pump (200 Duke)p. 149
16.4.45 Checking the oil pressure regulator valve (200 Duke)p. 149
16.4.46 Checking the clutch (200 Duke)p. 150
16.4.47 Preassembling the clutch (200 Duke)p. 151
16.4.48 Checking the shift mechanism (200 Duke)p. 152
16.4.49 Preassembling the shift shaft (200 Duke)p. 153
16.4.50 Disassembling the main shaft (200 Duke)p. 153
16.4.51 Dismantling the countershaft (200 Duke)p. 154
16.4.52 Checking the transmission (200 Duke)p. 154
16.4.53 Assembling the main shaft (200 Duke)p. 155
16.4.54 Assembling the countershaft (200 Duke)p. 156
16.4.55 Checking the timing assembly (200 Duke)p. 158
16.4.56 Changing the stator (200 Duke)p. 158
16.4.57 Checking the electric starter drive (200 Duke)p. 159
16.4.58 Checking the freewheel (200 Duke)p. 160
16.5 Assembling the enginep. 160
16.5.1 Installing the crankshaft (125 Duke)p. 160
16.5.2 Installing the balancer shaft (125 Duke)p. 160
16.5.3 Installing the transmission shafts (125 Duke)p. 161
16.5.4 Installing the shift forks (125 Duke)p. 161
16.5.5 Installing the shift drum (125 Duke)p. 161
16.5.6 Installing the shift rails (125 Duke)p. 162
16.5.7 Installing the left engine case (125 Duke)p. 162
16.5.8 Installing the oil filter (125 Duke)p. 163
16.5.9 Installing the locking lever (125 Duke)p. 163
16.5.10 Installing the shift drum locating (125 Duke)p. 163
16.5.11 Installing the shift shaft (125 Duke)p. 164
16.5.12 Installing the oil pump (125 Duke)p. 164
16.5.13 Installing the primary gear (125 Duke)p. 165
16.5.14 Installing the clutch basket (125 Duke)p. 165
16.5.15 Installing the spacer (125 Duke)p. 166
16.5.16 Installing the gear position sensor (125 Duke)p. 166
16.5.17 Installing the balancer shaft drive wheel (125 Duke)p. 167
16.5.18 Installing the starter drive (125 Duke)p. 168
16.5.19 Installing the rotor (125 Duke)p. 169
16.5.20 Installing the alternator cover (125 Duke)p. 169
16.5.21 Installing the water pump cover (125 Duke)p. 169
16.5.22 Installing the piston (125 Duke)p. 170
16.5.23 Installing the cylinder head (125 Duke)p. 171
16.5.24 Installing the camshafts (125 Duke)p. 172
16.5.25 Installing the timing chain tensioner (125 Duke)p. 173
16.5.26 Checking the valve clearance (125 Duke)p. 174
16.5.27 Adjusting the valve clearance (125 Duke)p. 174
16.5.28 Installing the starter motor (125 Duke)p. 174
16.5.29 Installing the clutch cover (125 Duke)p. 175
16.5.30 Installing the spark plug (125 Duke)p. 175
16.5.31 Installing the valve cover (125 Duke)p. 176
16.5.32 Installing the chain securing guide (125 Duke)p. 176
16.5.33 Installing the oil screen (125 Duke)p. 176
16.5.34 Removing the engine from the engine assembly stand (125 Duke)p. 177
16.5.35 Installing the crankshaft (200 Duke)p. 177
16.5.36 Installing the balancer shaft (200 Duke)p. 177
16.5.37 Installing the transmission shafts (200 Duke)p. 178
16.5.38 Installing the shift forks (200 Duke)p. 178
16.5.39 Installing the shift drum (200 Duke)p. 178
16.5.40 Installing the shift rails (200 Duke)p. 179
16.5.41 Installing the left engine case (200 Duke)p. 179
16.5.42 Installing the oil filter (200 Duke)p. 180
16.5.43 Installing the locking lever (200 Duke)p. 180
16.5.44 Installing the shift drum locating (200 Duke)p. 180
16.5.45 Installing the shift shaft (200 Duke)p. 181
16.5.46 Installing the oil pump (200 Duke)p. 181
16.5.47 Installing the primary gear (200 Duke)p. 182
16.5.48 Installing the clutch basket (200 Duke)p. 182
16.5.49 Installing the spacer (200 Duke)p. 183
16.5.50 Installing the gear position sensor (200 Duke)p. 183
16.5.51 Installing the balancer shaft drive wheel (200 Duke)p. 184
16.5.52 Installing the starter drive (200 Duke)p. 185
16.5.53 Installing the rotor (200 Duke)p. 186
16.5.54 Installing the alternator cover (200 Duke)p. 186
16.5.55 Installing the water pump cover (200 Duke)p. 186
16.5.56 Installing the piston (200 Duke)p. 187
16.5.57 Installing the cylinder head (200 Duke)p. 188
16.5.58 Installing the camshafts (200 Duke)p. 189
16.5.59 Installing the timing chain tensioner (200 Duke)p. 190
16.5.60 Checking the valve clearance (200 Duke)p. 191
16.5.61 Adjusting the valve clearance (200 Duke)p. 191
16.5.62 Installing the starter motor (200 Duke)p. 191
16.5.63 Installing the clutch cover (200 Duke)p. 192
16.5.64 Installing the spark plug (200 Duke)p. 192
16.5.65 Installing the valve cover (200 Duke)p. 193
16.5.66 Installing the chain securing guide (200 Duke)p. 193
16.5.67 Installing the oil screen (200 Duke)p. 193
16.5.68 Removing the engine from the engine assembly stand (200 Duke)p. 194
17 SHIFT MECHANISMp. 195
17.1 Adjusting the shift leverp. 195
18 WATER PUMP, COOLING SYSTEMp. 196
18.1 Draining the coolantp. 196
18.2 Filling/bleeding the cooling systemp. 196
18.3 Checking the antifreeze and coolant levelp. 197
18.4 Checking the coolant levelp. 198
19 LUBRICATION SYSTEMp. 200
19.1 Oil circuitp. 200
19.2 Checking the engine oil levelp. 200
19.3 Checking the engine oil pressurep. 200
19.4 Changing the engine oil and oil filter, cleaning the oil screenp. 202
19.5 Adding engine oilp. 203
20 IGNITION SYSTEMp. 204
20.1 Alternator – checking the stator windingp. 204
21 TECHNICAL DATAp. 205
21.1 Enginep. 205
21.1.1 125 Dukep. 205
21.1.2 200 Dukep. 205
21.2 Engine tolerance, wear limitsp. 206
21.2.1 125 Dukep. 206
21.2.2 200 Dukep. 207
21.3 Engine tightening torquesp. 207
21.4 Capacitiesp. 208
21.4.1 Engine oilp. 208
21.4.2 Coolantp. 208
21.4.3 Fuelp. 208
21.5 Chassisp. 209
21.6 Electrical systemp. 209
21.7 Tiresp. 210
21.8 Forkp. 210
21.9 Shock absorberp. 210
21.10 Chassis tightening torquesp. 210
22 CLEANING/PROTECTIVE TREATMENTp. 213
22.1 Cleaning the motorcyclep. 213
22.2 Checks and maintenance steps for winter operationp. 214
23 STORAGEp. 215
23.1 Storagep. 215
23.2 Preparing for use after storagep. 215
24 SERVICE SCHEDULEp. 216
24.1 Service schedulep. 216
25 WIRING DIAGRAMp. 218
25.1 Page 1 of 8 (125 Duke, 200 Duke EU)p. 218
25.2 Page 2 of 8 (125 Duke, 200 Duke EU)p. 220
25.3 Page 3 of 8 (125 Duke, 200 Duke EU)p. 222
25.4 Page 4 of 8 (125 Duke, 200 Duke EU)p. 224
25.5 Page 5 of 8 (125 Duke, 200 Duke EU)p. 226
25.6 Page 6 of 8 (125 Duke, 200 Duke EU)p. 228
25.7 Page 7 of 8 (125 Duke, 200 Duke EU)p. 230
25.8 Page 8 of 8 (125 Duke, 200 Duke EU)p. 232
25.9 Page 1 of 8 (200 Duke 2013 COL)p. 234
25.10 Page 2 of 8 (200 Duke 2013 COL)p. 236
25.11 Page 3 of 8 (200 Duke 2013 COL)p. 238
25.12 Page 4 of 8 (200 Duke 2013 COL)p. 240
25.13 Page 5 of 8 (200 Duke 2013 COL)p. 242
25.14 Page 6 of 8 (200 Duke 2013 COL)p. 244
25.15 page 7 of 8 (200 Duke 2013 COL)p. 246
25.16 Page 8 of 8 (200 Duke 2013 COL)p. 248
26 SUBSTANCESp. 250
27 AUXILIARY SUBSTANCESp. 252
28 SPECIAL TOOLSp. 254
29 STANDARDSp. 263
INDEXp. 264
Ap. 264
Bp. 264
Cp. 264
Dp. 264
Ep. 265
Fp. 265
Hp. 265
Kp. 265
Lp. 266
Mp. 266
Op. 266
Pp. 266
Rp. 266
Sp. 266
Tp. 266
Wp. 266

Chapters Covered

  • Means of Representation – symbols and formats used
  • Safety Advice – repair manual use, degrees of risk, work rules
  • Important Notes – warranty, operating substances, spare parts
  • Serial Numbers – chassis number, key number, engine number
  • Motorcycle – raising with rear/front wheel stand, work stand, starting
  • Fork, Triple Clamp – removing, disassembling, checking, assembling fork legs; steering head bearing
  • Handlebar, Controls – throttle cable and clutch lever adjustment
  • Shock Absorber, Swing Arm – spring preload, removing/installing shock and spring
  • Exhaust – manifold and main silencer removal/installation
  • Air Filter – removing and installing
  • Fuel Tank, Seat, Trim – filler cap, seat, fuel tank, front spoiler/fender, fuel pressure, fuel filter, fuel pump
  • Wheels – tire pressure/condition, brake discs, front and rear wheel removal/installation
  • Wiring Harness, Battery – battery removal, charging voltage, fuses
  • Brake System – front and rear brake linings, brake fluid checks and changes
  • Lighting System, Instruments – RPM shift points, headlight setting and range, bulb changes
  • Engine – full removal/installation and complete disassembly/assembly for both the 125 Duke and 200 Duke, covering valve cover, spark plug, clutch cover, timing chain tensioner, camshaft, cylinder head, piston, water pump wheel, alternator cover, rotor, starter drive, balancer shaft, crankshaft, engine cases, shift shaft/drum/forks, transmission shafts, oil pump, and clutch
  • Work on Individual Parts – engine case work, main bearings, conrod and balancer shaft bearings, camshaft bearing, cylinder head checks, piston/cylinder measuring, oil pump and pressure regulator checks, clutch, shift mechanism, stator, starter drive, freewheel
  • Shift Mechanism – shift lever adjustment
  • Water Pump, Cooling System – draining, filling/bleeding, coolant level checks
  • Lubrication System – oil circuit, oil level and pressure checks, oil and filter change
  • Ignition System – alternator stator winding checks
  • Technical Data – engine specifications, tolerances/wear limits, tightening torques, capacities, chassis, electrical system, tires, fork, shock absorber
  • Cleaning/Protective Treatment – cleaning and winter maintenance
  • Storage – storage and post-storage preparation
  • Service Schedule – interval-based maintenance checklist
  • Wiring Diagram – full 8-page wiring diagrams for both EU/DE and COL variants
  • Substances, Auxiliary Substances, Special Tools, Standards

IMAGES PREVIEW

KTM 125 Duke & 200 Duke 2012-2013 Repair Manual PDF Download — PDF page 1 preview
KTM 125 Duke & 200 Duke 2012-2013 Repair Manual PDF Download — PDF page 17 preview
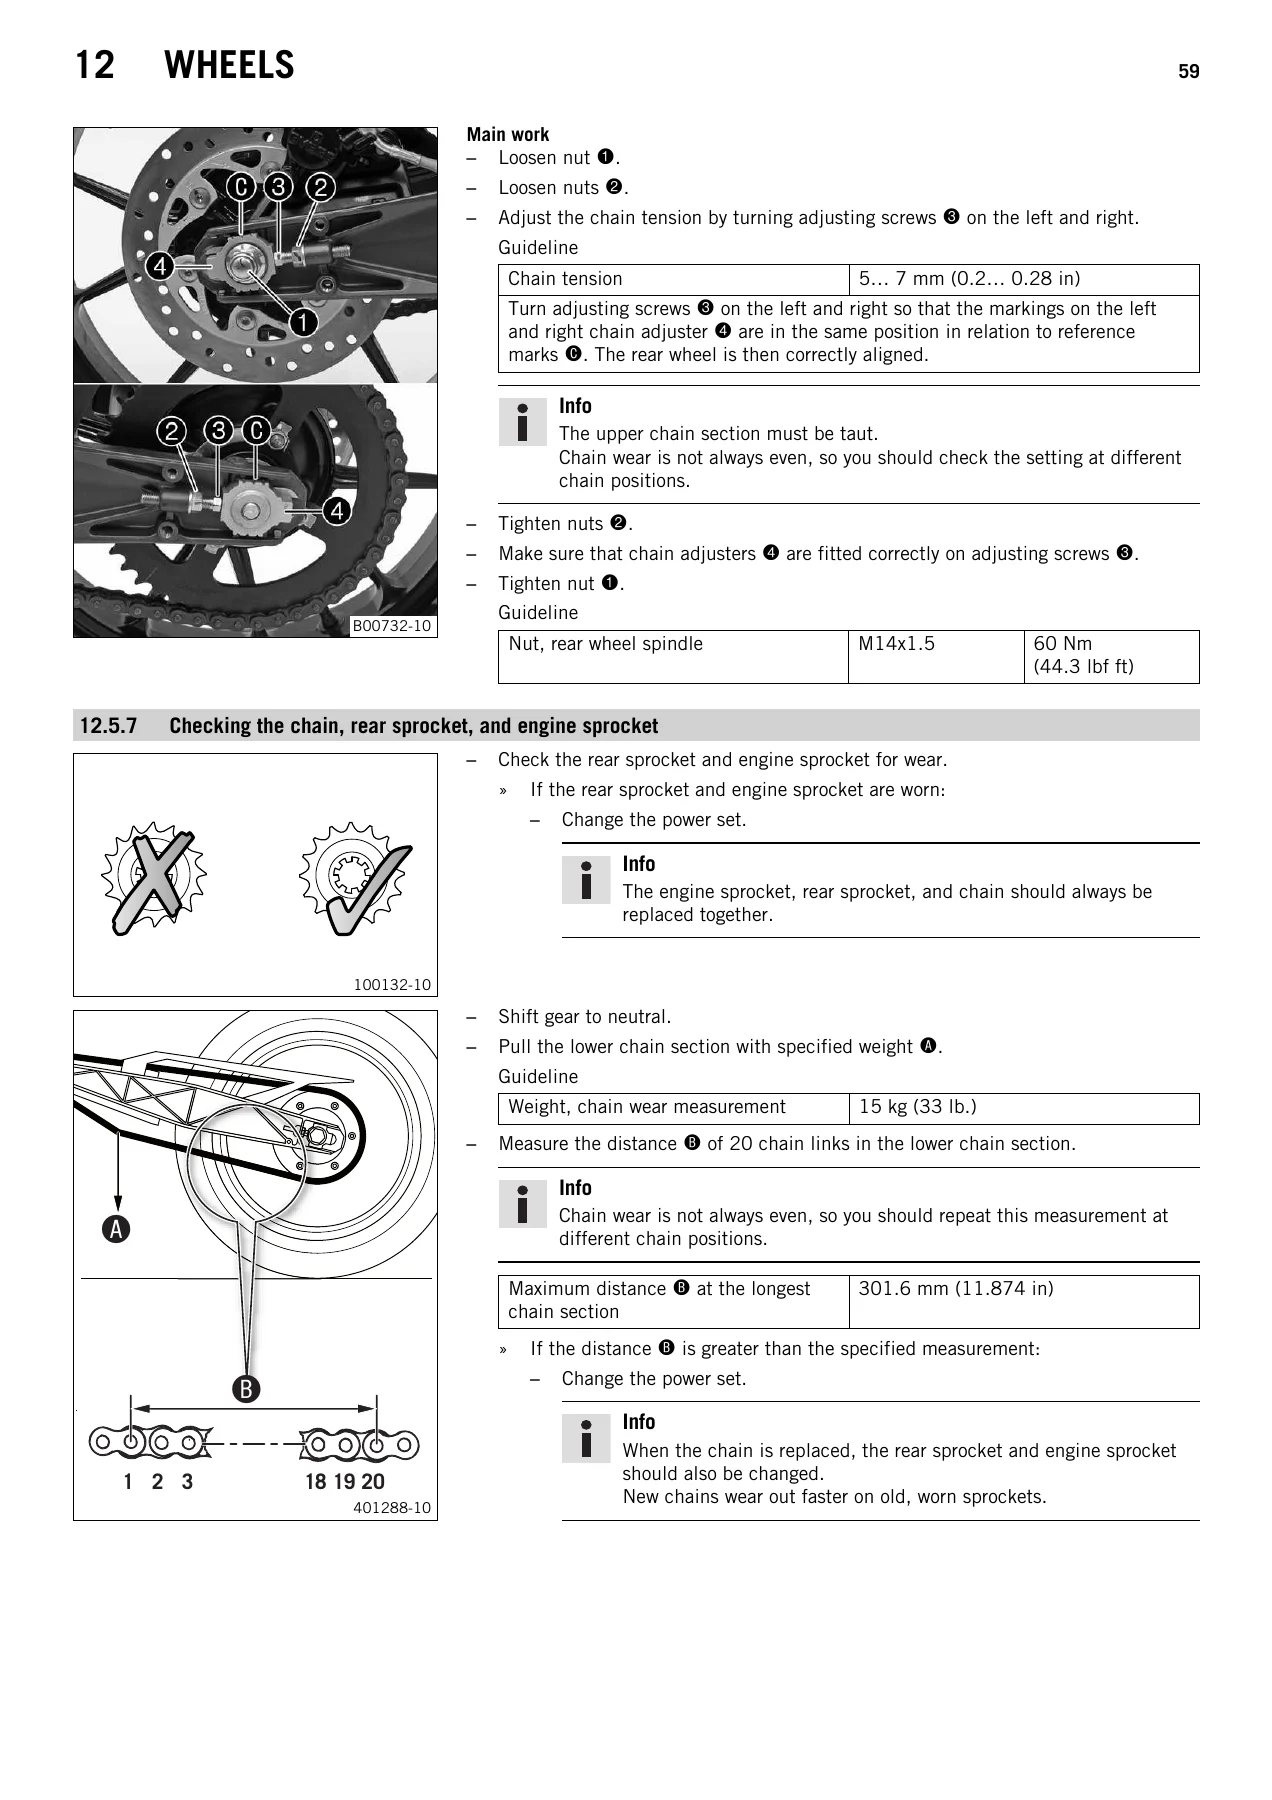
KTM 125 Duke & 200 Duke 2012-2013 Repair Manual PDF Download — PDF page 61 preview

Taken together, this KTM 125 Duke & 200 Duke repair manual gives a technician everything needed to move from a basic service to a full engine-out rebuild on either displacement, with the same procedures, torque values, and tolerances referenced throughout the document.

Why You Need This KTM 125 Duke & 200 Duke Repair Manual

With this KTM 125 Duke & 200 Duke 2012-2013 repair manual PDF download, you can diagnose fuel injection and ignition faults, rebuild the DOHC single-cylinder top end, service the WP fork and shock, bleed and change brake fluid front and rear, and work through a complete engine disassembly and rebuild on either the 125cc or 200cc engine. Every torque spec, clearance, and wear limit in this KTM 125 Duke & 200 Duke manual matches the factory values, so repairs are done to the correct tolerances the first time instead of guessed at. As an instant PDF download, it’s available immediately after purchase, works on any phone, tablet, or computer, needs no shipping, and can be printed page-by-page for shop use.

Reviews

There are no reviews yet.

Be the first to review “KTM 125 Duke & 200 Duke 2012-2013 Repair Manual PDF Download”

What Our Customers Say

★★★★★ Live reviews from customers
Loading customer reviews...
0
    0
    Your Cart
    Your cart is emptyReturn to Shop
    🛒
    Recently Purchased
    🕒 verified order