Olivetti PR2 E Printer Service Manual – PDF DOWNLOAD
Original price was: $85.00.$20.95Current price is: $20.95.
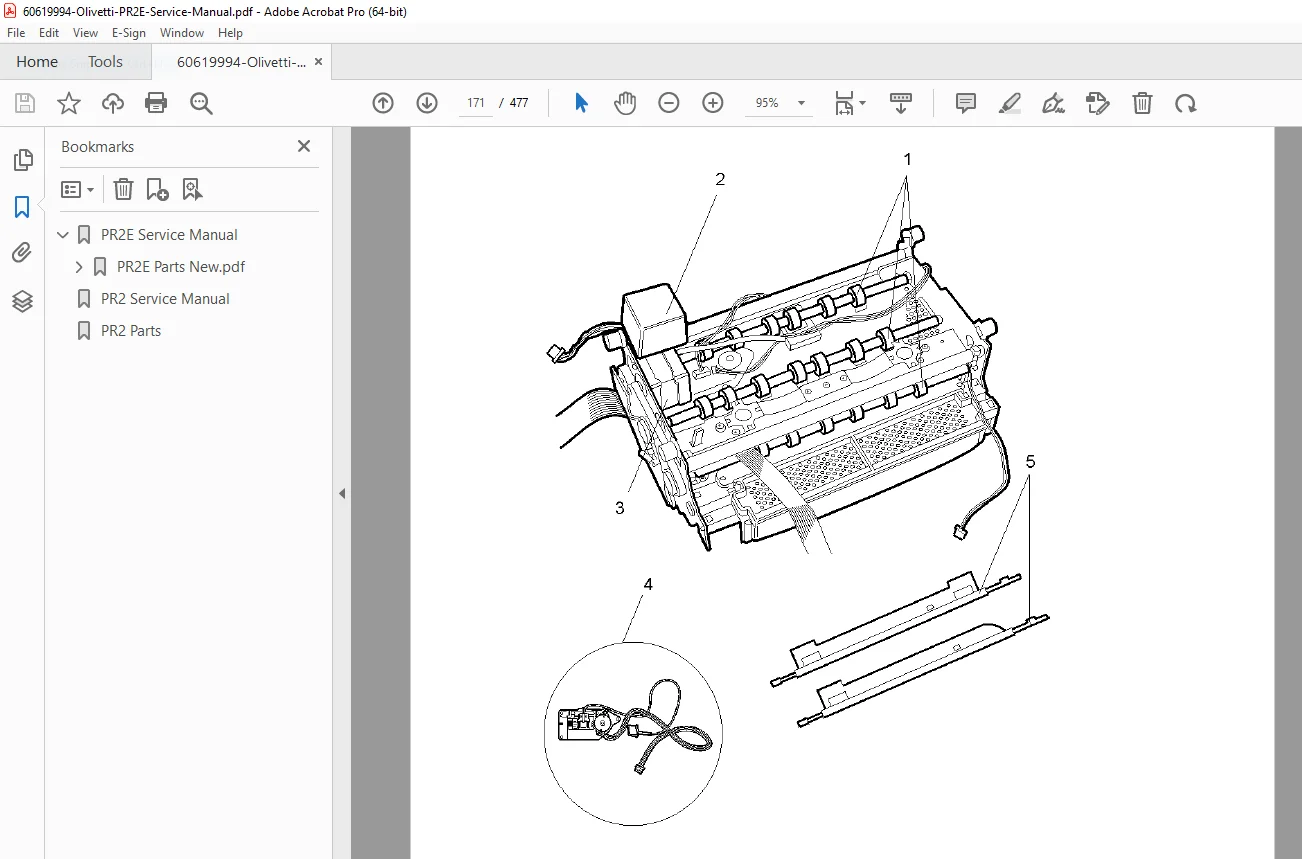
Official Olivetti PR2 E printer service manual covering product overview, operating commands, installation, autodiagnostics, setup, adjustments, electrical interconnections, preventive maintenance, mechanical adjustments, and disassembly/reassembly procedures. Includes details on horizontal magnetic device/MICR features, firmware, and troubleshooting. 477 pages of technical content for repair and maintenance.
Description
Olivetti PR2 E Printer Service Manual – PDF DOWNLOAD
Description
This comprehensive Olivetti PR2 E printer service manual provides detailed guidance on the printer’s features, maintenance, and repair, including product variables, document handling, accessories, and general block diagrams. It covers emulations like ISM 9068, SNI 4915, ISM PROPRINTER III/X24, and EPSON LQ 2550, with instructions for console operations, error messages, and operating procedures such as ribbon replacement and paper jam resolution. Essential for Olivetti PR2 E printer troubleshooting and diagnostics, the manual emphasizes safety precautions during disassembly/reassembly and adjustments.
The manual’s table of contents (extracted from pages 5-10) is categorized as follows:
- 1. Product Overview
- 1.1 Introduction
- 1.1.1 PR2 E Factory Configuration
- 1.2 General Machine Characteristics
- 1.3 Horizontal Magnetic Device/MICR Features
- 1.4 Product Variables
- 1.5 Documents Handled by the Basic Machine
- 1.5.1 Single and Multi-Copy Forms
- 1.5.2 Savings Books
- 1.6 Accessories
- 1.7 Locating the Printer’s Major Components
- 1.8 Locating the Printer’s Major Internal Components
- 1.9 General Block Diagram
- 1.9.1 Basic Machine
- 1.10 Firmware and Character Generators
- 1.10.1 Machine Firmware
- 1.10.2 Character Sets
- 1.10.3 Print Modes and Character Fonts
- 2. Operating Commands
- 2.1 Power Switch
- 2.2 Console
- 2.2.1 Functions of the Console Buttons
- 2.2.2 Meaning of the Console LEDs
- 2.2.3 Error Messages
- 2.3 Button and LED Functions in the ISM 9068 (4722) Emulation
- 2.3.1 Button Functions
- 2.3.2 LED Indications
- 2.4 Button and LED Functions in the SNI 4915 (4904) Emulation
- 2.4.1 Button Functions
- 2.4.2 LED Indications
- 2.5 Button and LED Functions in the ISM PROPRINTER III/X24, EPSON LQ 2550 Emulation
- 2.5.1 Button Functions
- 2.6 Upper Mechanical Assembly Lifting Lever
- 3. Installation
- 3.1 General Installation Precautions
- 3.1.1 Electrical Power Supply
- 3.1.2 Environmental Conditions
- 3.1.3 Locating the Machine
- 3.2 Unpacking and Installing the Machine
- 3.2.1 Unpacking the Machine
- 3.2.2 Installing the Machine
- 3.3 Off-Line Tests
- 3.3.1 Starting and Stopping the Print Test
- 3.3.2 Print Test Contents
- 3.4 Connection to the System
- 3.4.1 RS 232C Serial Interface (Standard)
- 3.4.2 Optional Serial Interface + USB Interface Card
- 3.4.3 Optional IEEE 1284 Parallel Interface Card
- 3.5 Final Testing
- 3.6 Information for the Operator
- 3.7 Operating Procedures
- 3.7.1 Inserting a Document with Automatic Alignment
- 3.7.2 Inserting a Savings Book
- 3.7.3 Inserting a Check for Horizontal Magnetic Device/MICR Read Operations
- 3.7.4 Expulsion of Processed Documents
- 3.7.5 Replacing the Ribbon Cartridge
- 3.7.6 Paper Jams
- 3.1 General Installation Precautions
- 4. Autodiagnostics, Set-Up and Adjustments
- 4.1 Power-On Diagnostics
- 4.2 Print Test
- 4.3 Printer Set-Up
- 4.3.1 Activating the Setup
- 4.3.2 Support Software
- 4.3.3 Configuration Parameters
- 4.4 Settings
- 4.4.1 Photosensor Calibration
- 4.4.2 Bi-Directional Print Alignment Calibration
- 4.4.3 Top of Form (TOF) Calibration
- 4.4.4 Left Print Margin Calibration
- 4.4.5 Document Length Measurement
- 4.4.6 Skew and Signal Amplitude Control
- 4.4.7 Signal Amplitude Control
- 5. Product Diagnosis
- 5.1 Servicing Modes
- 5.1.1 Fault Detection Analysis
- 5.1.2 Analysis of the Operating Conditions
- 5.1.3 Identifying the Malfunction
- 5.1.4 Finding the Cause
- 5.1.5 Solving the Problem
- 5.1.6 Testing the Machine
- 5.2 Fault Classification
- 5.3 Power On Faults
- 5.4 Document Write Faults
- 5.5 Document Handling Faults
- 5.6 Magnetic Stripe Read/Write Failures
- 5.1 Servicing Modes
- 6. Electrical Interconnections
- 6.1 General Printer Interconnection Diagram
- 6.2 BAPRZ Main Board
- 6.2.1 Main Board View and Location of Connectors
- 6.2.3 Connector Pin-Out
- 6.3 Magnetic Options Card
- 6.3.1 Card Location and Identification of Connectors
- 6.3.2 View of the PRZMAGN Card
- 6.4 Serial and USB Interface Card
- 6.4.1 Card View and Location of Connectors
- 6.4.2 Connector Pin-Out
- 6.5 Parallel Interface Card
- 6.5.1 Card View and Location of Connectors
- 6.5.2 Connector Pin-Out
- 6.6 Console
- 6.7 ALIPRZE Card
- 6.7.1 Card View and Location of Connectors
- 6.7.2 Connector Pin-Out and Fuse
- 7. Preventive Maintenance
- 7.1 Cleaning
- 7.1.1 Cleaning the Case
- 7.1.2 Cleaning the Paper Paths
- 7.1.3 Cleaning the Magnetic Read Head
- 7.2 Maintenance
- 7.3 Lubrication
- 7.3.1 Lubrication Points on the Basic Machine
- 7.3.2 Horizontal Magnetic Device/MICR Lubrication Points
- 7.1 Cleaning
- 8. Mechanical Adjustments
- 8.1 Document Feed Belt Adjustment
- 8.2 Print Bar Adjustment
- 8.3 Parallelism Adjustment Between the Print Bar and Leaf Spring Load in the Basic Machine
- 8.4 Tab Adjustment
- 8.5 Front Tab Opening Check
- 8.6 Roller Gear Adjustment
- 8.7 Front Pressure Roller Adjustment
- 8.8 Tab Opening Adjustment
- 8.9 Horizontal Magnetic Device/MICR Option Carriage Feed Belt Tension Adjustment
- 8.10 Horizontal Magnetic Device/MICR Door Adjustment
- 8.11 Horizontal Magnetic Device/MICR Press Positioning
- 8.12 Positioning the Assembly on the Horizontal Magnetic Device/MICR
- 9. Disassembly/Reassembly Procedures
- 9.1 General Disassembly/Reassembly Precautions
- 9.2 Disassembly/Reassembly of the Basic Machine
- 9.2.1 Case Disassembly/Reassembly
- 9.2.2 Console Disassembly/Reassembly
- 9.2.3 Mechanical Assembly Disassembly/Reassembly
- 9.2.4 Printhead Flat Cable Disassembly/Reassembly
- 9.2.5 Printhead Disassembly/Reassembly
- 9.2.6 Printhead Photosensor Disassembly/Reassembly
- 9.2.7 Upper Part of the Mechanical Assembly Disassembly/Reassembly
- 9.2.8 Paper Feed Motor Disassembly/Reassembly
- 9.2.9 Printhead Movement Motor Disassembly/Reassembly
- 9.2.10 Carriage Reset Photosensor Disassembly/Reassembly
- 9.2.11 Roller Support Tray Disassembly/Reassembly
- 9.2.12 Services Motor Disassembly/Reassembly
- 9.2.13 Feeder Photosensors Disassembly/Reassembly
- 9.2.14 Print Bar Disassembly/Reassembly
- 9.2.15 Main Board Disassembly/Reassembly
- 9.2.16 Power Supply Assy Disassembly/Reassembly
- 9.3 Basic Machine Options Disassembly/Reassembly
- 9.3.1 Horizontal Magnetic Device/MICR Disassembly/Reassembly
- 9.3.2 Horizontal Magnetic Device/MICR Motor Disassembly/Reassembly
- 9.3.3 Horizontal Magnetic Device/MICR Head Assy Disassembly/Reassembly
This Olivetti PR2 E maintenance and repair guide integrates diagrams, connector pin-outs, and calibration steps for optimal performance. Published by Olivetti TECNOST, S.p.A., with code Y100250-4, it is a vital Olivetti PR2 E disassembly and reassembly procedures resource for technicians handling Olivetti PR2 E printhead and ribbon cartridge replacement.
File Details:
- Manual Name: Printer PR2 E Service Manual
- Models Covered: PR2 E Printer
- Year: 2001
- Manual PDF Quality: High-quality digital with clear text, diagrams, and searchable content
- No. of Pages: 477