★ TRUSTED BY 321,897+ PROFESSIONALS WORLDWIDE
🏢
Trusted Business
Verified & Licensed
🛡️
Virus Free Files
100% Safe Downloads
🔒
Secure Payment
SSL Protected
Instant Delivery
Available Immediately
Sale!

Puritan Bennett Achieva Ventilator Service Manual Y-102923-00A Rev C 2003

Original price was: $34.95.Current price is: $20.95.

Factory service manual for the Puritan Bennett Achieva ventilator (Base, PS, PSO2) covering check-in, PM, repairs, calibration, and final inspection. Instant PDF download.

SKU: HD-PB-ACHIEVA-Y102923-00A Category: Tags: , , , Vendor: TheRepairShop
Instant PDF Download
Available immediately
💾
Save to Your Device
Download & keep forever
🛡️
Antivirus Scanned
100% virus-free
🌍
Trusted Worldwide
175,000+ customers

Description

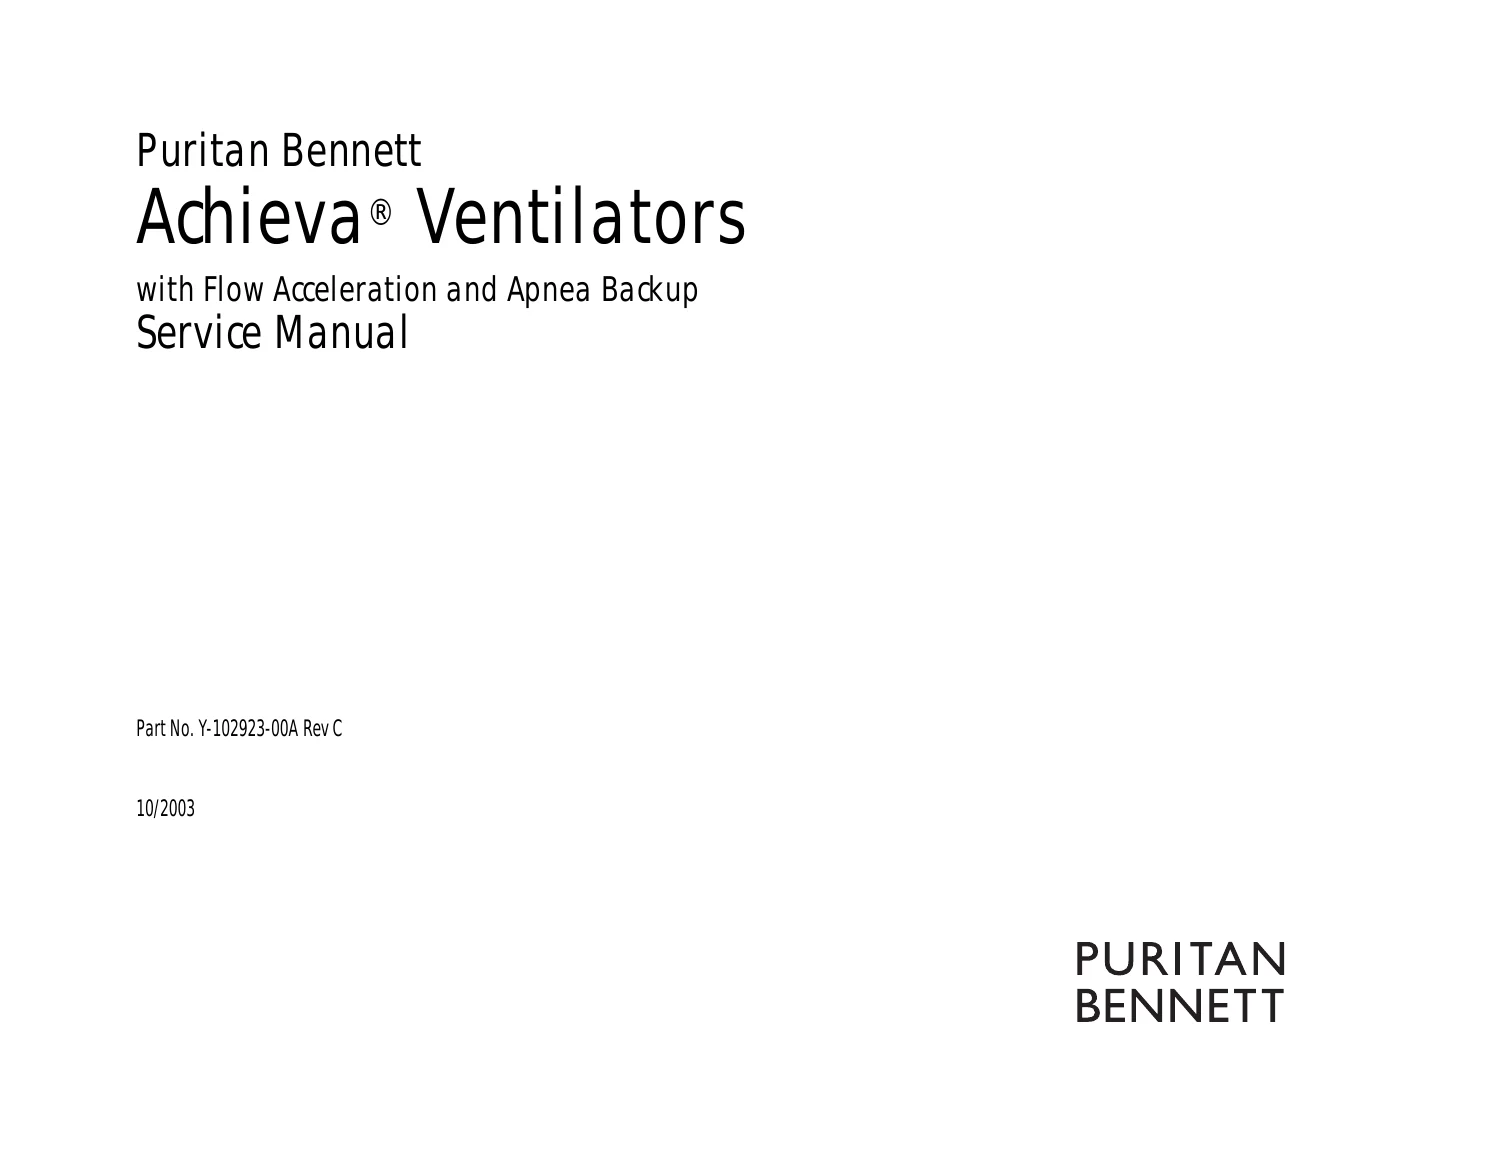
Puritan Bennett Achieva Ventilator Service Manual Y-102923-00A Rev C

This Puritan Bennett Achieva Ventilator Service Manual is the complete biomedical technician reference for servicing the Achieva ventilator with Flow Acceleration and Apnea Backup, covering the Base Achieva, Achieva PS, and Achieva PSO2 configurations. Issued as Part No. Y-102923-00A Rev C, October 2003, this Achieva service manual walks a trained technician through every stage of a full ventilator overhaul, from receiving inspection to final release.

File Details

  • Manual type: Factory service/repair manual
  • Brand/Model: Puritan Bennett Achieva Ventilators (Base Achieva, Achieva PS, Achieva PSO2)
  • Document number: Y-102923-00A
  • Revision: Rev C
  • Publication date: October 2003
  • Language: English
  • Page count: 240 pages
  • File format: PDF

Complete PDF Bookmark Tree

Complete Bookmarks

The complete bookmarks in the “Puritan Bennett Achieva Ventilator Service Manual Y-102923-00A Rev C 2003” are as follows:

Front Coverp. 1
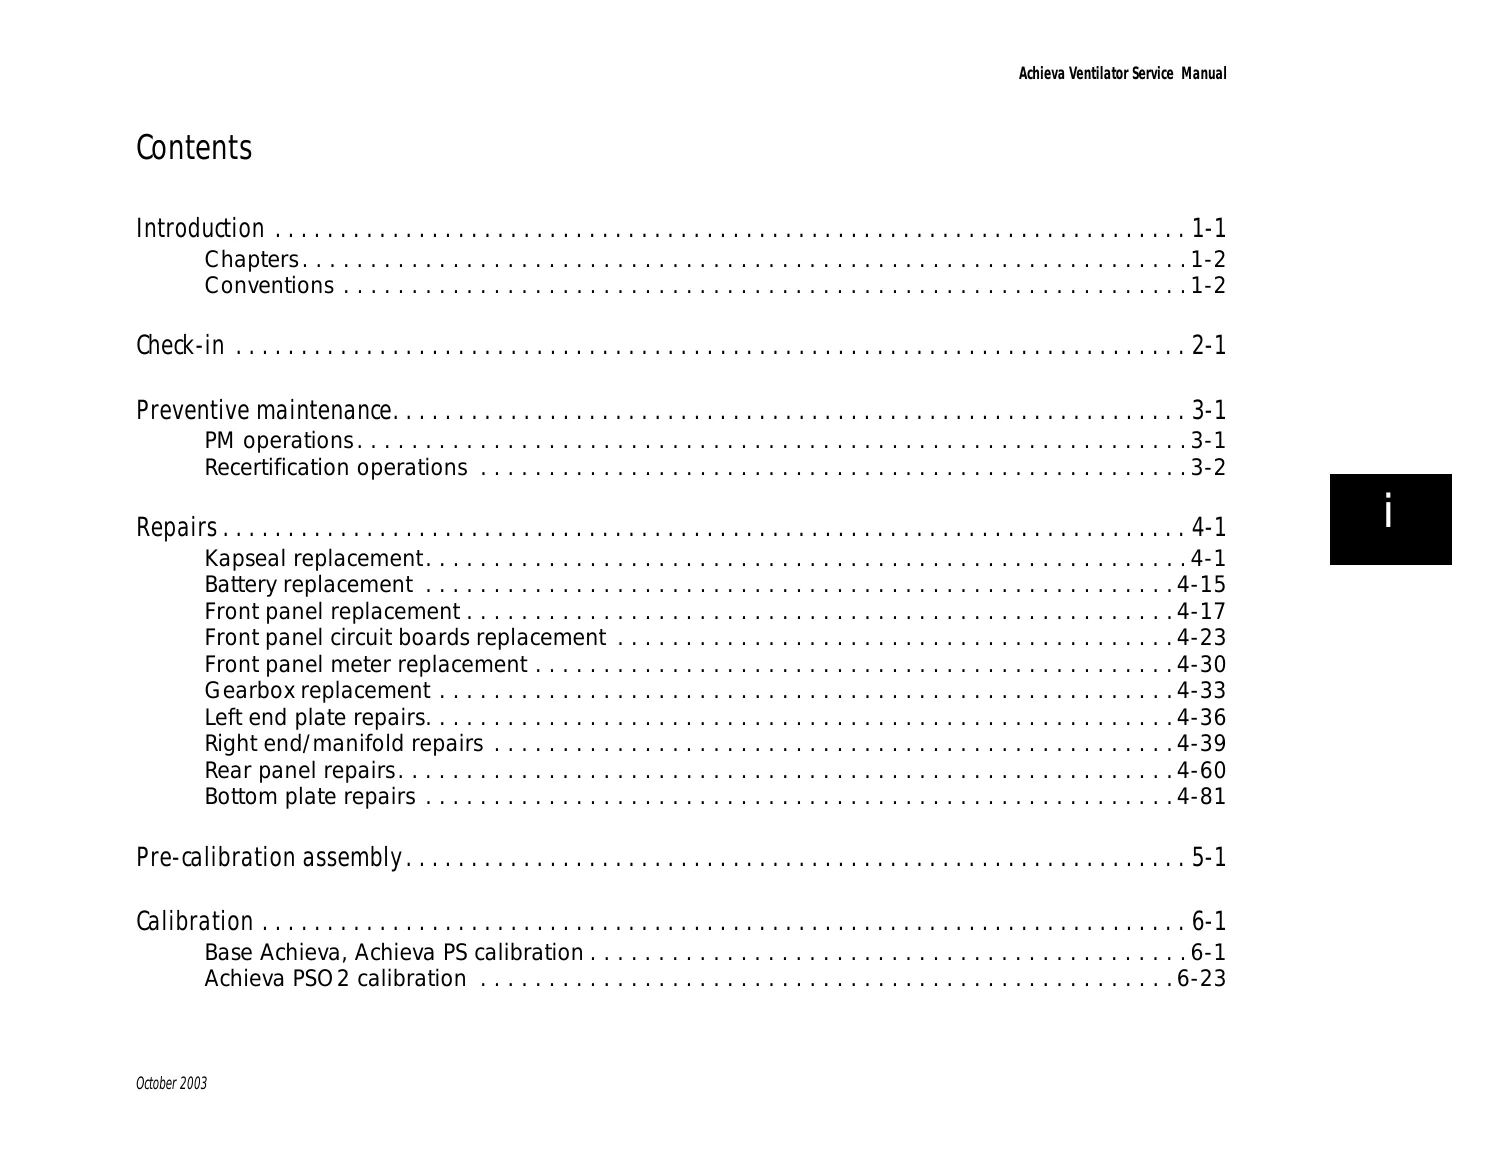
Contentsp. 3
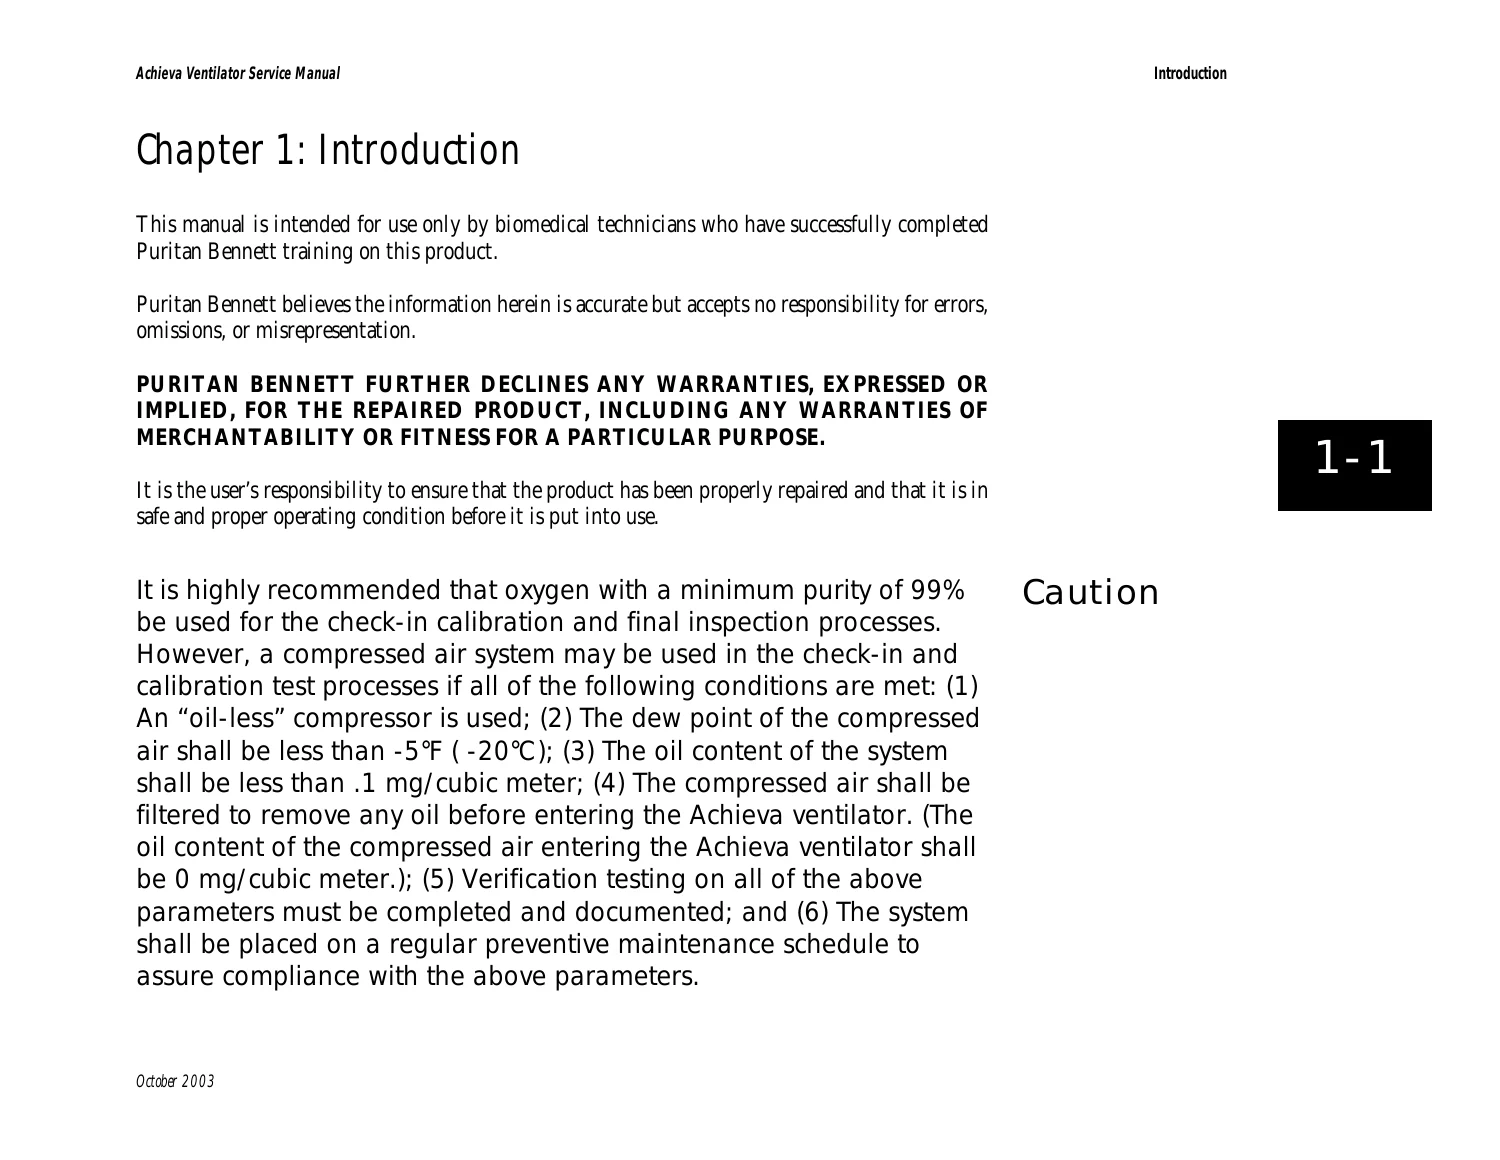
Chapter 1: Introductionp. 5
Chaptersp. 6
Conventionsp. 7
Chapter 2: Check-inp. 9
Equipment requiredp. 9
Exterior visual inspectionp. 10
General operationp. 10
Report generationp. 11
Operation verificationp. 12
Self-testp. 14
Volume testp. 14
PEEP/support testp. 16
Leak test (to be performed only on ventilators with an internal oxygen blender)p. 17
Operation completionp. 17
Disassemblyp. 18
Intake filter removalp. 18
Achieva Field Service Reportp. 21
Chapter 3: Preventive maintenancep. 23
PM operationsp. 23
Recertification operationsp. 24
Chapter 4: Repairsp. 25
Kapseal replacementp. 25
Equipment requiredp. 25
Gearbox and piston removalp. 26
Kapseal and seal ring removalp. 26
Cylinder preparationp. 26
Piston guide replacementp. 27
Seal ring installationp. 29
Kapseal installationp. 29
Right end test set-upp. 31
Leak testp. 33
Piston set testp. 33
Right end test completionp. 36
Motor and piston assemblyp. 37
Battery replacementp. 39
Equipment requiredp. 39
Battery removalp. 39
Battery installationp. 39
Front panel replacementp. 41
Equipment requiredp. 41
Front panel disassemblyp. 41
Front panel assemblyp. 43
Front panel circuit boards replacementp. 47
Equipment requiredp. 47
Circuit board removalp. 48
LCD assembly installationp. 49
Logic circuit assembly installationp. 50
Power circuit assembly installationp. 52
Modem circuit assembly installationp. 53
Front panel meter replacementp. 54
Equipment requiredp. 54
Meter removalp. 54
Meter installationp. 55
Gearbox replacementp. 57
Equipment requiredp. 57
Gearbox removalp. 57
Gearbox installationp. 58
Left end plate repairsp. 60
Equipment requiredp. 60
Alarm removalp. 60
Applying the Nurse Call Labelp. 61
EMI gasket installationp. 61
Alarm installationp. 61
Right end/manifold repairsp. 63
Equipment requiredp. 63
Right end disassemblyp. 64
Manifold disassemblyp. 65
Silicone valve installationp. 66
Filter screen installationp. 67
Auxiliary pressure transducer installationp. 68
Primary pressure transducer installationp. 69
Install flow sensor transducer(s)/filler plate on manifoldp. 70
Install oxygen blender/filler block onto manifoldp. 72
PEEP valve installationp. 75
Cylinder manifold assemblyp. 76
High pressure relief (HPR) valve installationp. 79
Leak/piston set testp. 80
Motor/gearbox installationp. 81
Wire Routingp. 82
Gasket installationp. 83
Rear panel repairsp. 84
Equipment requiredp. 84
Rear panel assembly removalp. 85
AC cord/AC inlet receptacle removalp. 86
Hook-up cable removalp. 86
DC power cable removalp. 86
Removal of the shield groundsp. 86
Nurse call cable removalp. 87
Remote alarm cable/RS232 connector removalp. 87
Power cord wrap feet/HSQ vent/modem port cover or internal modem cable assembly removalp. 87
Air vent screen removalp. 88
Air vent screen installationp. 89
Power cord wrap feet/HSQ vent installationp. 90
Application of serial number labelp. 90
Modem port cover/internal modem cable installationp. 90
Remote alarm cable/RS232 connector installationp. 92
Nurse call cable installationp. 96
Installation of the shield groundsp. 97
DC power cable installationp. 98
Hook up cable installationp. 100
AC cord/AC inlet receptacle installationp. 101
Rear panel assembly installationp. 102
Bottom plate repairsp. 105
Equipment requiredp. 105
Bottom plate removalp. 105
Battery removalp. 106
Power supply removalp. 106
Power supply disassemblyp. 106
Bottom plate disassemblyp. 107
Power supply assemblyp. 108
Bottom plate assemblyp. 109
Power supply installationp. 110
Battery installationp. 110
Bottom plate installationp. 111
Chapter 5: Pre-calibration assemblyp. 115
Equipment requiredp. 115
Attach right end assemblyp. 116
Adjustment of LCD flutter ratep. 120
Front panel connectionp. 121
Chapter 6: Calibrationp. 125
Base Achieva, Achieva PS calibrationp. 125
Equipment requiredp. 125
Documentationp. 126
Initialize date/timep. 126
Unit IDp. 127
Homing calibrationp. 128
Internal volts calibrationp. 131
Pressure sensors and front panel meter calibrationp. 133
High pressure relief valve calibrationp. 137
Flow sensor calibrationp. 138
Initialize repair historyp. 144
Initialize data logsp. 144
Generate reportp. 145
Completionp. 145
Base Achieva, Achieva PS Calibration Data Sheetp. 146
Achieva PSO2 calibrationp. 147
Equipment requiredp. 147
Documentationp. 148
Initialize date/timep. 148
Unit IDp. 149
Blender leak testp. 150
Homing calibrationp. 151
Internal volts calibrationp. 153
Pressure sensors and front panel meter calibrationp. 155
High pressure relief valve calibrationp. 159
Flow sensor calibrationp. 161
Initialize repair historyp. 169
Initialize data logsp. 170
Generate reportp. 170
Completionp. 171
Achieva PSO2 Calibration Data Sheetp. 172
Chapter 7: Reassemblyp. 173
Equipment requiredp. 173
Top cover installationp. 173
Attach left end platep. 175
Side panel installationp. 176
Intake filter assembly installationp. 177
Chapter 8: Run-inp. 179
Equipment requiredp. 179
Ventilator preliminary checksp. 179
Battery rundownp. 180
Run-in completionp. 181
Data retrievalp. 183
Dispositionp. 186
Achieva Run-in Data Sheetp. 188
Chapter 9: Safety testp. 189
Equipment requiredp. 189
Ground resistancep. 189
Chassis leakage currentp. 189
Hi-Potp. 190
Chapter 10: Final inspectionp. 191
Base Achieva final inspectionp. 191
Equipment requiredp. 191
Ventilator preliminary checksp. 192
Self-testp. 192
Pressure accuracy testp. 192
Pressure trigger testp. 193
Volume accuracy testp. 194
Operational testp. 196
Power switchover testp. 197
Remote jack testp. 198
Nurse call output testp. 200
Pressure cycle testp. 201
Flow sensitivity testp. 203
Completionp. 204
Base Achieva Final Inspection Data Sheetp. 207
Achieva PS and PSO2 final inspectionp. 208
Equipment requiredp. 208
Ventilator preliminary checksp. 209
Self-testp. 209
Pressure accuracy testp. 209
Pressure trigger testp. 210
Volume accuracy testp. 212
Operational testp. 213
Power switchover testp. 215
Remote jack testp. 216
Nurse call output testp. 218
Pressure cycle testp. 219
Leak test (only PSO2 units)p. 221
Oxygen blending test (only PSO2 units)p. 223
Flow sensitivity testp. 224
DO NOT use the MaSSII “Setup…Initialize NVRAM” command. This command will reset all calibration parameters and unit information to defaults. This will also reset the Operating Hours to zero. A complete re-calibration will be required and th…p. 226
Achieva PS, PSO2 Final Inspection Data Sheetp. 229
Chapter 11: Language conversionp. 231
Equipment requiredp. 231
Language selectionp. 231
Appendix A: PTS2000 Menu Structurep. 233
Appendix B: Torque Referencep. 235
Appendix C: Servicep. 237
Service informationp. 237
Limited Warrantyp. 237

Chapters Covered

  • Introduction – manual intent, chapter overview, and warning/caution/note conventions
  • Check-in – exterior visual inspection, general operation checks, MaSSII report generation, operation verification
  • Preventive maintenance – PM operations and recertification operations
  • Repairs – Kapseal replacement, battery replacement, front panel replacement, front panel circuit boards replacement, front panel meter replacement, gearbox replacement, left end plate repairs, right end/manifold repairs, rear panel repairs, bottom plate repairs
  • Pre-calibration assembly
  • Calibration – Base Achieva/Achieva PS calibration and Achieva PSO2 calibration
  • Reassembly
  • Run-in
  • Safety test
  • Final inspection – Base Achieva final inspection and Achieva PS/PSO2 final inspection
  • Language conversion
  • Appendix A: PTS2000 Menu Structure
  • Appendix B: Torque Reference
  • Appendix C: Service information and Limited Warranty

Together these chapters take a technician through the entire Achieva service cycle in the order it’s actually performed in the shop: check the unit in, run preventive maintenance or recertification, disassemble and repair the specific sub-assembly involved, rebuild the machine through pre-calibration and full calibration on the PTS2000 test instrument and MaSSII software, reassemble, run the unit in, safety test it, and sign off on final inspection.

Repairs, Torque, and Calibration Detail

The Repairs chapter is the largest section of this Achieva service manual, with step-by-step procedures for Kapseal replacement, internal battery replacement, front panel and front panel circuit board replacement, front panel meter replacement, gearbox replacement, left end plate repairs, right end/manifold repairs, rear panel repairs, and bottom plate repairs. Each procedure lists the exact tools required, including torque driver settings such as 4, 5, 8, 20, 22, and 35 in-lb (0.45–3.96 N-m) values for specific fasteners, so the rebuild is torqued to the same specification used at the factory. The Calibration chapter details Base Achieva/Achieva PS calibration and separate Achieva PSO2 calibration, including PTS2000 pressure and flow verification points, internal battery voltage calibration points (20.00–30.00 V), and O2 supply pressure requirements up to 80 psi (5.52 bar) at 180 lpm.

IMAGES PREVIEW

Puritan Bennett Achieva Ventilator Service Manual Y-102923-00A Rev C 2003 — PDF page 1 preview
Puritan Bennett Achieva Ventilator Service Manual Y-102923-00A Rev C 2003 — PDF page 3 preview
Puritan Bennett Achieva Ventilator Service Manual Y-102923-00A Rev C 2003 — PDF page 5 preview

Check-in, PM, and Final Inspection

The Check-in Procedure chapter documents the exterior visual inspection, general operation verification (including patient pressure meter zeroing and front panel LED/alarm checks), MaSSII report generation (Settings, Event Log, Compliance Data, Trended Data, Flow Tables, Repair History, Calibration Parameters, and Error Log), and operation verification against parameters such as SENSITIVITY, PRESSURE SUPPORT, PEEP, LOW/HIGH PRESSURE, and PRESSURE TRIGGER. Final Inspection is split into a Base Achieva final inspection and a separate Achieva PS/PSO2 final inspection, confirming the unit meets spec before it’s returned to service. A dedicated Language Conversion chapter also covers changing the ventilator’s on-screen software language using MaSSII.

Why Biomedical Technicians Rely on This Manual

This Puritan Bennett Achieva service manual gives a biomedical equipment technician everything needed to check in, repair, calibrate, and certify an Achieva ventilator for return to patient use — including exact torque values, required equipment lists (PTS2000 test instrument, MaSSII software, communications cable, test lungs, and more), and the calibration parameters the factory itself signs off against. Working from the correct procedures and torque specs in this Y-102923-00A Rev C manual reduces the risk of a mis-torqued fastener, a missed calibration step, or an incomplete final inspection on life-support equipment. The Puritan Bennett Achieva Ventilator Service Manual downloads instantly as a PDF after purchase — no shipping wait, no physical copy to lose — and can be opened on a laptop, tablet, or phone in the shop, or printed as needed for bench reference.
Reviews

There are no reviews yet.

Be the first to review “Puritan Bennett Achieva Ventilator Service Manual Y-102923-00A Rev C 2003”

What Our Customers Say

★★★★★ Live reviews from customers
Loading customer reviews...
0
    0
    Your Cart
    Your cart is emptyReturn to Shop
    🛒
    Recently Purchased
    🕒 verified order