
Cessna 177 Cardinal Parts Catalog 1968 thru 1976 – Illustrated Parts Manual PDF
Original price was: $39.95.$23.95Current price is: $23.95.
Illustrated Cessna 177, 177A and 177B Cardinal parts catalog covering the 1968 through 1976 model years, serials 17700001 and on. Exploded figures, part numbers, units per assembly and usable-on serial codes in one PDF.
Description
Cessna 177 Parts Catalog
Built for the 177, 177A and 177B airframes sold as the Cardinal and Cardinal II, this Cessna 177 Parts Catalog covers the 1968 through 1976 model years in a single document. Cessna issued it on 15 June 1975 to supersede every 177 parts catalog dated from 15 July 1967 through 1 July 1974, so one file replaces the entire stack of earlier editions for these airplanes.
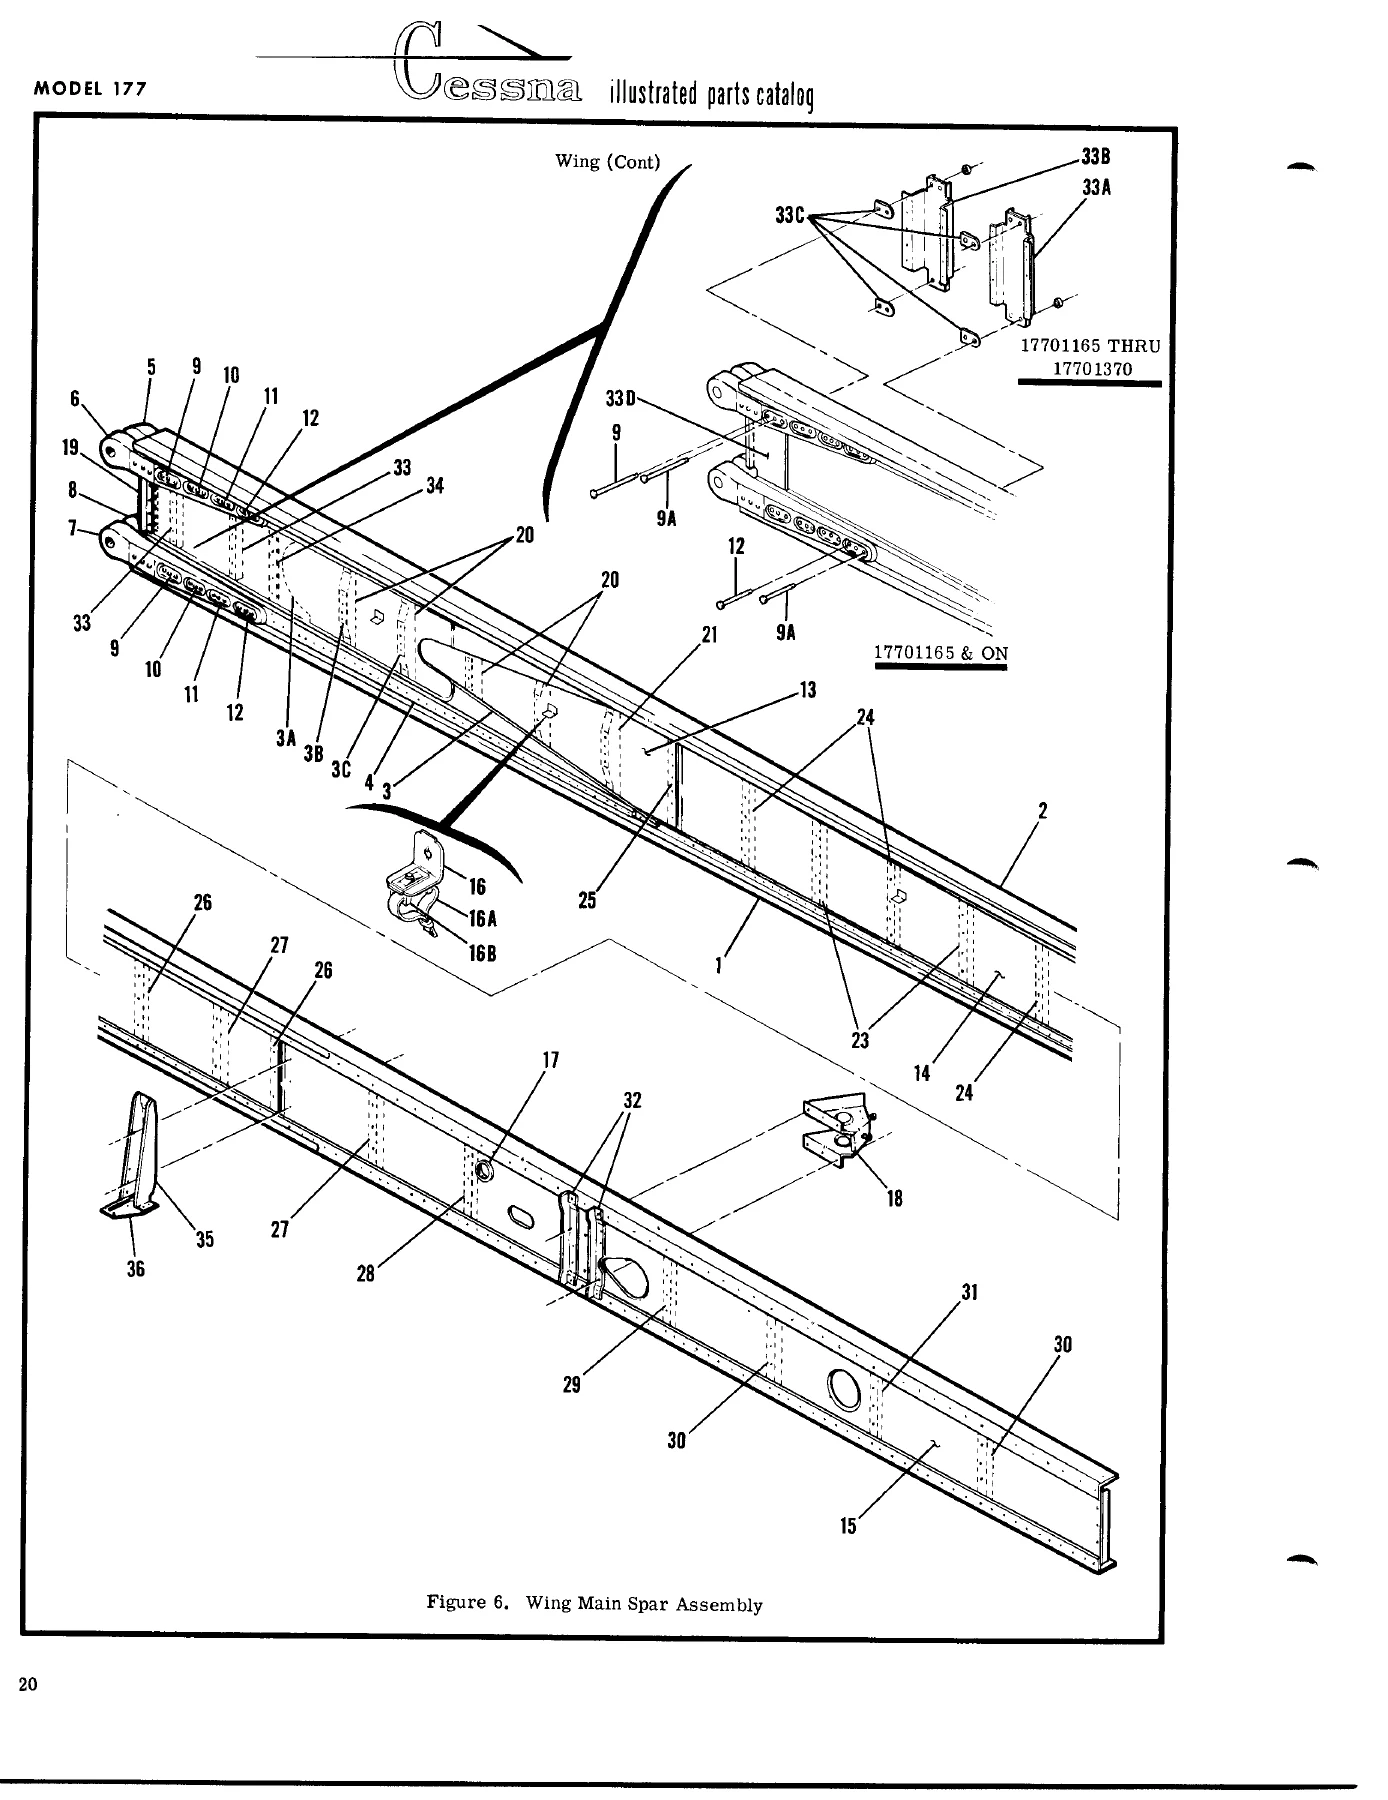
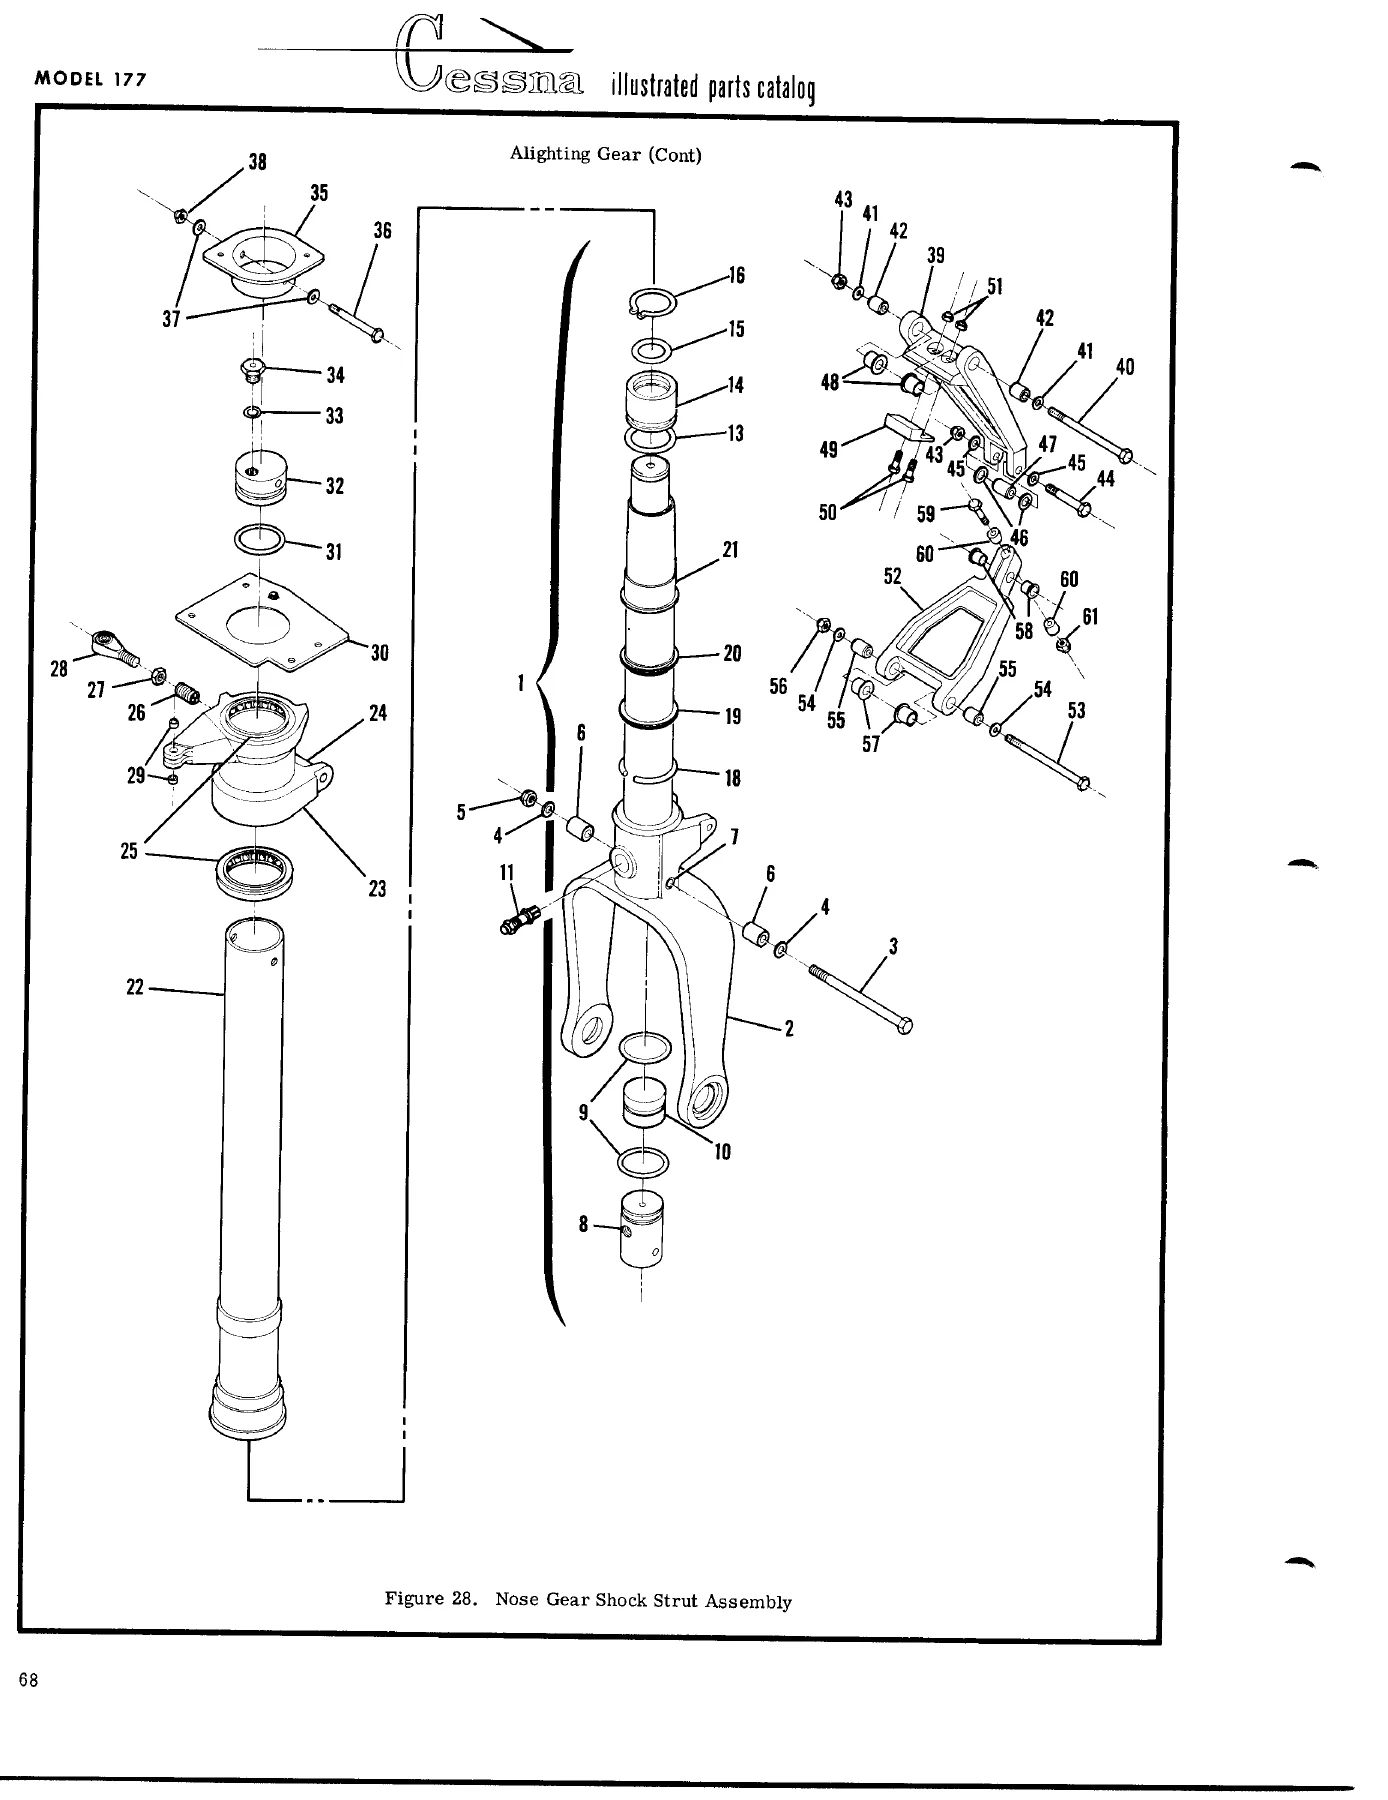
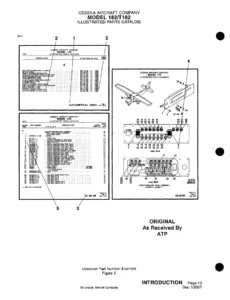
Every figure in the book is a keyed illustration: an exploded drawing with index numbers that tie straight into a parts list showing figure and index number, part number, description and units per assembly. Where a part changed mid-production, the usable-on code column on the right of the page tells you which serial numbers the part actually applies to, so you order against your own airframe instead of guessing.
File Details
- Manual type: Illustrated parts catalog
- Brand / manufacturer: Cessna Aircraft Company
- Models covered: 177, 177A, 177B (Cardinal, Cardinal II)
- Model years: 1968 through 1976
- Serial number coverage: 17700001 through 17702313, and 17702314 & on
- Publication date: 15 June 1975
- Supersedes: 177 parts catalogs dated 15 July 1967 through 1 July 1974
- Language: English
- Format: PDF
- Page count: 506 pages
Chapters Covered
- 1 – Miscellaneous Bulk Items (sheets 1-4)
- 2 / 2A – Placards, Nameplates & Exterior Markings
- 3 – Wing Assembly Complete
- 4 – Wing Structure Assembly
- 5 / 5A / 5B / 5C – Wing Leading Edge Assembly, Long Range Leading Edge, Fuel Tank Drain Valve Installation
- 6 – Wing Main Spar Assembly
- 7 – Aileron Installation
- 8 – Flap Installation
- 9 – Vertical Fin & Dorsal Installation
- 10 – Rudder Installation
- 11 – Stabilator Installation
- 12 – Fuselage Assembly
- 13 – Front & Center Cabin Section Assembly
- 14 / 14A – Forward Fuselage Structure Assembly
- 15 – Front Doorpost Bulkhead Assembly
- 16 / 16A / 16B – Lower Forward Fuselage Section, Pedestal Support Assembly, Firewall Grommets Installation
- 17 – Center Cabin Section – Lower
- 18 – Fuselage Center Belly Section
- 19 – Landing Gear Bulkhead Assembly
- 20 – Aft Cabin Windows Installation
- 21 – Windshield Installation
- 22 – Tailcone Assembly
- 23 – Stinger Installation
- 24 – Battery Box Installation
- 25 / 26 – Nose Gear Installation and Heavy Duty Nose Gear Installation
- 27 – Nose Gear Steering Rod Installation
- 28 / 29 – Nose Gear Shock Strut Assembly and Heavy Duty Version
- 30 / 31 / 31A – Nose Gear Wheel Assembly, Heavy Duty, McCauley Alternate
- 32 – Shimmy Dampener Assembly
- 33 – Main Landing Gear Installation
- 34 / 34A – Main Landing Gear Wheel & Brake Assembly and Alternate
- 35 / 35A – Cabin Door Assembly
- 36 – Cabin Door Latch Assembly
- 37 – Baggage Door Installation
- 38 – Cabin Door Upholstery Installation
- 39 / 39A – Cabin Top & Firewall Upholstery Installation
- 40 / 40A – Cabin Side & Floorboard Upholstery Installation, Soundproofing Installation
- 41 / 41A – Front Seats Installation
- 42 through 42C – Vertically Adjustable and Infinitely Adjustable Front Seat Installations
- 43 through 43C – Rear Seat Installations, including Individually Reclining Back
- 44 / 44A – Auxiliary Seat Installation
- 45 through 45H – Instrument Panel Equipment Installation and Post Lighted Instrument Panel Covers
- 46 / 46A – Fuselage Equipment Installation, Seat Belt & Shoulder Harness Installation
- 47 / 47A / 47B – Stretcher Installation, Compass & Outside Air Temperature, Static Discharger Installation
- 48 / 48A / 48B – Propeller & Spinner Installation and McCauley Propeller Installation
- 49 through 49C – Engine Cowl Assembly
- 50 / 50A – Winterization Equipment Installation and Cowl Flaps Controls Installation
- 51 / 51A – Engine Installation (two sheets)
- 52 / 52A / 52B – Engine Components & Associated Accessories (O-320-E2D Engine), Governor Assembly, Propeller Governor Assembly
- 53 – Exhaust System Assembly
- 54 through 54B – Engine Baffles Installation
- 55 – Oil Filter Installation
- 56 / 56A – Cabin Air Ventilation System Installation
- 57 / 57A – Heating & Defrosting System
- 58 / 59 / 60 – Brake System Installation, Brake & Rudder Pedals Installation, Master Brake Cylinder Assembly
- 61 / 62 / 62A – Control Column Installation, Aileron Control System, Aileron Rudder Interconnect System
- 63 / 64 / 64A – Stabilator Control Installation, Stabilator Trim Tab Control System and Actuator Assembly
- 65 / 66 / 66A – Electric Flap System Installation, Rudder Control System, Rudder Trim System
- 67 through 67C – Pitot System Installation, Alternate Static Source, Encoding Altimeter Installation
- 68 – Stall Warning Horn Installation
- 69 / 69A / 70 / 71 / 72 / 73 – Fuel System Installation, Fuel Vent System, Fuel Strainer Assembly, Fuel Valve Assemblies, Auxiliary Fuel Pump Assembly, Fuel Primer Installation
- 74 – Vacuum System Installation
- 75 – Wing Leveler Installation
- 76 / 77 / 78 / 79 / 80 – Electrical Equipment Installation, Instrument Panel Lights, Landing Lights, Courtesy Lights, Flashing Beacon
- 81 / 82 – Control Wheel Map Light Installation and Control Wheel Map Light & Mike Switch Installation
Read as a whole, this Cessna 177 Cardinal parts catalog gives a technician a complete hardware map of the airframe. The wing group runs from the main spar and leading edge through aileron and flap installations; the fuselage group breaks the cabin down into forward structure, doorpost bulkhead, lower center cabin, belly section and tailcone; and the systems groups cover fuel, brake, control, pitot-static, vacuum and electrical installations individually. Landing gear, seats, upholstery, instrument panel and engine cowl are all handled in their own figure sets rather than being buried in one undifferentiated list.
Index System and Part Identification
The catalog uses an alphabetical index at the front and a numerical index at the back that lists all parts and the figures in which they appear. Standard hardware appears under the Cessna Standard System prefix “S”, with “AN” and “NAS” numbers used for items such as Tinerman nuts and clamps. Two shorthand symbols appear throughout the units-per-assembly column: “NP” marks an item that is not procurable, and “AR” means as required, used for bulk quantities.
Interchangeability is spelled out rather than implied. Where a later design part is fully interchangeable with the one it replaces, both are serialized and the notation “when exhausted use”, or WEU, follows the earlier listing – so you know whether an earlier part should be run out of stock first or whether the later part can be fitted immediately.
Bulk items such as flexible air hose, rubber mouldings and channels, windshield sealing strips and extruded seals are listed with their cut length for one installation, and the figure 1 sheets cover them in detail, including hose sizes, insulation sleeving gauges, ducting, electrical pins and sockets, housings and fasteners.
Model Year and Serial Number Coverage
The catalog spans a long production run and the changes that came with it. Coverage begins with the 1968 177 (serials 17700001 through 17701164), continues through the 1969 177A, and then the 177B for the 1970 through 1974 model years, finishing with the Cardinal and Cardinal II through 1976. Figure numbering reflects that evolution – cabin door assemblies switch at serial 17701774, instrument panel equipment is split across eight separate figure numbers as the panel changed, engine cowl assemblies run through four distinct figure sets, and rear seat installations are broken out by serial block and by whether the back reclines individually.
The finish and trim material is included as well. A finish and trim plate diagram explains how to read the year code, interior colour code and exterior colour combination code stamped on the plate at the forward edge of the left cabin door, and paint code charts follow for each model year with interior paint and exterior colour combinations keyed to serial listings. Interior painted or plastic parts tables give the dash numbers to add to a part number for each interior colour code.
Order the Correct Part the First Time
With this Cessna 177 Cardinal parts catalog on hand you can identify a component from an exploded figure, trace it to its part number, confirm from the usable-on code that it fits your serial number, and check whether a superseding part should be used instead. That is the difference between a part that bolts on and one that comes back – particularly on a type where the cabin door, instrument panel, cowl, seats and leading edge were all revised mid-production.
It supports parts identification for airframe structure, flight controls, landing gear and wheels, brakes, fuel and vent systems, engine installation and accessories, propeller, exhaust, baffles, upholstery and interior trim, placards and exterior markings, and the electrical and lighting installations – the full 1968 through 1976 spread, not just one model year.
The file is delivered as an instant PDF download with no shipping and no waiting. It opens on a laptop, tablet or phone at the hangar or on the bench, and any figure, parts list or colour table you need can be printed and taken to the airplane. Add it to your library today and stop ordering parts by description alone.
Reviews
There are no reviews yet.