
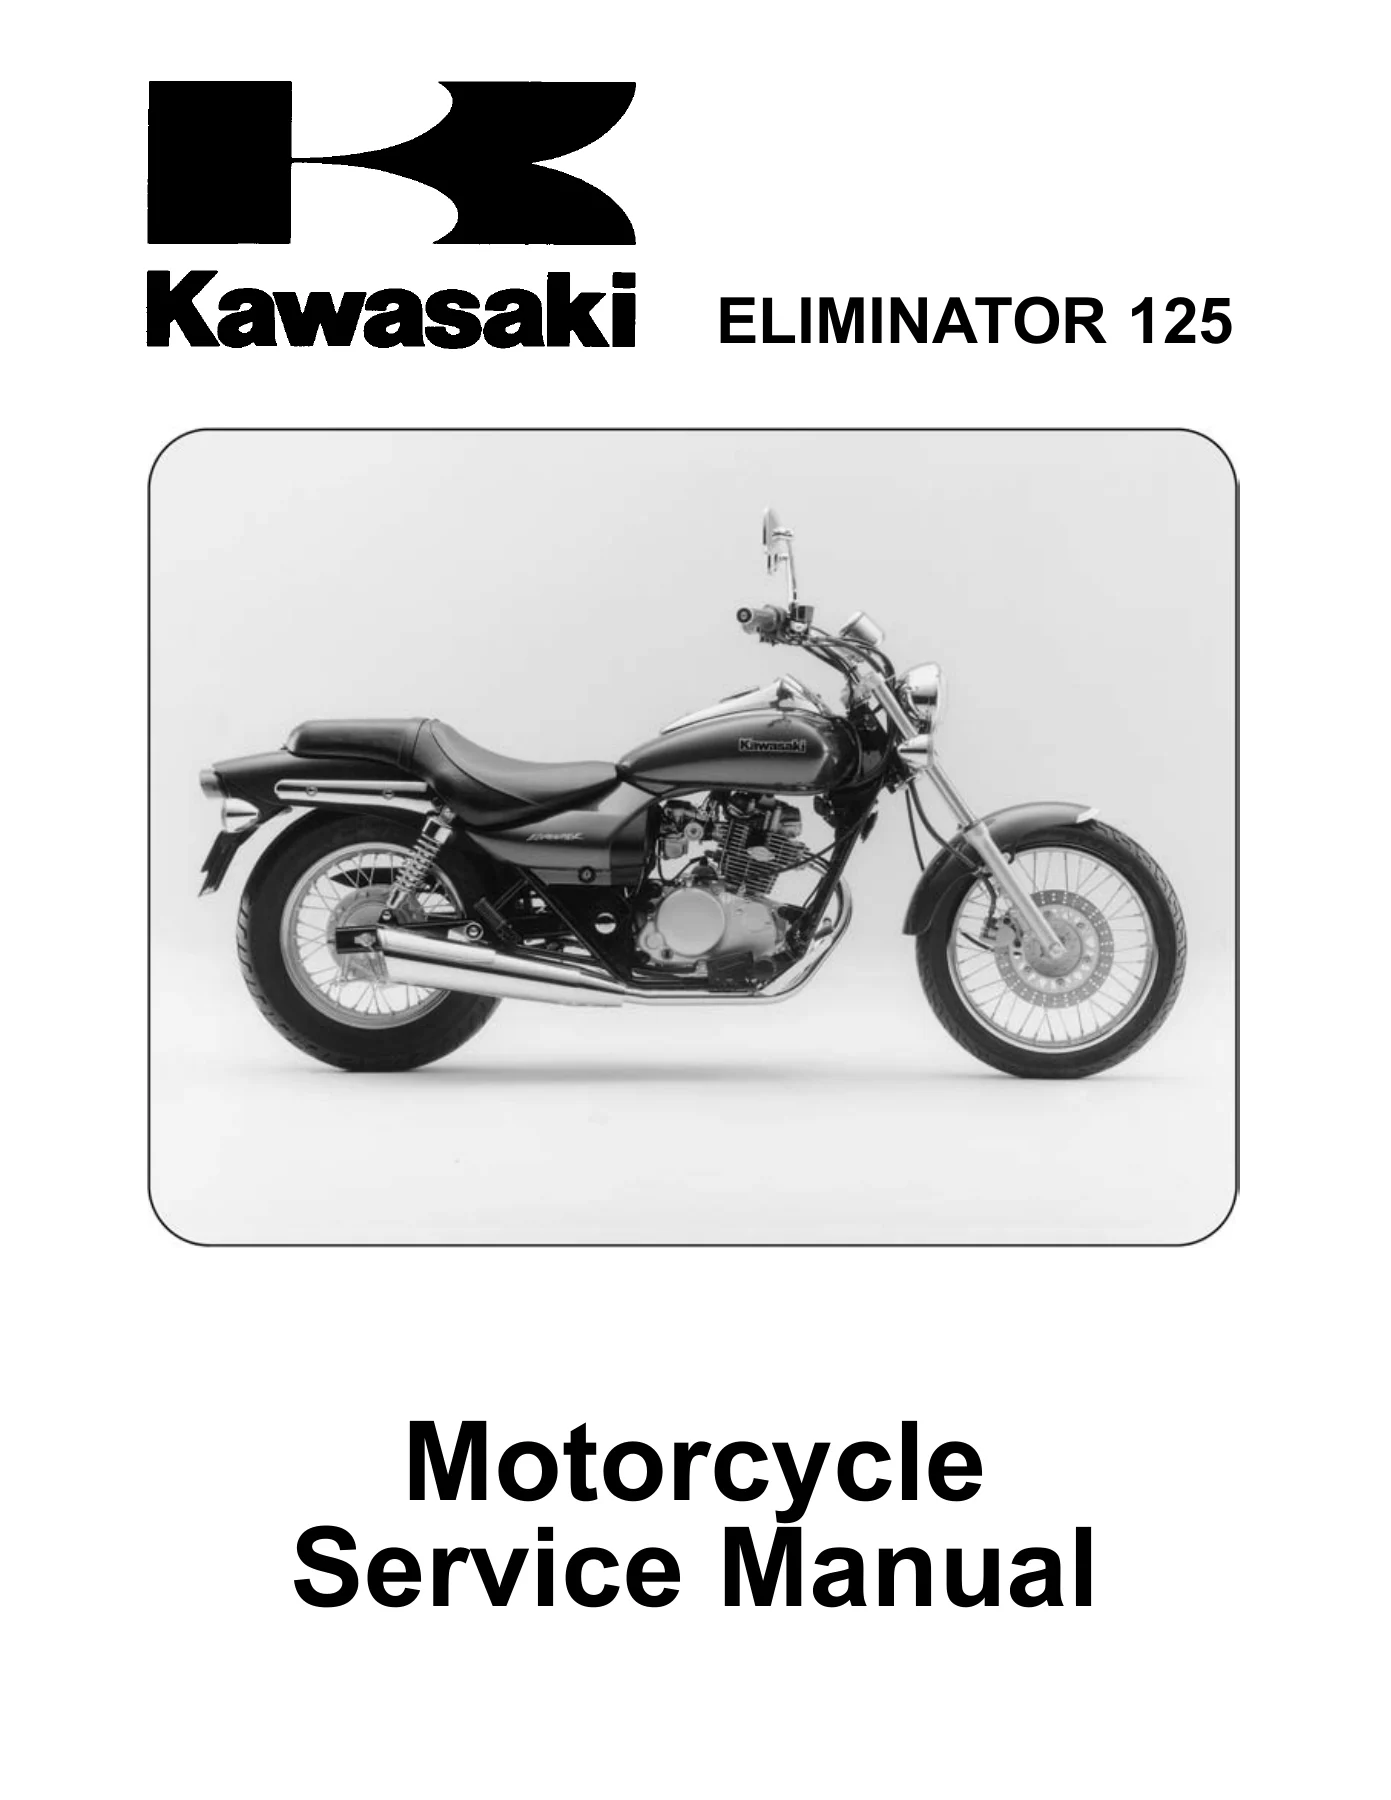
Kawasaki Eliminator 125 Service Manual 1998-2007 – BN125-A1 to A8 Workshop Repair PDF
Original price was: $39.95.$24.95Current price is: $24.95.
Complete Kawasaki Eliminator 125 service manual covering BN125-A1 through BN125-A8 (1998-2007). 385 pages of factory workshop procedures, exploded views, wiring diagrams, torque specs and troubleshooting for the 124 cc SOHC air-cooled single.
Description
Kawasaki Eliminator 125 Service Manual 1998-2007 – BN125-A1 to A8
This is the complete Kawasaki Eliminator 125 service manual covering the BN125 model series from the first A1 machines of 1998 through to the A8 and later variants built up to 2007. It is the same workshop reference a Kawasaki-trained technician would reach for, covering every major system on the Eliminator 125 – engine, fuel, clutch, transmission, brakes, suspension, steering, frame and electrical – with the procedures, torque values and service limits required to maintain and rebuild the machine properly. Every chapter is written for the 124 cc SOHC air-cooled single-cylinder engine and the chassis it sits in, so the numbers and procedures apply directly to the machine in front of you.
File Details
- Manual type: Motorcycle Service Manual
- Brand / Manufacturer: Kawasaki Heavy Industries, Ltd.
- Model: Eliminator 125 (BN125 series)
- Models covered: BN125-A1 through BN125-A8 (plus late BN125A6F / BN125A7F variants)
- Model years: 1998-2007
- Language: English
- Page count: 385 pages
- File format: PDF
- Document number: Part No. 99924-1332-04
Chapters Covered
- 1 General Information
- 2 Periodic Maintenance
- 3 Fuel System
- 4 Engine Top End
- 5 Clutch
- 6 Engine Lubrication System
- 7 Engine Removal/Installation
- 8 Crankshaft/Transmission
- 9 Wheels/Tires
- 10 Final Drive
- 11 Brakes
- 12 Suspension
- 13 Steering
- 14 Frame
- 15 Electrical System
- 16 Appendix
General Information
Covers the basics every job starts with – battery ground procedure, handling of sharp and heavy components, solvent and cleaning precautions, arrangement and storage of removed parts, inspection and replacement guidance, tightening sequences and torque practice, gasket and O-ring handling, liquid gasket and locking agent use, press and bearing installation, oil seal and circlip practice, general lubrication, engine rotation direction, electrical lead identification and meter usage. Model identification, general specifications for each BN125-A revision, and the technical explanations of the DC-CDI ignition system and the coasting enricher are also included here, along with a unit conversion table.
Periodic Maintenance
Full periodic maintenance chart for the BN125 Eliminator 125, plus the inspection and adjustment procedures for every service item: fuel hose and connection checks, throttle grip free play, idle speed, air cleaner element cleaning, evaporative emission control system inspection (California model), air suction valve, cylinder head bolt tightness, valve clearance, clutch lever free play, engine oil and oil filter change, oil screen cleaning, spoke tightness and rim runout, air pressure and tire wear, drive chain slack and wear, brake pedal free play, brake shoe lining and pad wear, brake hose and fluid, brake light switch, brake cable, front fork oil, rear shock absorber, swingarm pivot lubrication, steering, battery electrolyte, spark plug, general lubrication and a full nut, bolt and fastener tightness inspection.
Fuel System
The complete MIKUNI BS28 carburetor section: throttle grip and cable free play inspection and adjustment, idle speed, service fuel level inspection and adjustment, float height, fuel system cleanliness checks, carburetor removal and installation, full disassembly and assembly, cleaning, inspection of the vacuum piston, diaphragm, float valve needle and pilot screw, air cleaner element and housing service, fuel tank removal, installation, inspection, cleaning, fuel tap removal and installation, and evaporative emission control system service for the California model including separator and canister inspection. Exploded views of the carburetor assembly and fuel tank components are included.
Engine Top End
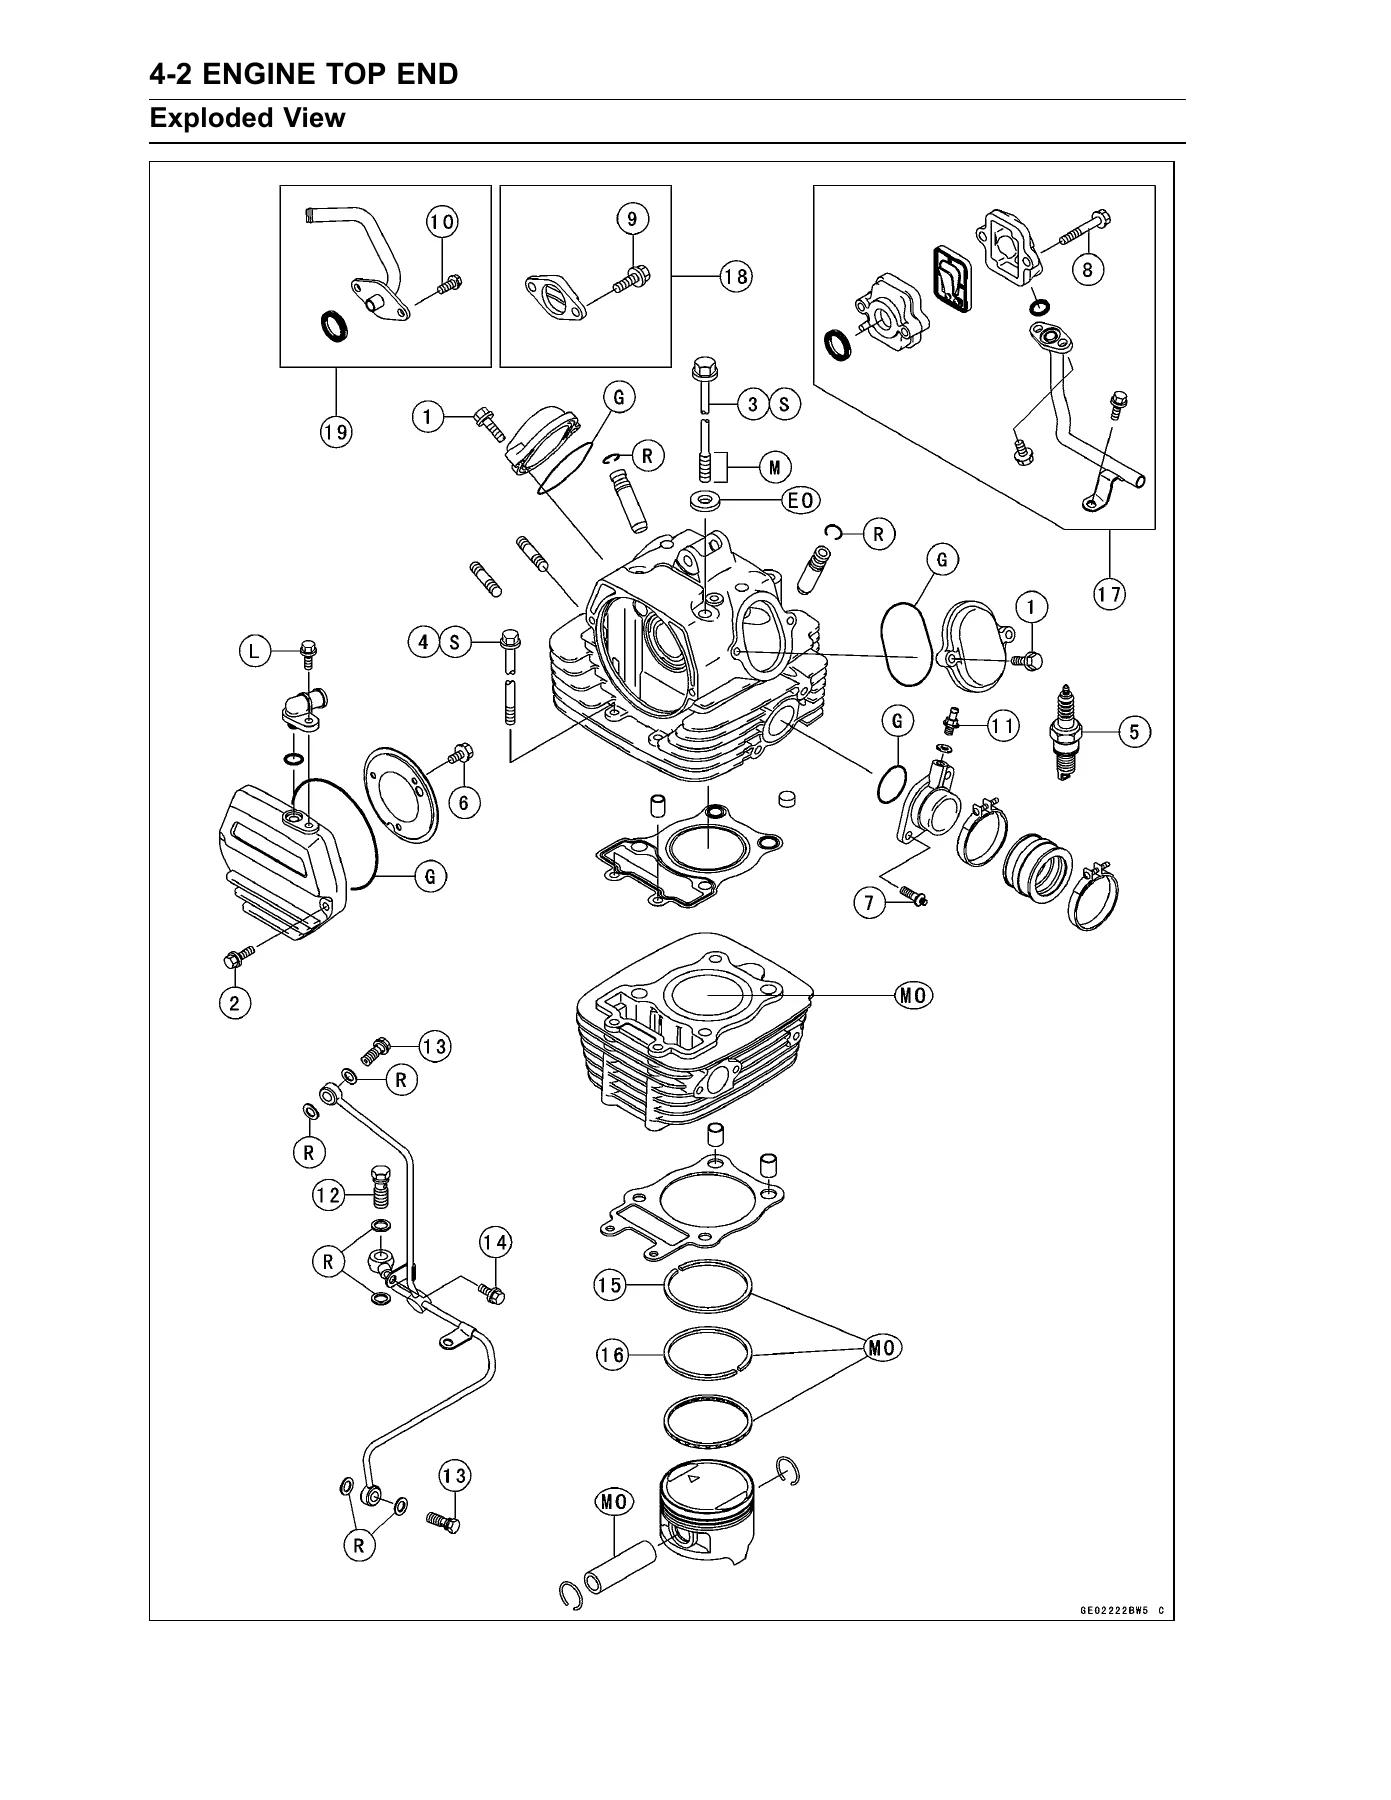
Cylinder head, valvetrain and piston work for the 124 cc SOHC air-cooled single: air suction valve inspection and installation, clean air system including the vacuum switch valve test, camshaft chain tensioner removal and installation, camshaft removal and installation, camshaft chain removal and installation, cylinder compression measurement, cylinder head removal, installation, assembly, cleaning and warp inspection, valve removal, installation, guide removal, seat inspection and valve seat repair with the full cutter procedure, cylinder removal and installation, piston removal and installation including ring fitting, cylinder wear, piston wear, piston/cylinder clearance and piston ring end gap measurement, carburetor holder installation and muffler removal and installation.
Clutch and Primary Drive
Clutch lever and cable service including free play inspection and adjustment, clutch cover removal, installation and assembly, clutch removal and installation, friction and steel plate damage and warp inspection, clutch spring free length measurement, clutch housing finger and clutch hub spline inspection, and primary gear removal and installation with the correct torque values.
Engine Lubrication System
Engine oil flow chart, oil level inspection, engine oil and oil filter change, oil screen removal and installation, oil pump removal, installation, disassembly, assembly and inspection, oil pressure measurement with the correct gauge and adapter, relief valve inspection, and oil pipe removal and installation with the correct banjo bolt torque sequence.
Engine Removal and Installation
Complete engine removal and reinstallation procedure for the BN125, including the jacking and support setup, disconnection of wiring, cables and hoses, removal of the mounting bolts and brackets, and correct torque for the M10 and M8 engine mounting bolts and the engine ground terminal.
Crankshaft and Transmission
Crankcase disassembly and assembly including splitting tool procedure and liquid gasket application, crankshaft removal and installation, connecting rod big end side and radial clearance measurement, crankshaft runout measurement and correction, balancer shaft gear removal and installation with timing mark alignment, starter motor clutch removal, disassembly, assembly and inspection, torque limiter inspection, external shift mechanism removal, inspection and shift pedal height adjustment, transmission shaft removal and installation, transmission disassembly and assembly with the correct circlip orientation, shift drum service, shift fork bending, shift fork/gear groove wear, shift fork guide pin and drum groove wear, gear dog and gear dog hole inspection, ball bearing and oil seal replacement and inspection.
Wheels, Tires and Final Drive
Front and rear wheel removal and installation with the correct axle torque, wheel inspection, spoke and rim inspection, axle inspection, tire air pressure inspection and adjustment, tire removal and installation, hub bearing removal, installation, inspection and lubrication, drive chain slack inspection and adjustment, drive chain wear inspection, drive chain lubrication, drive chain removal and installation, engine and rear sprocket removal, installation and wear inspection, sprocket warp inspection, coupling removal and installation, coupling bearing service and damper inspection.
Brakes
Front disc brake caliper removal, installation, disassembly and assembly, caliper fluid seal, dust seal, friction boot, piston and cylinder inspection, front brake pad removal, installation and wear inspection, master cylinder removal, installation, disassembly and assembly, master cylinder visual inspection, front brake disc removal, installation, wear and warp inspection, brake fluid level inspection, brake fluid change, brake line bleeding, brake hose removal, installation and inspection, rear brake pedal position inspection and adjustment, brake pedal free play inspection and adjustment, brake pedal removal and installation, brake cable removal, installation and lubrication, rear brake panel removal, installation, disassembly, assembly and inspection, brake shoe lining wear inspection, brake shoe spring inspection and brake drum wear inspection.
Suspension and Steering
Front fork oil change, fork removal and installation, fork disassembly and assembly, inner and outer tube inspection, fork spring inspection, rear shock absorber spring preload adjustment, removal and installation, swingarm removal and installation, swingarm bearing removal and installation, swingarm pivot check, swingarm bearing and sleeve inspection, steering inspection and adjustment, steering stem removal and installation, steering stem warp inspection, steering stem bearing removal, installation, wear, damage and lubrication, handlebar removal and installation for both early and late models, and rear view mirror service.
Frame
Side cover removal and installation, seat removal and installation, front and rear fender removal and installation, and full frame inspection procedure.
Electrical System
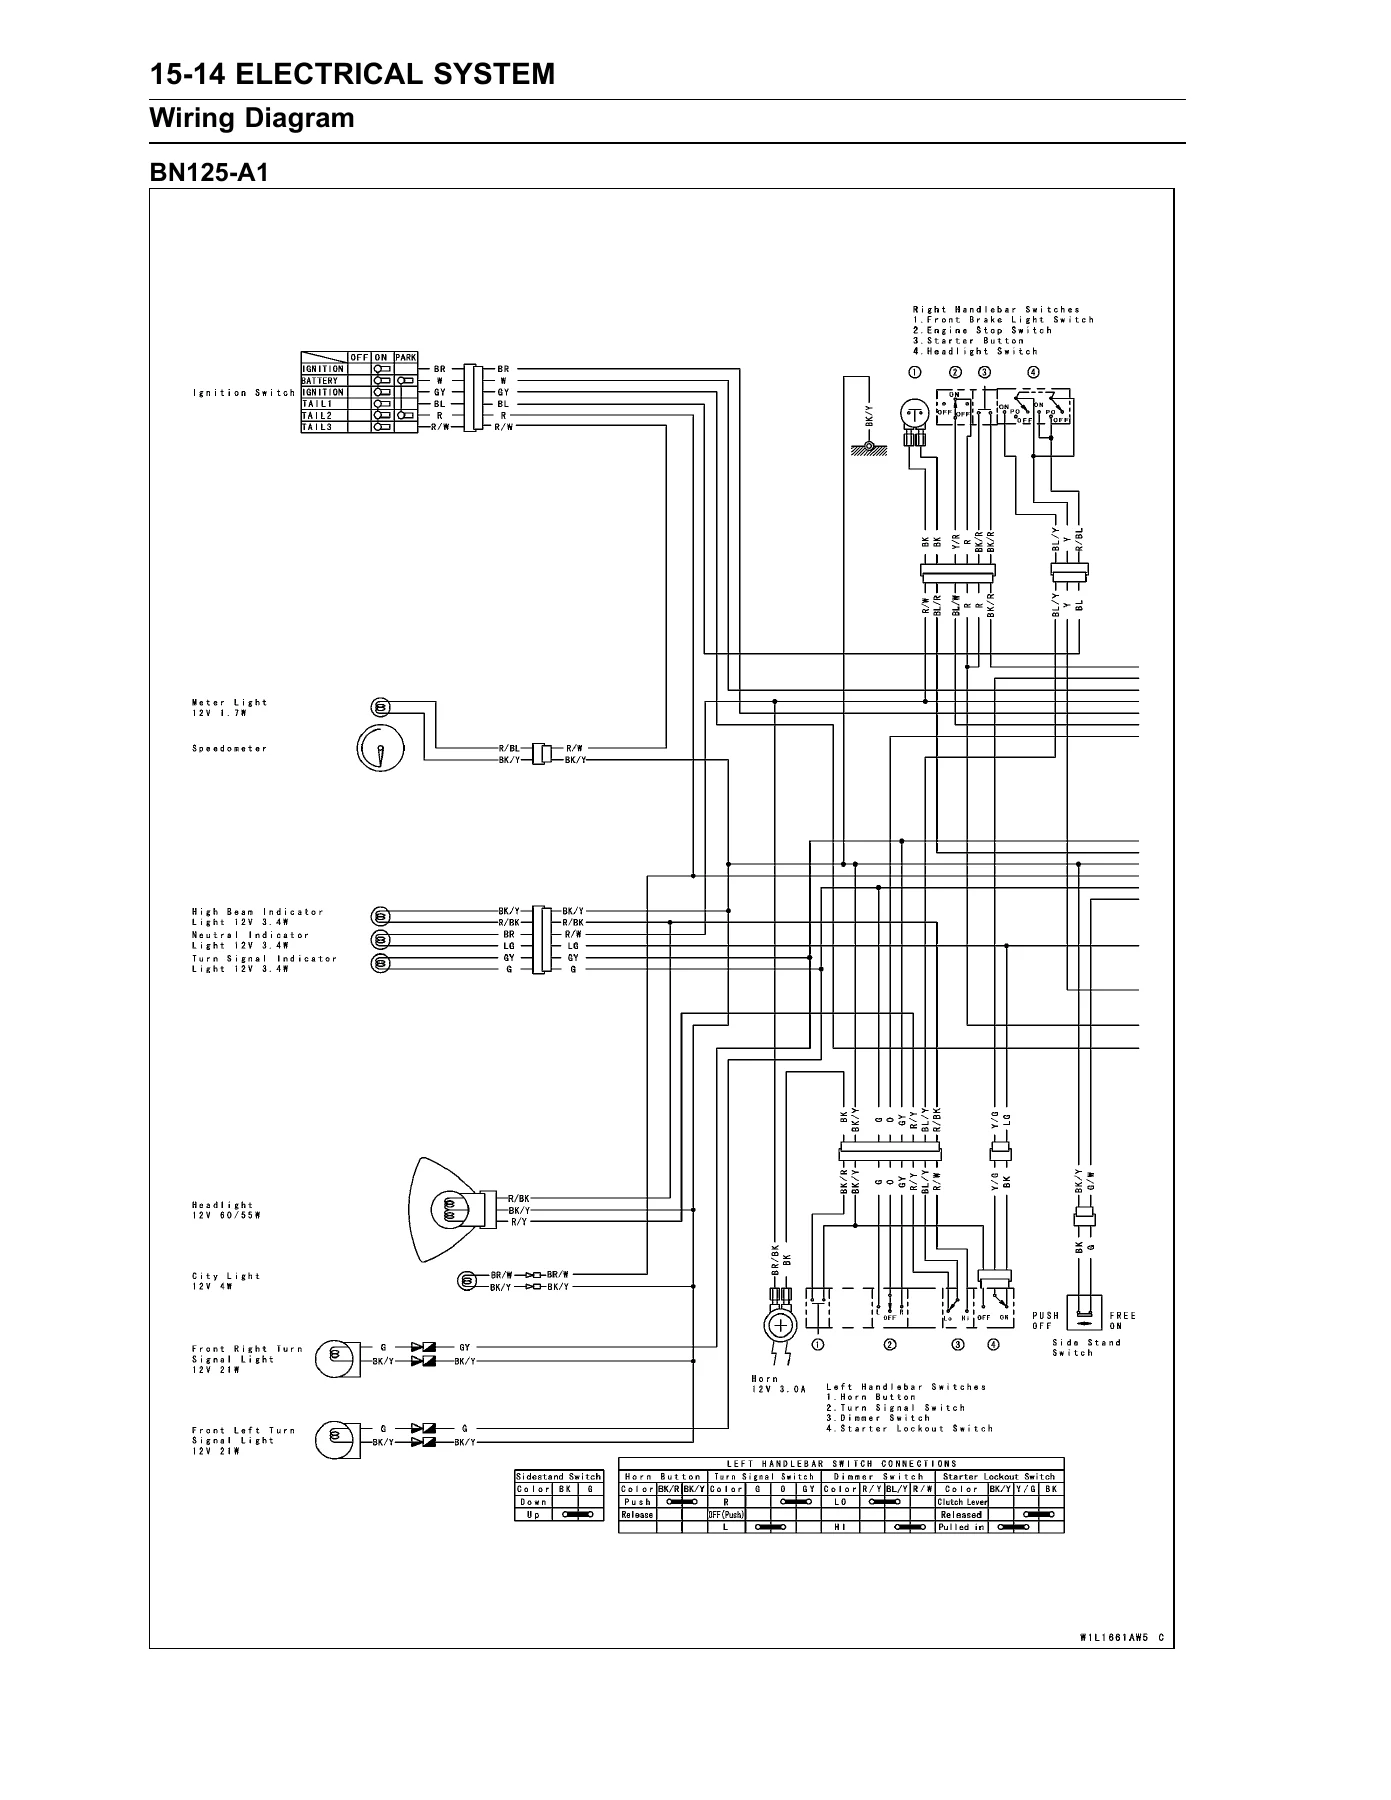
Complete electrical system service: wiring inspection, battery removal, installation, electrolyte specific gravity inspection, initial charging and ordinary charging procedures, alternator cover removal and installation, alternator rotor removal and installation, stator coil removal and installation, alternator inspection, regulator/rectifier inspection, charging voltage inspection, crankshaft sensor removal, installation, resistance and peak voltage inspection, ignition timing inspection, ignition coil removal, installation, inspection, primary peak voltage measurement, spark plug service, CDI unit removal and inspection, starter motor removal, installation, disassembly, assembly, brush and commutator inspection, armature inspection, brush lead inspection, brush plate and terminal bolt inspection, starter relay and starter circuit relay inspection, headlight beam adjustment and bulb replacement, AC lighting voltage inspection, tail/brake light bulb replacement, turn signal relay inspection, speedometer removal and disassembly, indicator unit removal and installation, bulb replacement, switch inspection and fuse removal, installation and inspection.
Appendix
Cable, wire and hose routing diagrams for each BN125 model variation, plus the full troubleshooting guide covering starting difficulty, poor running at low and high speed, overheating, clutch operation faults, gear shifting faults, abnormal engine noise, abnormal drive train noise, abnormal frame noise, excessive exhaust smoke, handling and stability problems, brake faults and battery trouble.
Why This Kawasaki Eliminator 125 Service Manual Matters
Torque values matter. Valve clearances matter. Crankshaft runout tolerances matter. Get them wrong on a 124 cc single and you get burnt valves, seized pistons, kinked cam chains and a motorcycle that will not run right again. This manual prints the numbers exactly as Kawasaki set them – valve clearance inlet 0.08 ~ 0.12 mm and exhaust 0.15 ~ 0.19 mm, cylinder compression usable range 960 ~ 1 470 kPa, crankshaft runout service limit TIR 0.07 mm, drive chain 20-link length service limit 259 mm, brake disc service limits, spark plug gap 0.7 ~ 0.8 mm, and hundreds more – so you can work to the manufacturer’s spec instead of guessing.
It also tells you the order things come apart and go back together. The camshaft sprocket must align with the timing mark at TDC on the compression stroke. The camshaft chain tensioner is a non-return type – once the push rod moves out it will not go back in without resetting. The crankshaft jig goes between the flywheels before pressing into the crankcase. The oil pump rotors are filled with oil before assembly. The rear hub bearings must be bottomed out. The drive chain clip must face the correct direction. Small details like these separate a reliable rebuild from an expensive mistake.
Who This Manual Is For
Owners who service their own Eliminator 125. Home mechanics tackling a top-end refresh, clutch replacement, brake overhaul or electrical fault. Independent workshops that need the factory procedures and torque values on hand. Anyone doing a restoration or rebuild of a BN125-A1 through A8 machine. If you are diagnosing a no-start, a charging fault, a carburetor issue, a slipping clutch or a worn drive chain, the relevant chapter is here with the exploded views, wiring diagrams, special tool numbers and specification tables you need.
IMAGES PREVIEW
Instant PDF Delivery – No Shipping, No Waiting
This Kawasaki Eliminator 125 service manual is delivered as a PDF download immediately after payment. There is no shipping, no customs, no waiting on a printed book. The file opens on any device – Windows PC, Mac, tablet or smartphone – so you can pull it up in the workshop, print the pages you need for the job in front of you, or keep the whole 385-page manual on a tablet on the bench. Every exploded view, wiring diagram, torque table and troubleshooting chart is there, ready to use the moment you need it.

Reviews
There are no reviews yet.