Ricoh MP 6002/7502/9002 Service Manual PDF
Original price was: $95.00.$18.95Current price is: $18.95.
Download the official Ricoh MP 6002 service manual PDF for Aficio MP 6002/7502/9002 (D131/D132/D133) models. This Ricoh Aficio MP 7502 repair guide includes detailed Ricoh D131 troubleshooting manual, MP 9002 maintenance instructions, and Ricoh copier service handbook with installation, replacement procedures, SP modes, and jam codes for professional repairs.
Description
Ricoh MP 6002/7502/9002 Service Manual PDF DOWNLOAD
Description:
This comprehensive Ricoh MP 6002 service manual PDF download is an essential tool for technicians servicing the Ricoh Aficio MP 6002/7502/9002 series copiers (internal codes D131/D132/D133). Published by Ricoh Americas Corporation in 2012, it covers installation, preventive maintenance, replacement and adjustment, system maintenance, troubleshooting, and energy-saving features, with detailed diagrams, SP codes, and error recovery procedures to ensure optimal performance and compliance.
The manual stresses safety protocols, such as unplugging before disassembly, avoiding high-voltage areas, and using certified parts, making it a reliable Ricoh Aficio MP 7502 repair guide for handling complex issues like jams, firmware updates, and component replacements.
File Details:
- Manual Name: Ricoh Aficio MP 6002/7502/9002 Service Manual (D131/D132/D133)
- Models Covered: Ricoh Aficio MP 6002 (D131), MP 7502 (D132), MP 9002 (D133)
- Year: 2012
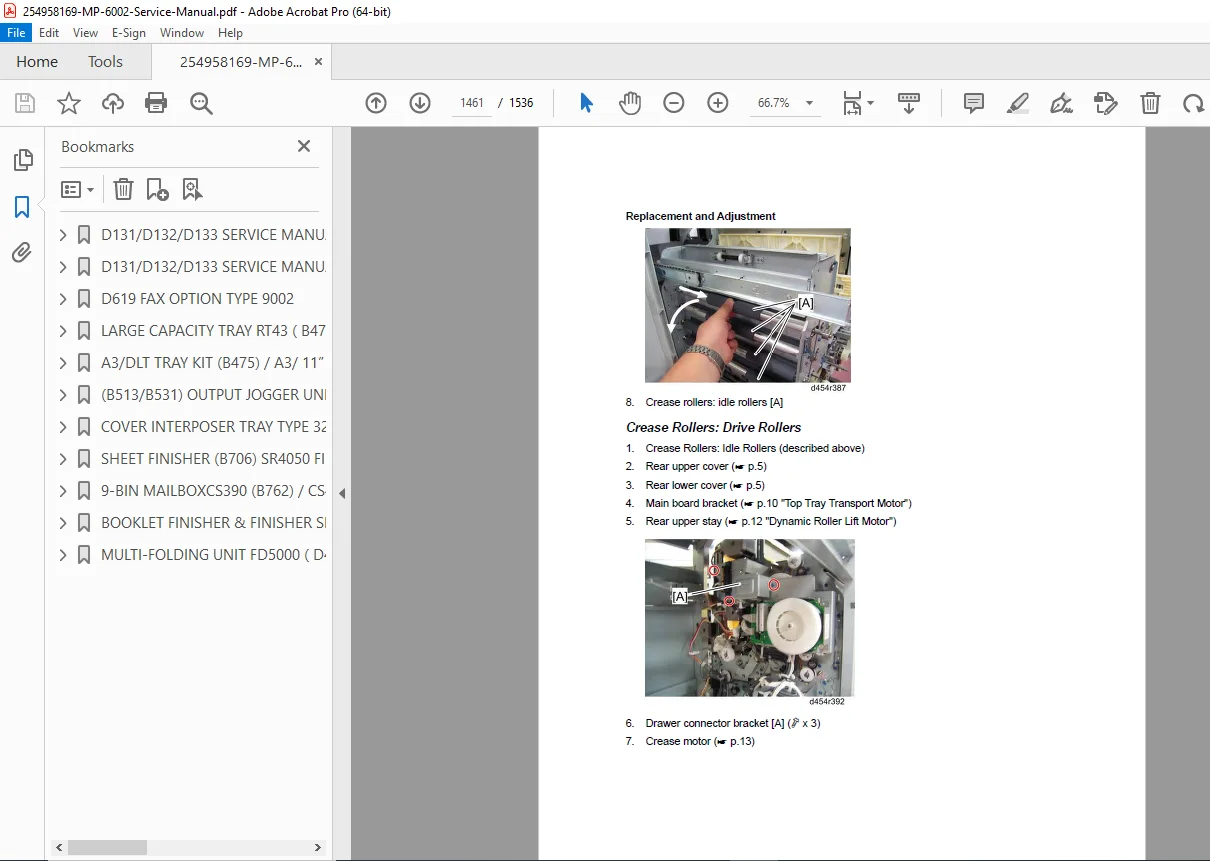
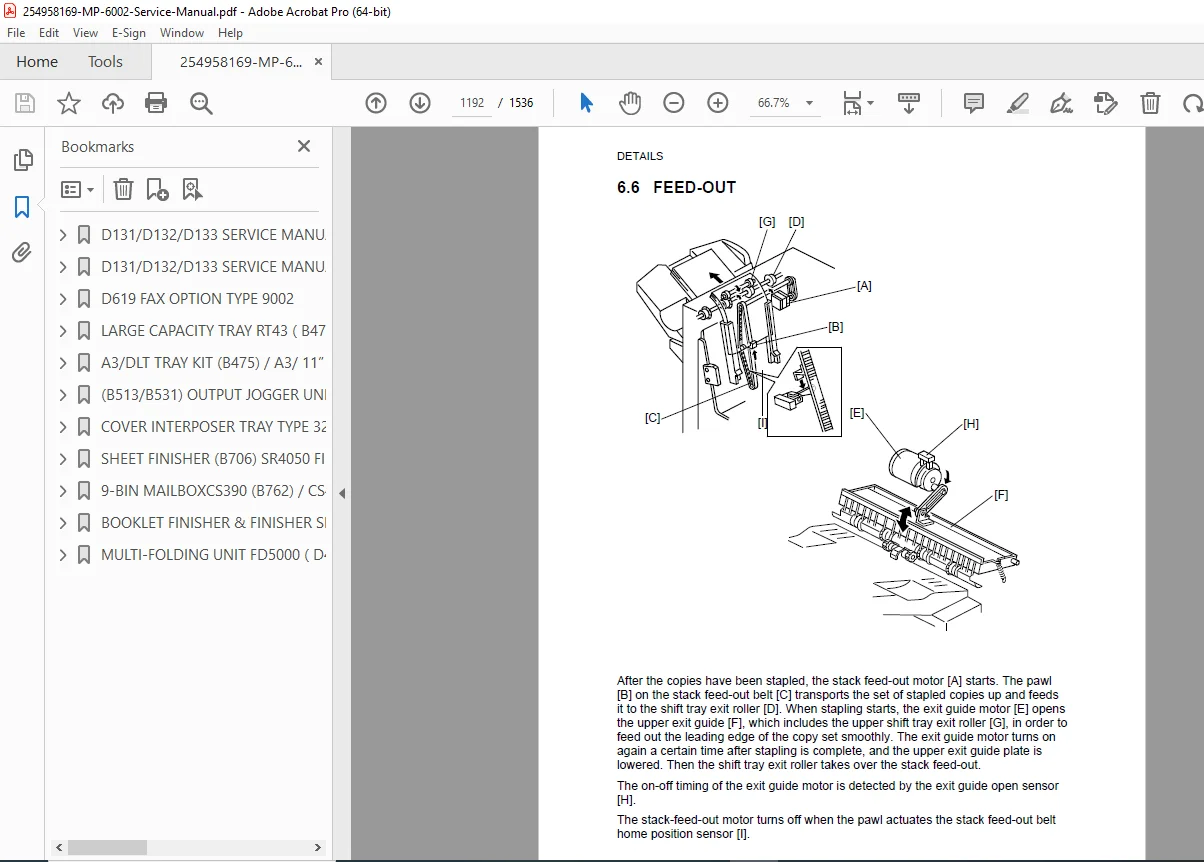
- Manual PDF Quality: High-quality scanned document with clear text, illustrations, diagrams, and schematics
- No. of Pages: 1536
Table of Contents: The manual is structured into main chapters with subsections, plus appendices and peripheral device sections for complete coverage. Here’s the neatly categorized table of contents:
- 1. Product Information
- Specifications • 1-1
- Machine Configuration • 1-2
- Peripheral Units • 1-2
- Other Options • 1-4
- Guidance for Those Who Are Familiar with Predecessor Products • 1-6
- Differences from Predecessor Products • 1-6
- Unit and Option Name and Number Changes • 1-8
- Main Machine and Peripheral Units • 1-8
- Controller Options • 1-9
- Fax Options • 1-11
- Overview • 1-12
- Mechanical Component Layout • 1-12
- Paper Path (with Cover Interposer Tray) • 1-14
- Paper Path (with 9-Bin Mailbox) • 1-15
- Drive Layout • 1-16
- 2. Installation
- Installation Requirements • 2-1
- Operating Environment • 2-1
- Machine Level • 2-2
- Minimum Space Requirements • 2-2
- Dimensions • 2-3
- Peripheral/Option Summary Table • 2-3
- Power Requirements • 2-6
- Main Machine • 2-7
- Accessory Check • 2-7
- Installation Procedure • 2-8
- Removing Tapes and Retainers • 2-8
- Removing and Filling the Development Unit • 2-11
- Re-installing the Development Unit • 2-14
- Initializing the Drum Settings • 2-15
- Tandem Tray • 2-16
- Machine Level • 2-18
- Date/Time Setting • 2-18
- SP Codes • 2-19
- Connecting the Drum Heater Connector and the Tray Heater Connector • 2-19
- Installing the Scanner Heater • 2-20
- A3/11″x17″ Tray Type 9001 (D482) • 2-21
- Accessory Check • 2-21
- Installation Procedure • 2-22
- LCIT RT4010 (D613) • 2-25
- Accessory Check • 2-25
- Installation Procedure • 2-25
- Removing Tape • 2-25
- Preparing the Main Machine • 2-26
- Installing the LCT • 2-26
- 8 1/2″x14″ Paper Size Tray Type 9002 (B474) • 2-29
- Accessory Check • 2-29
- Installation Procedure • 2-30
- Multi-Folding Unit FD4000 (D615) • 2-34
- Accessories • 2-34
- Installation • 2-35
- Tapes • 2-35
- Paper Guide, Sponge Strips • 2-37
- Ground Plate • 2-37
- Docking • 2-38
- Power Cord • 2-39
- Finishing the Installation • 2-39
- Proof Tray Auxiliary Plate • 2-40
- Finisher SR4080 (D610) • 2-41
- Accessory Check • 2-41
- Installation • 2-42
- Punch Units (B531/A812) • 2-47
- Accessory Check • 2-47
- Installation • 2-48
- Output Jogger Unit Type 9002B (B513) • 2-53
- Accessory Check • 2-53
- Installation Procedure • 2-53
- Finishers SR4060/SR4070 (D611/D612) • 2-55
- Accessories • 2-55
- Installation Procedure • 2-56
- Removing Tapes and Retainers • 2-57
- Docking the Finisher • 2-58
- Attaching the Trays • 2-61
- Leveling the Finisher • 2-62
- Selecting the Staple Supply Name • 2-62
- Enabling Booklet Binding (D612 Only) • 2-63
- Auxiliary Trays • 2-63
- Punch Units (B702) • 2-65
- Accessories • 2-65
- Installation Procedure • 2-66
- Output Jogger Unit Type 9002A (B703) • 2-69
- Accessories • 2-69
- Installation Procedure • 2-69
- Cover Interposer Tray CI4000 (D614) • 2-72
- Accessories • 2-72
- Installation Procedure • 2-73
- Removing Tapes and Retainers • 2-74
- Preparing the Finisher • 2-75
- Attaching the Extensions for the D610 • 2-76
- Prepare the Cover Interposer for the D610 • 2-77
- Attach the Extensions to the D610 • 2-77
- Attaching the Extensions for the D611/D612 • 2-78
- Attaching the Interposer Tray (D610/D611/D612) • 2-79
- Attaching the Corner Plates for the D610 • 2-80
- Docking the Finisher and Interposer to the Machine (D610/D611/D612) • 2-82
- Mailbox CS4000 (D616) • 2-84
- Accessory Check • 2-84
- Installation Procedure • 2-84
- Copy Tray Type 9002 (B756) • 2-87
- Accessories • 2-87
- Installation • 2-88
- Card Reader Bracket (B498), Key Counter Bracket (B452) • 2-90
- Key Card Bracket B498 Accessories • 2-90
- Key Counter Bracket B452 Accessories • 2-91
- Installation • 2-92
- Assemble the Key Counter Bracket • 2-92
- Install the Key Card Bracket and Assembled Key Counter • 2-93
- Key Counter Interface Unit 20 Pin (B870) • 2-94
- Installation Procedure • 2-94
- Copy Connector Type 3260 (B328) • 2-97
- Installation • 2-99
- MFP Options • 2-100
- Merging Applications on One SD Card • 2-100
- Overview • 2-100
- Merging Applications • 2-101
- Undo Exec • 2-102
- Common Procedures • 2-103
- Inserting SD Cards • 2-103
- Storing Copied SD Cards • 2-103
- Printer/Scanner Unit Type 9002 (D620) • 2-103
- Accessories • 2-103
- Installation • 2-104
- Postscript3 Unit Type 9002 (D620) • 2-105
- Accessories • 2-105
- Installation • 2-105
- IEEE802.11 Interface Unit (D377) • 2-105
- Accessories • 2-106
- Installation • 2-106
- User Tool Settings for Wireless LAN • 2-107
- SP Mode and UP Mode Settings for IEEE 802.11 a/g Wireless LAN • 2-108
- Bluetooth Interface Unit Type D (D566) • 2-109
- Accessories • 2-109
- Installation • 2-110
- File Format Converter Type E (D377) • 2-111
- Accessory Check • 2-111
- Installation • 2-111
- HDD Encryption Unit Type A (D377) • 2-113
- Before You Begin the Procedure • 2-113
- Enabling Encryption • 2-113
- Recovery from a Device Problem • 2-114
- Restoring the Encryption Key • 2-114
- Clearing the NVRAM • 2-115
- Data Overwrite Security Unit Type H (D377) • 2-116
- Before You Begin… • 2-116
- Installation • 2-117
- Browser Unit Type J (D620) • 2-118
- Accessories • 2-118
- Installation • 2-118
- Copy Data Security Unit Type F (B829) • 2-120
- Accessories • 2-120
- Installation • 2-120
- IPU • 2-120
- After Replacing the Copy Data Security Unit • 2-121
- VM Card Type U (D640) • 2-121
- Accessories • 2-121
- Installation • 2-121
- IEEE 1284 Interface Board Type A (B679) • 2-123
- Accessories • 2-123
- Installation • 2-123
- Gigabit Ethernet Type B (D377) • 2-124
- Accessories • 2-124
- Installation • 2-124
- Merging Applications on One SD Card • 2-100
- Installation Requirements • 2-1
- 3. Preventive Maintenance
- PM Tables • 3-1
- Main Machine • 3-1
- Scanner Optics • 3-1
- Around the Drum • 3-2
- Development Unit • 3-3
- Paper Feed • 3-4
- Transfer Belt Unit • 3-5
- Fusing Unit and Paper Exit • 3-6
- Duplex • 3-7
- ADF • 3-7
- Optional Peripheral Devices • 3-8
- LCIT RT4010 (D613) • 3-8
- Cover Interposer Tray CI4000 (D614) • 3-9
- Finisher SR4080 (D610) • 3-9
- Finisher SR4060/SR4070 (D611/D612) • 3-10
- Punch Unit Type 3260 (B702) for Finisher SR4060/SR4070 (D611/D612) • 3-10
- Multi Folding Unit FD4000 (D615) • 3-11
- Related SP Codes • 3-11
- Main Machine • 3-1
- PM Tables • 3-1
- 4. Replacement and Adjustment
- General Cautions • 4-1
- Drum • 4-1
- Drum Unit • 4-1
- Transfer Belt Unit • 4-2
- Scanner Unit • 4-2
- Laser Unit • 4-2
- Charge Corona • 4-3
- Development • 4-3
- Cleaning • 4-4
- Fusing Unit • 4-4
- Paper Feed • 4-4
- Used Toner • 4-4
- Special Tools and Lubricants • 4-5
- Special Tools • 4-5
- Lubricants • 4-5
- Operation Panel and External Covers • 4-6
- Operation Panel • 4-6
- Front Door • 4-9
- Right Covers • 4-9
- Left Covers • 4-10
- Rear Covers • 4-11
- Scanner • 4-12
- ADF • 4-12
- Exposure Glass • 4-13
- Scanner Original Size Sensors • 4-14
- Original Width Sensors • 4-14
- Original Length Sensors • 4-16
- Lens Block • 4-17
- Exposure Lamp • 4-20
- SIOB • 4-20
- Scanner Motor • 4-23
- Scanner HP Sensor • 4-24
- Scanner Wire Replacement • 4-25
- Scanner Wire Removal • 4-25
- Scanner Wire Reinstallation and Scanner Position Adjustment • 4-26
- Laser Unit • 4-28
- Caution Decals • 4-28
- LD Unit, Polygon Motor and Polygon Motor Drive Board • 4-29
- SP Adjustments • 4-30
- Laser Synchronization Detector Replacement • 4-31
- Laser Unit Alignment • 4-32
- Drum Unit • 4-34
- Development Unit Removal • 4-34
- Drum Removal • 4-34
- Drum Re-installation • 4-36
- Replacement with a Used Development Unit • 4-37
- Charge Corona Unit • 4-38
- Charge Corona Wire, Grid, Cleaning Pad • 4-38
- OPC Drum Removal • 4-40
- Dusting the Drum Surface • 4-41
- PTL • 4-42
- Quenching Lamp • 4-43
- Drum Potential Sensor • 4-43
- Cleaning Filter • 4-44
- Cleaning Blade • 4-44
- Cleaning Brush • 4-45
- Pick-off Pawls • 4-46
- ID Sensor • 4-47
- Drum Motor • 4-48
- Toner Collection Bottle • 4-49
- Toner Separation Unit • 4-50
- Ozone Filters • 4-51
- Optics Dust Filter • 4-52
- Internal Dust Filter • 4-52
- Toner Cooling Fan • 4-53
- Development Unit Removal • 4-34
- Development Unit • 4-54
- Developer Replacement • 4-54
- Preparation • 4-54
- Removal • 4-54
- Reinstallation • 4-56
- Development Filter • 4-57
- Entrance Seal and Side Seals • 4-58
- Removal • 4-58
- Reinstalling • 4-59
- TD Sensor • 4-60
- Toner End Sensor • 4-61
- Toner Supply Motor • 4-62
- Cleaning Requirement • 4-63
- Development Motor • 4-63
- Developer Replacement • 4-54
- Transfer Belt Unit • 4-64
- Transfer Belt Unit Removal • 4-64
- Transfer Belt Removal • 4-65
- Re-installation • 4-66
- Transfer Roller Cleaning Blade • 4-67
- Discharge Plate • 4-68
- Reinstallation • 4-68
- Transfer Power Pack • 4-69
- Re-installation • 4-69
- Fusing Unit • 4-70
- Fusing Unit Removal • 4-70
- Fusing Unit Thermistors and Thermostats • 4-71
- Reinstallation • 4-72
- Web Cleaning Roller • 4-72
- Web Unit Disassembly • 4-72
- Reinstallation • 4-73
- Web Unit Re-assembly • 4-74
- Web Motor and Web End Sensor • 4-75
- Reinstallation • 4-76
- Pressure Roller Cleaning Unit • 4-76
- Reinstallation • 4-76
- Fusing Lamps, Hot Roller, and Pressure Roller • 4-77
- Fusing Lamps • 4-77
- Hot Roller and Pressure Roller • 4-79
- Pressure Roller • 4-81
- Spring Adjustment • 4-81
- Stripper Pawls • 4-82
- Nip Band Width Adjustment • 4-83
- Fusing Unit Exit Sensor • 4-84
- Fusing/Exit Motor • 4-85
- Fusing Exit Sensor and Exit Unit Entrance Sensors • 4-87
- Duplex Unit • 4-88
- Duplex Unit Removal • 4-88
- Reinstallation • 4-88
- Duplex Unit Side-to-Side Adjustment • 4-89
- Jogger Fence Adjustment • 4-90
- Duplex Motors • 4-91
- Duplex Inverter Motor • 4-91
- Duplex Jogger and Transport Motors • 4-92
- Duplex Sensors • 4-93
- Jogger HP Sensor • 4-93
- Duplex Entrance Sensor • 4-93
- Duplex Transport Sensor 3 • 4-94
- Inverter Exit Sensor, Transport Sensors 1 & 2 • 4-94
- Duplex Jogger Belt Adjustment • 4-96
- Duplex Unit Removal • 4-88
- Paper Feed • 4-97
- Paper Tray • 4-97
- Tandem Tray • 4-97
- Universal Tray • 4-99
- Rear Fence Return Sensor Replacement • 4-99
- Rear Fence HP Sensor Replacement • 4-100
- Tandem Right Tray Paper Sensor Replacement • 4-101
- Bottom Plate Lift Wire Replacement • 4-102
- Reinstallation • 4-103
- Tandem Tray Paper Size Change • 4-104
- Tandem Tray Side Registration • 4-107
- Pick-up, Feed, Separation Roller Replacement • 4-108
- Feed Unit • 4-109
- Paper Feed Motors • 4-111
- For D131 • 4-111
- For D132/D133 • 4-112
- Separation Roller Pressure Adjustment • 4-114
- Relay Sensor • 4-115
- By-Pass Paper Size Detection Board • 4-116
- Reinstallation • 4-117
- By-Pass Tray Rollers • 4-117
- By-Pass Separation Roller Pressure Adjustment • 4-118
- Registration Sensor • 4-119
- Registration and By-Pass Unit Removal • 4-120
- Paper Tray • 4-97
- PCBs and HDD • 4-122
- CNT Board (Controller Board) • 4-122
- Reinstallation of CNT Board • 4-125
- NVRAM • 4-125
- NVRAM on the BCU • 4-125
- NVRAM on the Controller • 4-126
- IPU • 4-127
- HDD • 4-128
- Reinstallation • 4-129
- CTL-PSU • 4-130
- BCU • 4-131
- Replace the BCU • 4-132
- CNB • 4-132
- PFB • 4-133
- DRB • 4-134
- PSU • 4-135
- Reinstallation of PSU • 4-135
- CNT Board (Controller Board) • 4-122
- ADF • 4-136
- ADF Covers • 4-136
- Feed Unit • 4-137
- Feed Belt and Pick-up Roller • 4-138
- Separation Roller • 4-139
- Registration Sensor • 4-140
- ADF Control Board • 4-141
- Original Width, Interval, Separation and Skew Correction Sensors • 4-142
- Original Length Sensors • 4-143
- DF Position and APS Sensors • 4-144
- Other ADF Sensors • 4-145
- Bottom Plate Lift Motor • 4-146
- Feed Motor • 4-146
- Exit Motor and Transport Motor • 4-147
- Pick-up Roller Motor and HP Sensor • 4-148
- CIS Unit • 4-149
- ADF Exit Sensor • 4-150
- ADF Transport Belt Assembly • 4-150
- Reinstallation • 4-151
- Removing the Belt • 4-151
- Reinstalling the Belt • 4-153
- Reattaching the White Cover • 4-154
- Copy Image Adjustments: Printing/Scanning • 4-155
- Image Adjustments: Printing • 4-155
- Preparation • 4-155
- Registration – Leading Edge/Side-to-Side • 4-155
- Blank Margin • 4-156
- Registration Buckle Adjustment • 4-158
- Image Adjustments: Scanning • 4-159
- Registration: Platen Mode • 4-159
- Magnification • 4-160
- ADF Scanning Adjustments • 4-160
- Vertical Black Lines • 4-160
- DIP Switch Settings (ADF Main Board) • 4-161
- ADF Skew Correction • 4-162
- Image Adjustments: Printing • 4-155
- Touch Screen Calibration • 4-164
- General Cautions • 4-1
- 5. System Maintenance
- Resets • 5-1
- Memory All Clear: SP5801 • 5-1
- Software and Setting Reset • 5-4
- Software Reset • 5-4
- Resetting the System • 5-4
- Resetting Copy/Document Server Features Only • 5-4
- Resetting Scanner Features Only • 5-4
- Service Program Mode • 5-5
- General Notes • 5-5
- Service Mode Lock/Unlock • 5-5
- To Enter and Exit the Service Program Mode • 5-5
- To Switch to the Copy Window for Test Printing • 5-6
- Using the SP Mode • 5-6
- Direct Entry • 5-6
- Button Selection Entry • 5-7
- SP Mode Print (SMC Print) • 5-8
- Test Pattern Printing • 5-9
- Printing Test Pattern: SP2902-003 • 5-9
- Test Pattern Table • 5-9
- IPU Front/Back Test Patterns: SP2902-001,002 • 5-11
- Test Pattern Table • 5-12
- IPU Printing Test Pattern: SP2902-004 • 5-14
- Printing Test Pattern: SP2902-003 • 5-9
- Updating the Firmware • 5-15
- Software Update • 5-15
- Software Update Procedure • 5-15
- Doing the Software Update Procedure • 5-15
- Errors During Firmware Update • 5-18
- Updating the LCDC for the Operation Panel • 5-20
- Downloading Stamp Data • 5-20
- Uploading/Downloading NVRAM Data • 5-21
- Uploading Content of NVRAM to an SD card • 5-21
- Downloading an SD Card to NVRAM • 5-21
- Software Update • 5-15
- Service Program Mode Tables • 5-22
- SP Tables • 5-22
- Input/Output Check • 5-23
- Using the Debug Log • 5-24
- Setting Up “Save Debug Log” • 5-24
- To Switch Debug Log On • 5-24
- To Select the Target for the Debug Log File • 5-25
- To Select Events • 5-26
- To select one or more memory modules for recording in the debug log file • 5-29
- Retrieving the Debug Log from the HDD • 5-32
- More About Debug Log • 5-32
- SP5857-015: SD to SD (Any) • 5-32
- SP5857-016: Make HDD LogFile • 5-32
- SP5857-017: Make SD Log File • 5-33
- Setting Up “Save Debug Log” • 5-24
- Resets • 5-1
- 6. Troubleshooting
- Service Call Conditions • 6-1
- Important SP Codes • 6-2
- Jam Detection • 6-3
- Sensor Locations • 6-3
- Frequent Paper Jams • 6-4
- Symptom 1: Jams when paper is fed from a by-pass tray that is not used frequently • 6-4
- Symptom 2: Jams with noise from the paper feed unit • 6-5
- Symptom 3: Other • 6-6
- Jam Codes • 6-7
- ADF: Paper Jam Errors • 6-7
- Main Unit and LCIT RT4010 (D613): Paper Jam Errors • 6-8
- Finisher SR4060 (D611): Paper Jam Errors • 6-10
- Finisher SR4070 (D612): Paper Jam Errors • 6-11
- Finisher SR4080 (D610): Paper Jam Errors • 6-12
- Mailbox CS4000 (D616): Paper Jam Errors • 6-13
- Cover Interposer Tray CI4000 (D614): Paper Jam Errors • 6-13
- Multi Folding Unit FD4000 (D615): Paper Jam Errors • 6-13
- Program Download • 6-15
- Recovery Methods • 6-15
- Download Error Codes • 6-16
- Timing Charts • 6-21
- Feed, Transport, Feed Out: Face-Up • 6-21
- Transport, Inverter, Feed Out: Face-Down • 6-23
- Duplex Transport • 6-24
- Other Problems • 6-25
- Blown Fuse Conditions • 6-25
- Common Problems • 6-26
- 7. Energy Save
- Energy Save • 7-1
- Energy Saver Modes • 7-1
- Timer Settings • 7-1
- Return to Stand-by Mode • 7-2
- Recommendation • 7-2
- Energy Save Effectiveness • 7-3
- Energy Saver Modes • 7-1
- Paper Save • 7-5
- Effectiveness of Duplex/Combine Function • 7-5
- Duplex • 7-5
- Combine mode • 7-5
- Duplex + Combine • 7-5
- These Machines (D131/D132/D133) • 7-6
- Effectiveness of Duplex/Combine Function • 7-5
- Energy Save • 7-1
No separate bookmarks or index are mentioned in the excerpts, but appendices include general specifications starting at page 426.
This Ricoh D131 troubleshooting manual is packed with practical diagnostics and adjustments, ideal as your go-to MP 9002 maintenance instructions resource.
Empower your repairs with this detailed Ricoh copier service handbook—download instantly for immediate access to expert-level guidance and keep your Aficio machines running efficiently!