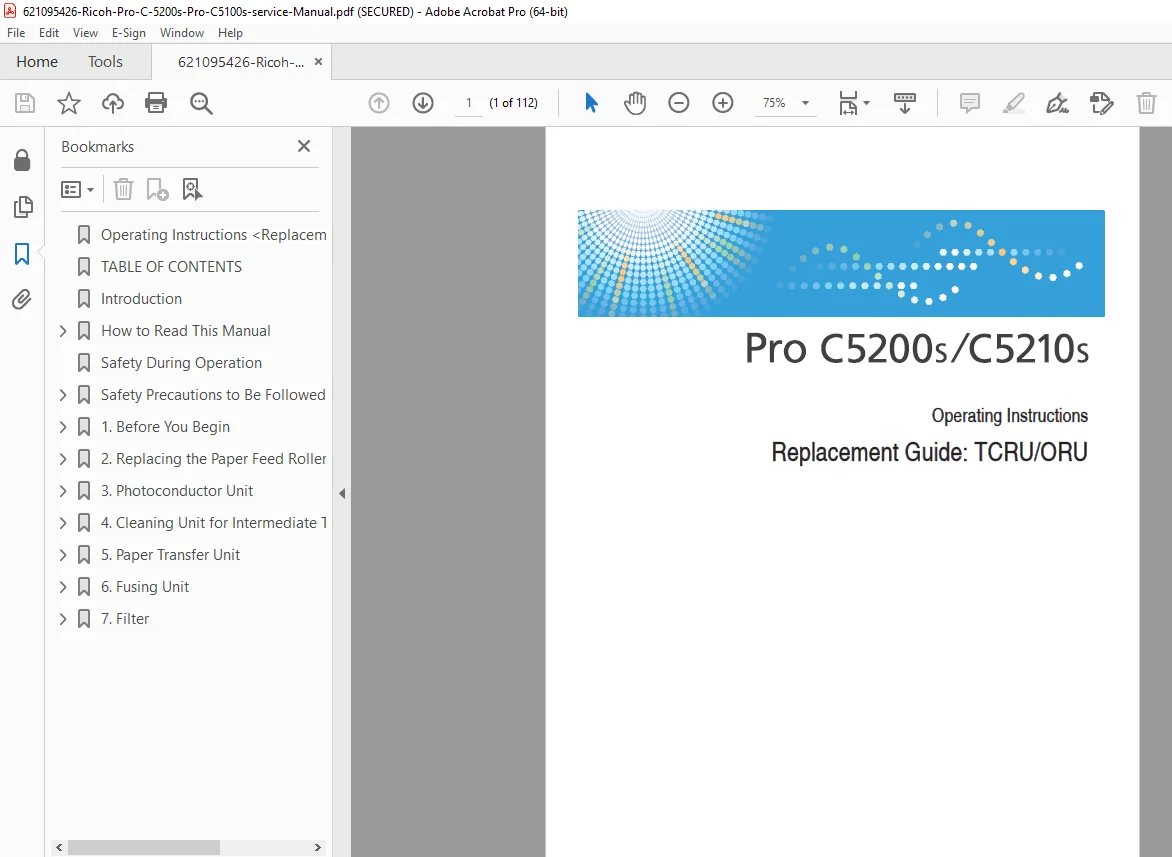
Ricoh Pro C5200s Pro C5100s Service Manual PDF TCRU ORU Replacement Guide PDF
Original price was: $120.00.$21.95Current price is: $21.95.
Official Ricoh replacement guide for Pro C5200s and Pro C5100s digital production color printers. This 112-page TCRU/ORU (Total Customer Replaceable Unit/Operator Replaceable Unit) service manual PDF provides detailed step-by-step procedures for replacing paper feed rollers, photoconductor units, cleaning units, transfer units, fusing components, and filters. Essential technical reference for trained service technicians performing preventive maintenance and component replacement on these high-volume color copiers.
Description
Ricoh Pro C5200s Pro C5100s Service Manual PDF TCRU ORU Replacement Guide PDF DOWNLOAD
DESCRIPTION
Ricoh Pro C5200s / Pro C5100s – Official TCRU/ORU Replacement Guide
This is the official Ricoh replacement guide (Publication Date: November 2016) for the Pro C5200s and Pro C5100s digital production color printers. This professional-grade 112-page Ricoh Pro C5200s service manual PDF provides comprehensive TCRU (Total Customer Replaceable Unit) and ORU (Operator Replaceable Unit) replacement procedures for trained service technicians performing maintenance and component replacement on these high-performance color production systems.
📋 FILE DETAILS
| Detail | Information |
|---|---|
| Manual Type | TCRU/ORU Replacement Guide (Operating Instructions) |
| Manufacturer | Ricoh Company, Ltd. |
| Models Covered | Pro C5200s, Pro C5100s |
| Publication Date | November 2016 (Modified December 2016) |
| Total Pages | 112 pages |
| PDF Quality | High-quality optimized factory manual |
| Manual Purpose | Component Replacement Procedures |
🖨️ MODELS COVERED
Digital Production Color Printers:
- Ricoh Pro C5200s – High-speed production color printer
- Ricoh Pro C5100s – High-speed production color printer
These professional-grade digital production printers are designed for high-volume color printing environments including print shops, in-plant print departments, and commercial printing operations.
📖 COMPLETE TABLE OF CONTENTS
SAFETY AND INTRODUCTION SECTION
Introduction:
- ✓ Manual Overview
- ✓ Target Audience (Trained Operators Only)
- ✓ Safety Information Requirements
How to Read This Manual:
- ✓ Symbol Explanations
- ✓ Disclaimer Information
- ✓ Power Switch Symbol Guide
Safety During Operation:
- ✓ Critical Safety Warnings
- ✓ Operational Safety Guidelines
Safety Precautions to Be Followed:
- ✓ Environments Where Machine Can Be Used
- ✓ Handling Power Cords and Power Plugs
- ✓ Handling the Main Machine
- ✓ Handling the Machine’s Interior
- ✓ Handling the Machine’s Supplies
- ✓ Toner Safety Precautions
- ✓ Fusing Unit Safety (High Temperature Warnings)
- ✓ Weight Warnings (Fusing Unit: 16.0 kg / 35.3 lb)
SECTION 1 – BEFORE YOU BEGIN (Pages 13-23)
What You Need:
- ✓ Required Tools List
- ✓ Service Supplies Required
General Cautions:
- ✓ Pre-Service Safety Checks
- ✓ Critical Warnings
Names of Components:
- ✓ Component Location Diagrams
- ✓ Internal Component Identification
Control Panel:
- ✓ Control Panel Overview
- ✓ Display Functions
- ✓ Button Functions
Turning Off/On the Power:
- ✓ Main Power Shutdown Procedures
- ✓ Main Power Startup Procedures
- ✓ Safe Power Cycling Guidelines
Specifying System Auto-Reset Timer:
- ✓ Timer Configuration
- ✓ System Reset Settings
Preparation:
- ✓ Pre-Service Checklist
- ✓ Work Area Preparation
Resetting the Replaceable Parts Counter:
- ✓ Counter Reset Procedures
- ✓ Service Mode Access
- ✓ Component Life Tracking Reset
SECTION 2 – REPLACING THE PAPER FEED ROLLERS (Pages 25-49)
Before You Begin:
- ✓ Tray Name Identification
- ✓ Paper Feed Roller Position Diagrams
- ✓ Replaceable Parts Lists
- ✓ Detaching and Reattaching Tray Procedures
Replacing Rollers in Tray 1-3:
- ✓ Step-by-Step Removal Procedures
- ✓ Roller Replacement Detailed Instructions
- ✓ Reassembly Procedures
- ✓ Alignment and Testing
Replacing the Rollers in the Bypass Tray:
- ✓ Bypass Tray Roller Access
- ✓ Removal Sequence
- ✓ Installation Procedures
Replacing the Rollers in the Wide LCT:
- ✓ Large Capacity Tray (LCT) Roller Service
- ✓ Wide LCT-Specific Procedures
- ✓ Multiple Roller Replacement
Replacing the Rollers in the ADF:
- ✓ Automatic Document Feeder Roller Service
- ✓ ADF Disassembly Procedures
- ✓ Roller Replacement and Reassembly
SECTION 3 – PHOTOCONDUCTOR UNIT (Pages 51-75)
Before You Begin:
- ✓ Replaceable Parts Identification
- ✓ Photoconductor Unit Overview
- ✓ Safety Precautions for Light-Sensitive Components
Detaching and Attaching the Toner Unit:
- ✓ Toner Unit Removal Procedures
- ✓ Safe Handling of Toner Containers
- ✓ Toner Unit Installation
- ✓ Toner Cartridge Alignment
Replacing the Charge Roller Unit:
- ✓ Charge Roller Removal Procedures
- ✓ Installation of New Charge Roller
- ✓ Electrical Contact Verification
Replacing the Cleaning Unit for Photoconductor Unit:
- ✓ Cleaning Blade Replacement
- ✓ Waste Toner Container Service
- ✓ Cleaning Unit Assembly Procedures
- ✓ Photoconductor Drum Protection
SECTION 4 – CLEANING UNIT FOR INTERMEDIATE TRANSFER BELT (Pages 77-81)
Before You Begin:
- ✓ Replaceable Parts Overview
- ✓ Transfer Belt System Explanation
Replacing the Cleaning Unit:
- ✓ Intermediate Transfer Belt Access
- ✓ Cleaning Unit Removal Procedures
- ✓ Belt Cleaning Blade Replacement
- ✓ Waste Toner Collection Unit Service
- ✓ Installation and Alignment Procedures
SECTION 5 – PAPER TRANSFER UNIT (Pages 83-85)
Before You Begin:
- ✓ Transfer Unit Components
- ✓ Replaceable Parts List
Replacing the Paper Transfer Unit:
- ✓ Transfer Unit Disassembly
- ✓ Transfer Roller Replacement
- ✓ Corona Wire Cleaning (if applicable)
- ✓ Transfer Unit Installation
- ✓ Transfer Voltage Verification
SECTION 6 – FUSING UNIT (Pages 87-101)
Before You Begin:
- ✓ Fusing Unit Replaceable Parts
- ✓ High Temperature Safety Warnings
- ✓ 30-Minute Cooling Period Requirement
- ✓ Weight Precautions (16.0 kg / 35.3 lb)
Replacing the Fusing Belt Smoothing Roller:
- ✓ Fusing Unit Access Procedures
- ✓ Belt Smoothing Roller Removal
- ✓ New Roller Installation
- ✓ Belt Tension Adjustment
Replacing the Cleaning Unit for the Fusing Unit:
- ✓ Fusing Cleaning Blade Replacement
- ✓ Oil Application Pad Service
- ✓ Waste Collection Container
Replacing the Fusing Assembly:
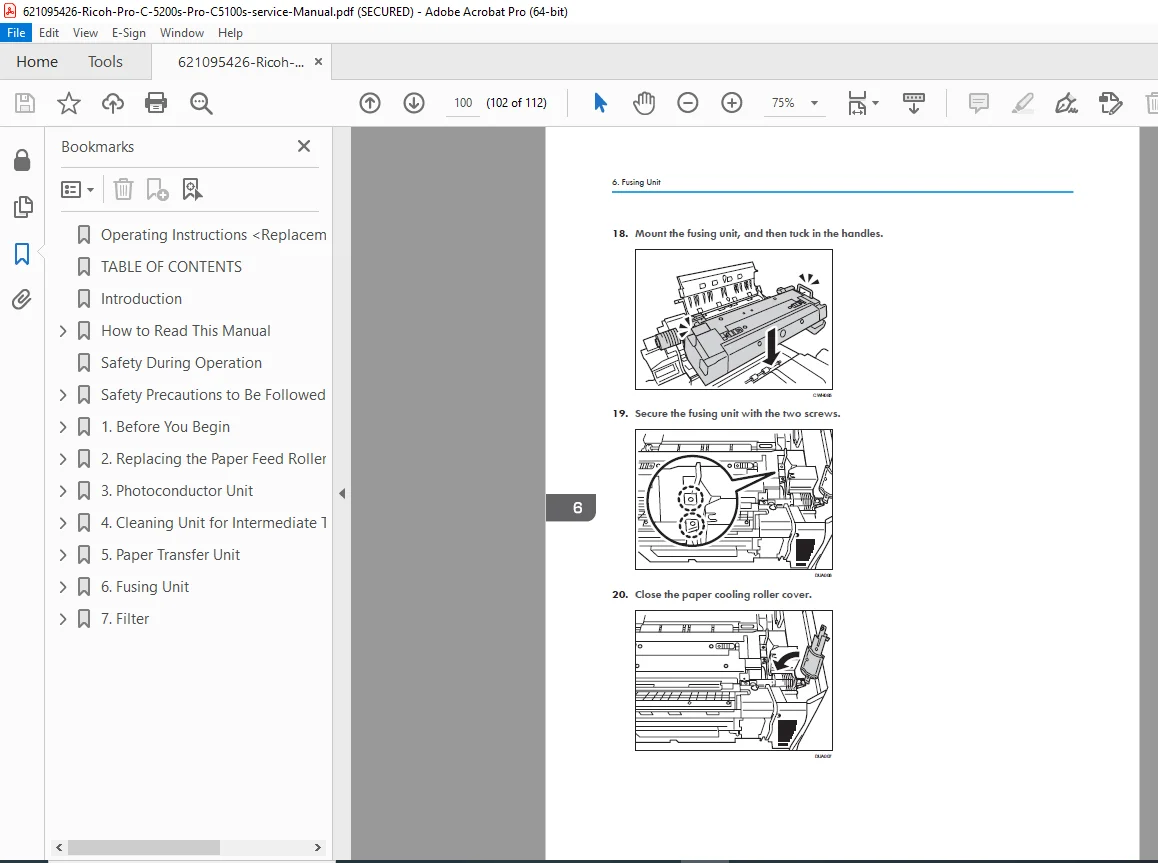
- ✓ Complete Fusing Unit Removal (16kg assembly)
- ✓ Fusing Belt Replacement
- ✓ Pressure Roller Service
- ✓ Heating Element Inspection
- ✓ Temperature Sensor Verification
- ✓ Fusing Unit Installation and Testing
SECTION 7 – FILTER (Pages 103-112)
Before You Begin:
- ✓ Filter Types and Locations
- ✓ Replaceable Parts Overview
Replacing the Dust Filter (Large):
- ✓ Large Filter Location
- ✓ Filter Removal Procedures
- ✓ Filter Housing Cleaning
- ✓ New Filter Installation
Replacing the Dust Filter (Small):
- ✓ Small Filter Access
- ✓ Filter Element Replacement
- ✓ Airflow Verification
🔍 KEY FEATURES OF THIS RICOH PRO C5200S SERVICE MANUAL PDF
Trained Operator Focus:
- Manual explicitly for technicians with proper training
- Step-by-step procedures with detailed diagrams
- Safety warnings at every critical step
- Professional service documentation
Comprehensive Component Coverage:
- Paper feed system (all trays including Wide LCT and ADF)
- Image formation system (photoconductor units)
- Transfer systems (intermediate and paper transfer)
- Fusing system (complete assembly and components)
- Filtration and ventilation systems
Detailed Replacement Procedures:
- Photographic step-by-step illustrations
- Component identification diagrams
- Torque specifications where applicable
- Alignment and adjustment procedures
- Testing and verification steps
Safety-First Approach:
- Extensive safety precautions section
- High-temperature warnings for fusing unit
- Electrical safety guidelines
- Toner handling safety procedures
- Weight warnings for heavy components
Service Counter Management:
- Parts counter reset procedures
- Life cycle tracking
- Service mode access instructions
💼 WHO NEEDS THIS RICOH FUSING UNIT REPLACEMENT MANUAL?
- Ricoh certified service technicians performing Ricoh Pro C5200s service manual PDF procedures
- Independent copier repair companies servicing Pro C5100s replacement guide requirements
- In-house print shop technicians maintaining Ricoh TCRU ORU manual equipment
- Production print facility maintenance staff performing photoconductor unit replacement
- Commercial print service providers using digital printer maintenance guide procedures
- Technical training centers teaching Ricoh fusing unit replacement techniques
- Print management companies supporting high-volume color production systems
✅ WHAT MAKES THIS MANUAL ESSENTIAL?
Official Ricoh Documentation:
- Factory-authorized replacement procedures
- Genuine Ricoh specifications
- Verified service sequences
- Official parts identification
TCRU/ORU Specific:
- Total Customer Replaceable Unit procedures
- Operator Replaceable Unit instructions
- Components designed for field replacement
- No specialized equipment required for covered procedures
Production Printer Expertise:
- High-volume production system service
- Critical uptime maintenance procedures
- Quality-critical component replacement
- Professional printing standards
Complete Service Reference:
- All major consumable replacements covered
- Paper path component service
- Image quality component maintenance
- Filtration system service
Safety-Focused Training:
- Extensive safety warnings
- High-temperature component procedures
- Heavy component handling (16kg fusing unit)
- Toner safety guidelines
⚠️ IMPORTANT NOTES
Training Required: This manual is intended ONLY for operators who have received proper training from Ricoh or authorized service providers. The manual explicitly states:
- Never perform procedures without proper training
- Contact service representative if unsure
- Never attempt procedures not shown in manual
Safety Critical:
- Fusing unit weighs 16.0 kg (35.3 lb)
- 30-minute cooling period required before fusing service
- High voltage components present
- Laser components require eye protection
Professional Use Only: This is a service manual, not an end-user guide. It is designed for trained technicians maintaining production printing equipment in commercial environments.
🎯 INSTANT DIGITAL DELIVERY
Download immediately after purchase and access all 112 pages of official Ricoh service documentation! No shipping delays or waiting for printed manuals. This searchable PDF allows you to quickly locate specific Ricoh Pro C5200s service manual PDF procedures, Pro C5100s replacement guide instructions, or Ricoh TCRU ORU manual component diagrams when servicing these production printers. Jump directly to photoconductor unit replacement procedures, reference digital printer maintenance guide safety warnings, or review Ricoh fusing unit replacement step-by-step instructions at your service bench. Print only the sections needed for your current maintenance task or keep the entire manual on your tablet or smartphone for instant access during service calls. Whether you’re replacing paper feed rollers, servicing the fusing assembly, or maintaining the transfer belt cleaning unit, this comprehensive factory manual provides the same detailed procedures Ricoh-certified technicians use worldwide. Ensure proper service with official replacement procedures and safety guidelines!